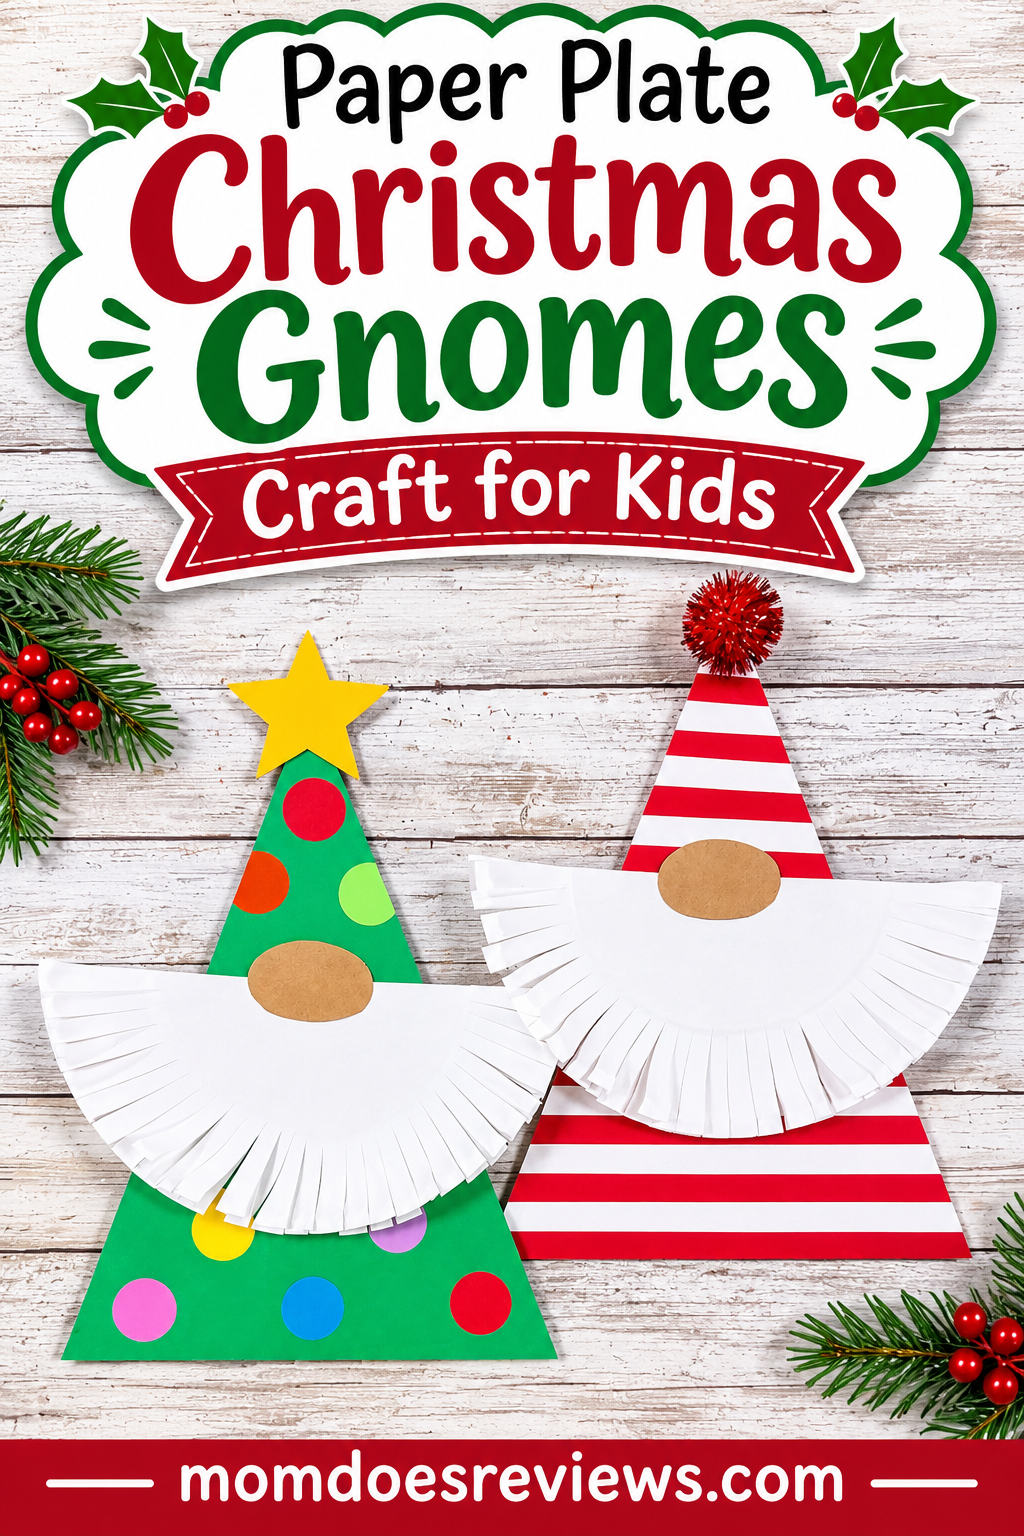
Easy Paper Plate Christmas Gnomes Craft for Kids (30-Minute Holiday Activity)
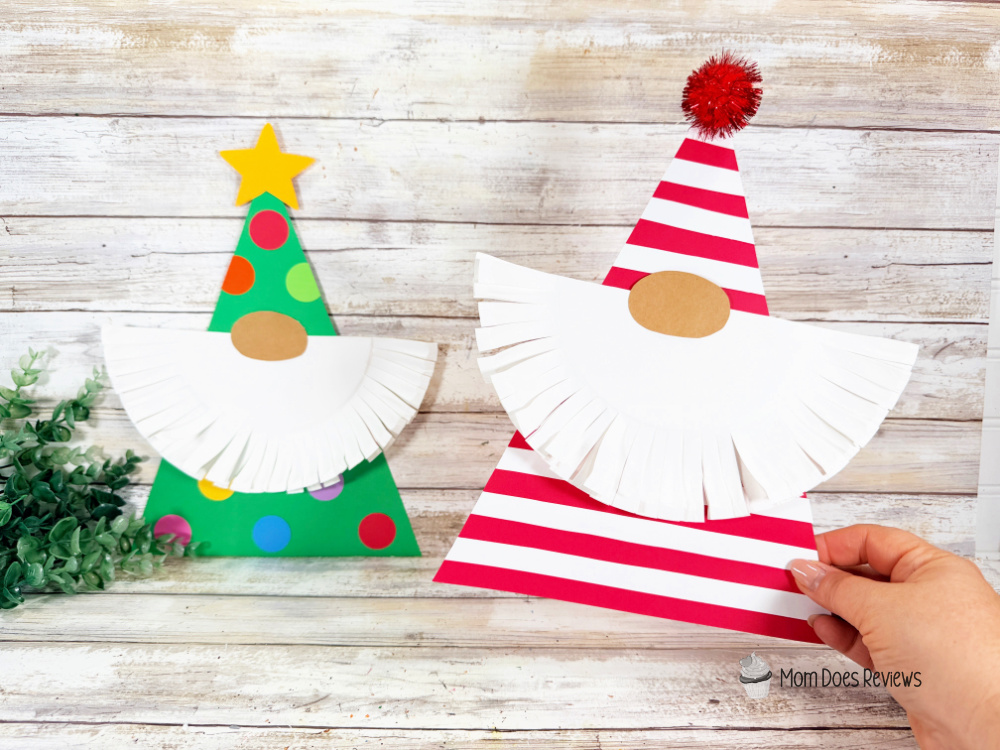
Looking for a fun and easy Christmas craft to keep the kids busy this holiday season? These adorable Paper Plate Christmas Gnomes are the perfect holiday activity for little hands! With a few inexpensive supplies from the Dollar Store, you can transform ordinary paper plates into the cutest Christmas gnomes. This simple Christmas craft for kids is budget-friendly, easy to make, and a wonderful way to get everyone into the holiday spirit!
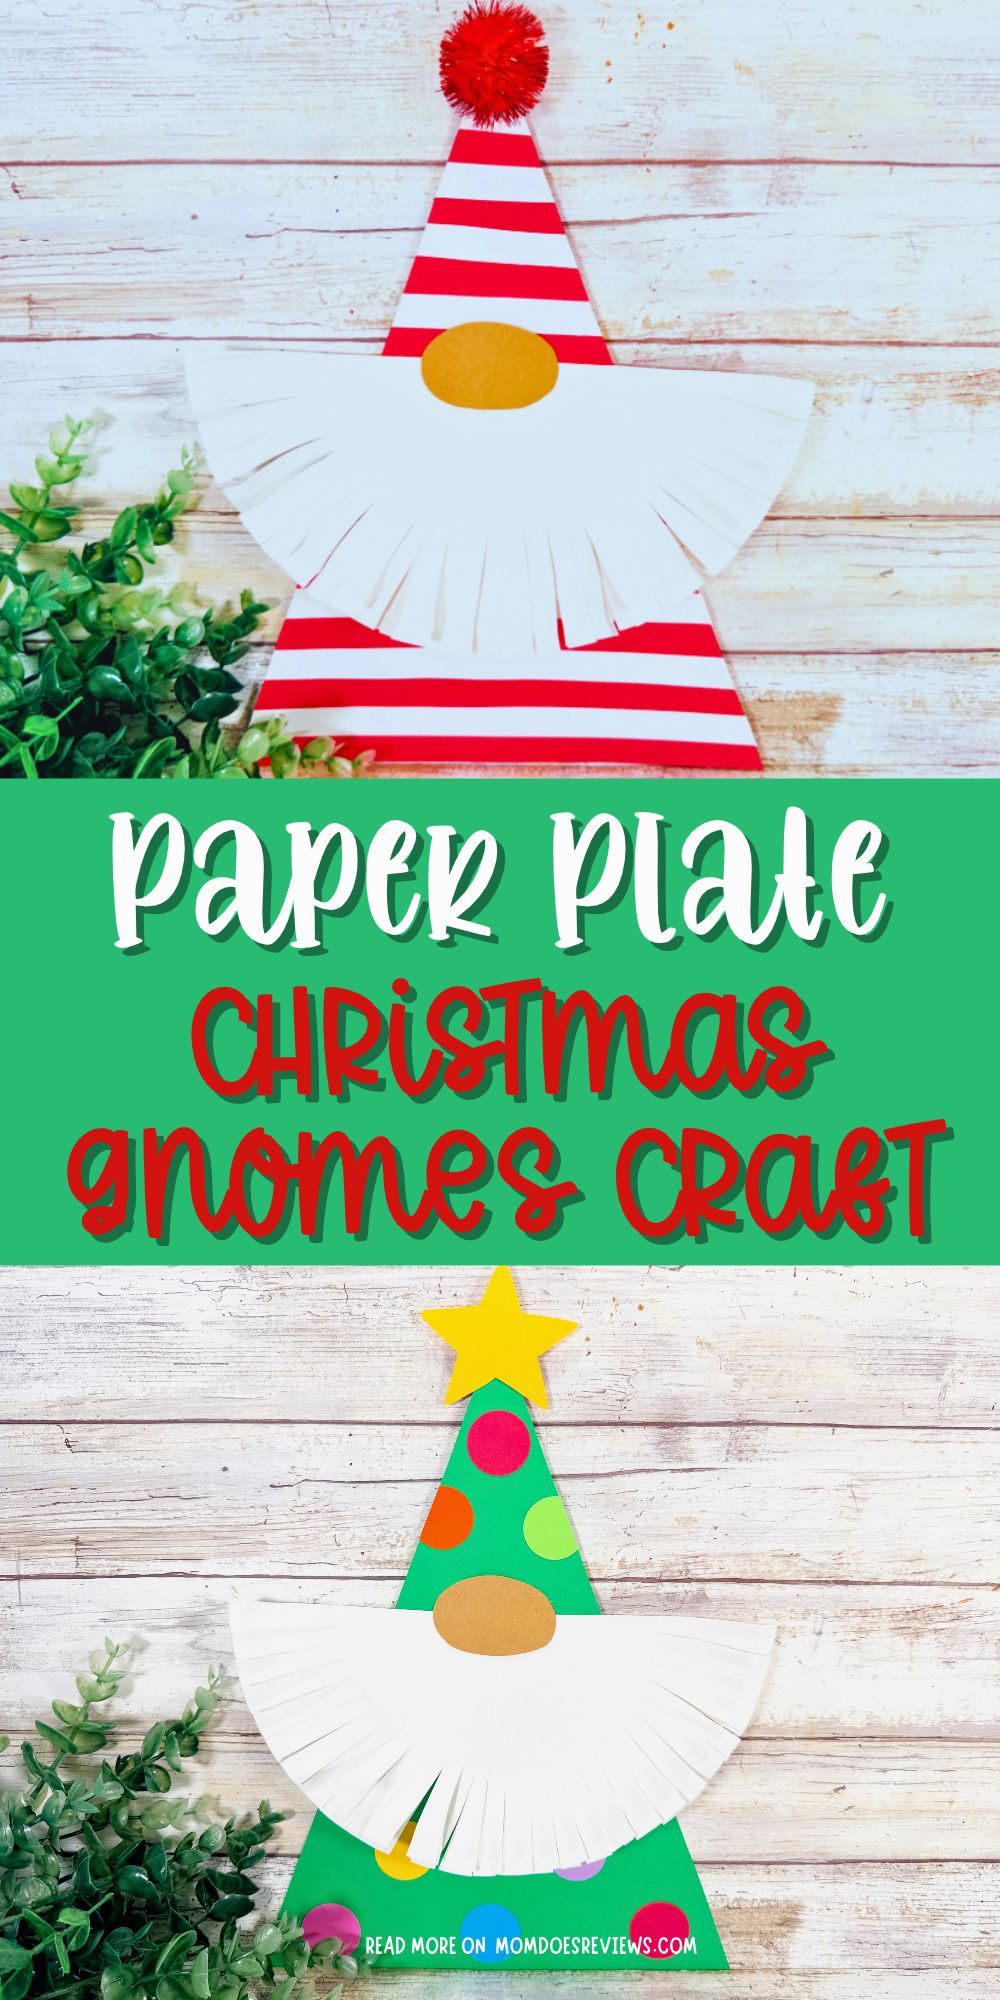
What makes this Paper Plate Christmas Gnomes craft even better is that it’s more than just a cute holiday decoration! Kids can practice important skills like coloring, counting, and fine motor coordination while creating their own festive gnomes. From decorating their colorful hats to assembling their fluffy paper plate beards, little ones will love getting creative and making each gnome their own. It’s a great hands-on activity for preschoolers, kindergarteners, and elementary-aged kids, with a little help from an adult when needed.
The best part? You can make this adorable pair of Christmas gnomes in about 30 minutes! Whether you’re planning a classroom Christmas party, looking for a fun holiday activity at home, or need an inexpensive Christmas craft for kids, this easy paper plate project is sure to be a hit. Once finished, these cute little gnomes make festive decorations for the refrigerator, classroom, or anywhere you want to spread a little Christmas cheer. Gather your supplies and get ready for some holiday crafting fun!
More Paper Plate Crafts:
If you’re looking for a fun and festive craft to get everyone in the holiday spirit, this Paper Plate Reindeer Craft is the perfect pick! 
 It’s simple, budget-friendly, and absolutely adorable.
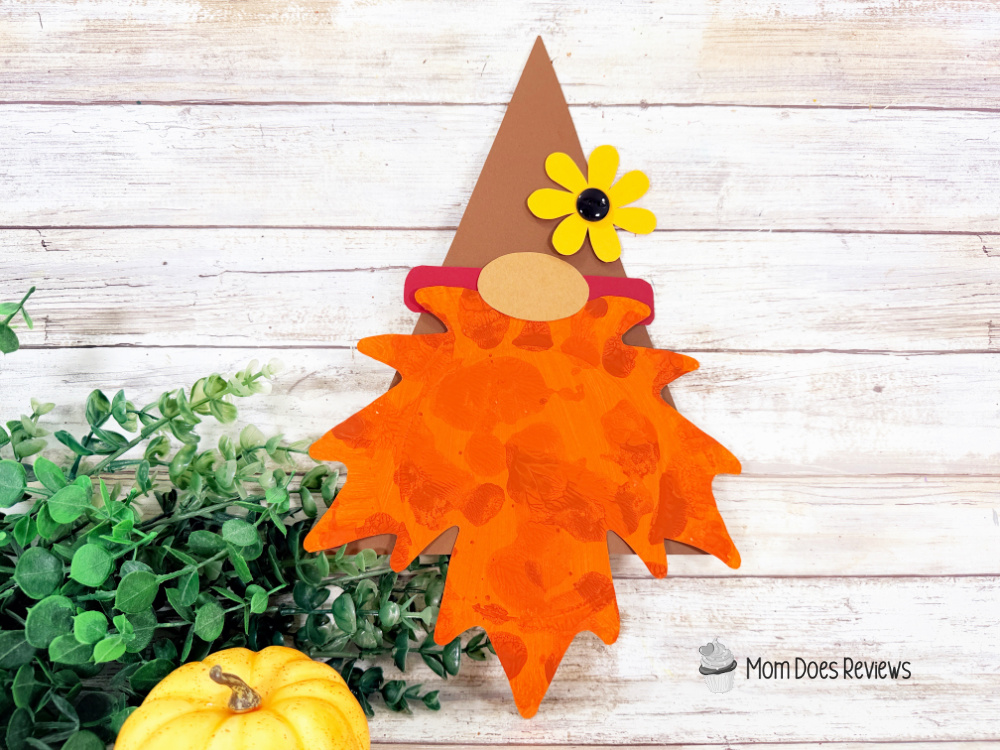
Fall is the perfect season to break out the craft supplies, and this adorable Leaf Gnome Craft is an easy project that kids and adults can enjoy together! Made with a simple paper plate and inexpensive supplies you can find at the Dollar Store.
Get ready to crawl into a world of crafting fun because we have the perfect project to get those creative juices flowing! Our delightful Dollar Store Paper Plate Caterpillar Craft is here to prove that a simple paper plate can be transformed into the cutest, most charming little caterpillar.
Looking for a fun and easy camping craft that keeps little hands busy? This Dollar Store Paper Plate Camper Craft is the perfect screen-free activity for summer afternoons, camping-themed lessons, rainy days, or family craft time
Materials:
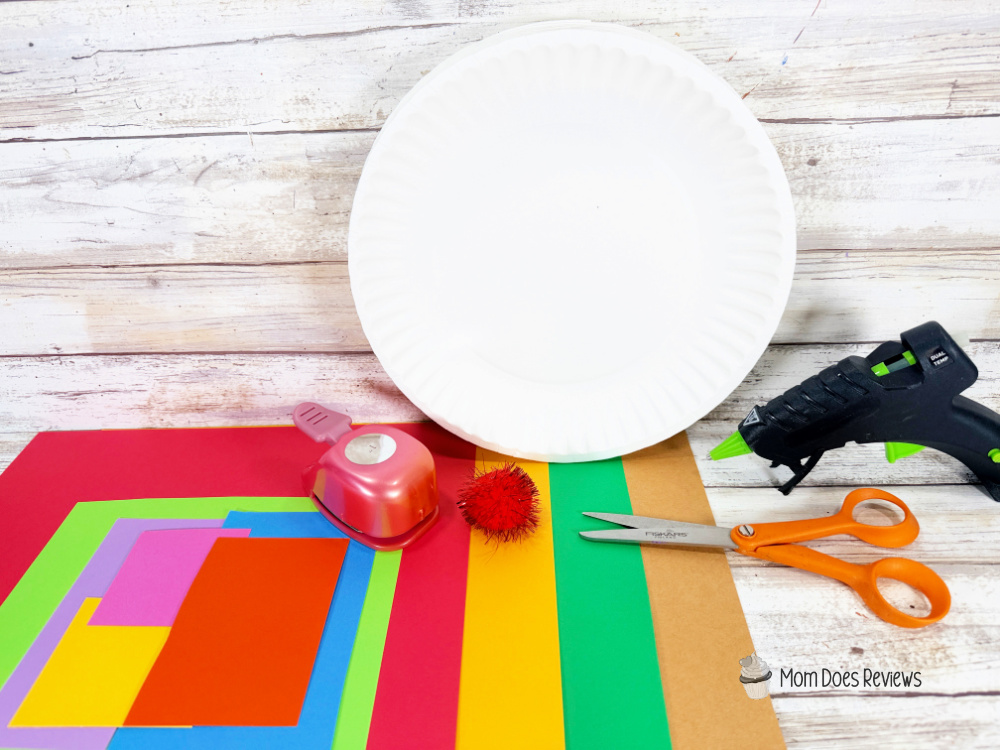
- Paper Plate – Dollar Store
- Pom Pom, Red Tinsel – Dollar Store
- Cardstock – Light Brown, Green, Red, Pink, Orange, Yellow, Gold, Bright Green, Blue, Purple
- Glue Gun and Glue Sticks – Dollar Store
- Shape Punch – 1” Circle
- Scissors
- Pencil
- Ruler
- PATTERNS
Instructions:
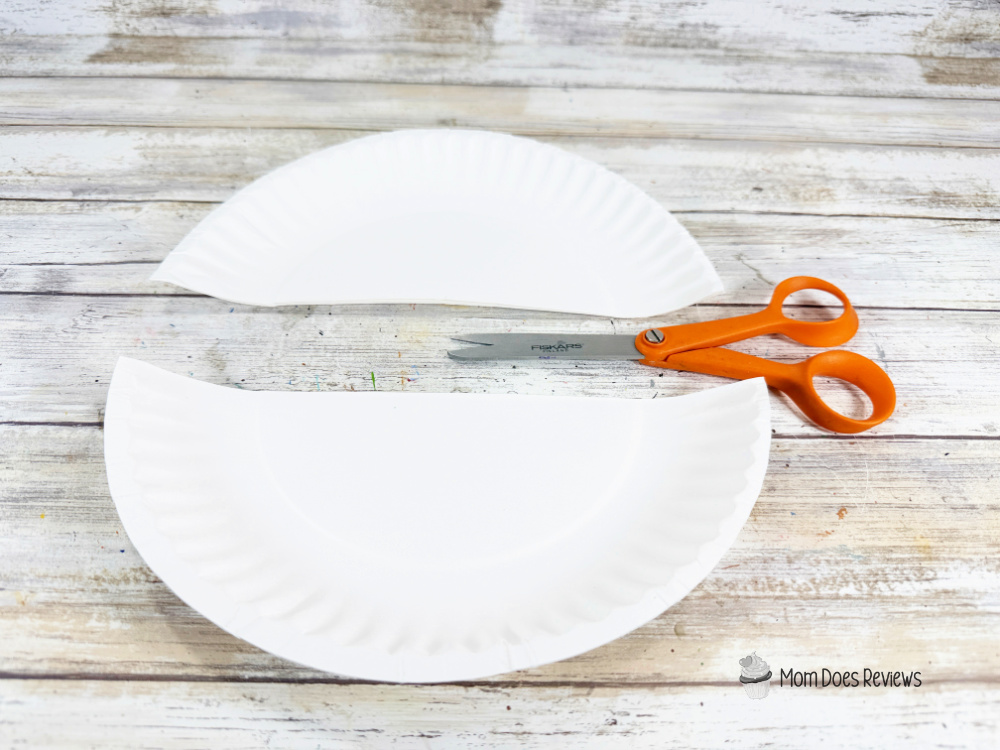
- Gather all supplies. Fold the paper plate in half; score firmly. Then cut the paper plate in half with scissors.

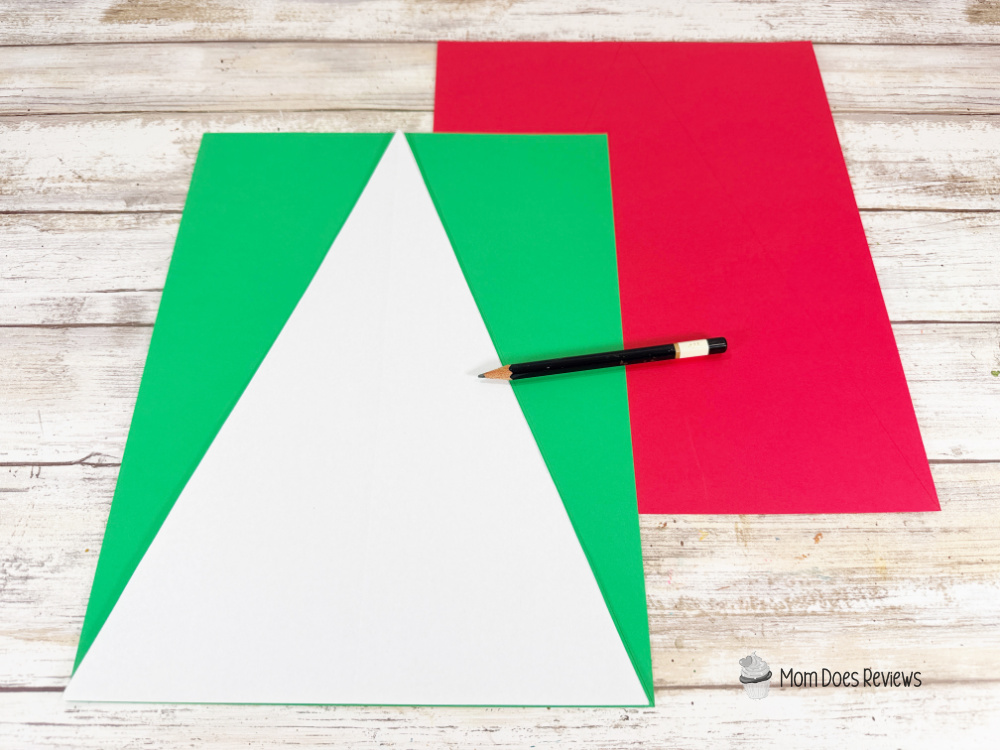
- Download and print the gnome patterns, then cut them out with scissors. Trace the hat/body once onto red and once onto green cardstock with a pencil. You could also use colored craft foam or craft felt for this project.
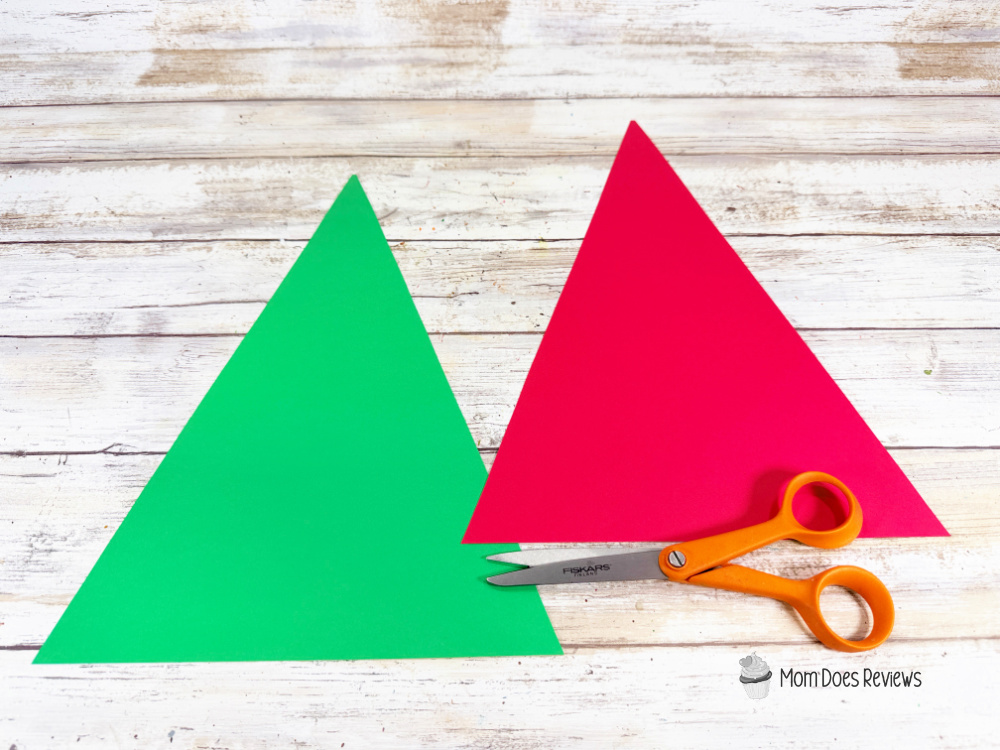
- Cut out the patterns with scissors, making sure to cut inside the traced lines for a clean, finished project.
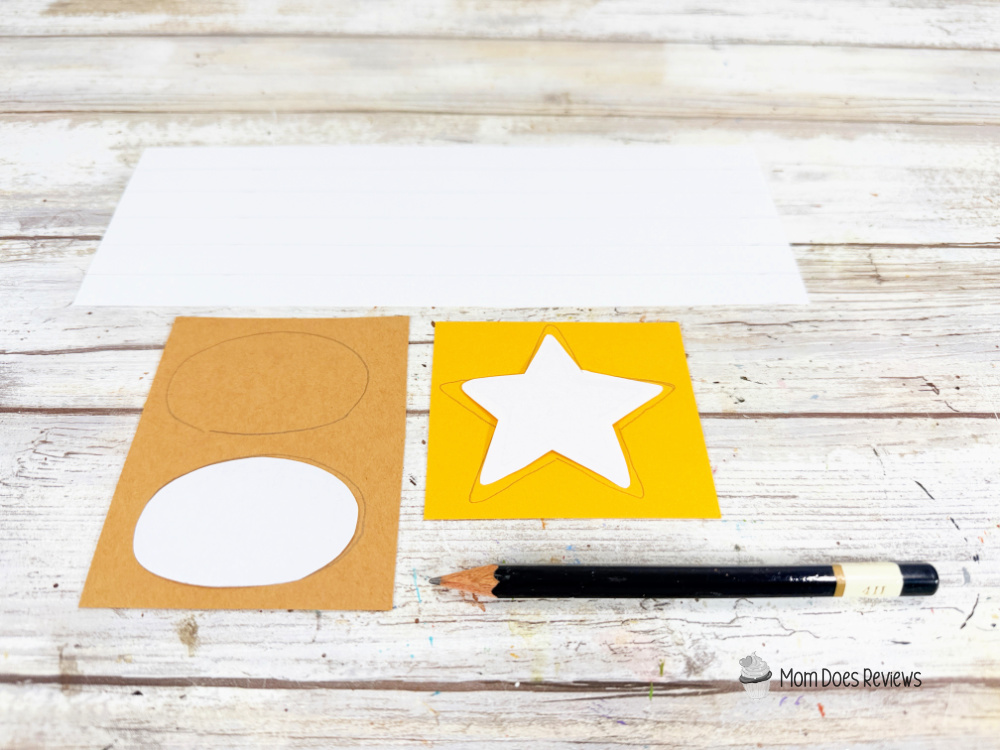
- Trace the nose twice onto light brown cardstock; trace the star once onto gold cardstock with a pencil. Measure and mark with a pencil seven stripes that are 1/2” wide by 8 1/2” long onto white cardstock. Cut out all patterns with scissors.
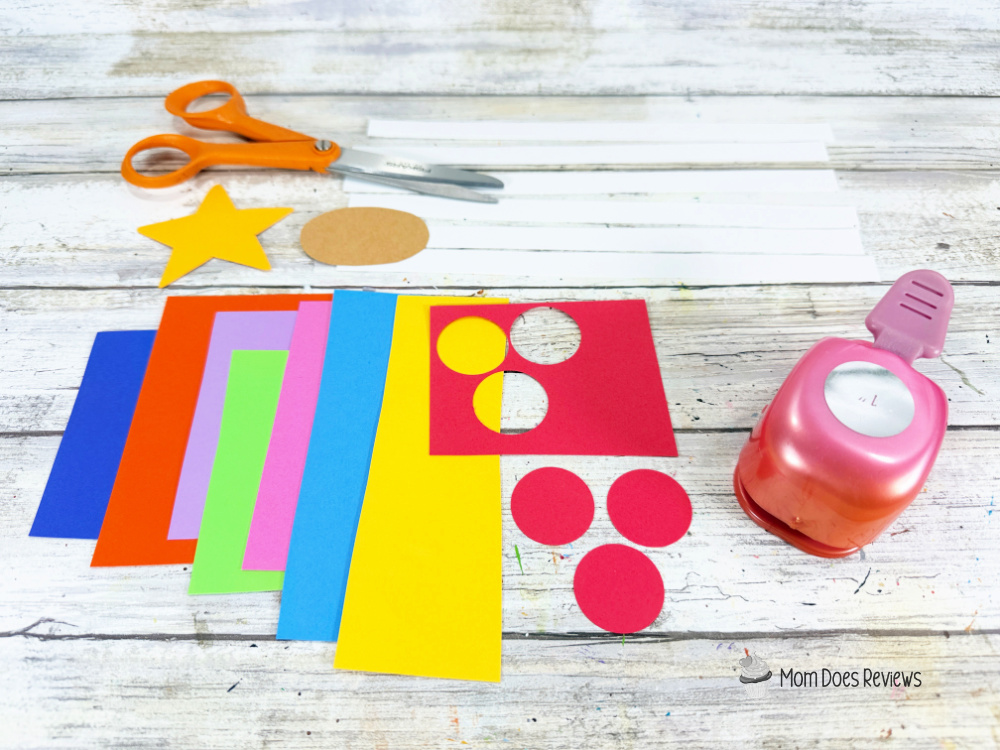
- Punch two 1” circles from red, pink, orange, yellow, bright green, blue, and purple cardstock to become the ornaments on the Christmas tree gnome.
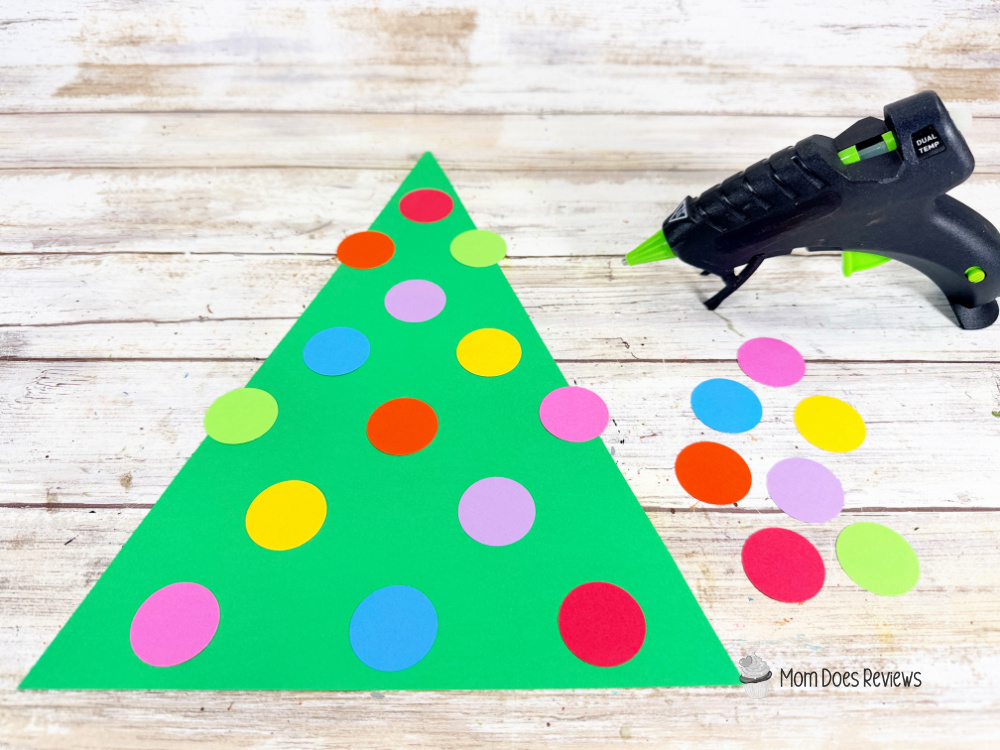
- Attach the ornaments to the tree with a glue gun and glue sticks. TIP: You can use liquid craft glue for this project, but you will have to wait for it to dry.
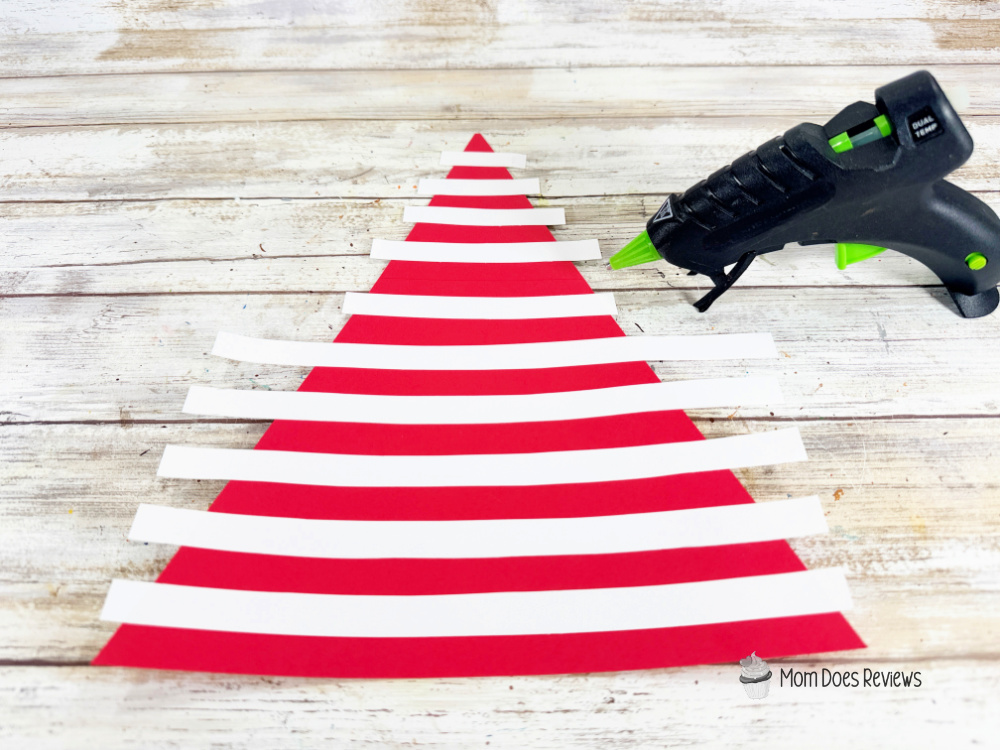
- Secure the white stripes to the red candy cane gnome with a glue gun and glue sticks. Trim any excess white cardstock with scissors.
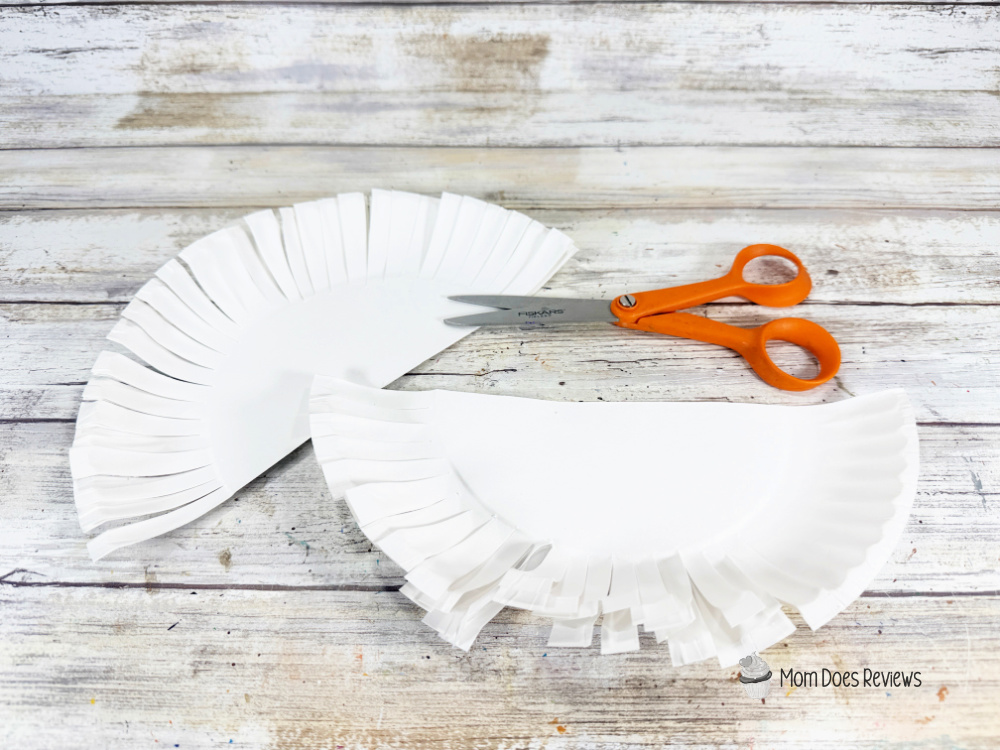
- Using scissors, fringe the circular edge of the half paper plates to create the gnomes’ beards.
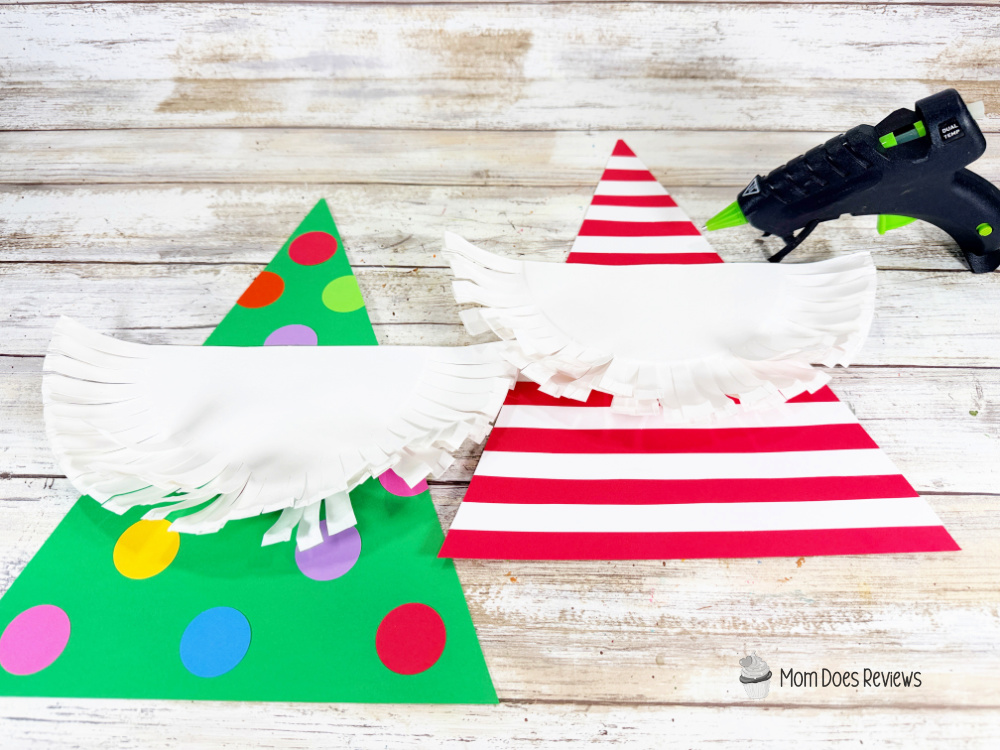
- Attach the beards to the gnome bodies with a glue gun and glue sticks.
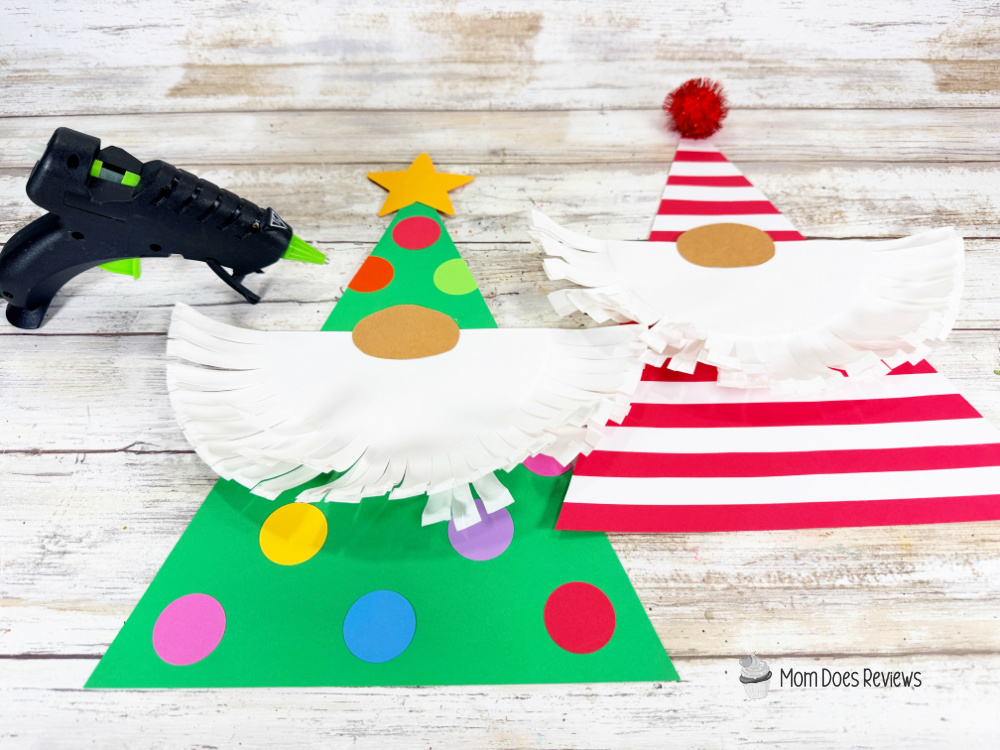
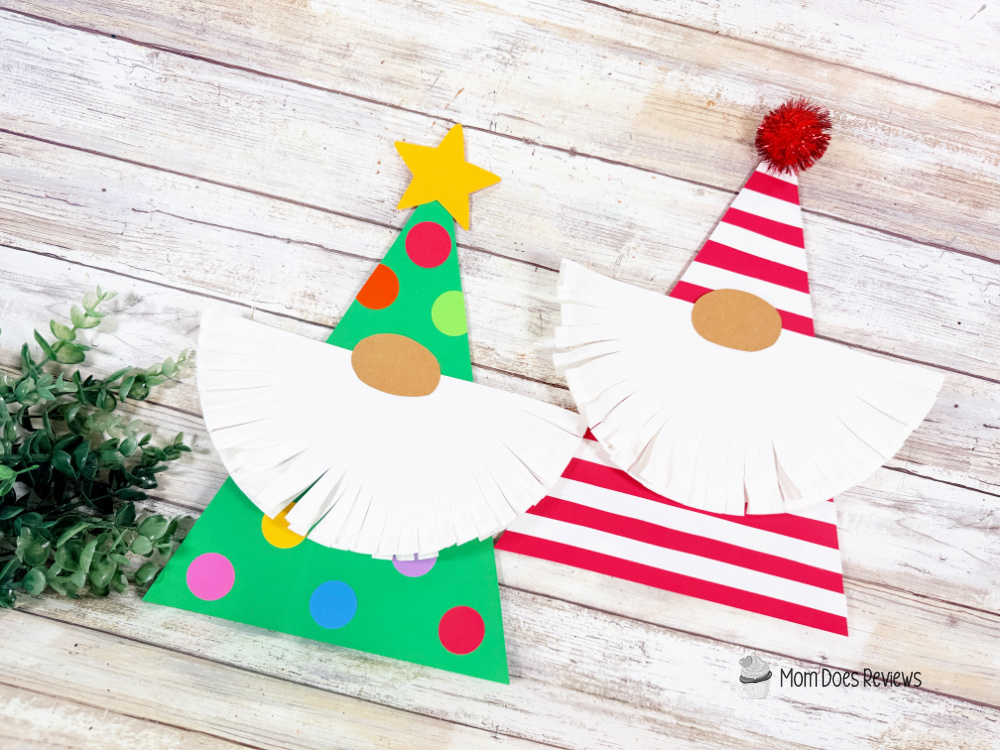
- Glue the light brown noses to where the gnome beard meets the hat. To finish, attach the gold star to the top of the Christmas tree gnome, and the red tinsel pom-pom to the top of the candy cane gnome with a glue gun and glue sticks.
- Enjoy your creations!
Print the Tutorial:

Paper Plate Christmas Gnomes Craft
Make adorable Paper Plate Christmas Gnomes with this easy 30-minute craft for kids! A fun, budget-friendly Christmas activity using Dollar Store supplies.
Materials
- Paper Plate – Dollar Store
- Pom Pom, Red Tinsel – Dollar Store
- Cardstock – Light Brown, Green, Red, Pink, Orange, Yellow, Gold, Bright Green, Blue, Purple
Tools
- Glue Gun and Glue Sticks – Dollar Store
- Shape Punch – 1” Circle
- Scissors
- Pencil
- Ruler
Instructions
STEP ONE
Gather all supplies. Fold the paper plate in half; score firmly. Then cut the paper plate in half with scissors.
STEP TWO
Download and print the gnome patterns, then cut them out with scissors. Trace the hat/body once onto red and once onto green cardstock with a pencil. You could also use colored craft foam or craft felt for this project.
STEP THREE
Cut out the patterns with scissors, making sure to cut inside the traced lines for a clean, finished project.
STEP FOUR
Trace the nose twice onto light brown cardstock, and trace the star once onto gold cardstock with a pencil. Measure and mark with a pencil seven stripes that are 1/2” wide by 8 1/2” long onto white cardstock. Cut out all patterns with scissors.
STEP FIVE
Punch two 1” circles from red, pink, orange, yellow, bright green, blue, and purple cardstock to become the ornaments on the Christmas tree gnome.
STEP SIX
Attach the ornaments to the tree with a glue gun and glue sticks. TIP: You can use liquid craft glue for this project, but you will have to wait for it to dry.
STEP SEVEN
Secure the white stripes to the red candy cane gnome with a glue gun and glue sticks. Trim any excess white cardstock with scissors.
STEP EIGHT
Using scissors, fringe the circular edge of the half paper plates to create the gnomes’ beards.
STEP NINE
Attach the beards to the gnome bodies with a glue gun and glue sticks.
STEP TEN
Glue the light brown noses to where the gnome beard meets the hat. To finish, attach the gold star to the top of the Christmas tree gnome, and the red tinsel pom-pom to the top of the candy cane gnome with a glue gun and glue sticks.
Pin it for Later!