
Easy Paper Plate Camper Craft for Kids (Fun Camping Activity!)
Looking for a fun and easy camping craft that keeps little hands busy? This Dollar Store Paper Plate Camper Craft is the perfect screen-free activity for summer afternoons, camping-themed lessons, rainy days, or family craft time. Using an inexpensive paper plate and a few basic craft supplies, kids can create an adorable vintage camper while practicing important developmental skills like cutting, gluing, counting, and fine motor coordination.
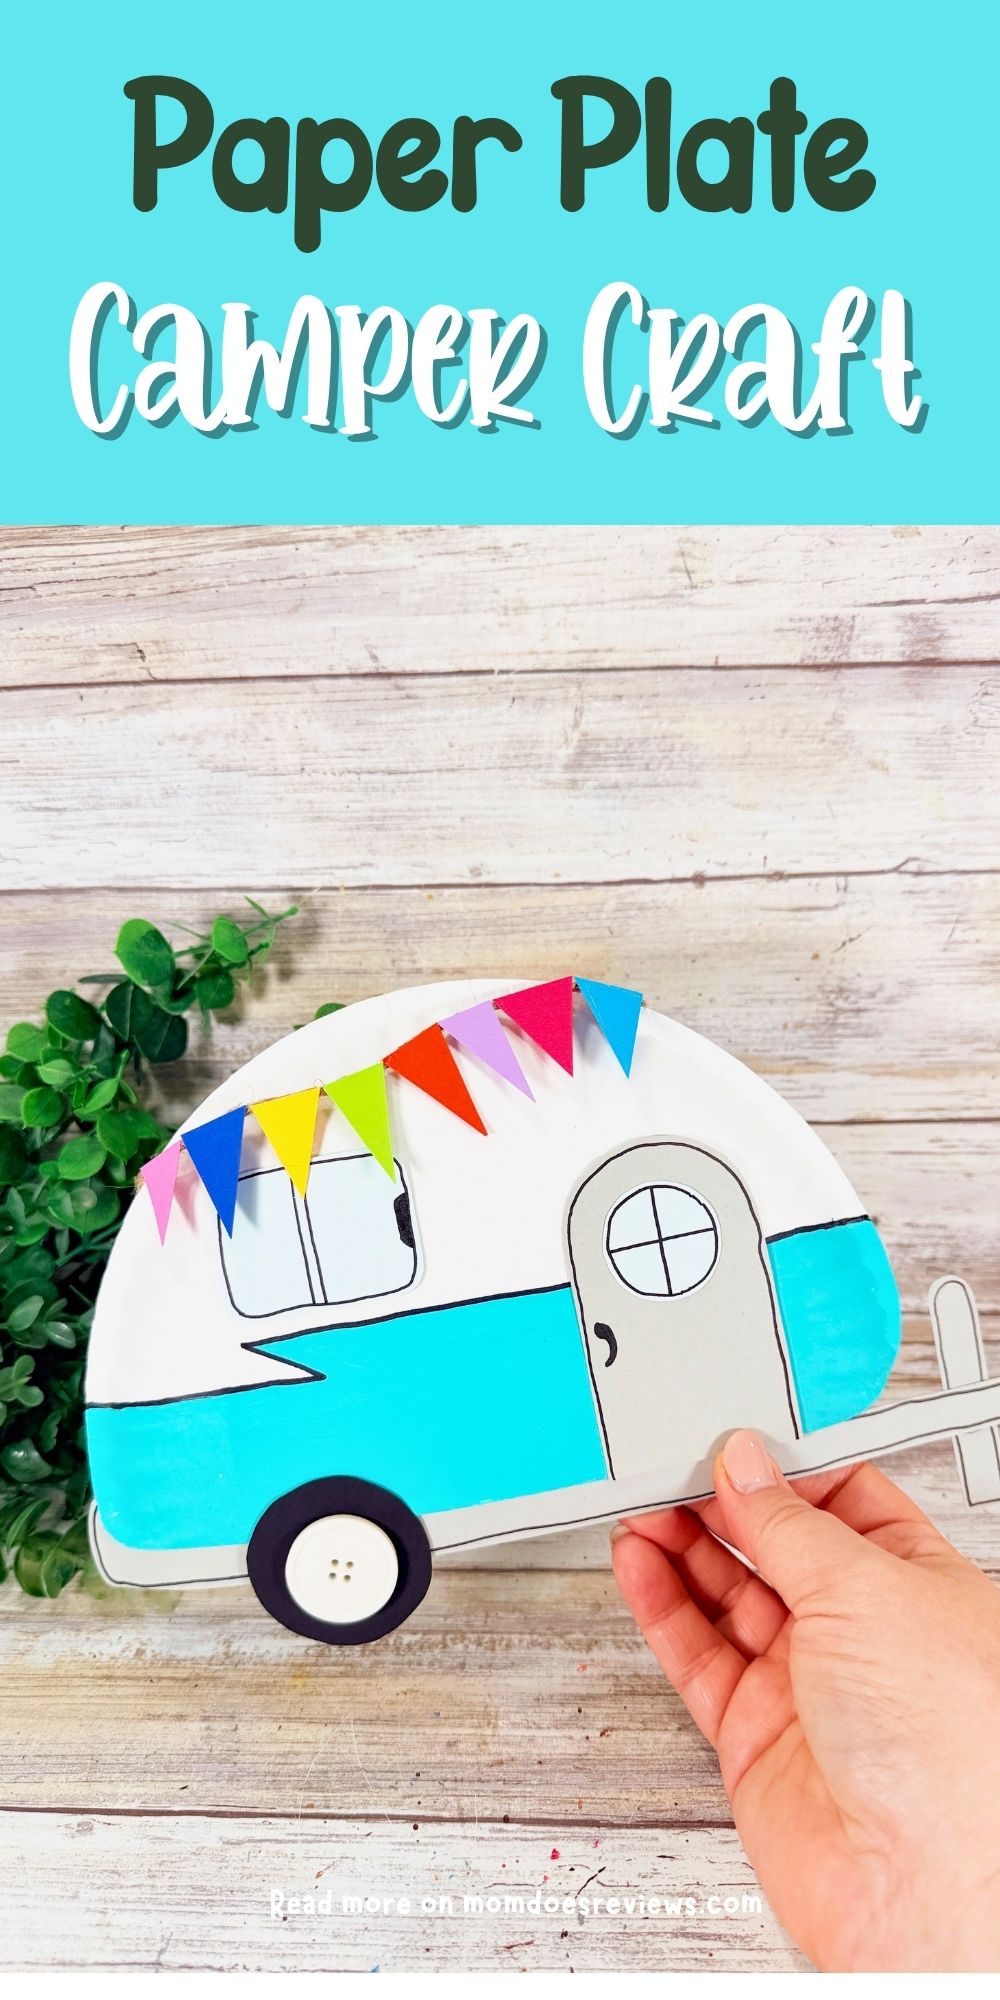
One of the best things about this easy paper plate camper craft (other than it reminds me of a retro camper) is that it’s budget-friendly and quick to make. A simple paper plate from the Dollar Store transforms into the cutest little camper in about 30 minutes, making it an ideal craft for preschoolers, elementary-aged kids, classrooms, homeschool activities, scouts, or even crafty adults who love all things camping. The colorful bunting and playful design make it a fun decoration long after the craft is finished.
Whether you’re planning a camping unit study, getting excited for a family road trip, or simply looking for an easy summer craft, this DIY Paper Plate Camper Craft is sure to be a hit. Follow the simple step-by-step instructions below to create your own camper and enjoy a creative activity that’s as fun to make as it is to display!
More Paper Plate Crafts:
Get ready to stomp into a world of prehistoric fun! Our delightful Dollar Store Paper Plate Dinosaur Craft is here to prove that a simple paper plate can be transformed into the most adorable and playful dinosaur.
If you’re looking for a fun and colorful activity for kids, this Paper Plate Parrot Craft is a perfect choice. Using a simple paper plate from the Dollar Store, kids can create a vibrant parrot full of personality.

Get ready to bring a burst of sunshine into your home with a craft that’s as cheerful as it is fun! Our adorable Dollar Store Paper Plate Sunflower Craft is here to prove that a simple paper plate can be transformed into the most delightful sunflower.
Get ready to crawl into a world of crafting fun because we have the perfect project to get those creative juices flowing! Our delightful Dollar Store Paper Plate Caterpillar Craft is here to prove that a simple paper plate can be transformed into the cutest, most charming little caterpillar.
Materials:
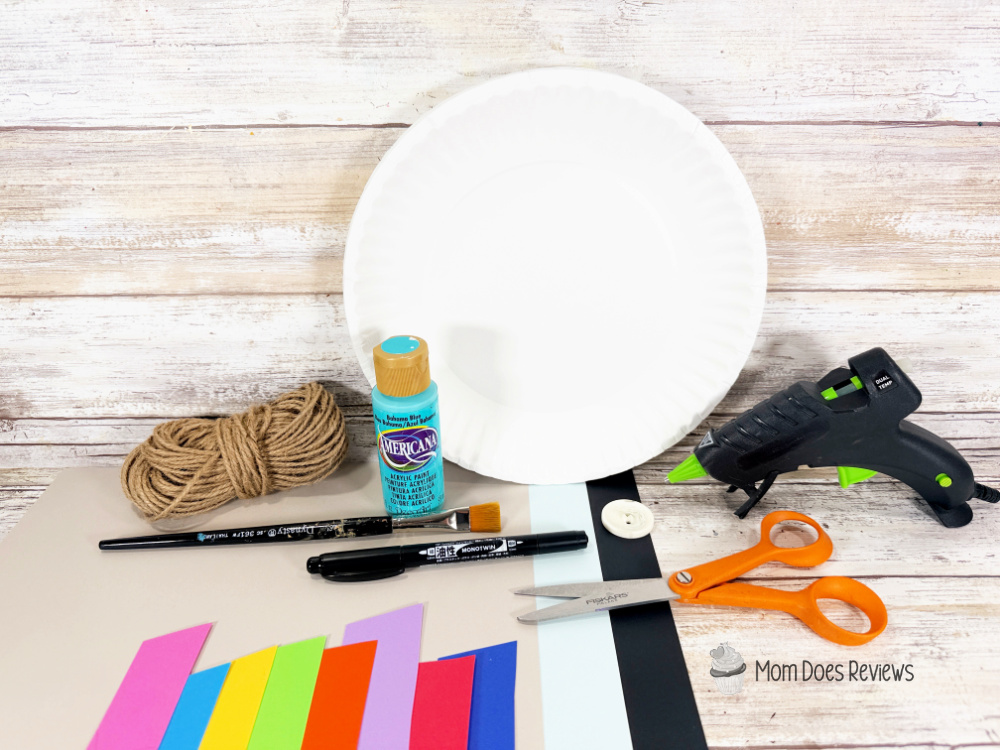
- Paper Plate – Dollar Store
- Natural Jute Twine – Dollar Store
- Button, White – Dollar Store
- Cardstock – Light Blue, Gray, Black, Pink, Red, Orange, Yellow, Green, Blue, Purple
- Craft Paint – Bright Blue
- Glue Gun and Glue Sticks
- Paintbrush
- Scissors
- Permanent Marker, Black
- Pencil
- PATTERNS
Instructions:
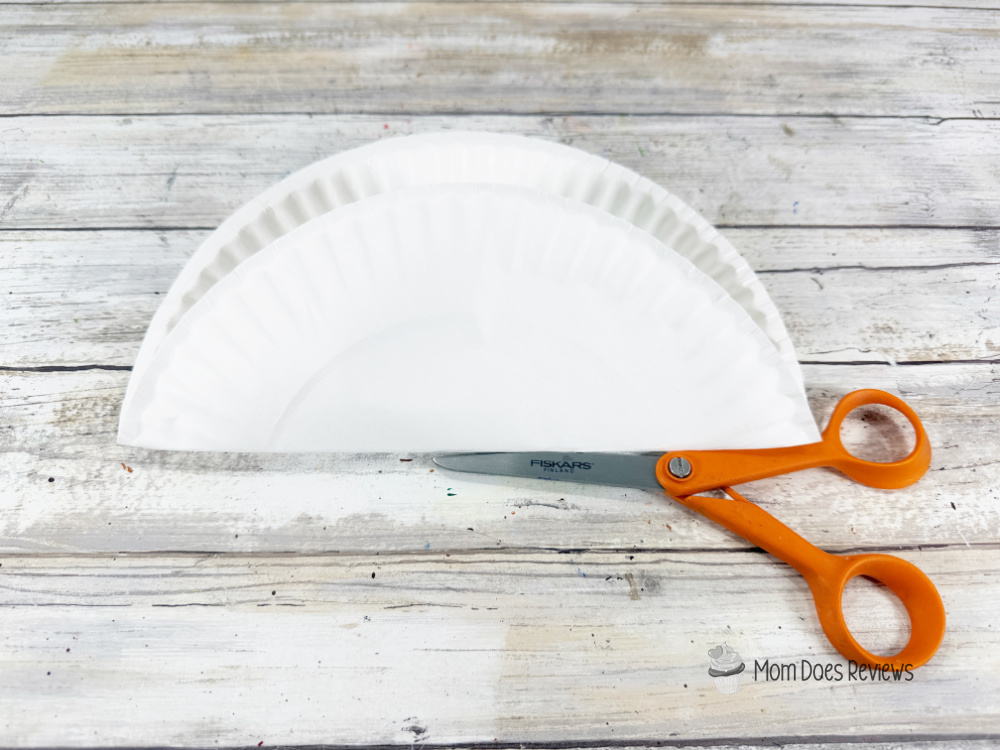
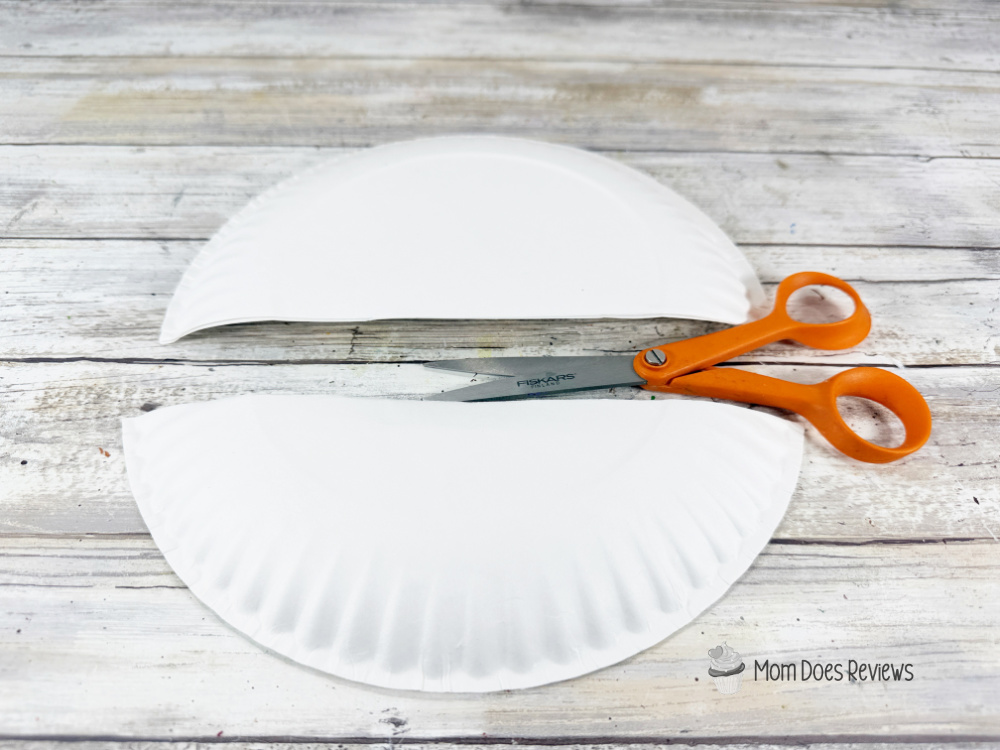
- Gather all supplies. Fold the edge to the inner circle of the paper plate and crease the fold sharply.

- Cut the paper plate in two pieces with scissors using the fold line as a guide.
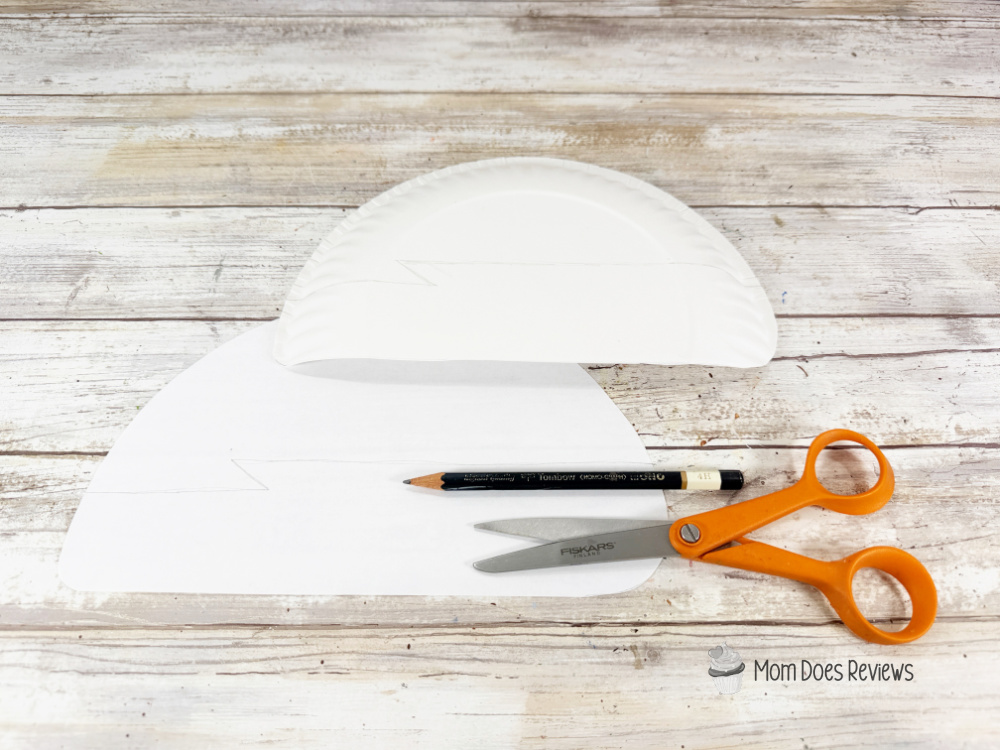
- Download, print, and cut out the camper patterns. Trace the camper pattern onto the larger half of the paper plate with a pencil. Cut out the camper shape with scissors. Trace the zig-zag line onto the paper plate.
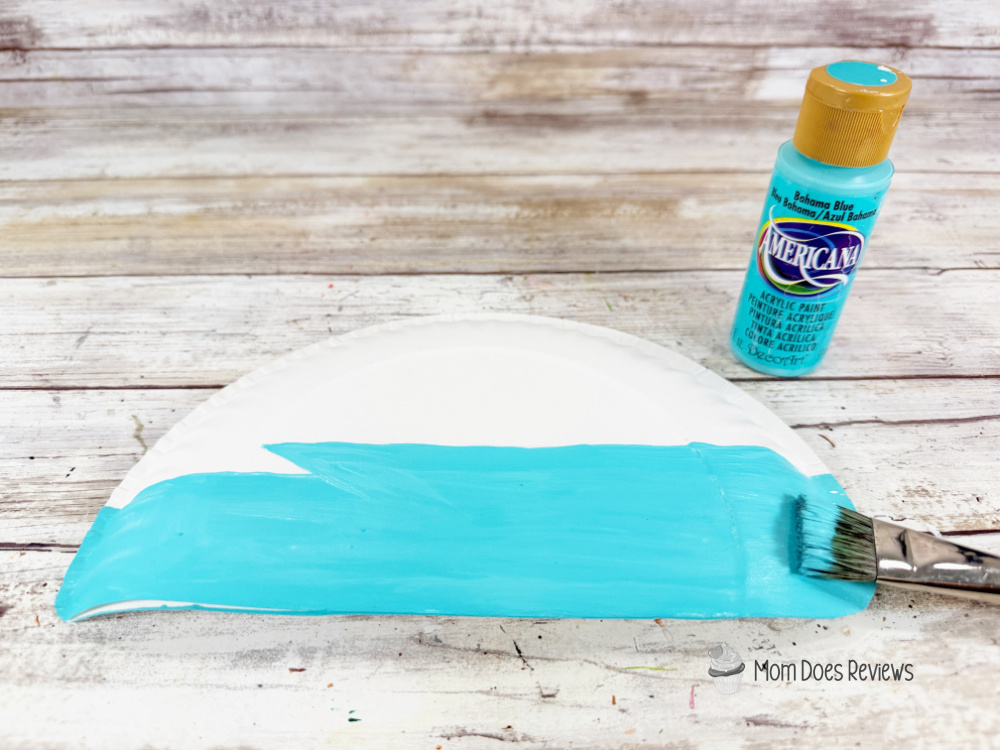
- Basecoat the bottom of the camper with bright blue acrylic craft paint. Let it dry and apply a second coat, if necessary.
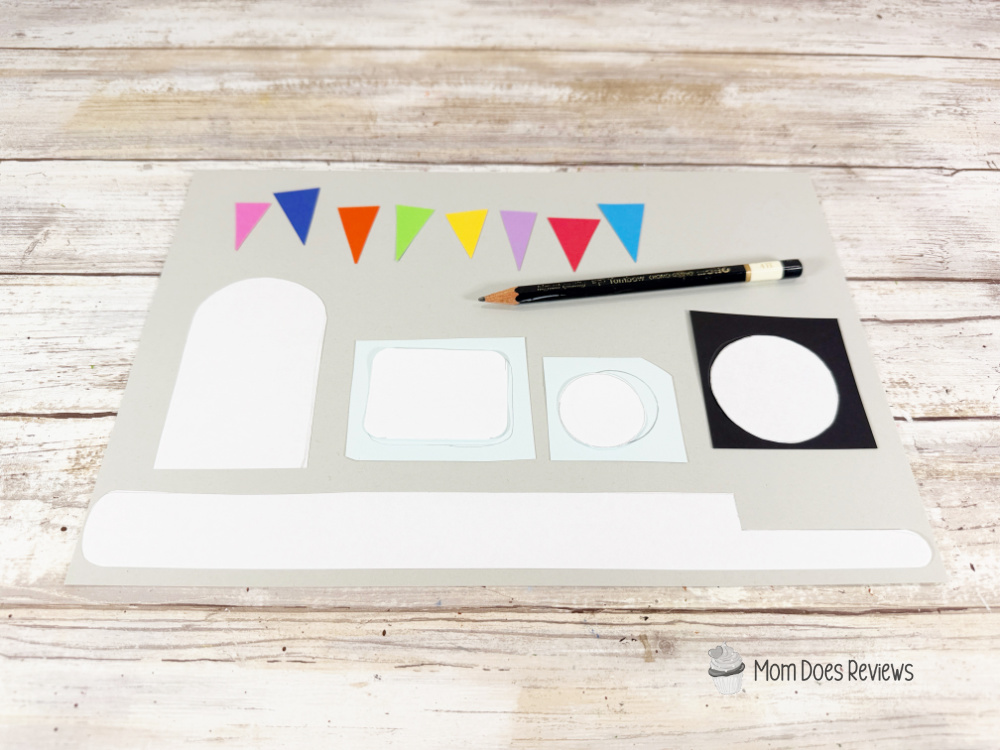
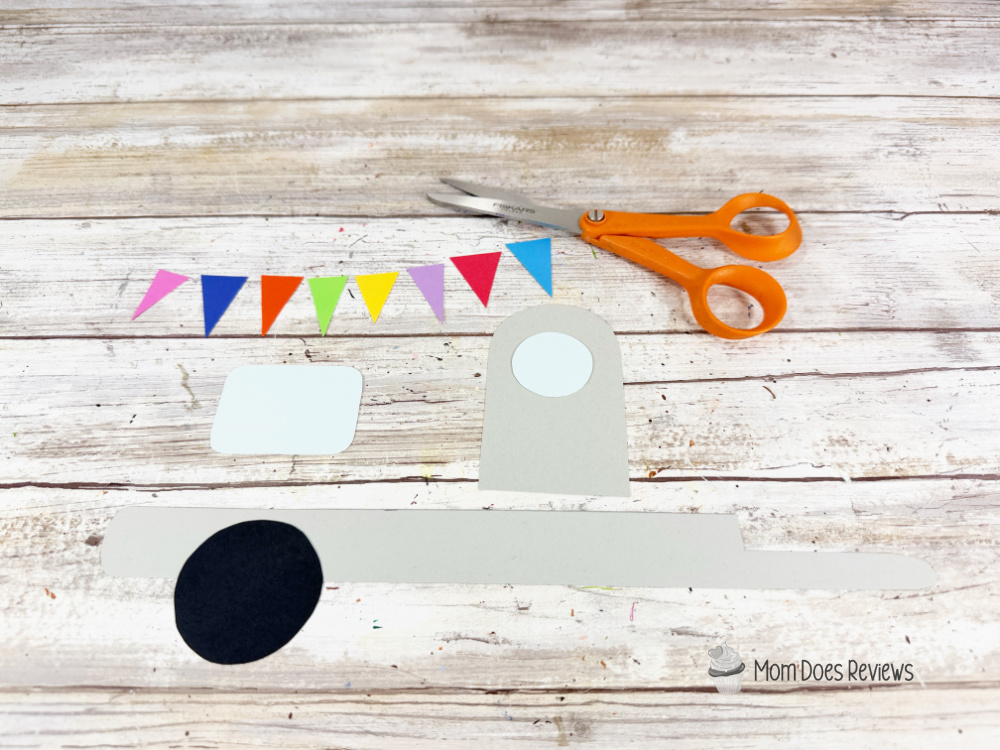
- Trace the rectangle window and the circle window once onto light blue cardstock, trace the door, camper trailer, and hitch arm once onto gray cardstock, and trace the wheel once onto black cardstock with a pencil.
- Cut a small triangle from pink, red, orange, yellow, green, blue, and purple cardstock. Cut out all camper patterns with scissors, making sure to cut inside the traced lines for a clean, finished project.
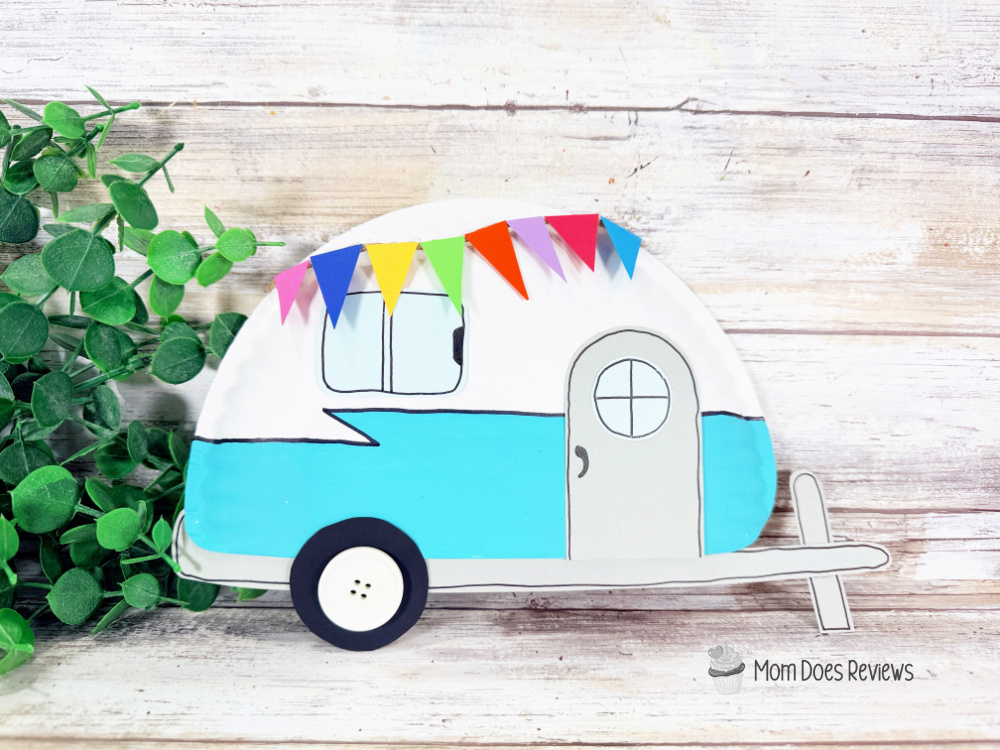
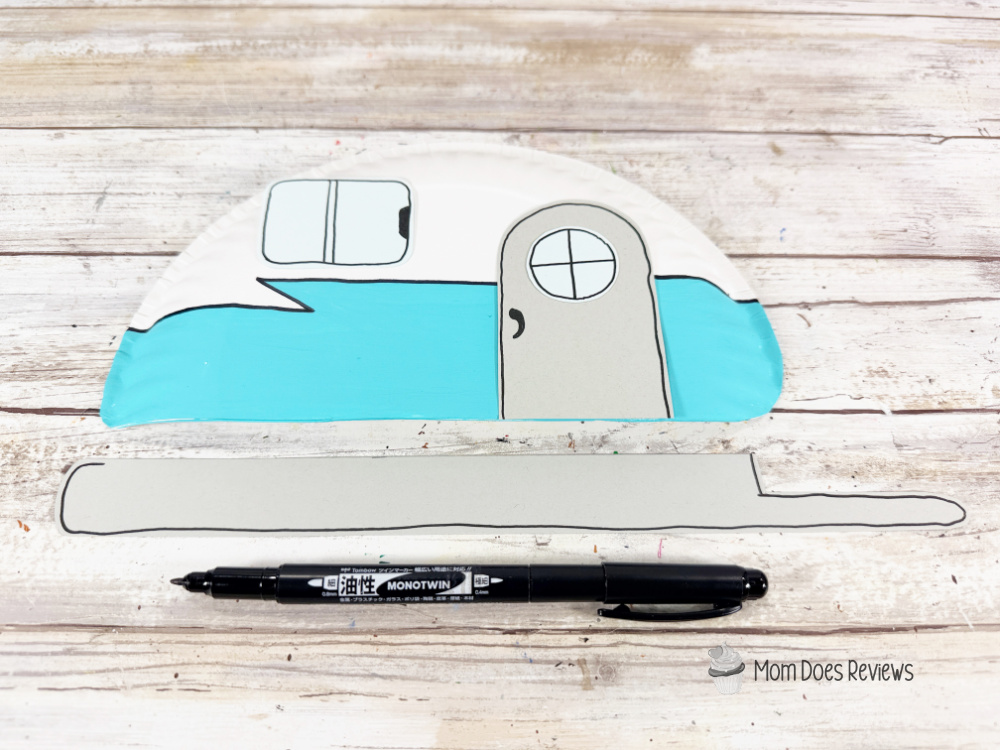
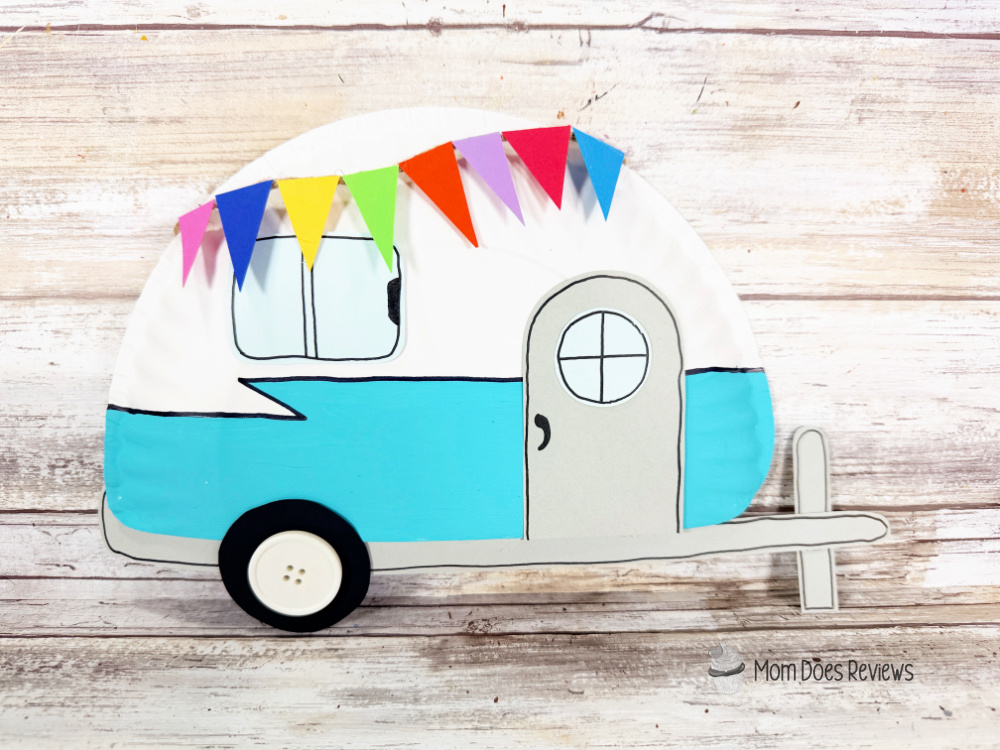
- Using the photo as your guide, outline and draw the details onto the camper and camper parts with a permanent black marker.
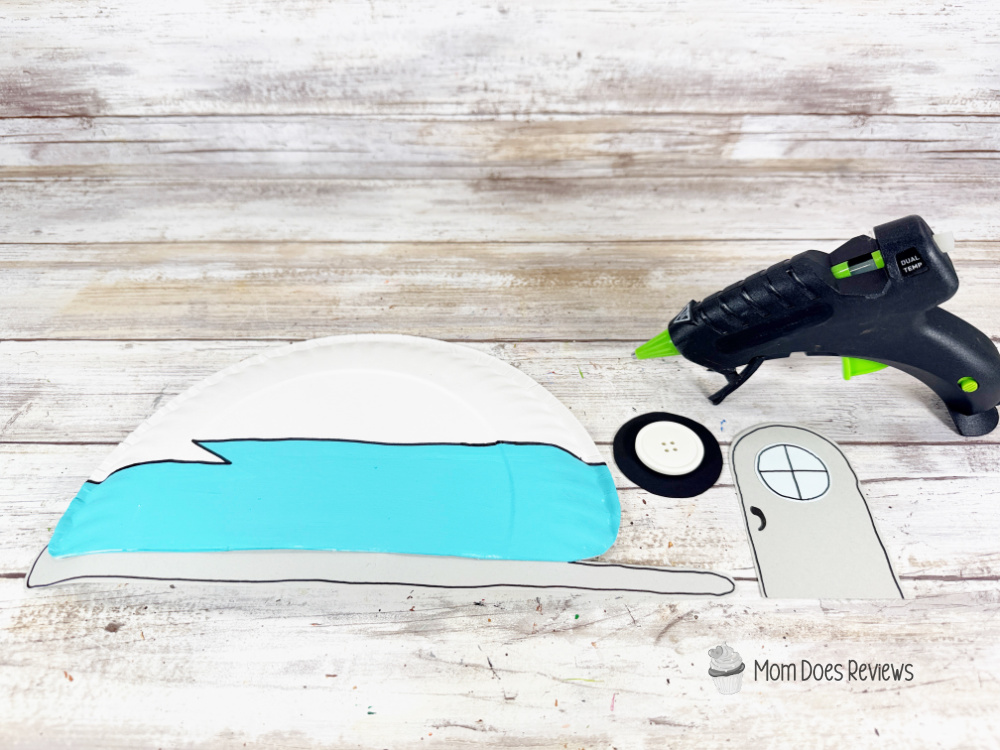
- Attach the circle window to the door and the button to the wheel using a glue gun and glue sticks. TIP: You can use liquid craft glue for this project, but you will have to wait for it to dry.
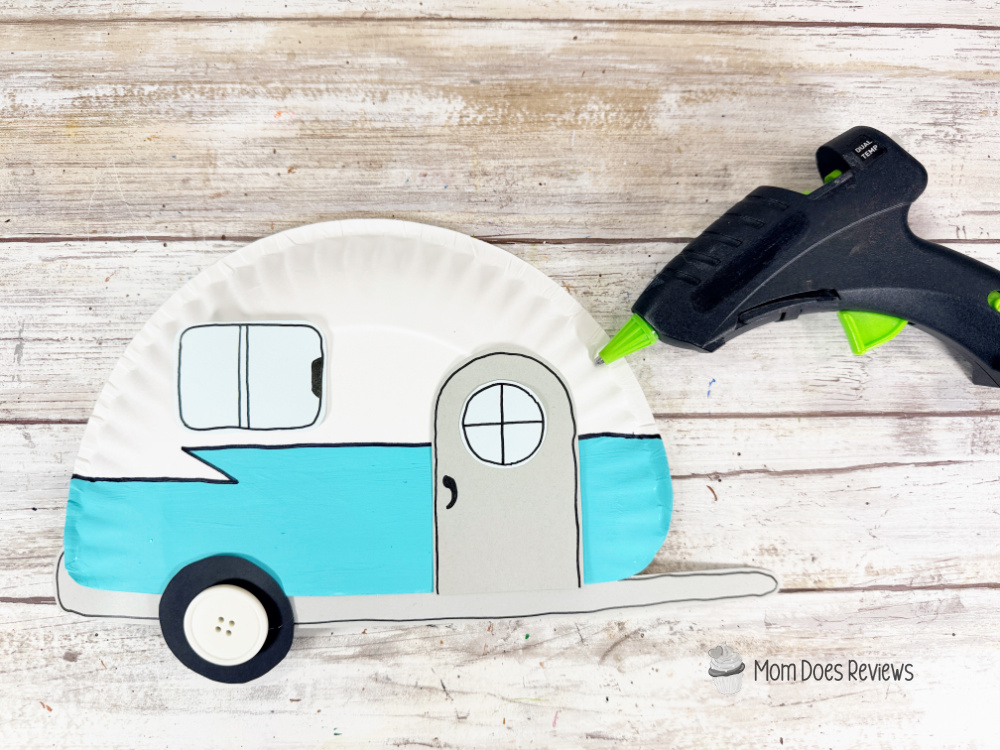
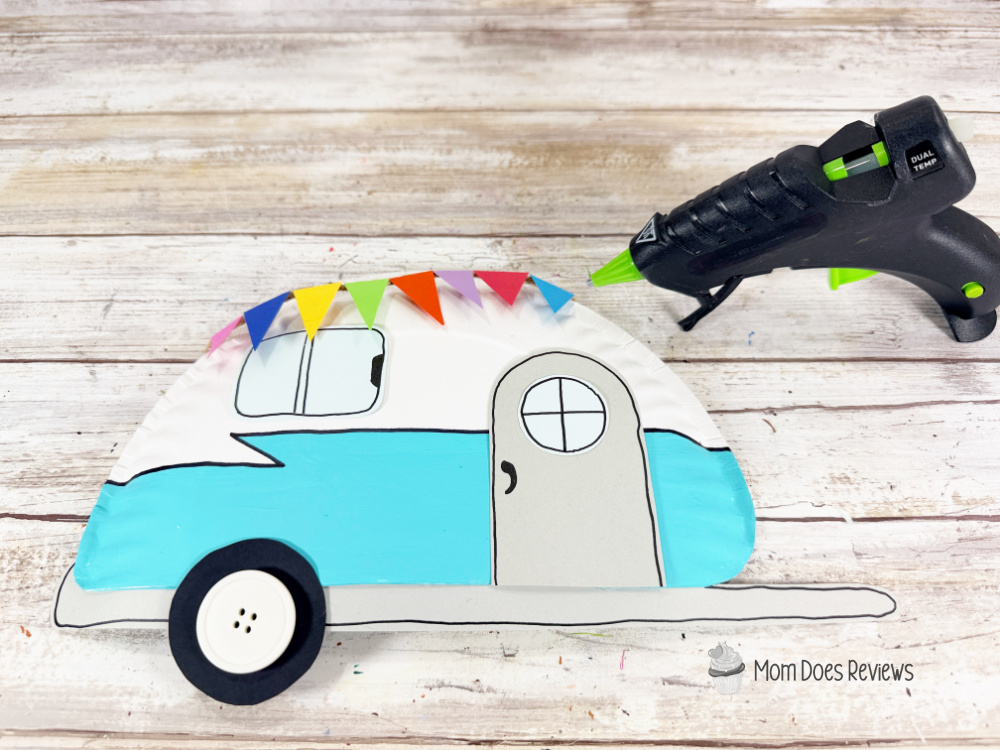
- Glue the hitch arm to the trailer, and the trailer to the base of the camper, then secure the door and window. Attach the wheel to the camper using a glue gun and glue sticks.
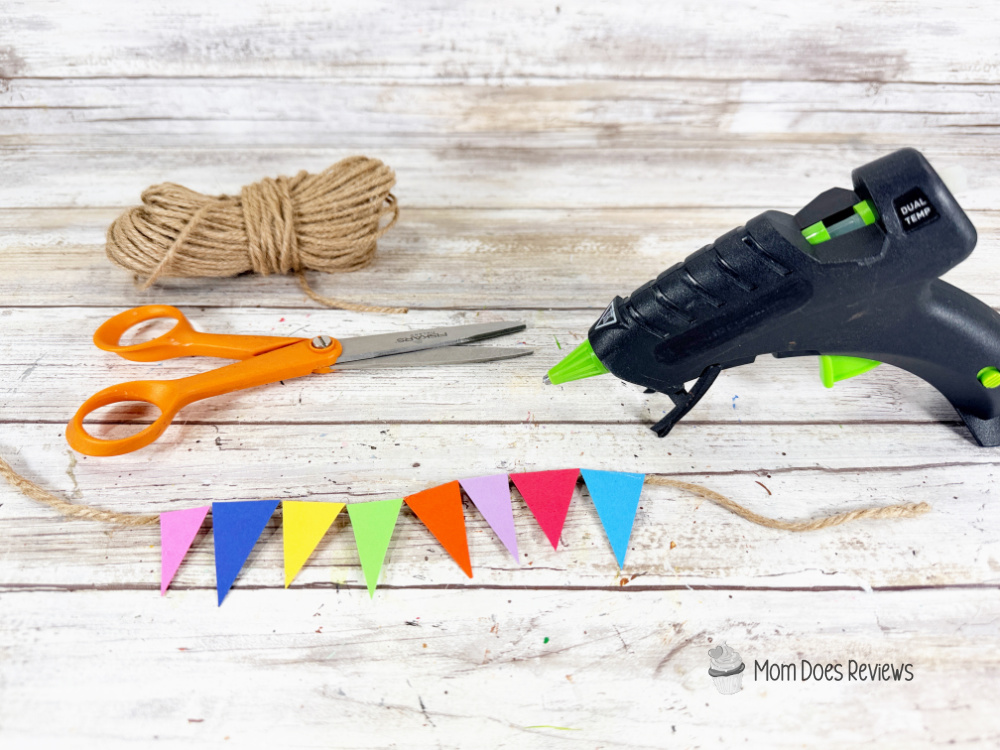
- Attach the triangular flags to a 6” section of natural jute twine using a glue gun and glue sticks.
- To finish, glue the flag garland to the top of the camper, securing the ends of twine to the back of the paper plate.
Suggestions: What to Do With Your Paper Plate Camper Craft
- Hang it on a classroom or homeschool bulletin board.
- Create a camping-themed wall display.
- Use it as a prop during storytime.
- Add it to a pretend campground play setup.
- Turn it into a camping party decoration.
- Glue it onto construction paper to make a greeting card.
- Use it for a summer camp craft activity.
- Display it in a child’s bedroom or playroom.
- Make several campers and create a paper campground scene.
Print the Tutorial:

Paper Plate Camper Craft
Learn how to make an easy Paper Plate Camper Craft for kids using simple supplies. This fun camping craft takes about 30 minutes and is perfect for summer, preschool, homeschool, and camping-themed activities.
Materials
- Paper Plate – Dollar Store
- Natural Jute Twine – Dollar Store
- Button, White – Dollar Store
- Cardstock – Light Blue, Gray, Black, Pink, Red, Orange, Yellow, Green, Blue, Purple
- Craft Paint – Bright Blue
Tools
- Glue Gun and Glue Sticks – Dollar Store
- Paintbrush
- Scissors
- Permanent Marker, Black
- Pencil
- PATTERNS
Instructions
STEP ONE
Gather all supplies. Fold the edge to the inner circle of the paper plate and crease the fold sharply.
STEP TWO
Cut the paper plate in two pieces with scissors using the fold line as a guide.
STEP THREE
Download, print, and cut out the camper patterns. Trace the camper pattern onto the larger half of the paper plate with a pencil. Cut out the camper shape with scissors. Trace the zig-zag line onto the paper plate.
STEP FOUR
Basecoat the bottom of the camper with bright blue acrylic craft paint. Let it dry and apply a second coat, if necessary.
STEP FIVE
Trace the rectangle window and the circle window once onto light blue cardstock, trace the door, camper trailer, and hitch arm once onto gray cardstock, and trace the wheel once onto black cardstock with a pencil.
STEP SIX
Cut a small triangle from pink, red, orange, yellow, green, blue, and purple cardstock. Cut out all camper patterns with scissors, making sure to cut inside the traced lines for a clean, finished project.
STEP SEVEN
Using the photo as your guide, outline and draw the details onto the camper and camper parts with a permanent black marker.
STEP EIGHT
Attach the circle window to the door and the button to the wheel using a glue gun and glue sticks. TIP: You can use liquid craft glue for this project, but you will have to wait for it to dry.
STEP NINE
Glue the hitch arm to the trailer, and the trailer to the base of the camper, then secure the door and window. Attach the wheel to the camper using a glue gun and glue sticks.
STEP TEN
Attach the triangular flags to a 6” section of natural jute twine using a glue gun and glue sticks.
STEP ELEVEN
To finish, glue the flag garland to the top of the camper, securing the ends of twine to the back of the paper plate.
Pin it for Later!

Get Accurate Telegram Data Now https://datadigi.netlify.app
How to Upgrade Your Gaming Experience with Just One Download https://losslessscaling.pages.dev