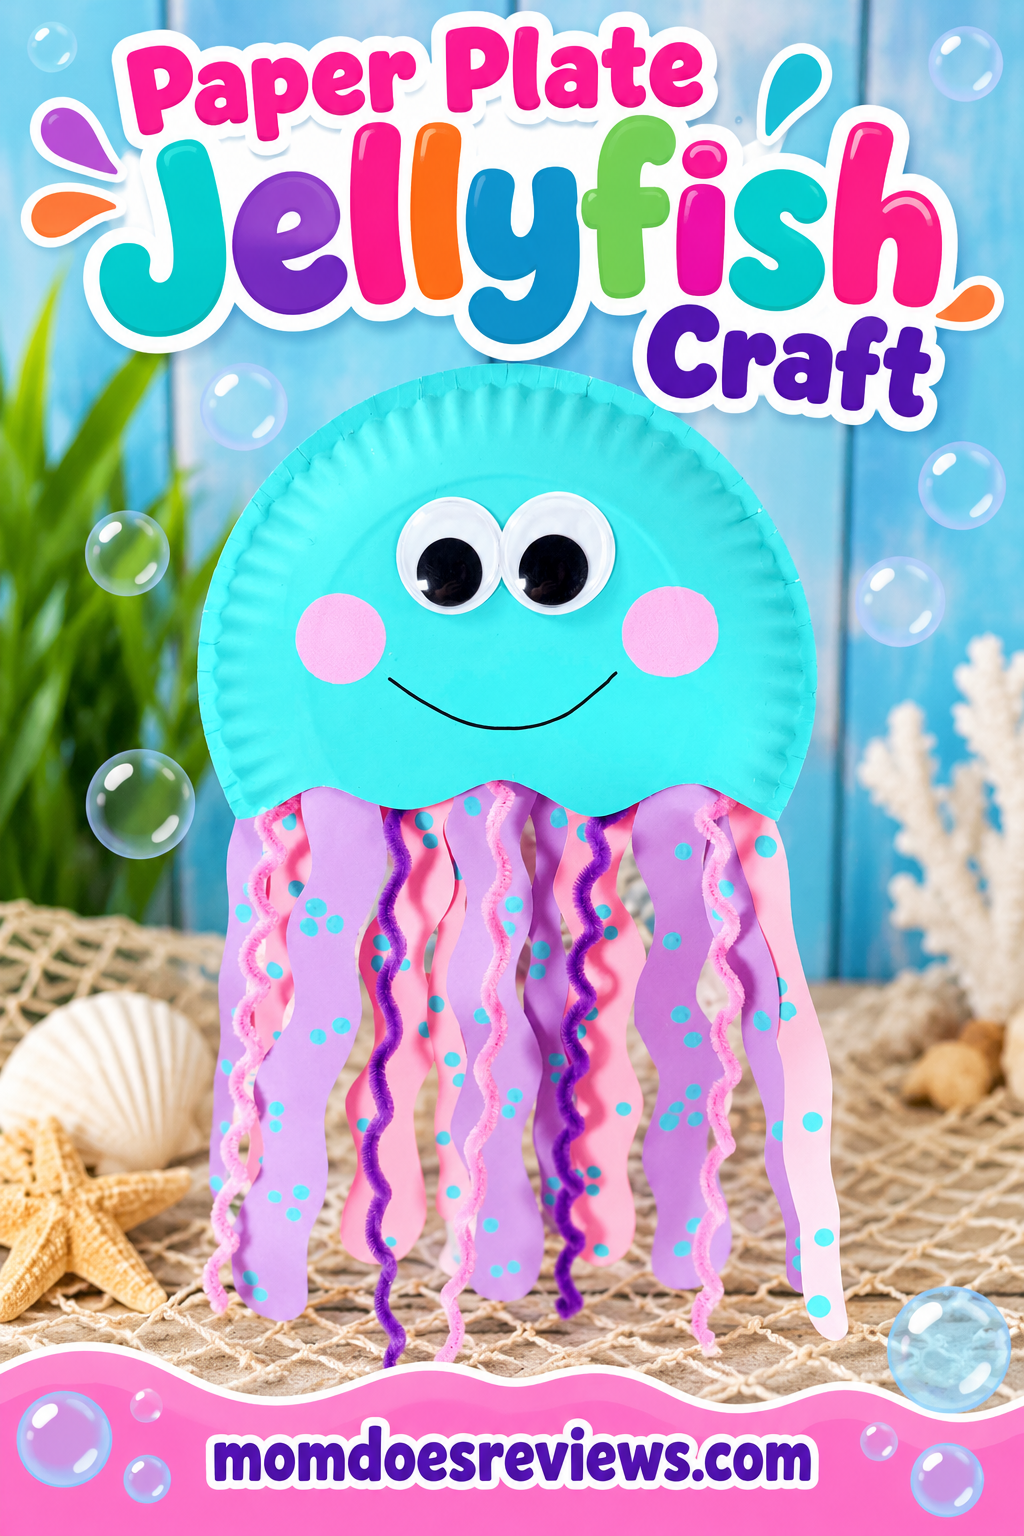
Paper Plate Jellyfish Craft: Easy Ocean Fun for Kids!
Looking for a fun and colorful ocean-themed craft to keep little hands busy? This adorable Paper Plate Jellyfish Craft is the perfect activity for kids who love all things under the sea! With just a simple paper plate and a few inexpensive supplies from the Dollar Store, you can create the cutest smiling jellyfish with big googly eyes and colorful, wiggly tentacles. Best of all, this easy jellyfish craft takes about 30 minutes to make, making it perfect for a rainy afternoon, summer crafting, or an ocean-themed classroom activity!
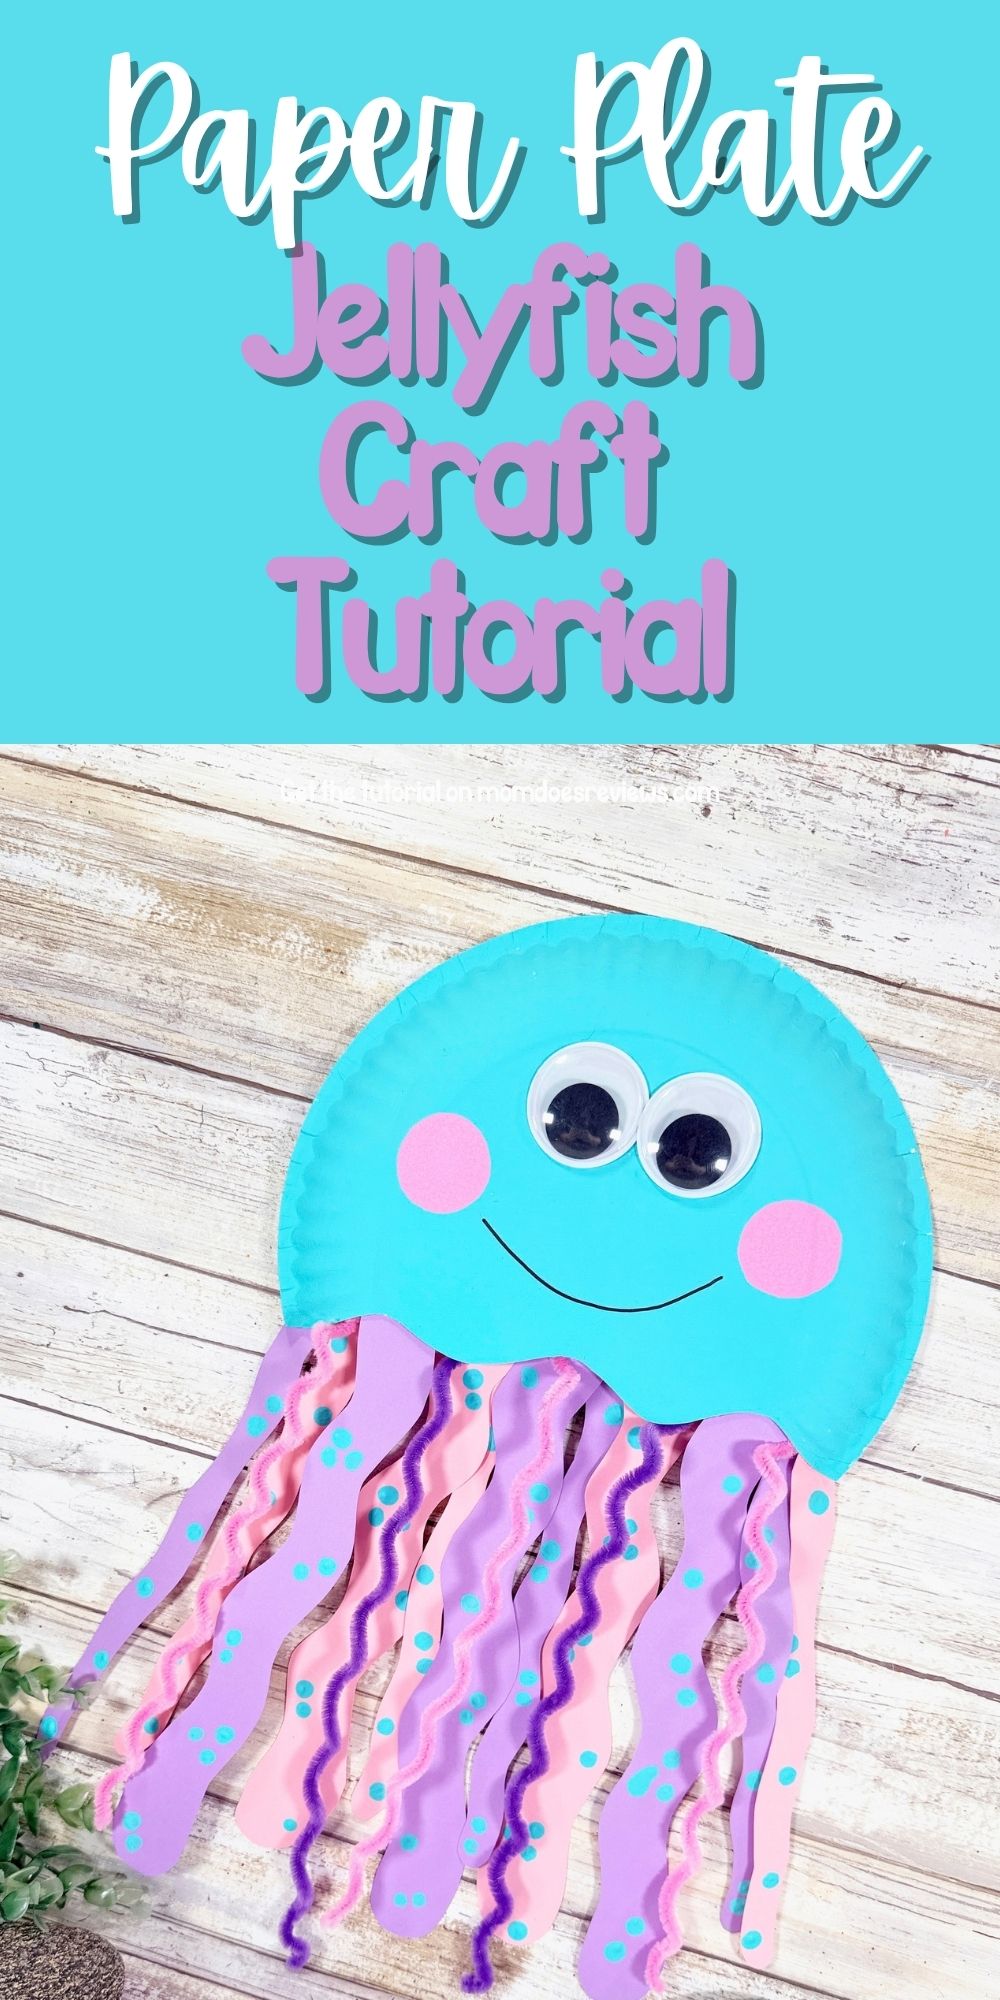
Not only is this Paper Plate Jellyfish Craft super cute, but it’s also a wonderful hands-on learning activity for preschoolers and elementary-aged kids. Little ones can practice cutting, counting, painting, and fine motor skills while creating their own underwater friend. The colorful paper tentacles and fuzzy pipe cleaners add fun textures, and kids can get creative by choosing their favorite colors and patterns. It’s a great way to combine learning and creativity without spending a lot of money on craft supplies!
Whether you’re planning an ocean-themed lesson, looking for a simple summer activity, or just need something fun to entertain the kiddos, this easy Paper Plate Jellyfish Craft for kids is sure to be a hit! You can even turn craft time into a mini ocean adventure by reading books about sea creatures or learning fun jellyfish facts together. Once finished, these adorable jellyfish make cheerful decorations for bedrooms, classrooms, or an under-the-sea party. Grab those paper plates and let’s get crafting!
More Paper Plate Crafts:
Get ready to stomp into a world of prehistoric fun! Our delightful Dollar Store Paper Plate Dinosaur Craft is here to prove that a simple paper plate can be transformed into the most adorable and playful dinosaur.
Get ready to crawl into a world of crafting fun because we have the perfect project to get those creative juices flowing! Our delightful Dollar Store Paper Plate Caterpillar Craft is here to prove that a simple paper plate can be transformed into the cutest, most charming little caterpillar.

In need of a fun and magical craft to spark some creativity in your kids? If they love all things unicorns, get ready for a crafting adventure they won’t forget! This super cute Unicorn Paper Plate Craft is the perfect way to spend a whimsical afternoon, transforming simple supplies into a mythical friend that’s full of sparkle and charm.
If you’re looking for a fun and colorful activity for kids, this Paper Plate Parrot Craft is a perfect choice. Using a simple paper plate from the Dollar Store, kids can create a vibrant parrot full of personality
Materials:
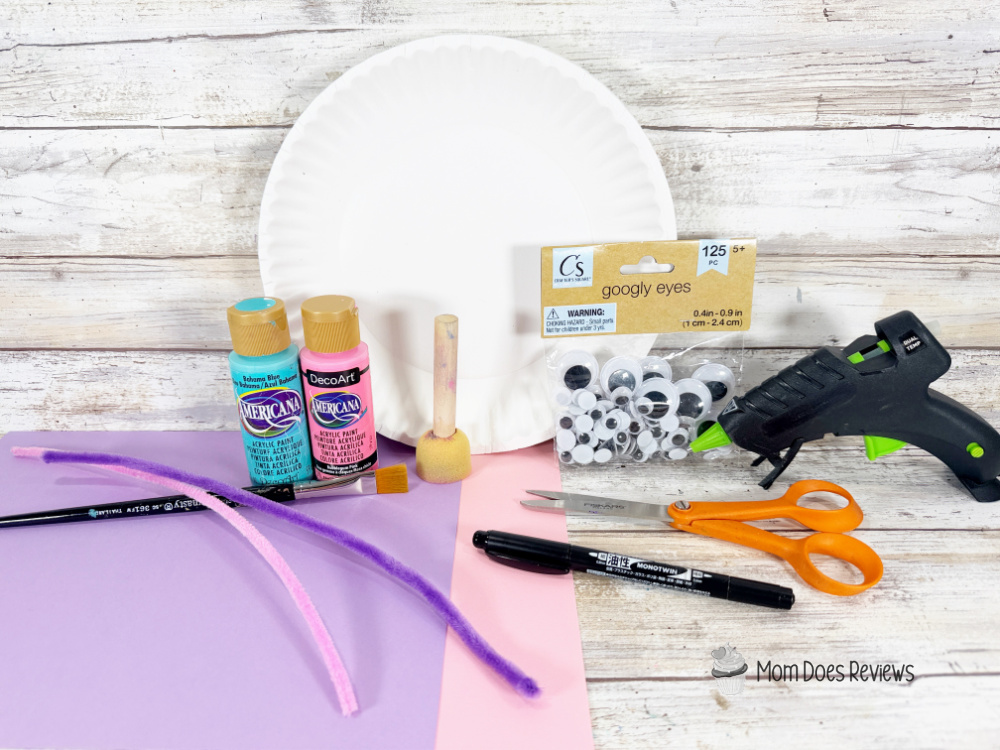
- Paper Plate – Dollar Store
- Wiggle Eyes (40mm) – Dollar Store
- Chenille Stems, Pink and Purple – Dollar Store
- Cardstock – Pink, Light Purple
- Craft Paint – Aqua, Pink
- Glue Gun and Glue Sticks – Dollar Store
- Paintbrush
- Scissors
- Pencil, with new eraser
- Permanent Marker, Black
- Sponge Dabber, Round
- PATTERNS
Instructions:
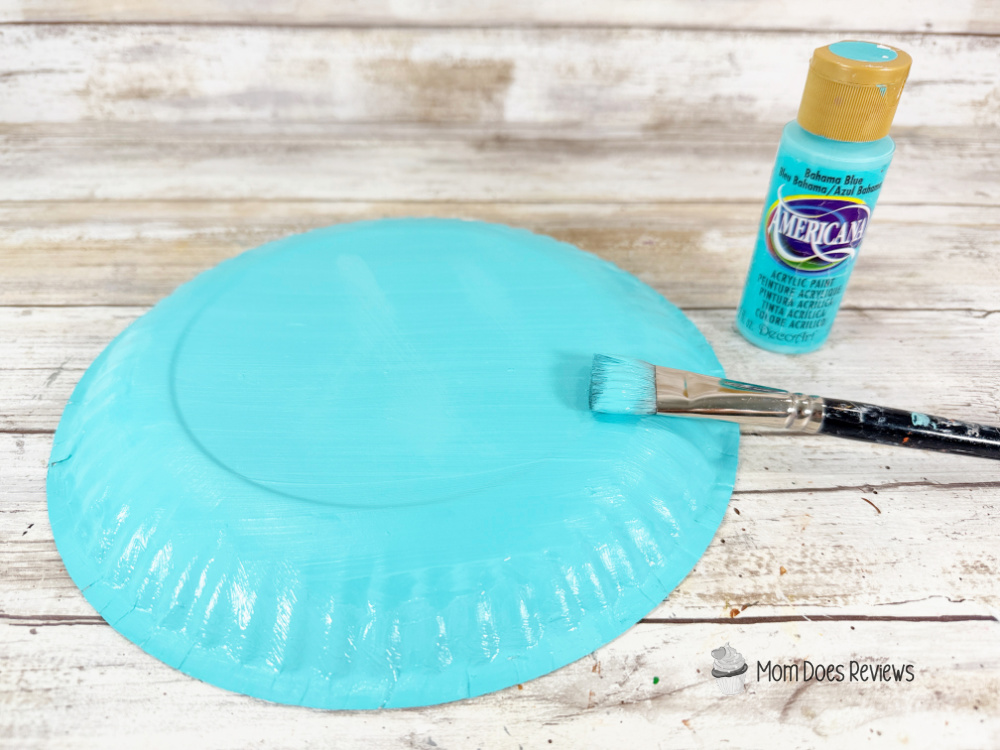
- Gather all supplies. Basecoat the outside of the paper plate with aqua acrylic craft paint. Let dry, and apply a second coat, if necessary.

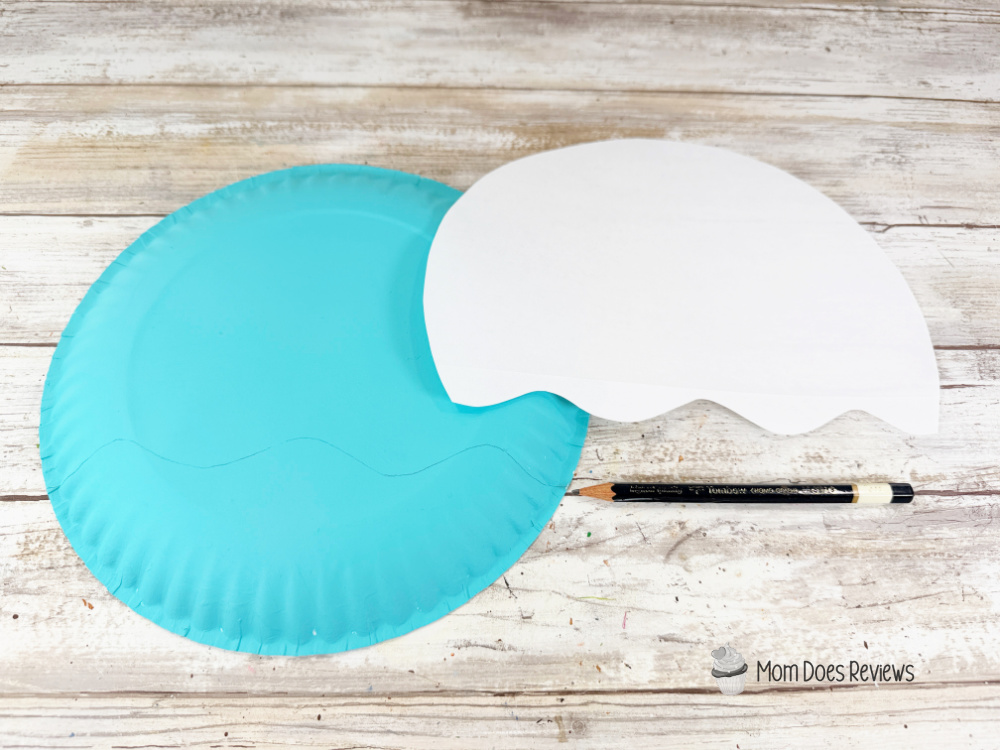
- Download and print the jellyfish patterns, then cut them out with scissors. Trace the jellyfish head onto the aqua paper plate with a pencil. Cut out the pattern with scissors, making sure to cut inside the traced lines for a clean, finished project.
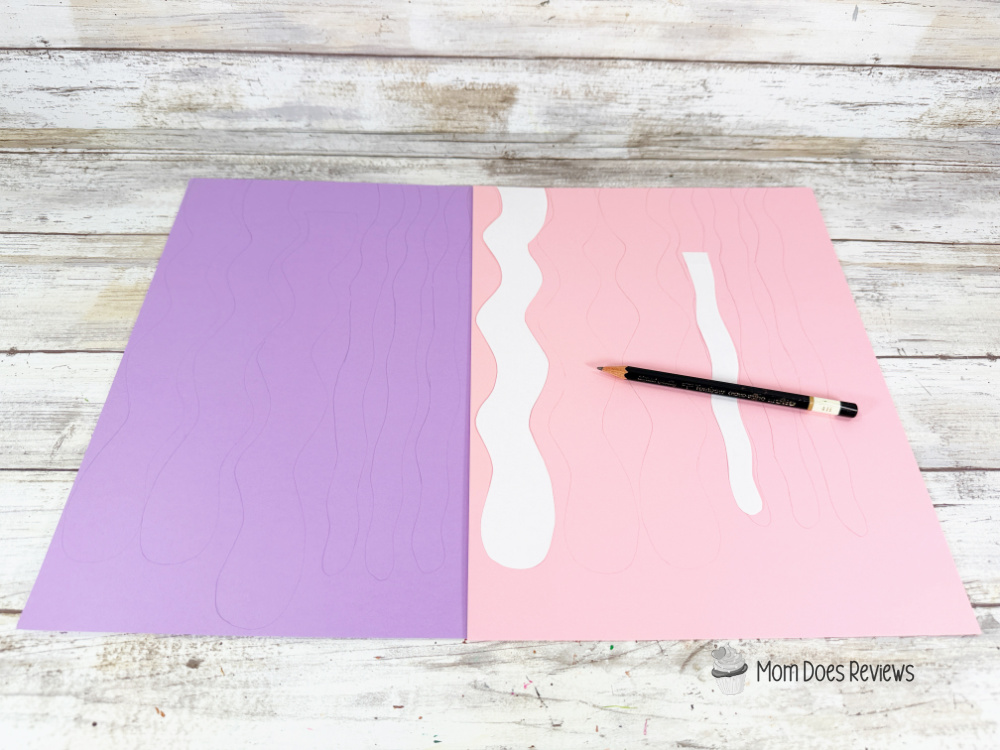
- Trace the large tentacle three times and the small tentacle twice onto light purple cardstock. Trace the large tentacle twice and the small tentacle twice onto pink cardstock with a pencil. You could also use colored craft foam, construction paper, or craft felt for this project.
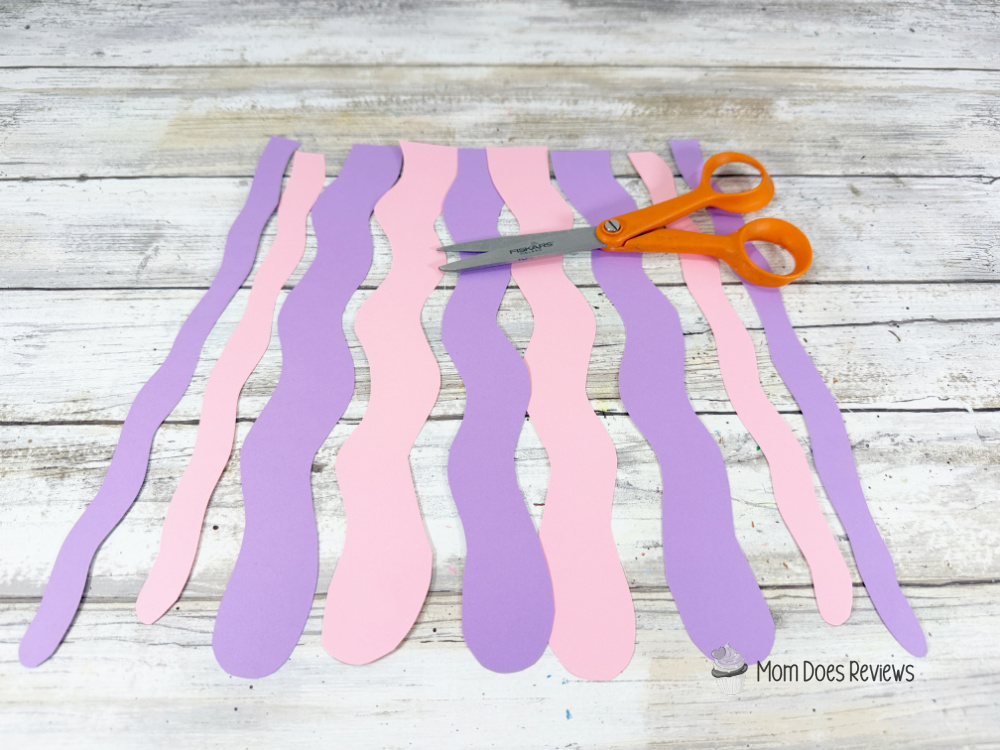
- Cut out the jellyfish tentacles with scissors, making sure to cut inside the traced lines for a clean, finished project.
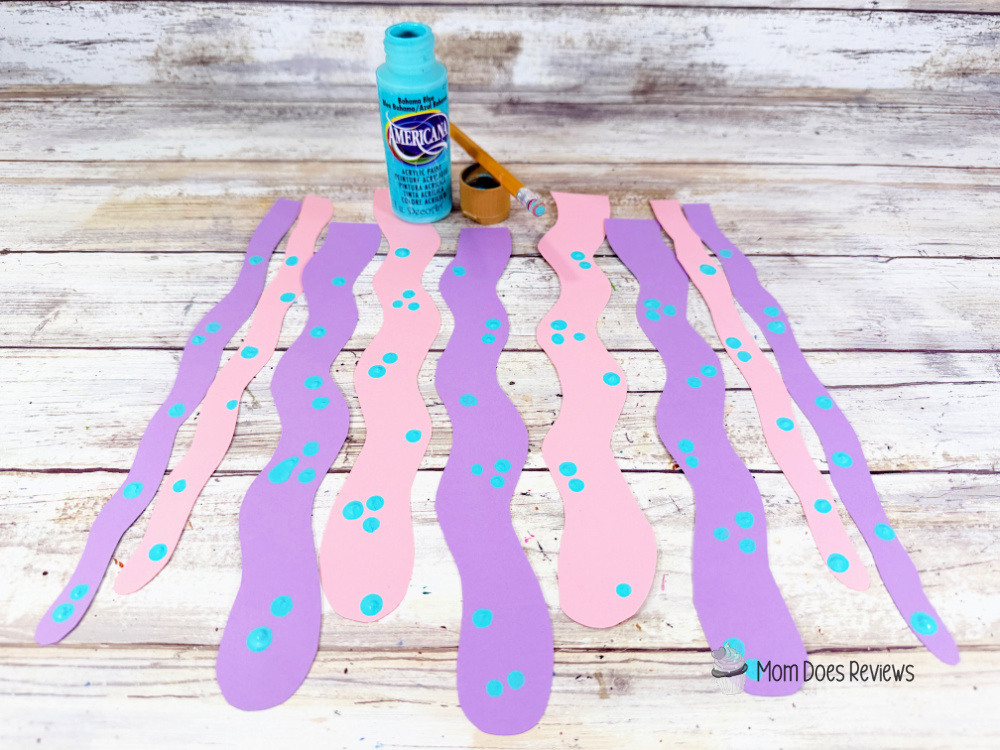
- Add a polka dot pattern to the tentacles by dipping a new pencil eraser into aqua paint and stamping randomly over all tentacles. Let paint dry. You could also use small buttons or pom poms.
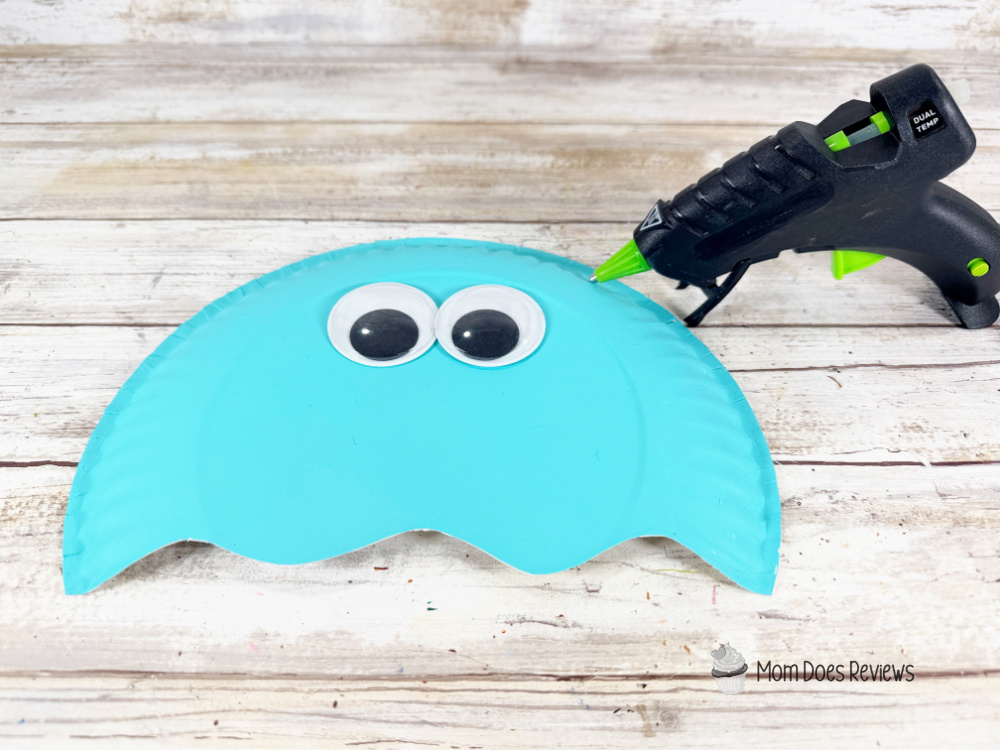
- Attach two wiggle eyes to the paper plate jellyfish with a glue gun and glue sticks.
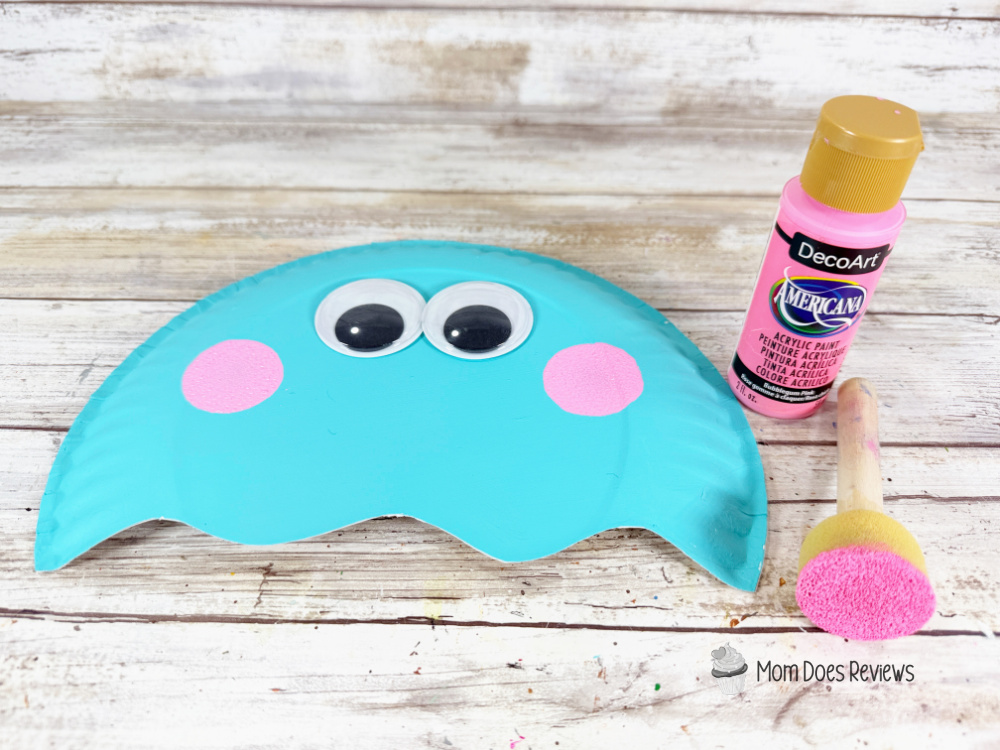
- Create cheeks by dipping a round sponge dabber in pink acrylic craft paint and stamping on either side of the jellyfish’s face. Let paint dry.
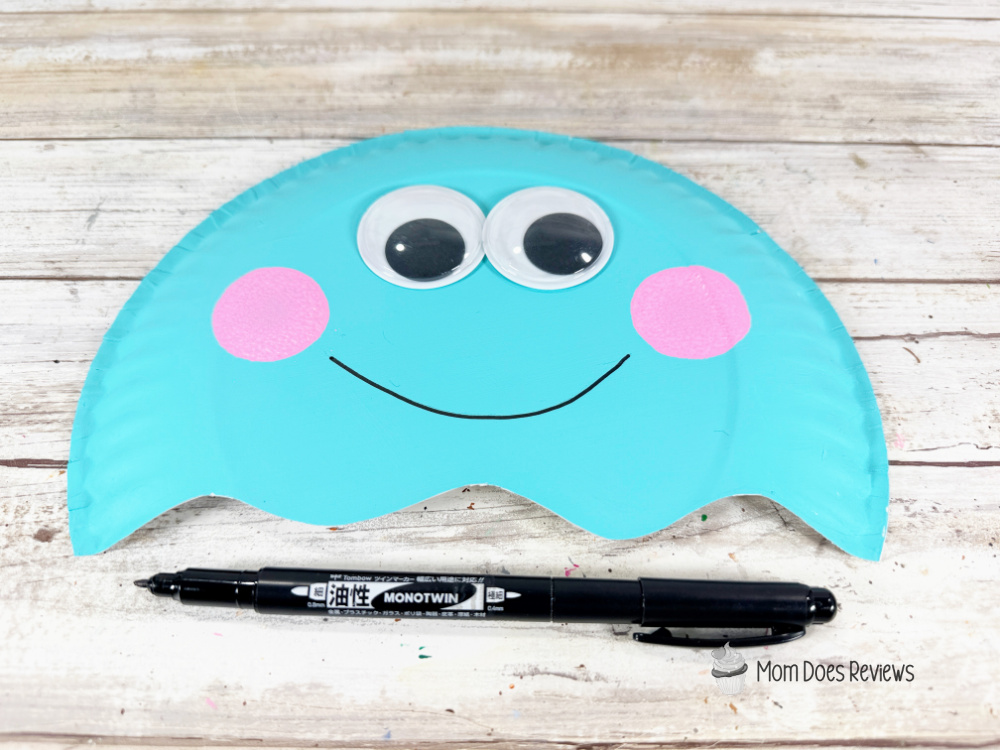
- Draw a smile from cheek to cheek on the paper plate jellyfish with a permanent black marker.
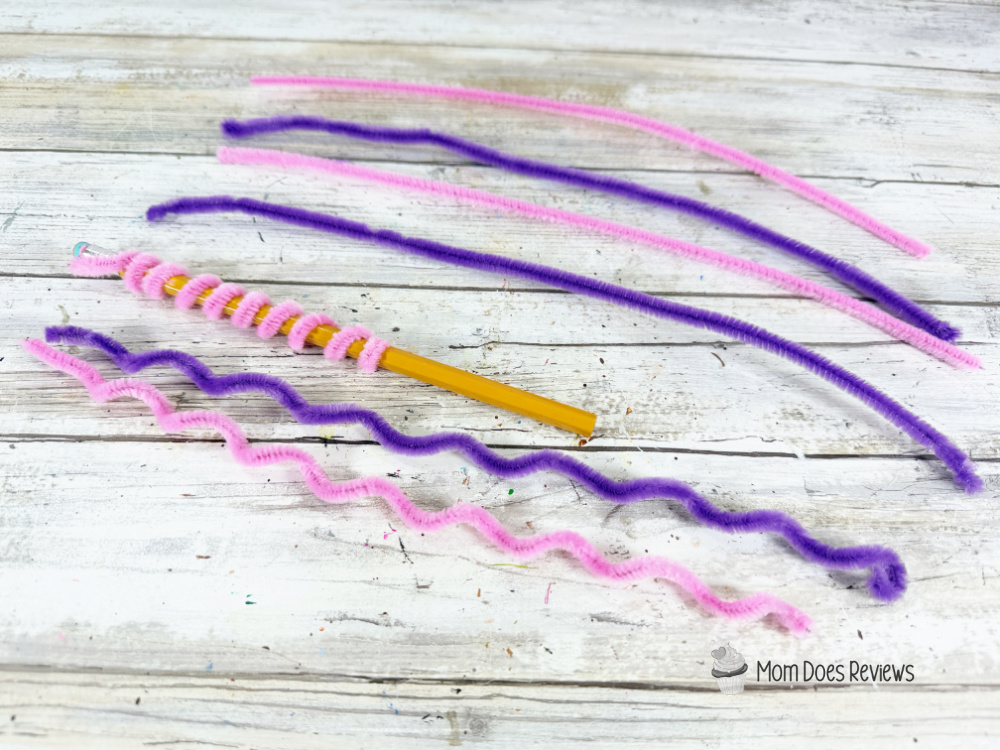
- Wrap pink and purple chenille stems around a pencil. Slide the coil off then stretch it to create tentacles for the jellyfish.
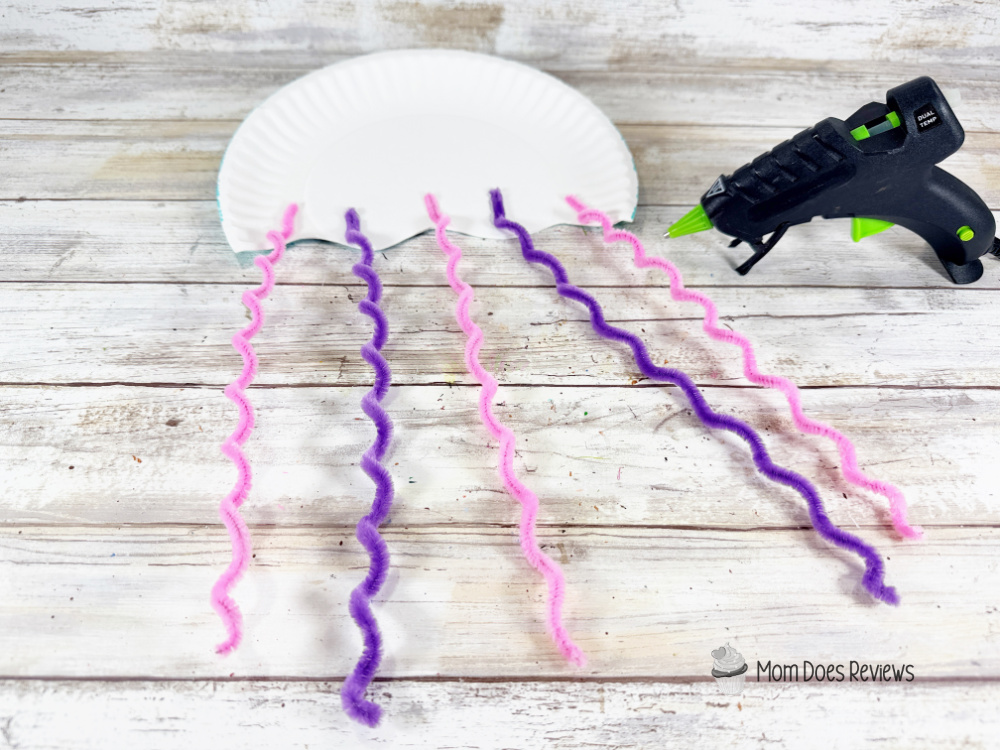
- Flip the jellyfish head over and secure the chenille stems to the bottom edge with a glue gun and glue sticks. TIP: You can use liquid craft glue for this project, but you will have to wait for it to dry.
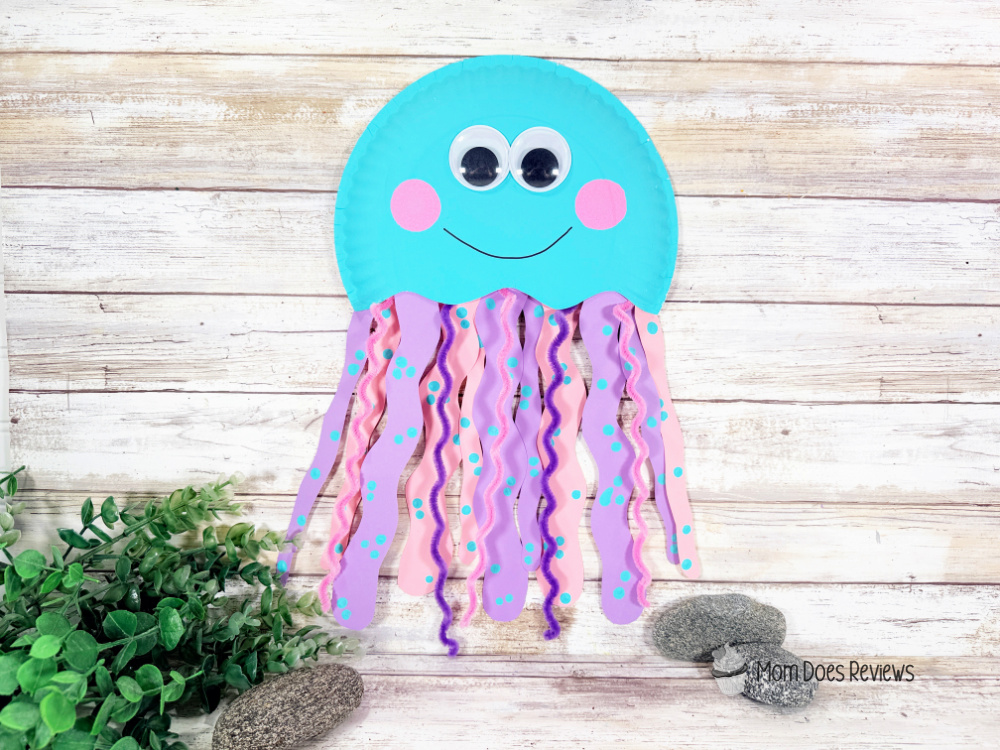
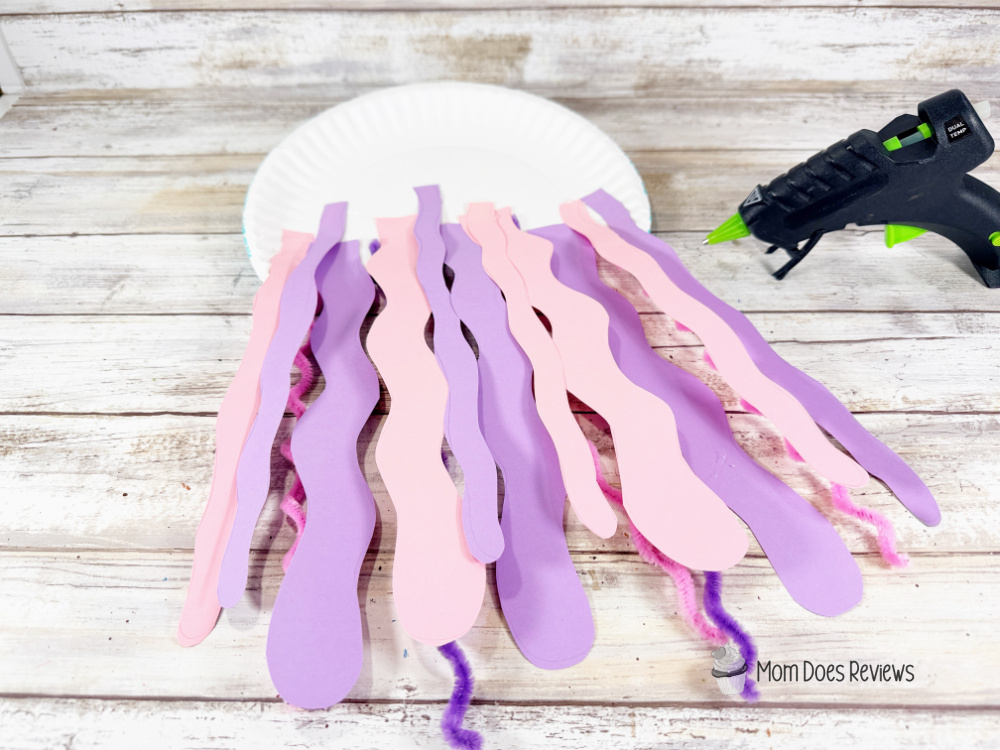
- Using the photo as a guide, dry fit the large tentacles across the bottom of the paper plate, then attach them with a glue gun and glue sticks.
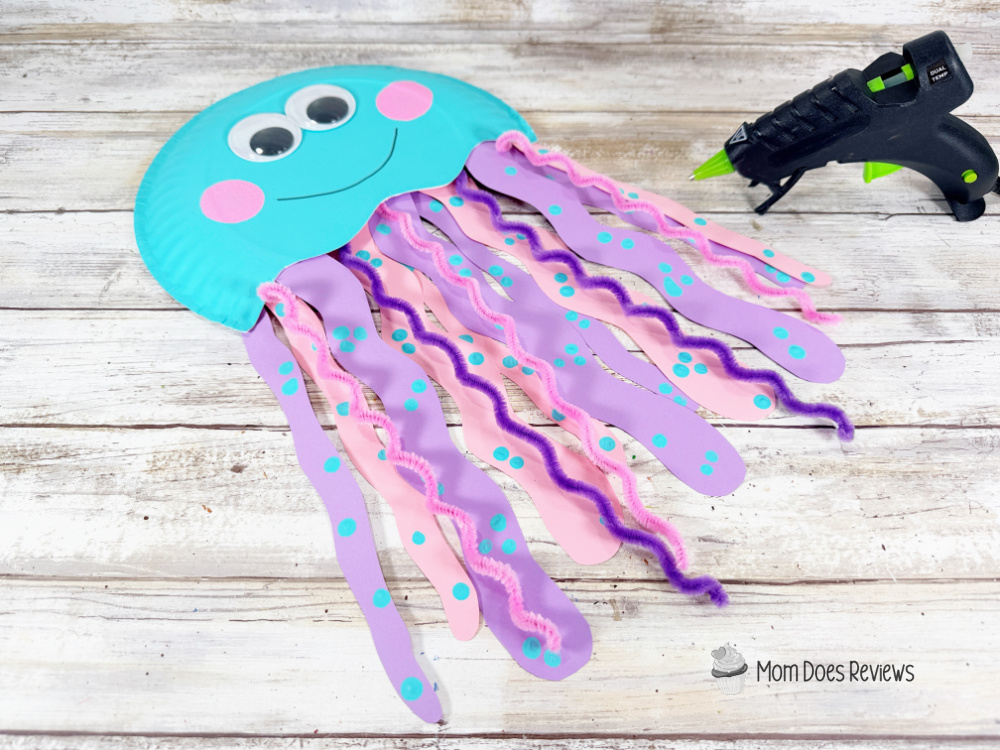
- To finish, glue the small tentacles to the right and left sides of the paper plate jellyfish.
Print the tutorial:

Paper Plate Jellyfish Craft
Make an adorable Paper Plate Jellyfish Craft in just 30 minutes! This easy Dollar Store ocean craft for kids builds creativity and fine motor skills.
Materials
- Paper Plate – Dollar Store
- Wiggle Eyes (40mm) – Dollar Store
- Chenille Stems, Pink and Purple – Dollar Store
- Cardstock – Pink, Light Purple
- Craft Paint – Aqua, Pink
Tools
- Glue Gun and Glue Sticks – Dollar Store
- Paintbrush
- Scissors
- Pencil, with new eraser
- Permanent Marker, Black
- Sponge Dabber, Round
Instructions
STEP ONE
Gather all supplies. Basecoat the outside of the paper plate with aqua acrylic craft paint. Let dry, and apply a second coat, if necessary.
STEP TWO
Download and print the jellyfish patterns, then cut out with scissors. Trace the jellyfish head onto the aqua paper plate with a pencil. Cut out the pattern with scissors making sure to cut inside the traced lines for a clean, finished project.
STEP THREE
Trace the large tentacle three times and the small tentacle twice onto light purple cardstock. Trace the large tentacle twice and the small tentacle twice onto pink cardstock with a pencil. You could also use colored craft foam, construction paper, or craft felt for this project.
STEP FOUR
Cut out the jellyfish tentacles with scissors making sure to cut inside the traced lines for a clean, finished project.
STEP FIVE
Add a polka dot pattern to the tentacles by dipping a new pencil eraser into aqua paint and stamping randomly over all tentacles. Let paint dry. You could also use small buttons or pom poms.
STEP SIX
Attach two wiggle eyes to the paper plate jellyfish with a glue gun and glue sticks.
STEP SEVEN
Create cheeks by dipping a round sponge dabber in pink acrylic craft paint and stamping on either side of the jellyfish’s face. Let paint dry.
STEP EIGHT
Draw a smile from cheek to cheek on the paper plate jellyfish with a permanent black marker.
STEP NINE
Wrap pink and purple chenille stems around a pencil. Slide the coil off then stretch it to create tentacles for the jellyfish.
STEP TEN
Flip the jellyfish head over and secure the chenille stems to the bottom edge with a glue gun and glue sticks. TIP: You can use liquid craft glue for this project, but you will have to wait for it to dry.
STEP ELEVEN
Using the photo as a guide, dry fit the large tentacles across the bottom of the paper plate, then attach them with a glue gun and glue sticks.
STEP TWELVE
To finish, glue the small tentacles to the right and left sides of the paper plate jellyfish.
Pin it for later!