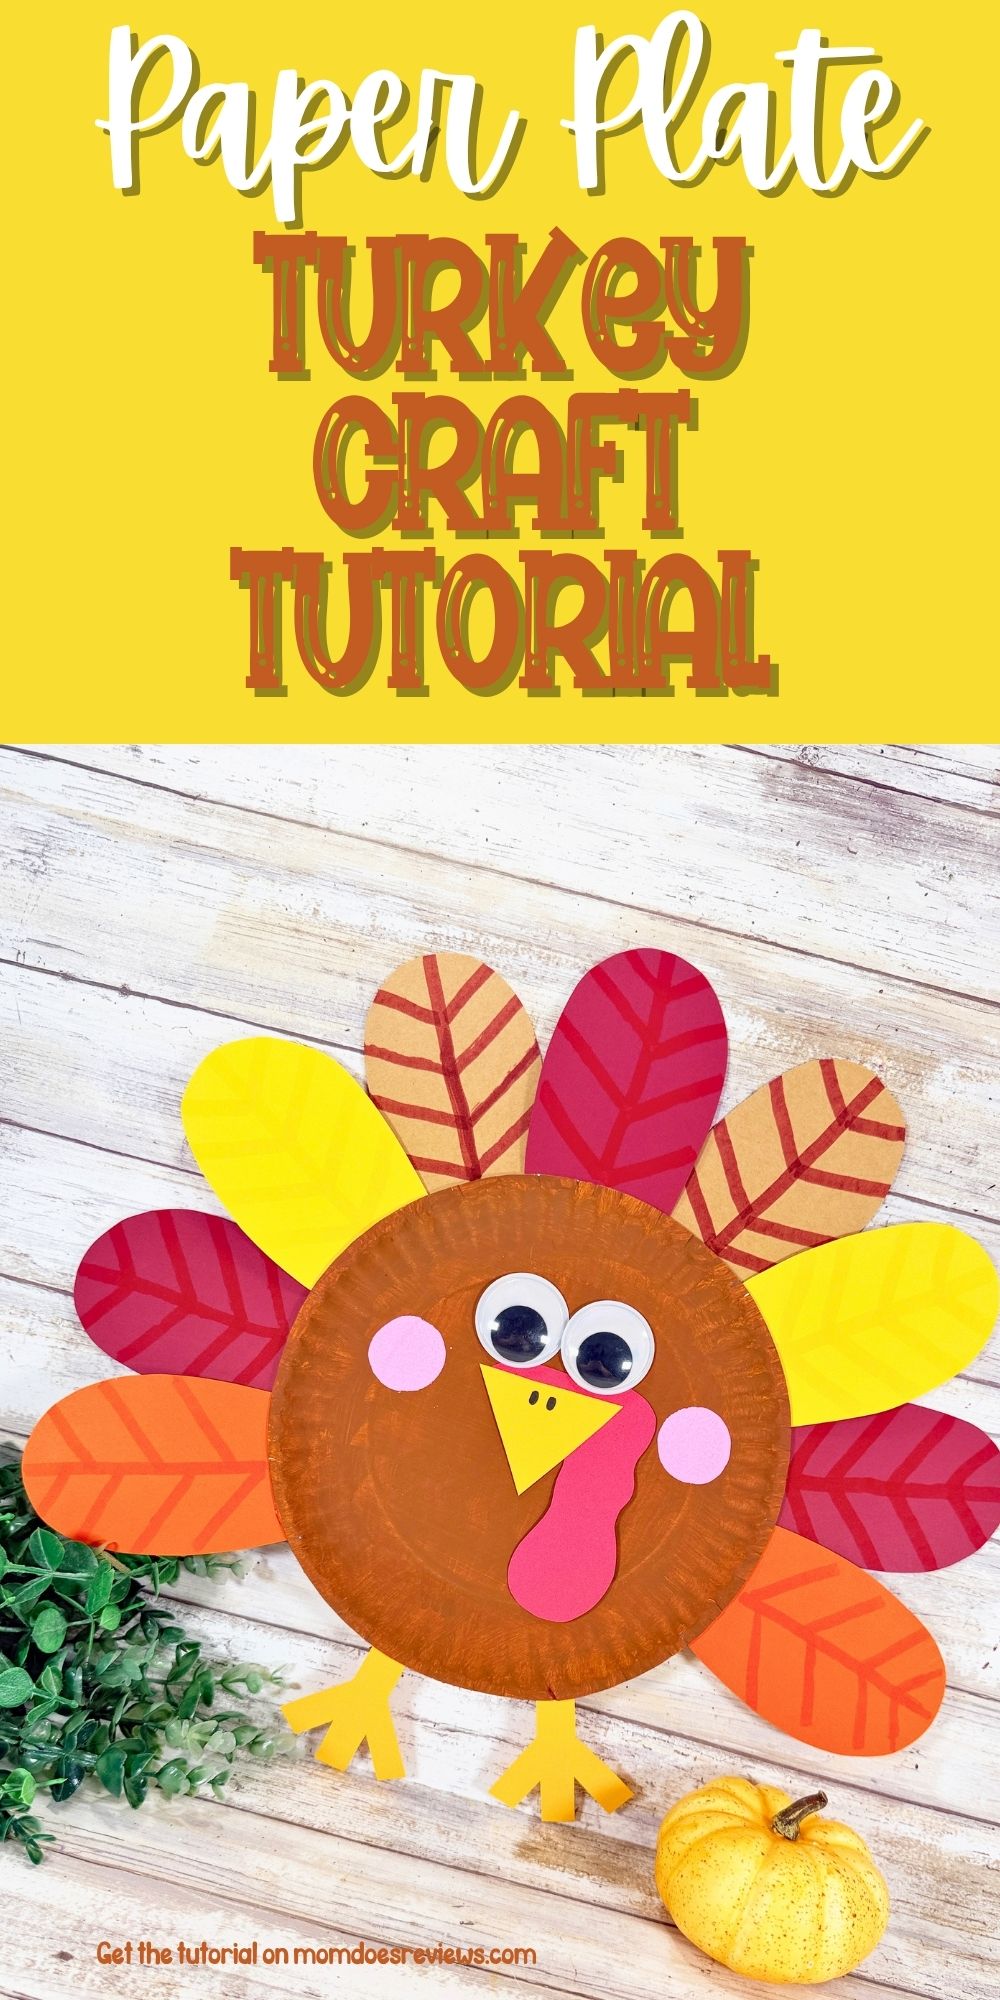
Paper Plate Turkey Craft for Kids – Easy & Fun Thanksgiving Activity!
Looking for an adorable turkey craft for kids that’s easy, affordable, and perfect for Thanksgiving? This colorful Paper Plate Turkey Craft is just what you need! With a simple paper plate from the Dollar Store, some colorful construction paper, and a few basic craft supplies, your little ones can create their very own festive feathered friend. It’s a fun, budget-friendly Thanksgiving activity that’s perfect for preschoolers, kindergarteners, and elementary-aged kids. Plus, this cute turkey is sure to bring some extra smiles to your holiday celebrations!
One of the best things about this turkey craft for kids is that it’s more than just a cute Thanksgiving decoration! As children color, paint, cut, and glue their turkey together, they’re also practicing important skills like hand-eye coordination, fine motor skills, and creativity. You can even turn this simple craft into a learning activity by having kids count the colorful feathers, identify different colors, or create patterns with their feathers. It’s a wonderful way to sneak a little learning into playtime while keeping those busy little hands entertained!
Ready to get crafty? This easy Paper Plate Turkey Craft for Kids takes about 30 minutes to complete, making it a fantastic activity for a chilly fall afternoon, Thanksgiving classroom party, or family crafting session before the big holiday meal. Kids will love choosing their favorite fall colors, adding silly googly eyes, and giving their turkey its own personality. When they’re finished, you’ll have an adorable handmade Thanksgiving decoration to display on the refrigerator, hang on a wall, or proudly show off to family and friends. Grab your supplies, gather the kiddos, and let’s make some turkey magic!
More Thanksgiving crafts:
Crafting is a fantastic way to spend quality time with kids, and today, we’re diving into a delightful project – making a Toilet Paper Roll Turkey Craft! With a bit of cardstock and craft paper, you can create your very own feathered friend.
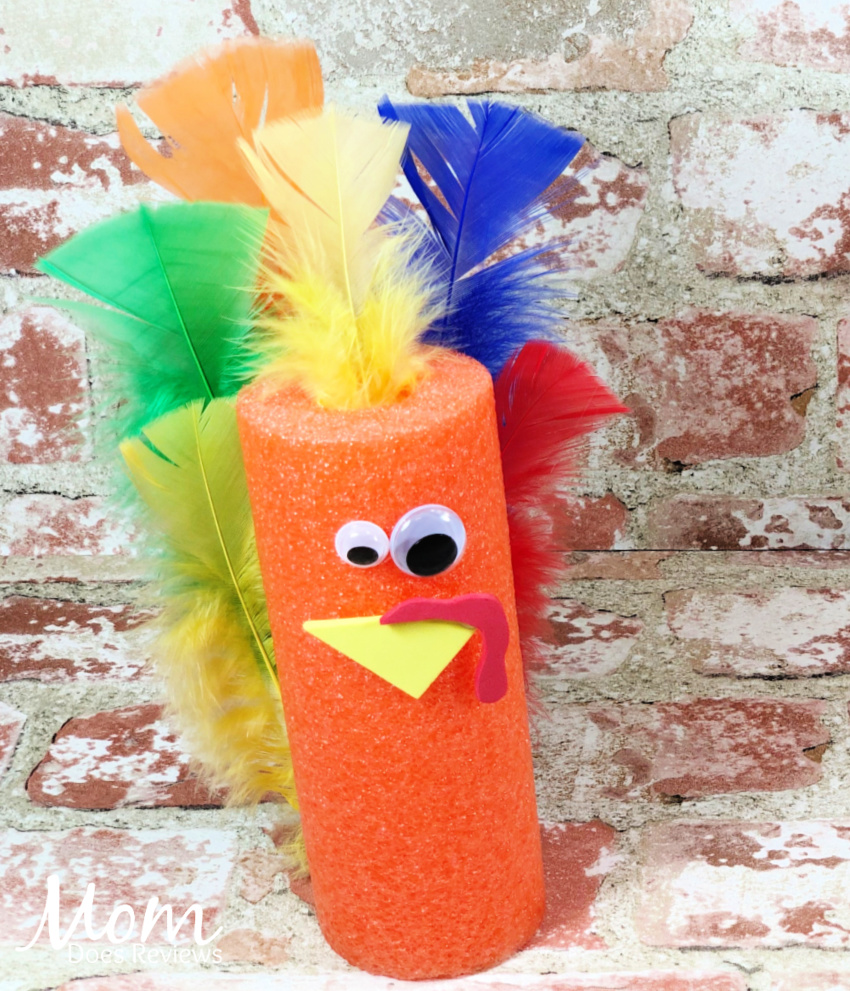
Summer might be over, but it’s always the right time to make a Pool Noodle Craft! Transform a Dollar Store Pool Noodle into cute turkeys for Thanksgiving! These Silly Pool Noodle Turkey crafts will brighten up the kids’ table on Thanksgiving and make us all smile!
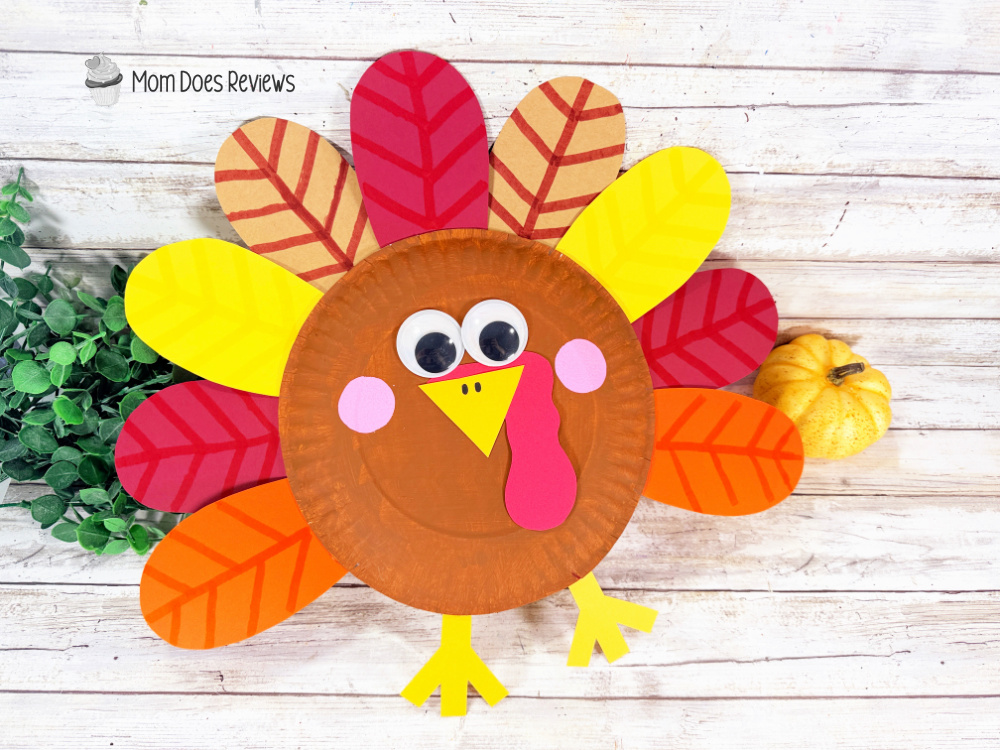
Get ready for Thanksgiving with this cute craft. The kids will be thrilled to make this cute paper plate turkey craft! It is adorable, comes with step-by-step instructions, and uses ordinary materials you probably already have in your craft supplies.
Paper Turkey Craft for the Kids: The kids will love this fun Paper Turkey Craft in anticipation of the coming holiday! Just follow the step-by-step tutorial to make these adorable paper turkeys!
Materials:
- Paper Plate – Dollar Store
- Wiggle Eyes (40mm) – Dollar Store
- Cardstock – Tan, Golden Yellow, Red, Burgundy, Orange
- Acrylic Craft Paint – Medium Brown, Pink
- Glue Gun and Glue Sticks
- Paintbrush
- Scissors
- Pencil
- Permanent Marker, Black
- Washable Markers, Brown, Orange, Red, Yellow
- Sponge Dabber, Round
- PATTERNS
Instructions:
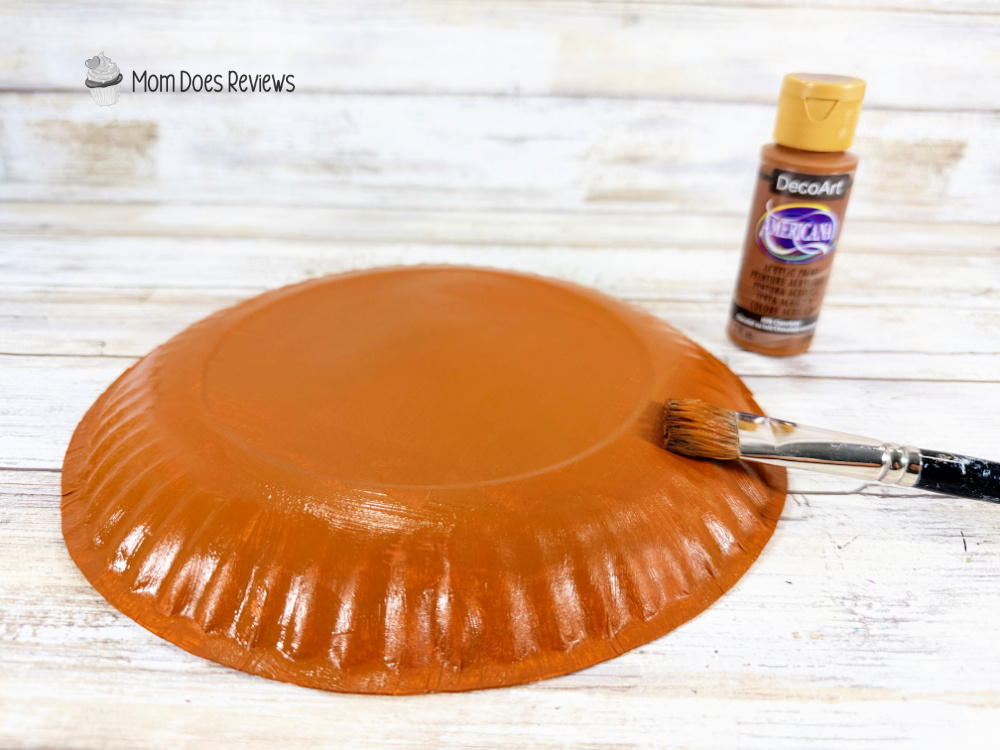
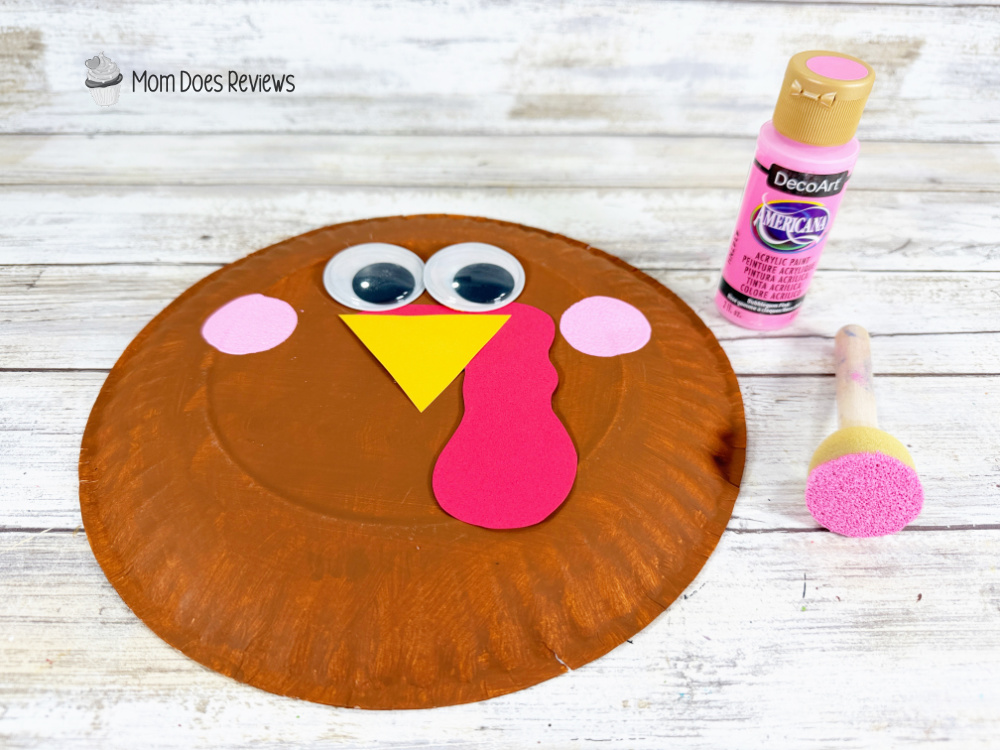
- Gather all supplies. Basecoat the outside of a paper plate with medium brown acrylic craft paint. Set aside to dry and apply a second coat, if necessary.

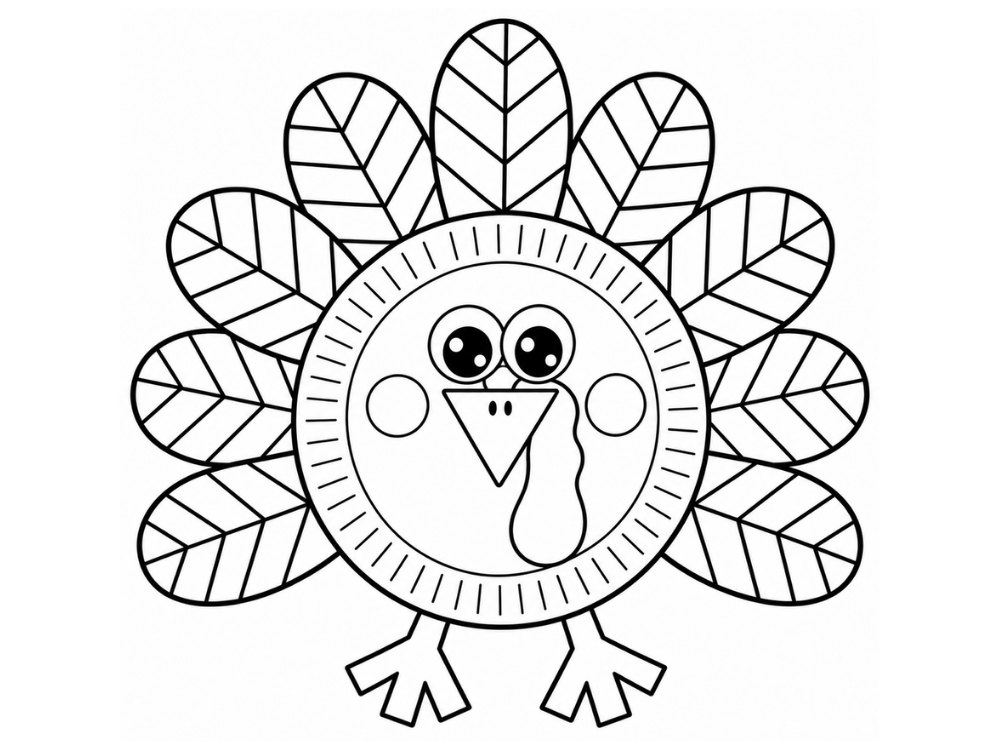
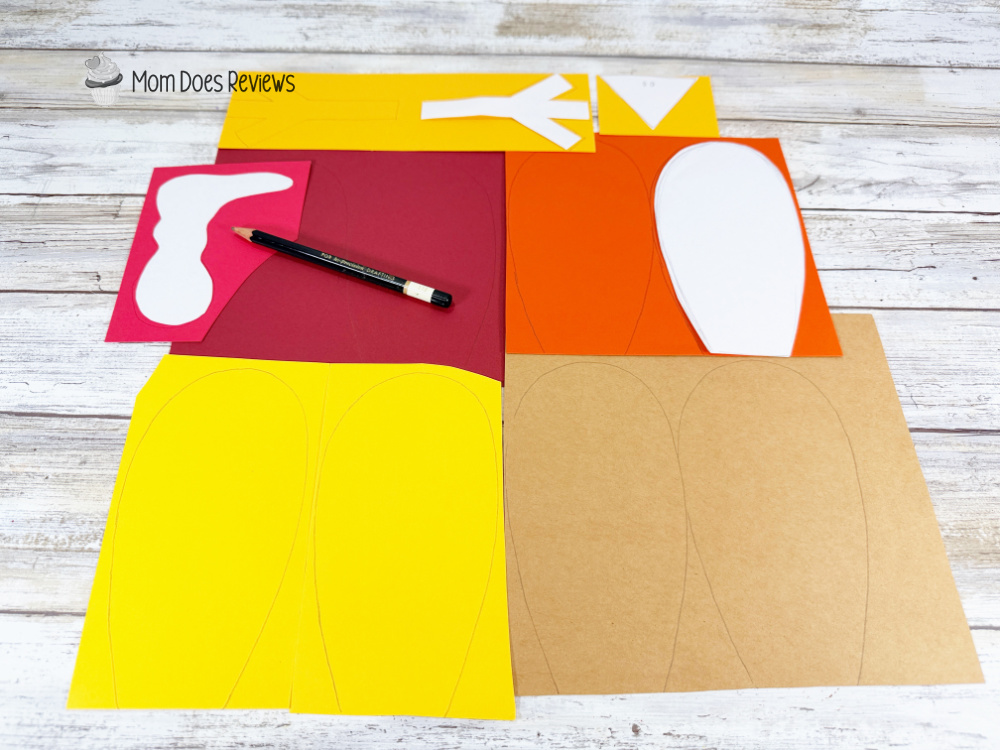
- Download and print the turkey patterns, then cut them out with scissors. Trace the beak once and the legs twice onto golden yellow cardstock. Trace the waddle once onto red cardstock. Trace the feather three times onto burgundy cardstock, twice onto tan, orange, and yellow cardstock with a pencil. You could also use colored craft foam, construction paper, or craft felt for this project.
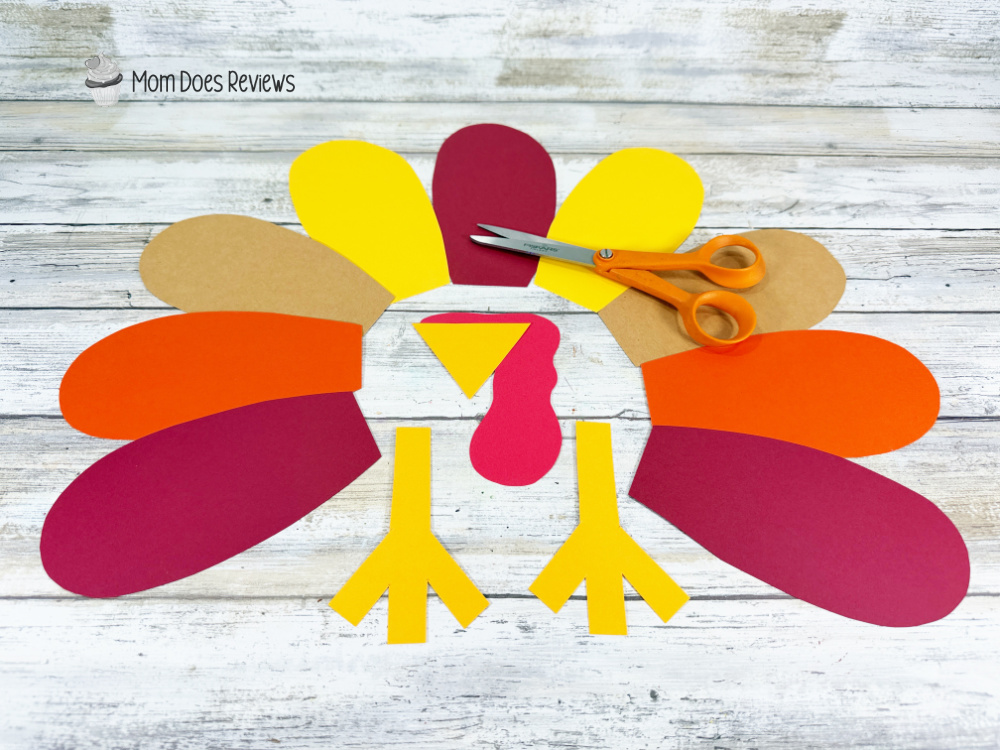
- Cut out the turkey patterns with scissors, making sure to cut inside the traced lines for a clean, finished project.
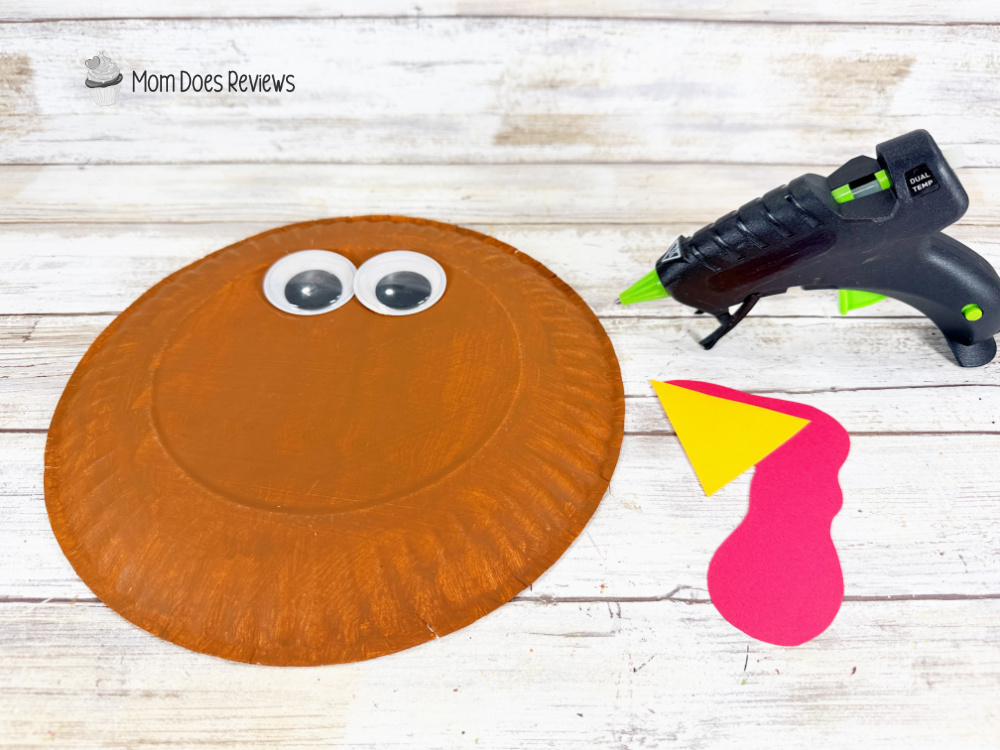
- Secure two wiggle eyes to the turkey’s face. Attach the beak to the waddle with a glue gun and glue sticks, then glue it to the turkey under the eyes. TIP: You can use liquid craft glue for this project, but you will have to wait for it to dry.
- Create cheeks by dipping a round sponge dabber in pink acrylic craft paint and stamping on either side of the turkey’s face. Let paint dry.
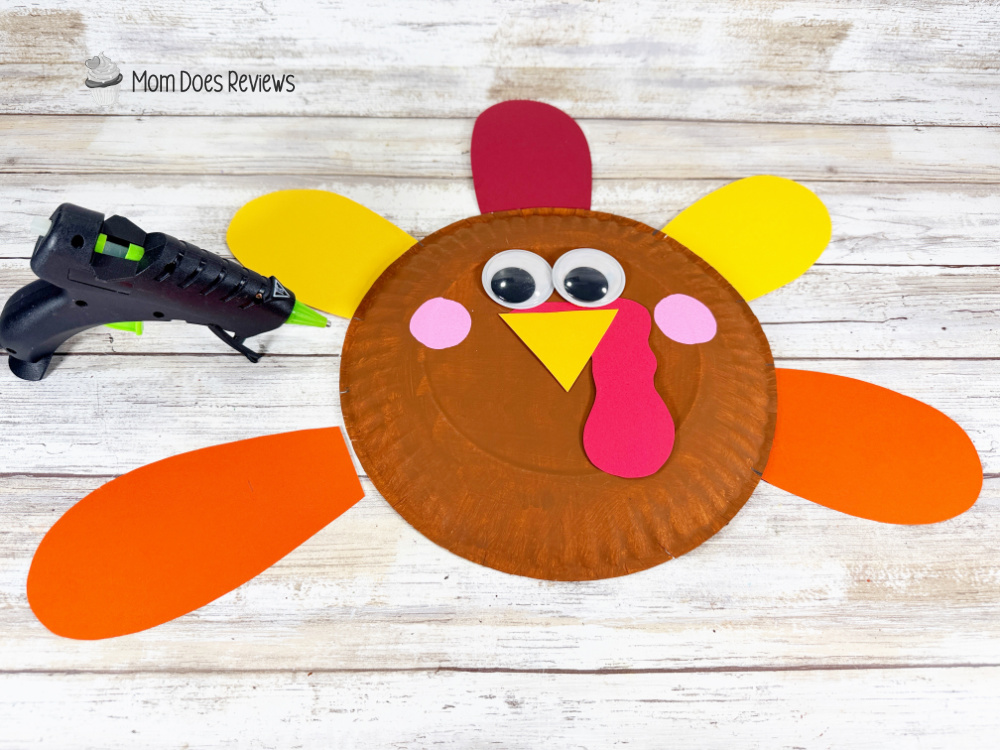
- Attach one burgundy feather at 12 o’clock, one yellow feather at 2 o’clock, and one at 10 o’clock, then one orange feather at 4 o’clock and one at 8 o’clock with a glue gun and glue sticks.
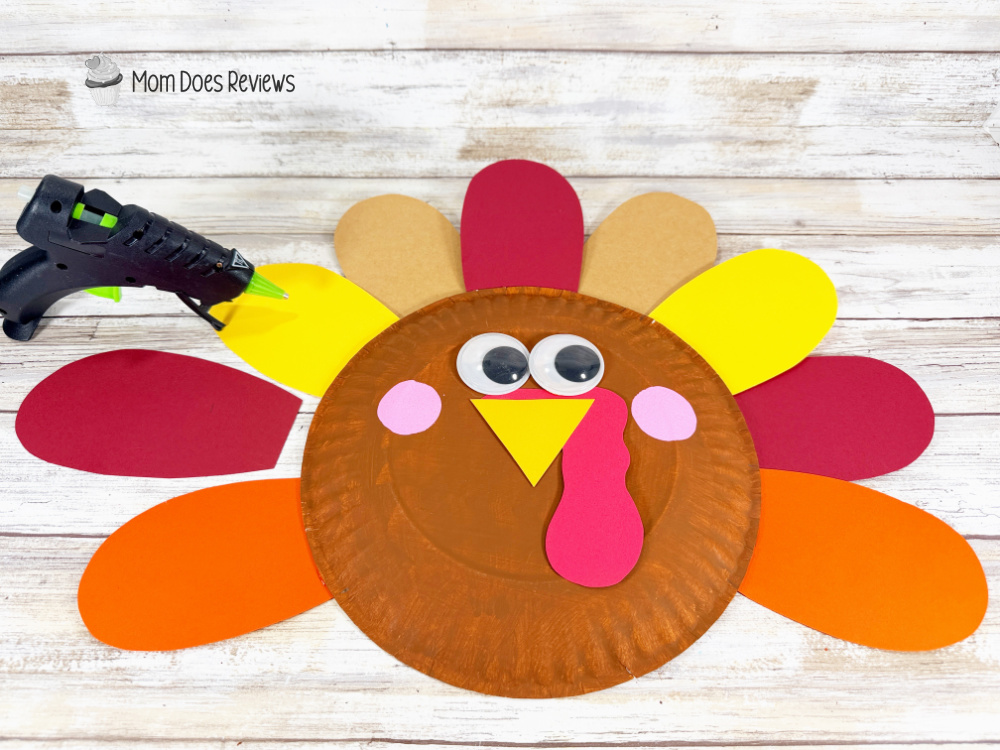
- Continue to attach the feathers. One tan feather at 1 o’clock and one at 11 o’clock. One burgundy feather at 3 o’clock and one at 9 o’clock.
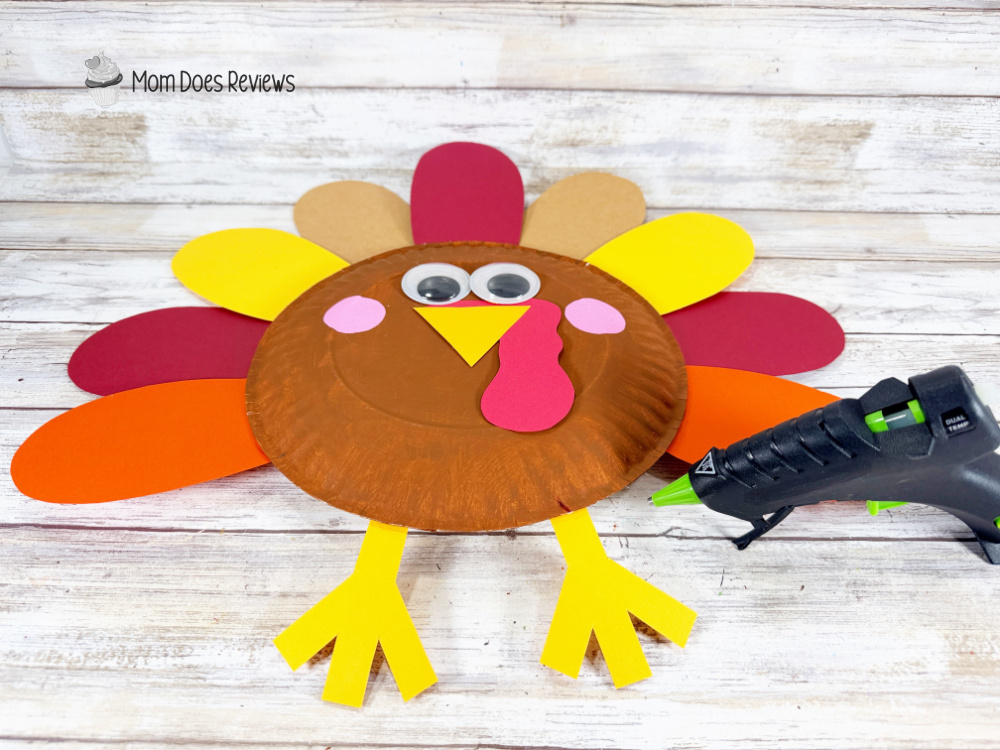
- Attach the legs to the bottom back edge of the paper plate turkey with a glue gun and glue sticks.
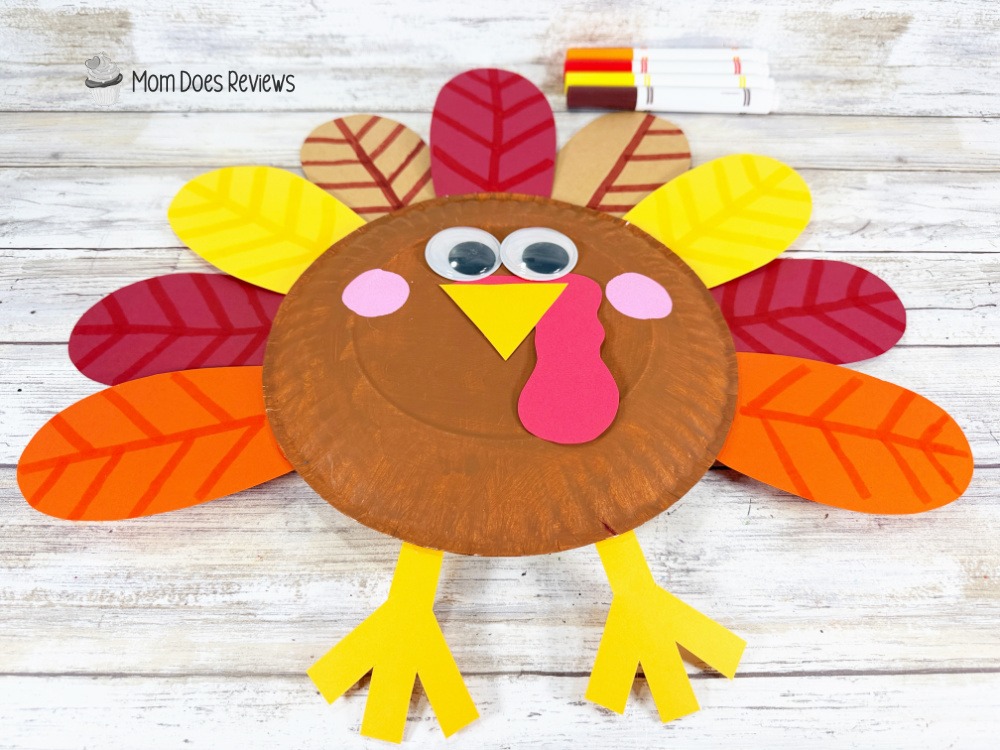
- Using brown, yellow, orange, and red washable markers, draw decorative veins on each of the coordinating colors of cardstock turkey feathers.
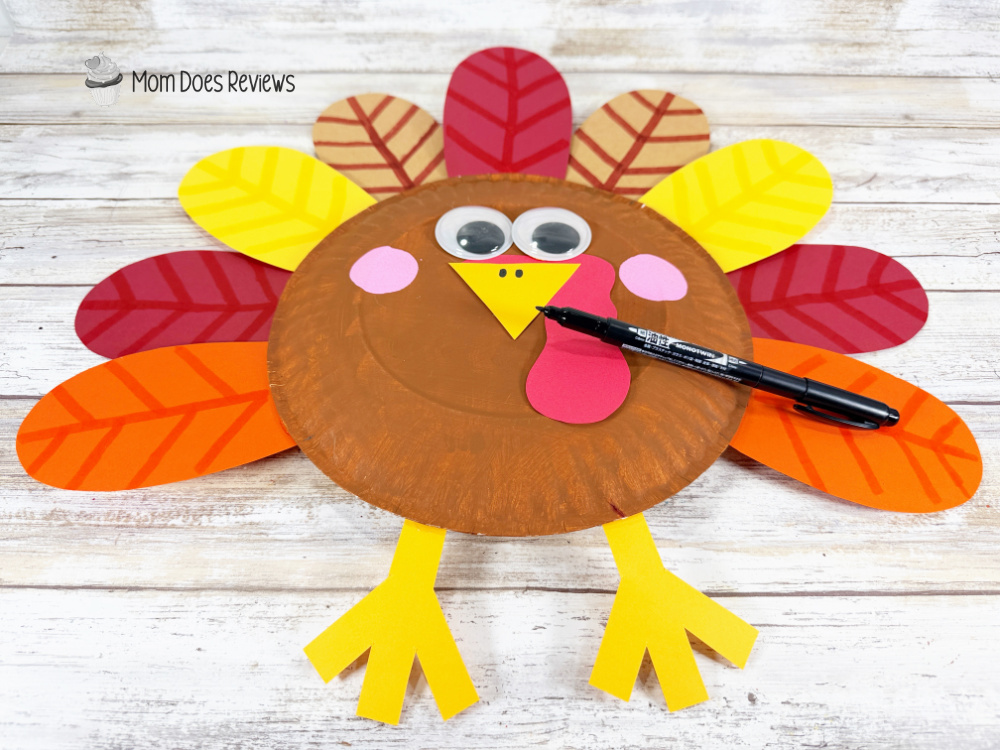
- To finish, draw two ovals at the top center of the turkey’s beak with the black marker.
Tips for Success: Making Your Paper Plate Turkey Craft
- Gather supplies ahead of time. Have your paper plates, construction paper, paint, googly eyes, glue, and scissors ready before starting. This makes crafting with little ones much easier!
- Precut shapes for younger kids. Toddlers and preschoolers may need help cutting feathers, beaks, and feet. Older kids can practice their scissor skills by cutting their own pieces.
- Get creative with feather colors! Traditional fall shades like orange, yellow, red, and brown look beautiful, but let kids experiment with their favorite colors, too!
- Create a Thanksgiving display. Hang finished turkeys on a bulletin board, decorate a classroom door, or use them as festive decorations around the house.
Bonus idea: Have each child name their turkey and share one thing they’re thankful for! It’s a sweet way to combine creativity with the spirit of Thanksgiving. 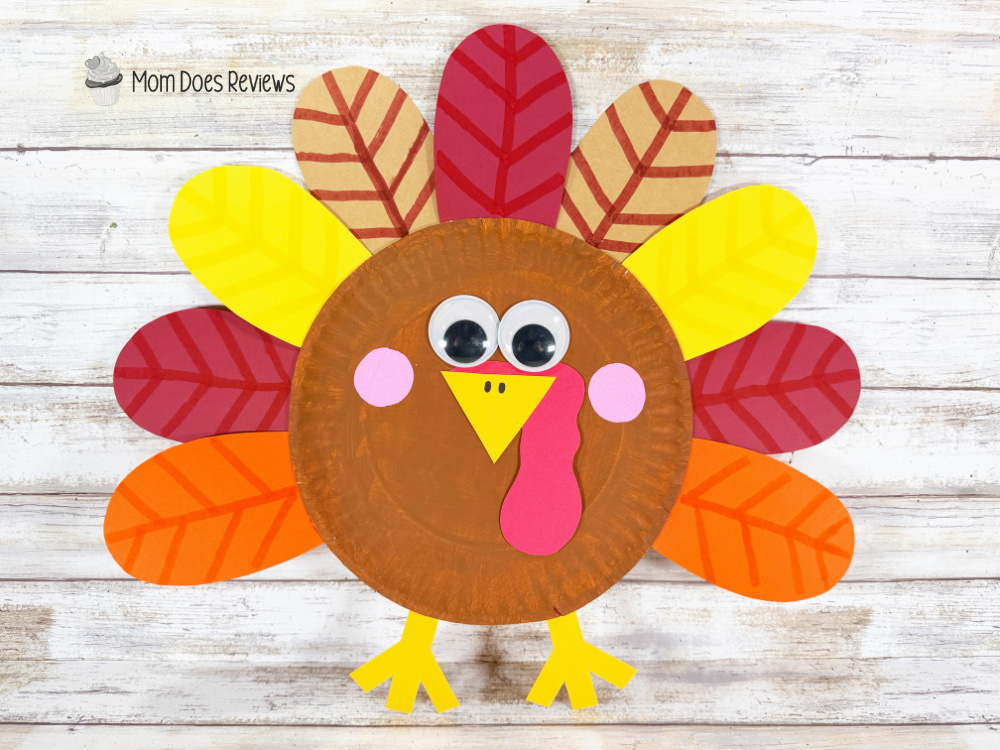
Print the Tutorial:

Paper Plate Turkey Craft for Kids
This is a fun activity to keep the kiddos busy with coloring, counting and motor skills. Make this super cute paper plate Turkey kids craft in just about 30 minutes!
Materials
- Paper Plate – Dollar Store
- Wiggle Eyes (40mm) – Dollar Store
- Cardstock – Tan, Golden Yellow, Red, Burgundy, Orange
- Acrylic Craft Paint – Medium Brown, Pink
Tools
- Glue Gun and Glue Sticks – Dollar Store
- Paintbrush
- Scissors
- Pencil
- Permanent Marker, Black
- Washable Markers, Brown, Orange, Red, Yellow
- Sponge Dabber, Round
Instructions
STEP ONE
Gather all supplies. Basecoat the outside of a paper plate with medium brown acrylic craft paint. Set aside to dry and apply a second coat, if necessary.
STEP TWO
Download and print the turkey patterns, then cut them out with scissors. Trace the beak once and the legs twice onto golden yellow cardstock. Trace the waddle once onto red cardstock. Trace the feather three times onto burgundy cardstock, twice onto tan, orange, and yellow cardstock with a pencil. You could also use colored craft foam, construction paper, or craft felt for this project.
STEP THREE
Cut out the turkey patterns with scissors, making sure to cut inside the traced lines for a clean, finished project.
STEP FOUR
Secure two wiggle eyes to the turkey’s face. Attach the beak to the waddle with a glue gun and glue sticks, then glue to the turkey under the eyes. TIP: You can use liquid craft glue for this project, but you will have to wait for it to dry.
STEP FIVE
Create cheeks by dipping a round sponge dabber in pink acrylic craft paint and stamping on either side of the turkey’s face. Let paint dry.
STEP SIX
Attach one burgundy feather at 12 o’clock, one yellow feather at 2 o’clock and one at 10 o’clock, then one orange feather at 4 o’clock and one at 8 o’clock with a glue gun and glue sticks.
STEP SEVEN
Continue to attach the feathers. One tan feather at 1 o’clock and one at 11 o’clock. One burgundy feather at 3 o’clock and one at 9 o’clock.
STEP EIGHT
Attach the legs to the bottom back edge of the paper plate turkey with a glue gun and glue sticks.
STEP NINE
Using brown, yellow, orange, and red washable markers, draw decorative veins on each of the coordinating colors of cardstock turkey feathers.
STEP TEN
To finish, draw to ovals at the top center of the turkey’s beak with the black marker.
Pin it for Later!
Print the Coloring Page HERE!