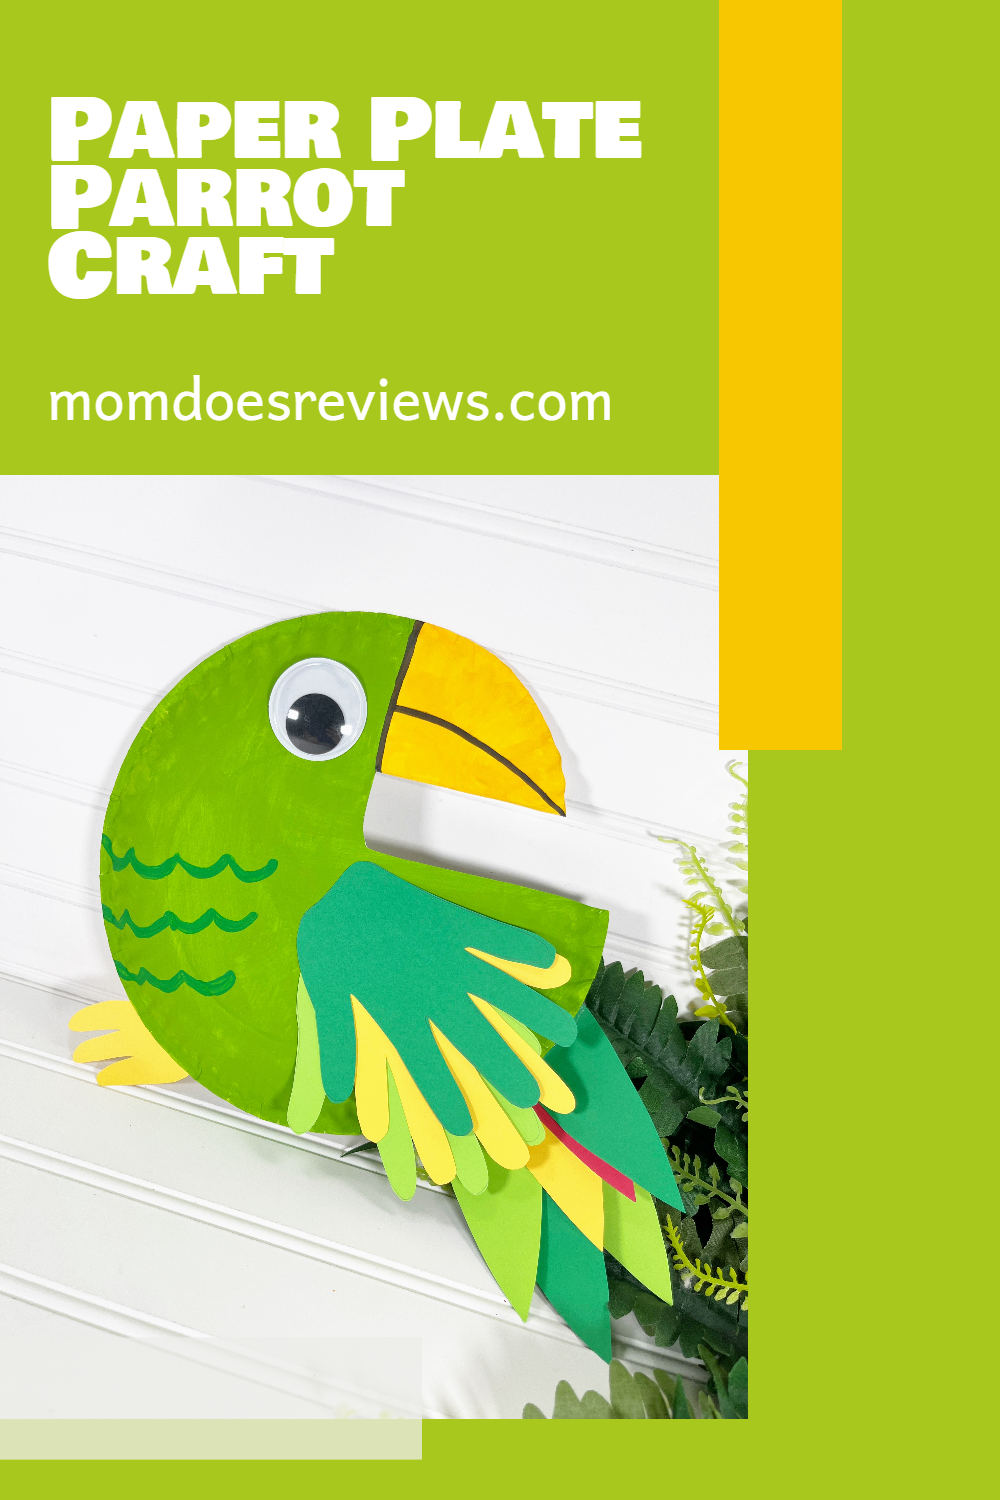
Bright and Easy Paper Plate Parrot Craft Activity
If you’re looking for a fun and colorful activity for kids, this Paper Plate Parrot Craft is a perfect choice. Using a simple paper plate from the Dollar Store, kids can create a vibrant parrot full of personality. It’s a great way to turn everyday materials into something creative and exciting, all while celebrating bright colors and imaginative play.
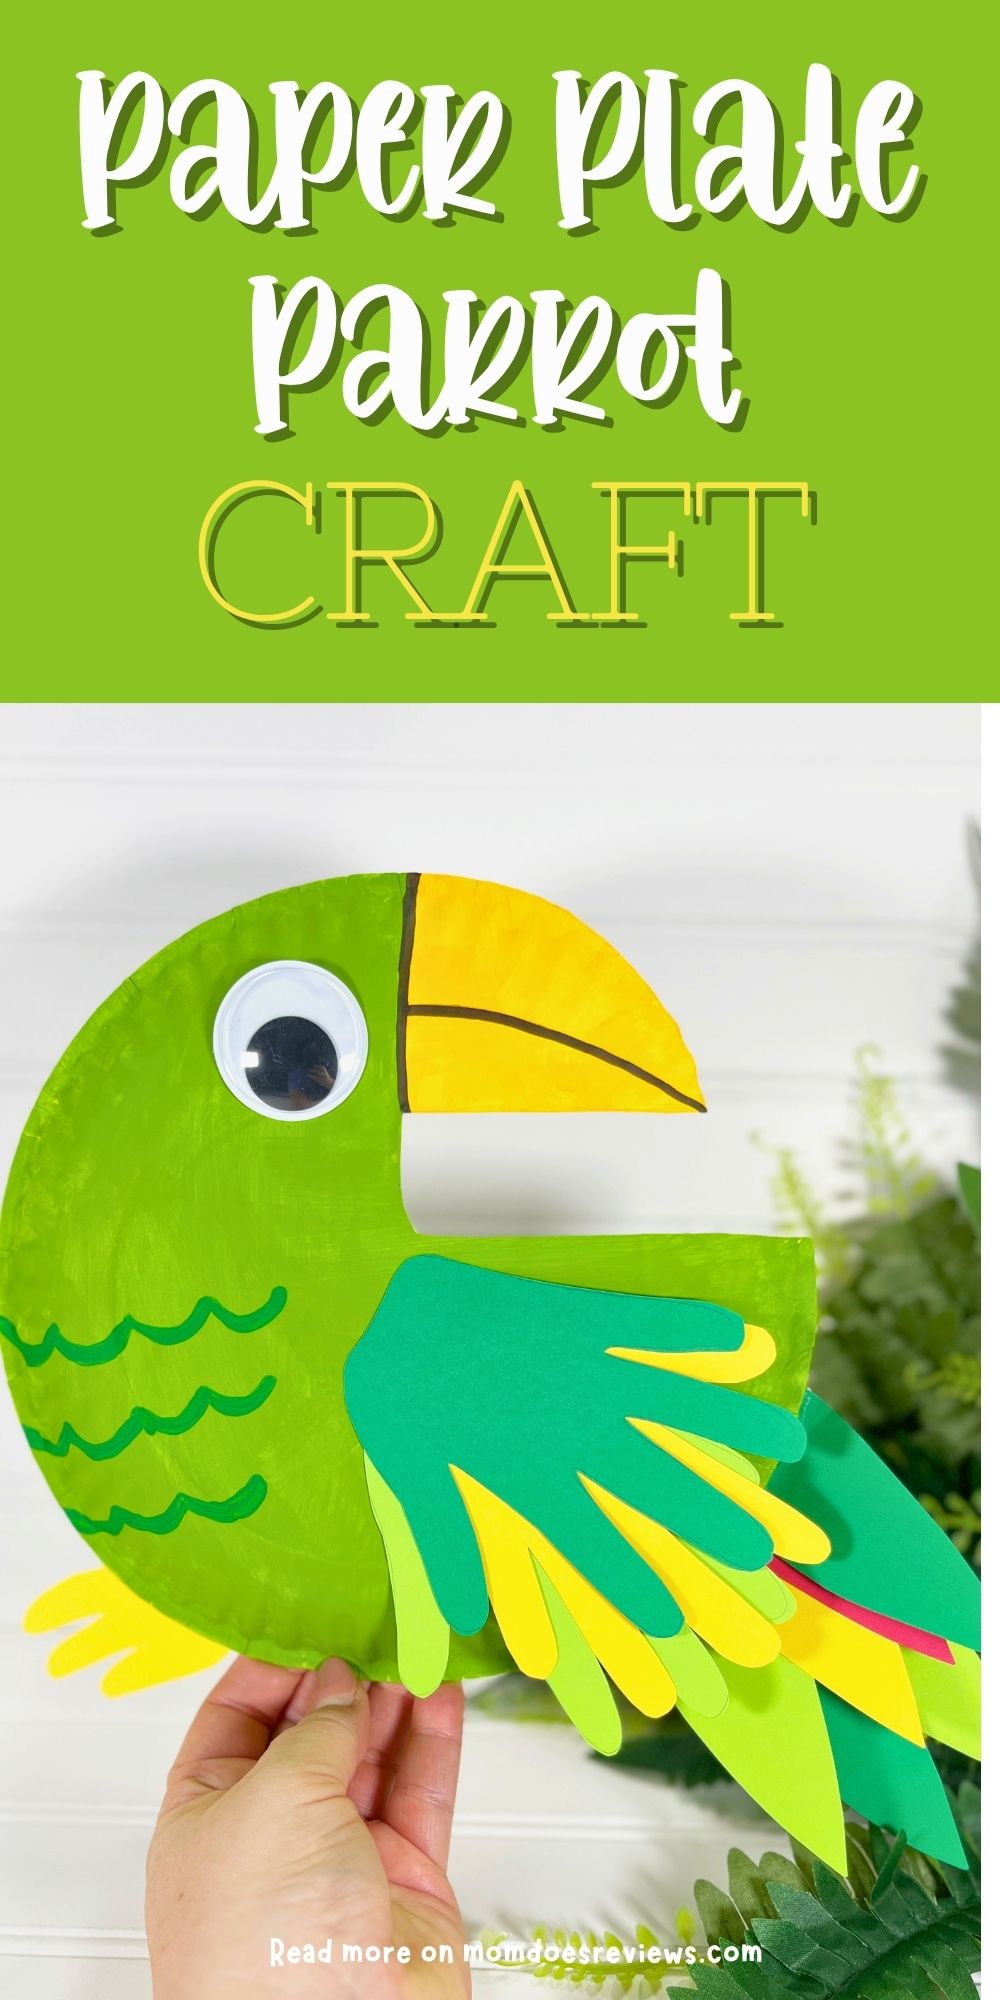
This paper plate parrot craft is not only adorable but also a wonderful hands-on learning activity. Kids can practice cutting, counting, and fine motor skills as they assemble their parrot. With lots of opportunities to mix and match colors, each child can create a unique bird that reflects their own creativity.
Best of all, this craft is quick and easy to make, taking about 30 minutes from start to finish. Whether you’re planning a classroom activity, a rainy-day project, or just looking for a fun way to keep kids entertained, this Paper Plate Parrot Craft is a simple and engaging option that delivers big smiles.
More Paper Plate Crafts:
Get ready to crawl into a world of crafting fun because we have the perfect project to get those creative juices flowing! Our delightful Dollar Store Paper Plate Caterpillar Craft is here to prove that a simple paper plate can be transformed into the cutest, most charming little caterpillar.
In need of a fun and magical craft to spark some creativity in your kids? If they love all things unicorns, get ready for a crafting adventure they won’t forget! This super cute Unicorn Paper Plate Craft is the perfect way to spend a whimsical afternoon, transforming simple supplies into a mythical friend that’s full of sparkle and charm.

Get ready to stomp into a world of prehistoric fun! Our delightful Dollar Store Paper Plate Dinosaur Craft is here to prove that a simple paper plate can be transformed into the most adorable and playful dinosaur.
Materials:
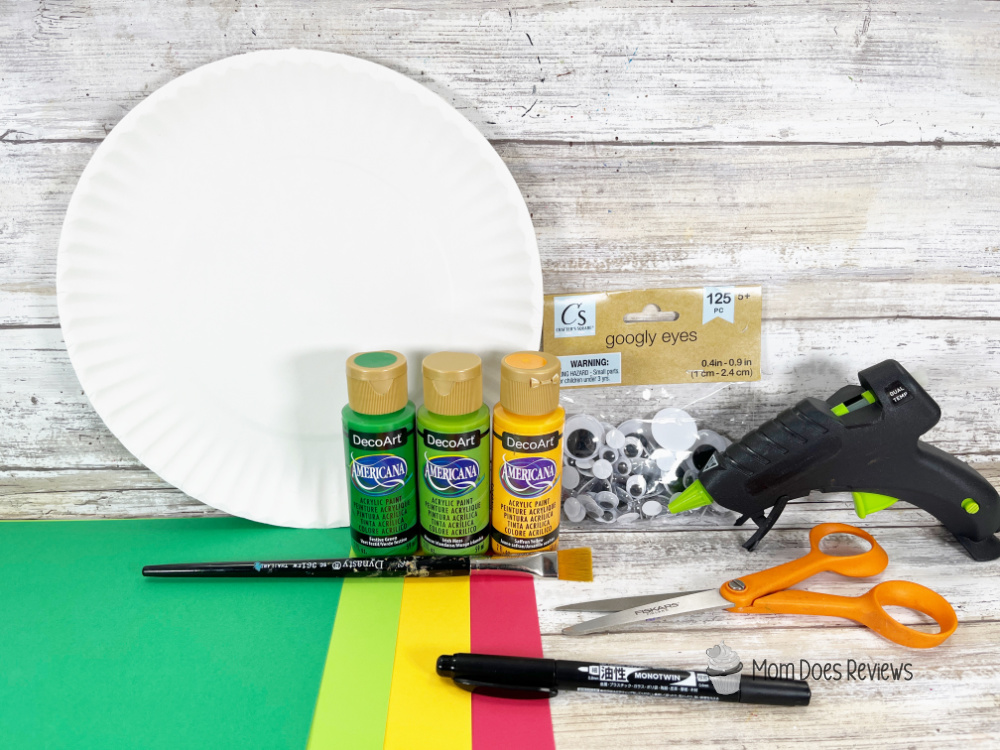
- Paper Plate – Dollar Store
- Wiggle Eye – Dollar Store
- Cardstock, Bright Green, Kelly Green, Yellow, Red
- Acrylic Craft Paint – Bright Green, Kelly Green, Yellow
- Glue Gun and Glue Sticks – Dollar Store
- Paintbrush
- Scissors
- Pencil
- PATTERNS
Instructions:
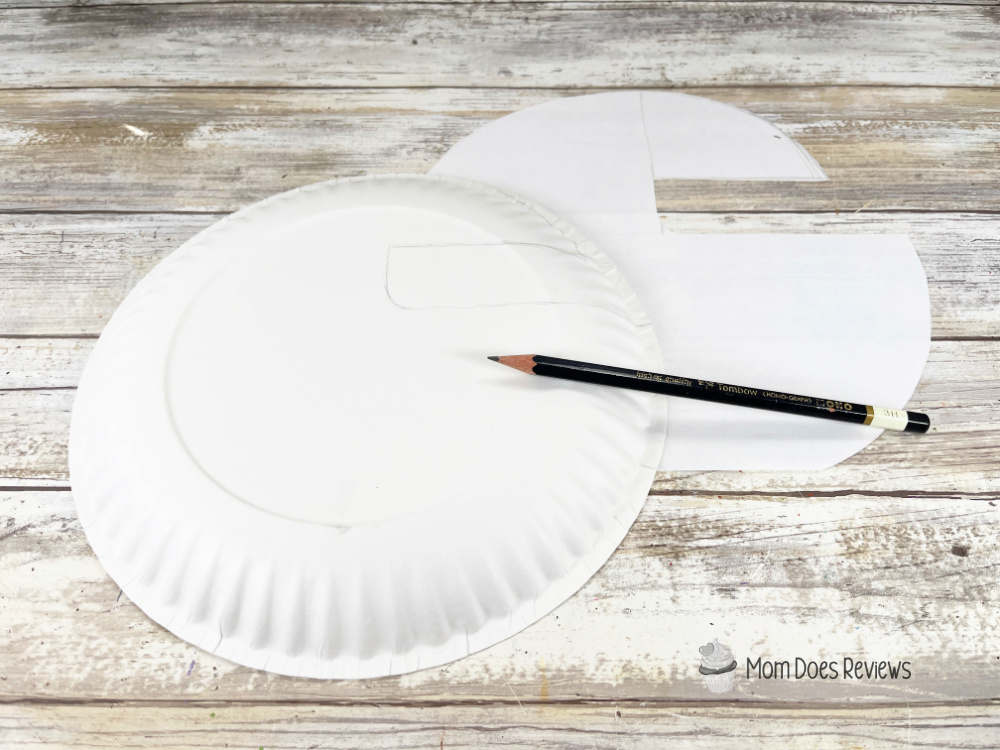
- Gather all supplies. Download and print the parrot patterns, then cut out with scissors. Trace the parrot once onto the outside of a paper plate with a pencil.

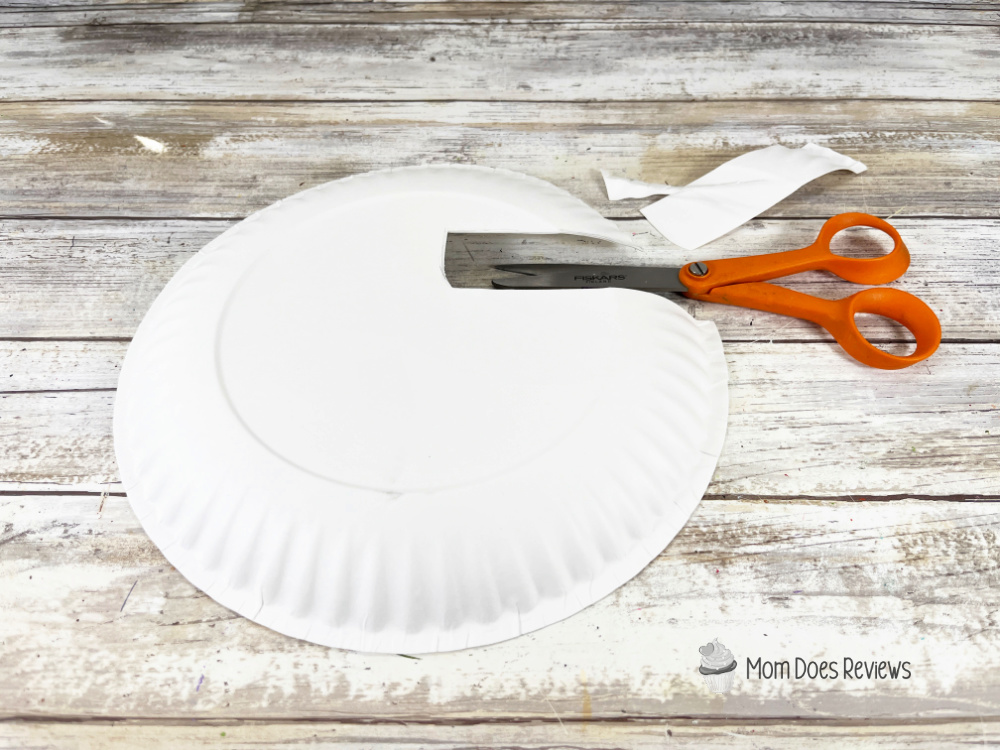
- Cut out the parrot pattern with scissors, making sure to cut inside the traced lines for a clean, finished project.
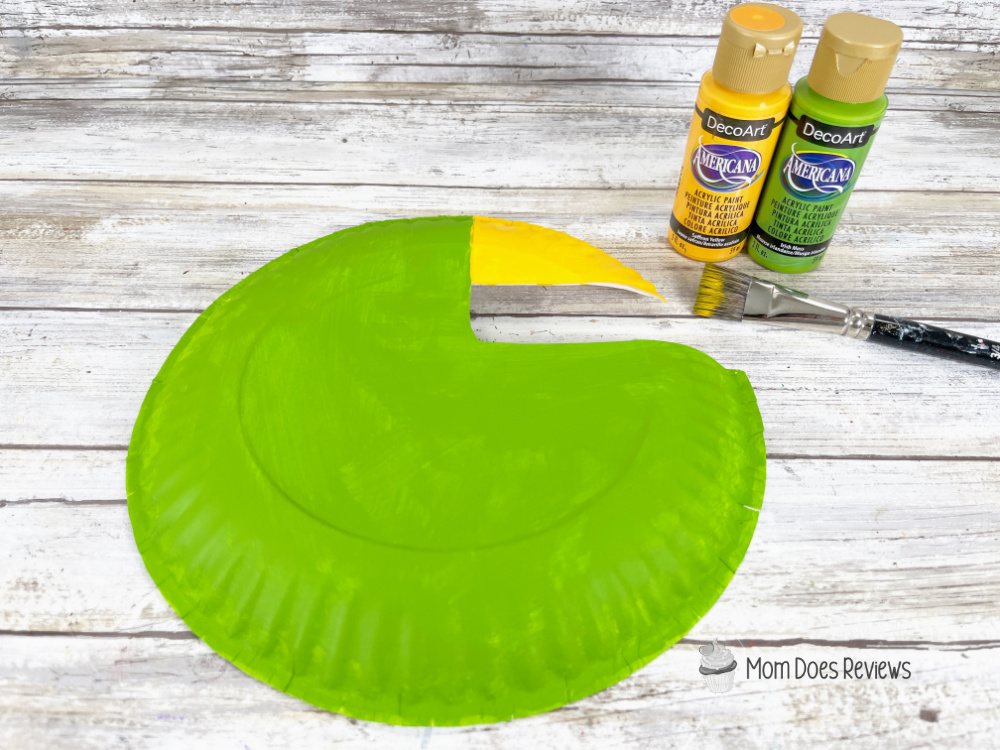
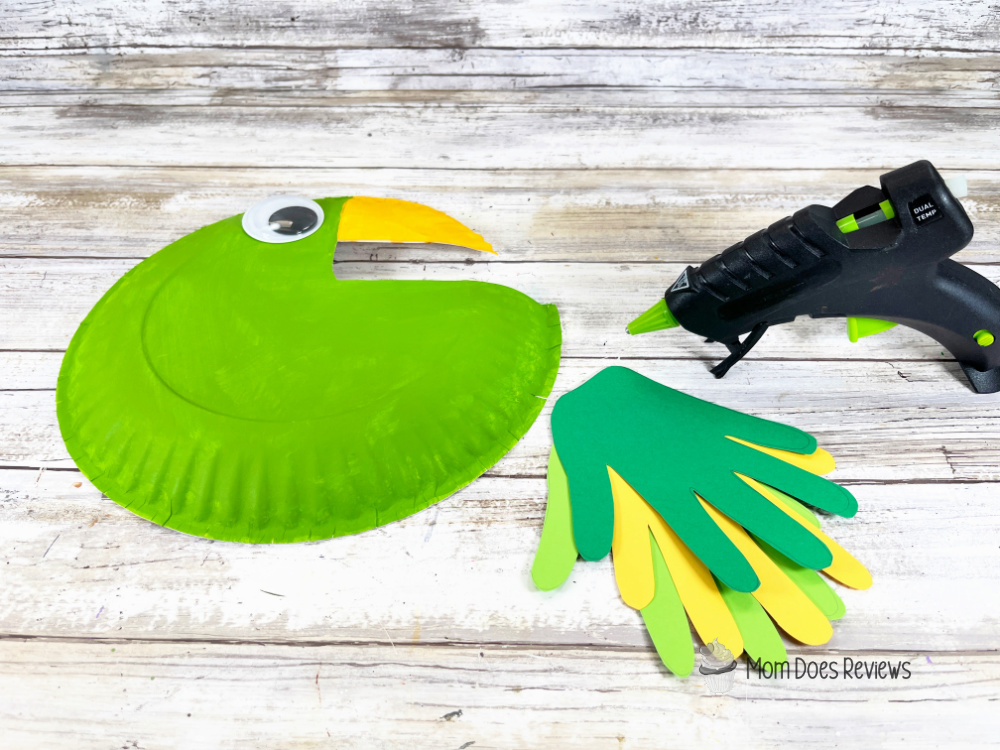
- Basecoat the parrot body with bright green acrylic craft paint, and the parrot beak with yellow acrylic craft paint. Set aside to dry and apply a second coat, if necessary
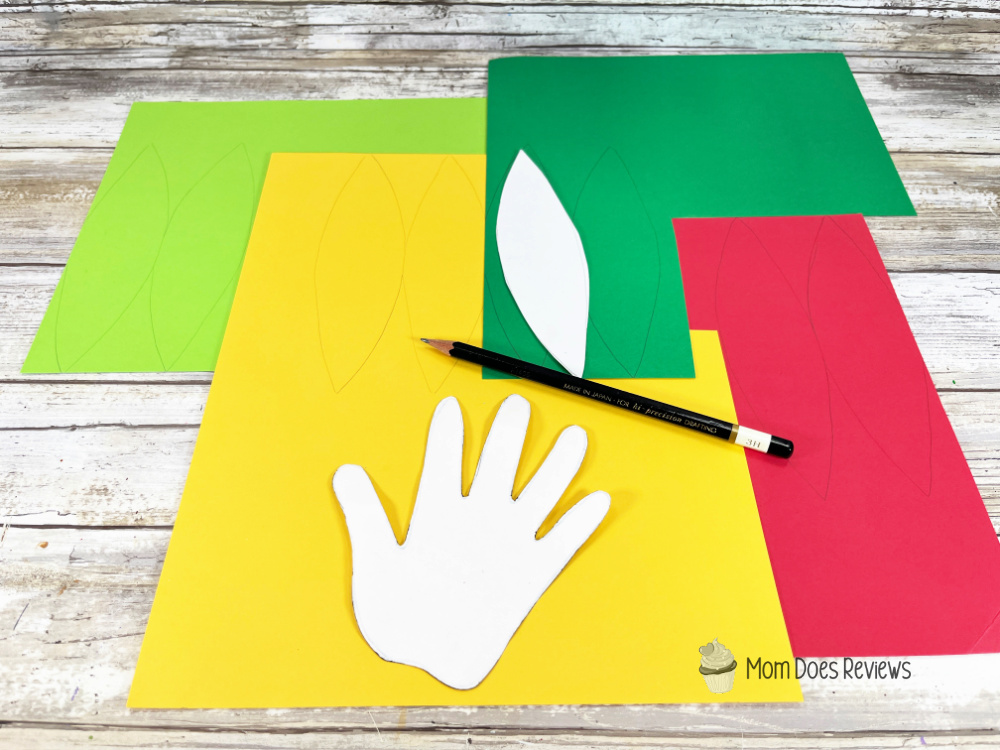
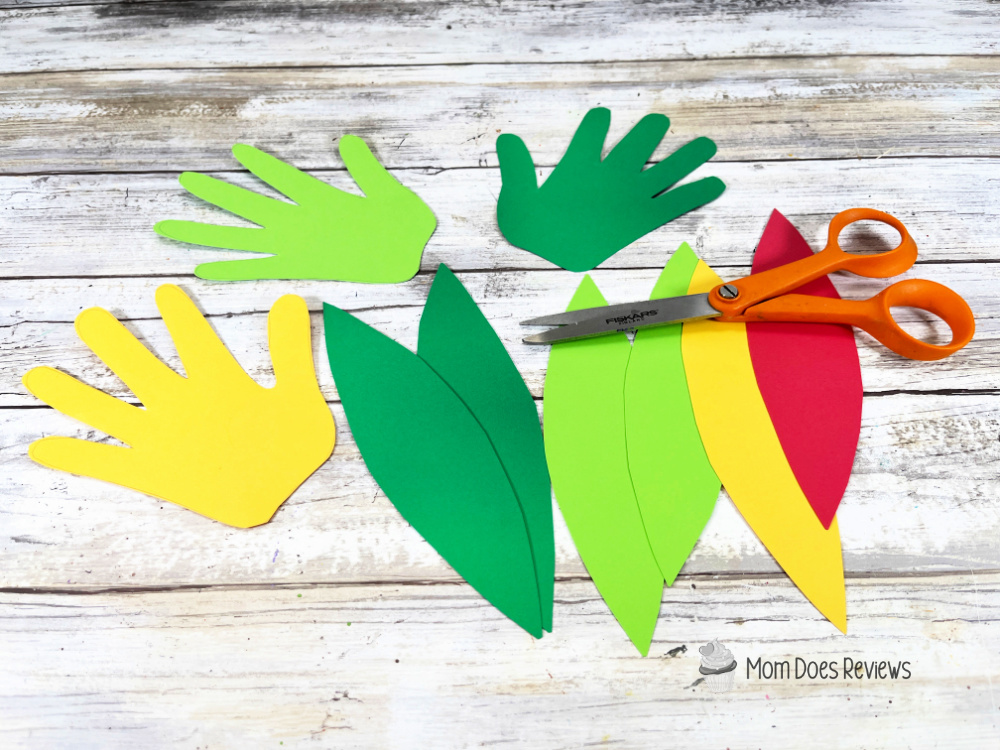
- Trace the wing (or a child’s hand) pattern once on yellow, once on bright green, and once on kelly green cardstock. Trace the tail feather pattern once on red, once on yellow, twice on bright green, ad twice on kelly green cardstock. Trace the talon once onto yellow cardstock with a pencil. You could also use colored craft foam, construction paper, or craft felt for this project.
- Cut out all the patterns with scissors, making sure to cut inside the traced lines for a clean, finished project.
- Attach the wiggle eye to the parrot’s head with a glue gun and glue sticks.
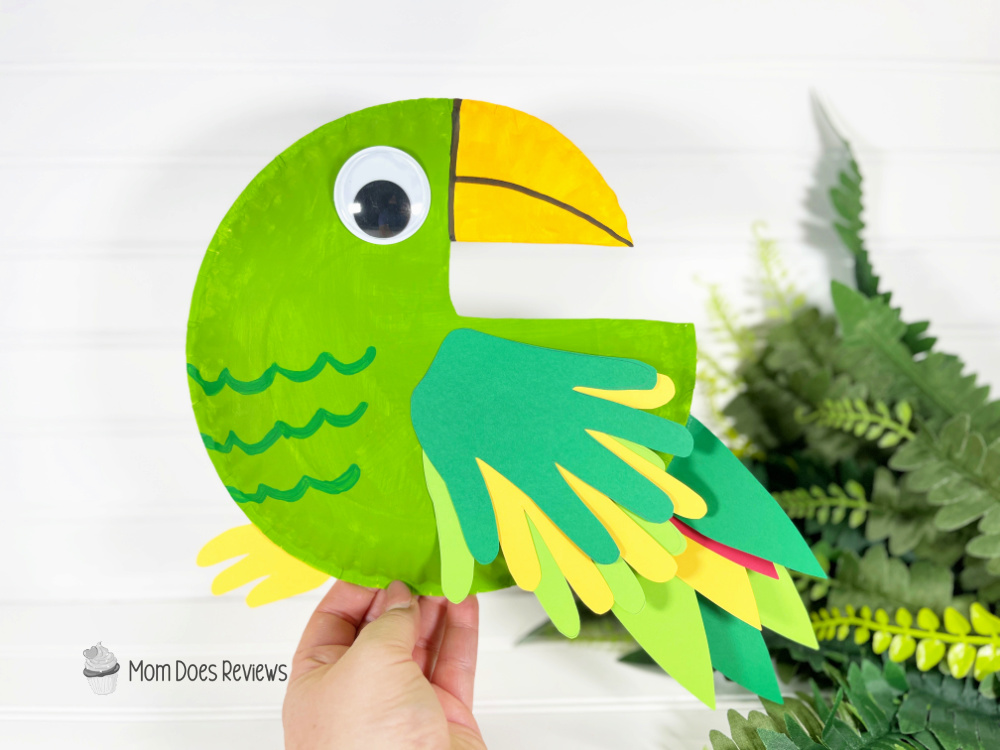
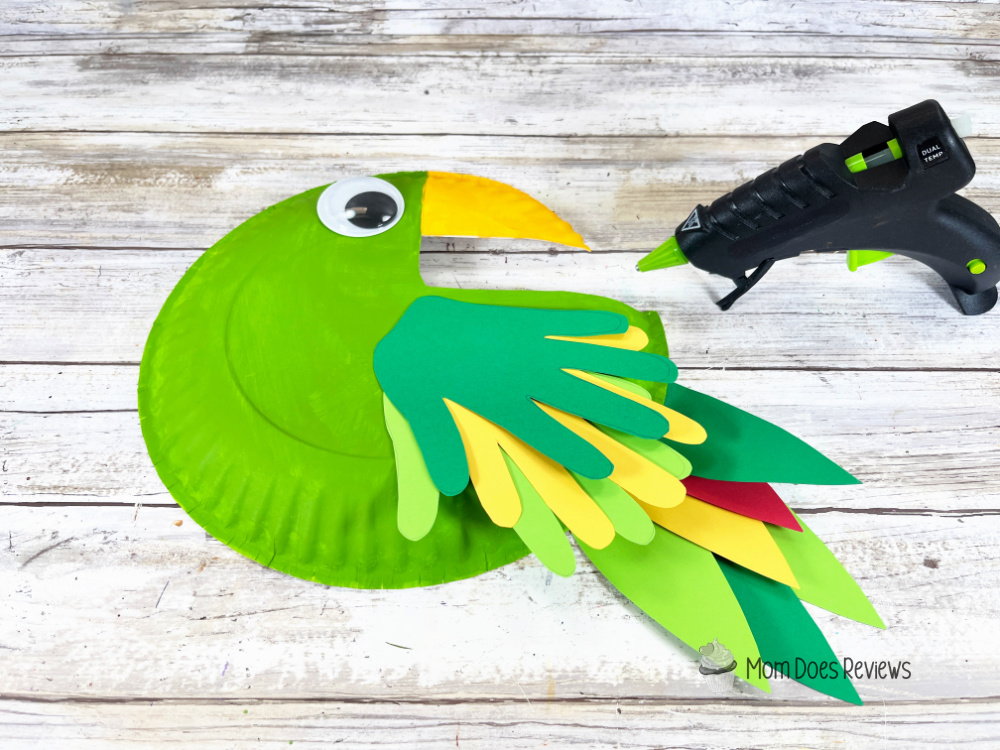
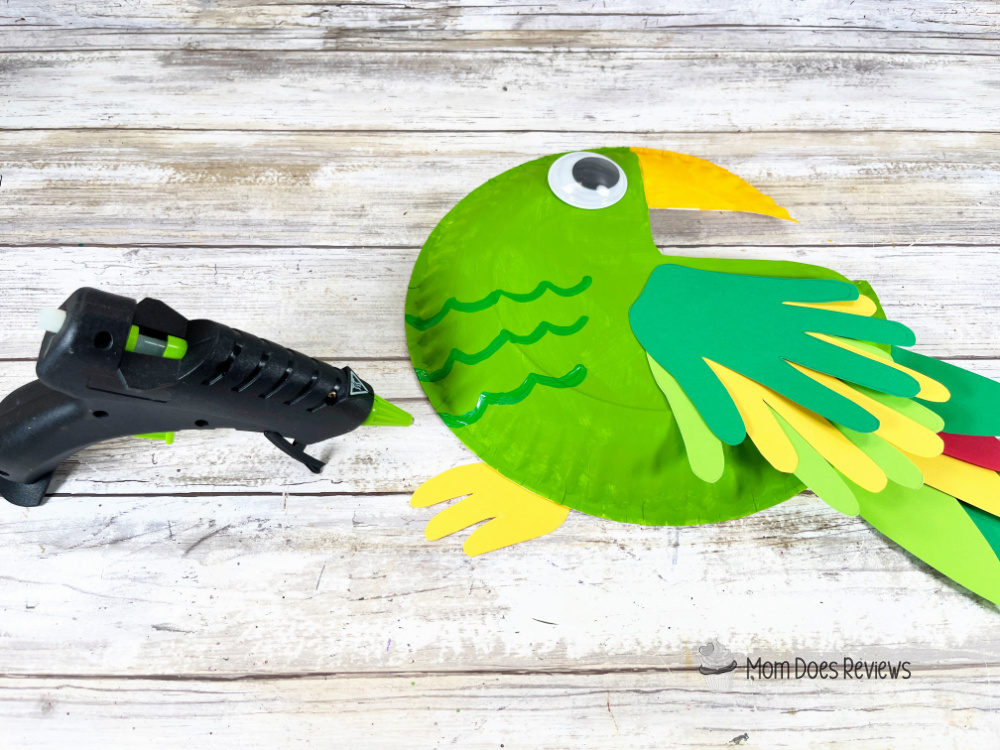
- Layer and attach the three wing patterns to the body of the parrot with a glue gun and glue sticks. Layer and glue the six tail feather patterns to the back bottom of the parrot. TIP: You can use liquid craft glue for this project, but you will have to wait for it to dry.
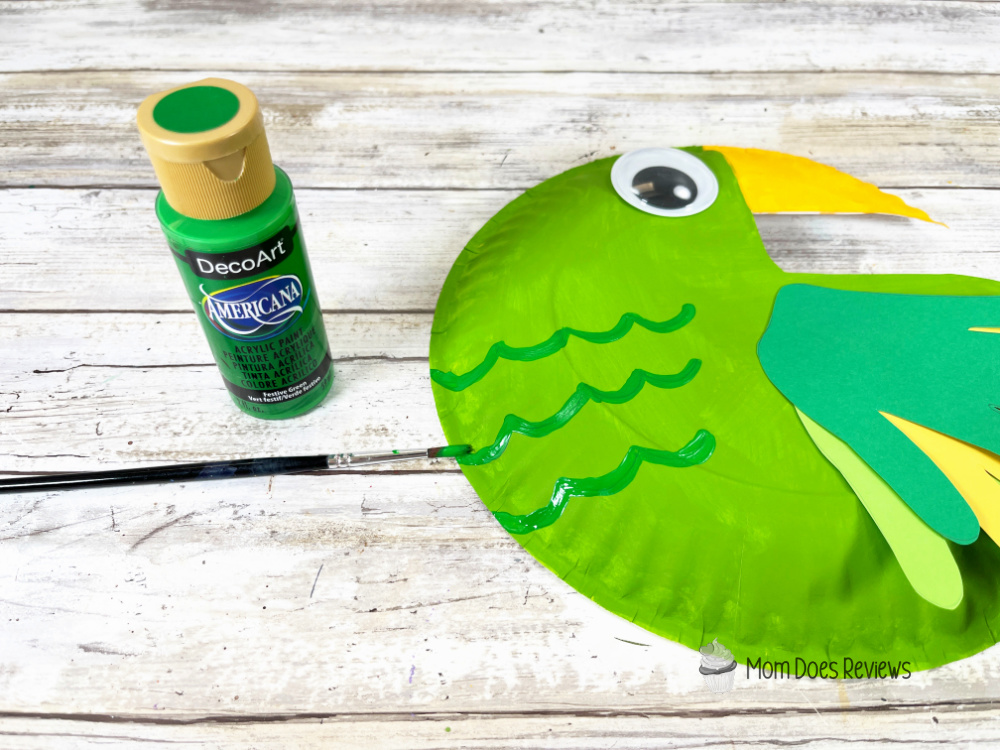
- Paint scalloped lines on the body of the parrot withy kelly green acrylic craft paint. Set aside to dry.
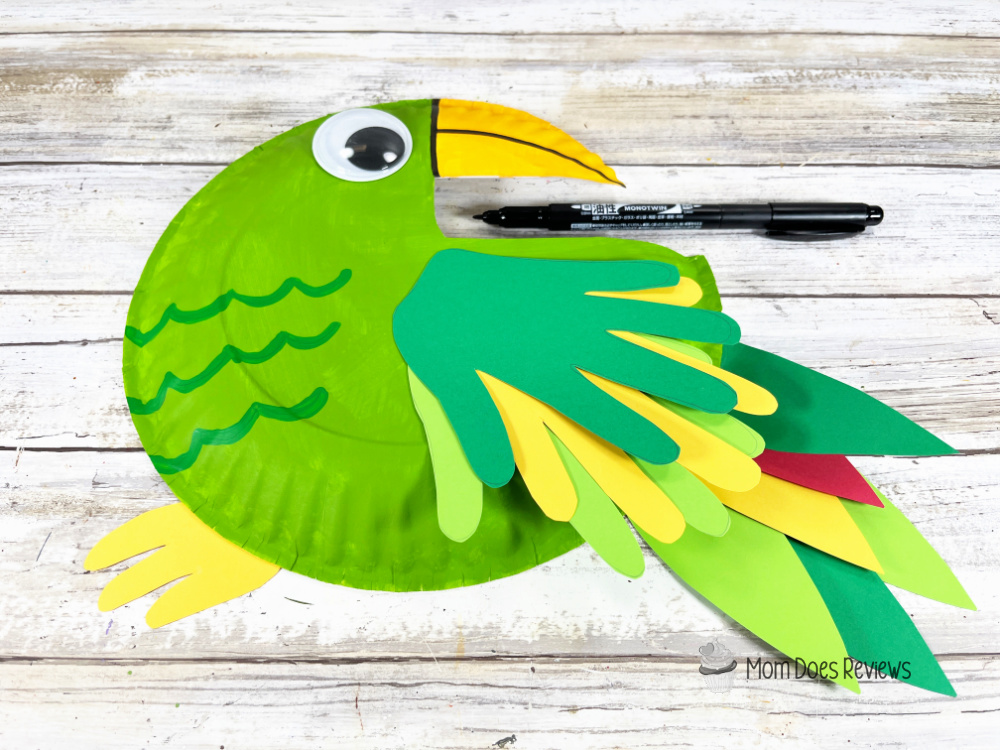
- Attach the talon to the bottom of the parrot’s back with a glue gun and glue sticks.
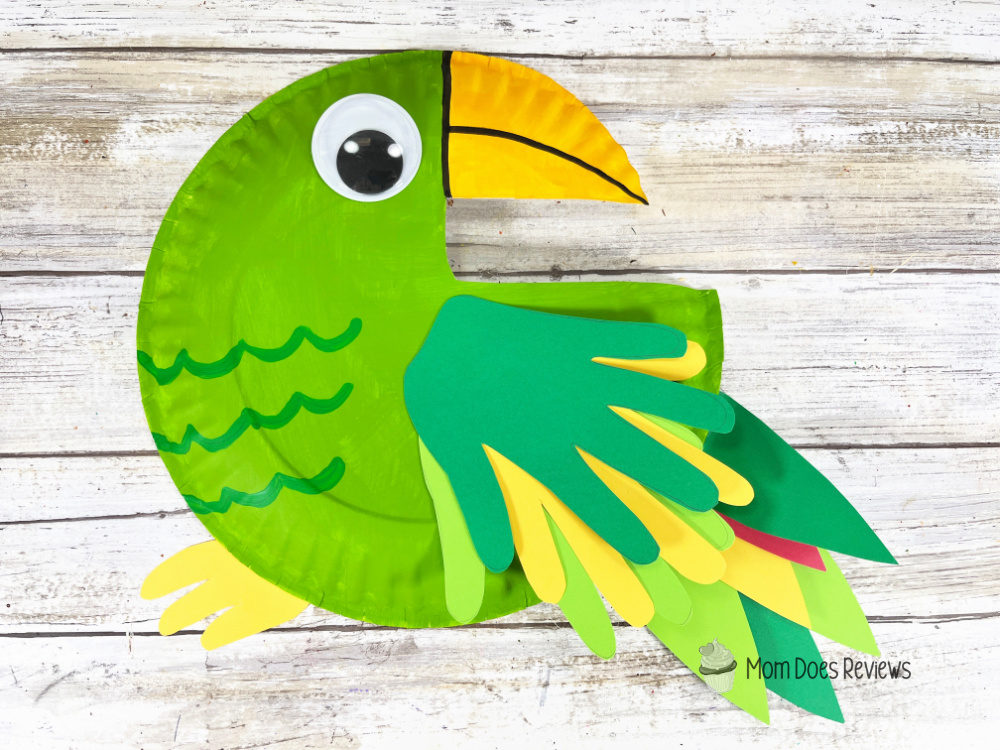
- To finish, draw the horizontal and vertical lines on the parrot’s beak with a black marker.
What to Do With Your Parrot:
Once your parrot is complete, the fun doesn’t have to stop! Kids can use their paper plate parrot as a decoration for their room or create a tropical-themed display by making multiple birds. You can also turn it into a puppet by attaching a craft stick to the back, making it perfect for imaginative play and storytelling. Another fun idea is to hang the parrots on the wall or in a window to create a colorful, jungle-inspired scene.
Print the Tutorial:

Paper Plate Parrot Craft
Make this colorful paper plate parrot craft using simple supplies. A fun and easy kids craft that builds creativity and motor skills in about 30 minutes.
Materials
- Paper Plate – Dollar Store
- Wiggle Eye – Dollar Store
- Cardstock, Bright Green, Kelly Green, Yellow, Red
- Acrylic Craft Paint – Bright Green, Kelly Green, Yellow
Tools
- Glue Gun and Glue Sticks – Dollar Store
- Paintbrush
- Scissors
- Pencil
Instructions
STEP ONE
Gather all supplies. Download and print the parrot patterns, then cut out with scissors. Trace the parrot once onto the outside of a paper plate with a pencil.
STEP TWO
Cut out the parrot pattern with scissors making sure to cut inside the traced lines for a clean, finished project.
STEP THREE
Basecoat the parrot body with bright green acrylic craft paint, and the parrot beak with yellow acrylic craft paint. Set aside to dry and apply a second coat, if necessary.
STEP FOUR
Trace the wing (or a child’s hand) pattern once on yellow, once on bright green, and once on kelly green cardstock. Trace the tail feather pattern once on red, once on yellow, twice on bright green, and twice on kelly green cardstock. Trace the talon once onto yellow cardstock with a pencil. You could also use colored craft foam, construction paper, or craft felt for this project.
STEP FIVE
Cut out all the patterns with scissors, making sure to cut inside the traced lines for a clean, finished project.
STEP SIX
Attach the wiggle eye to the parrot’s head with a glue gun and glue sticks.
STEP SEVEN
Layer and attach the three wing patterns to the body of the parrot with a glue gun and glue sticks. Layer and glue the six tail feather patterns to the back bottom of the parrot. TIP: You can use liquid craft glue for this project, but you will have to wait for it to dry.
STEP EIGHT
Paint scalloped lines on the body of the parrot withy kelly green acrylic craft paint. Set aside to dry.
STEP NINE
Attach the talon to the bottom of the parrot's back with a glue gun and glue sticks.
STEP TEN
To finish, draw the horizontal and vertical lines on the parrot’s beak with a black marker.
Pin it for Later!