
Get Spotty with It! Easy Ladybug Chocolate Covered Oreos!
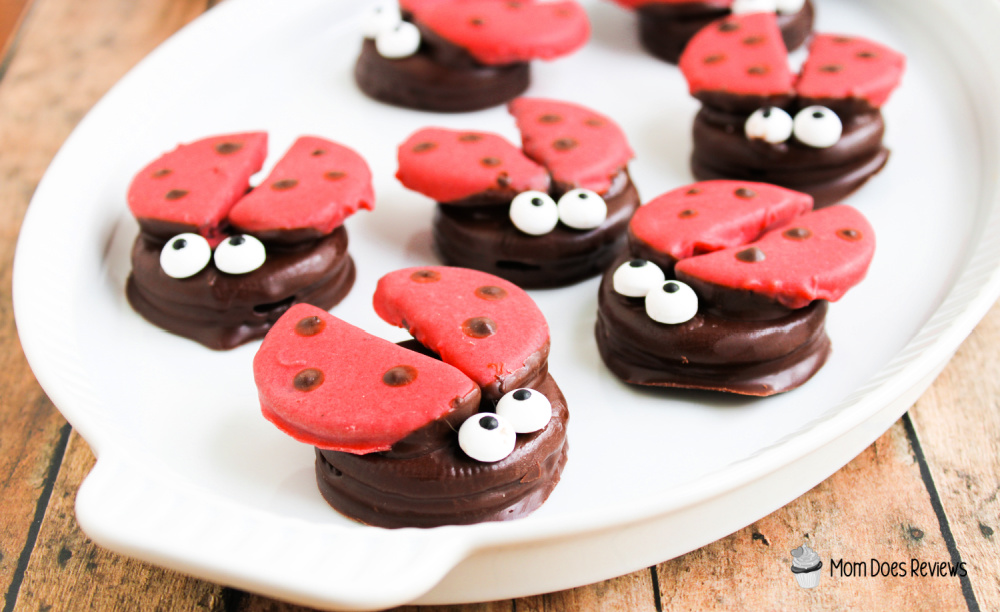
Get ready for the cutest, easiest, and most delicious no-bake treat that will fly straight into your heart: Ladybug Chocolate Covered Oreos! These adorable little edibles are perfect for spring parties, garden-themed birthdays, or just a fun afternoon activity with the kids. We’re talking about transforming ordinary Oreos into charming ladybugs with just a few simple steps and a whole lot of chocolatey fun. Get ready to sprinkle some joy and sweetness into your day!

One of the best things about this recipe? There’s absolutely no baking involved! That means it’s the perfect project for little hands to get involved. From dipping the Oreos in melted chocolate to carefully placing those candy “spots” and “eyes,” kids will love being a part of the creative process. It’s a fantastic way to practice fine motor skills, follow directions, and best of all, enjoy the yummy results of their own efforts. Prepare for giggles, maybe a little mess (it’s part of the fun!), and a whole lot of sweet memories.
So, if you’re looking for a quick, charming, and utterly delightful treat that’s a breeze to whip up, these Ladybug Chocolate Covered Oreos are your go-to. They’re visually appealing, incredibly tasty, and a fantastic way to bring a little bit of garden magic indoors. Let’s gather our ingredients and get ready to make some spot-tacular snacks that will have everyone buzzing!
More Fun Chocolate Covered Oreos:
What’s more fun than adorable Lovebug Oreos! These cute treats are not only delicious but also the perfect project for your little ones to join in the fun. With minimal ingredients and a whole lot of love, let’s dive into making these delightful Lovebug Oreos that are sure to steal the show at any Valentine’s Day or Birthday gathering.
Looking for a fun and patriotic treat to make with your kids? Look no further than these Patriotic Chocolate Covered Oreos! Not only are they delicious, but they’re also really easy to make. Plus, you can get creative and add in any other toppings or decorations that you like.
It’s the perfect time to make these easy Spring Dipped Oreos! The best part is that they don’t require any baking! Another great part, they use my favorite cookies! But, you could use any kind of Oreos you want.

If you love White Fudge Covered Oreos, you’ll love these easy Christmas Tree Oreos! You only need 4 ingredients and about 10 minutes for these fun treats!
Get into the holiday spirit with these adorable Christmas Ornament Oreos! They’re the perfect treat for holiday parties, gift exchanges, or simply to enjoy with a cup of hot cocoa. These festive cookies are easy to make and even easier to eat.
Ingredients:

- 18 to 20 Oreo cookies
- 10 oz milk chocolate melts
- 10 oz white chocolate melts
- 1 tbsp vegetable oil
- Edible Eyes
- Red food coloring
Directions:
- Line two baking sheets with parchment paper and set aside.
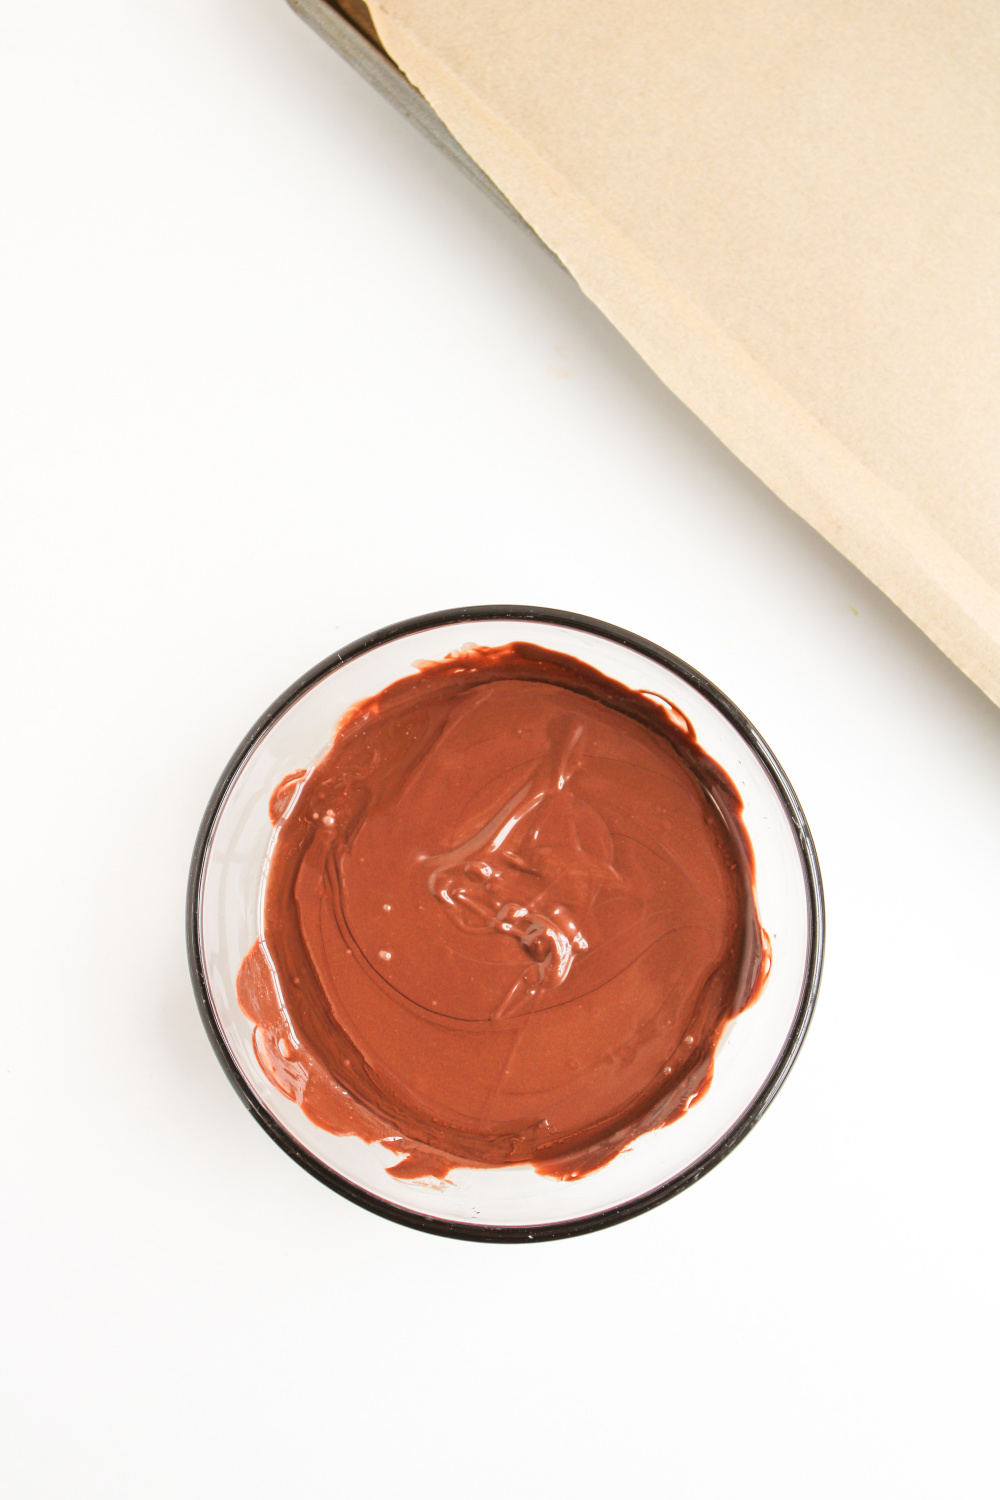
- In a microwave-safe bowl, combine the milk chocolate melts and vegetable oil. Heat in 30-second intervals, stirring between each interval, until the chocolate is fully melted and smooth.

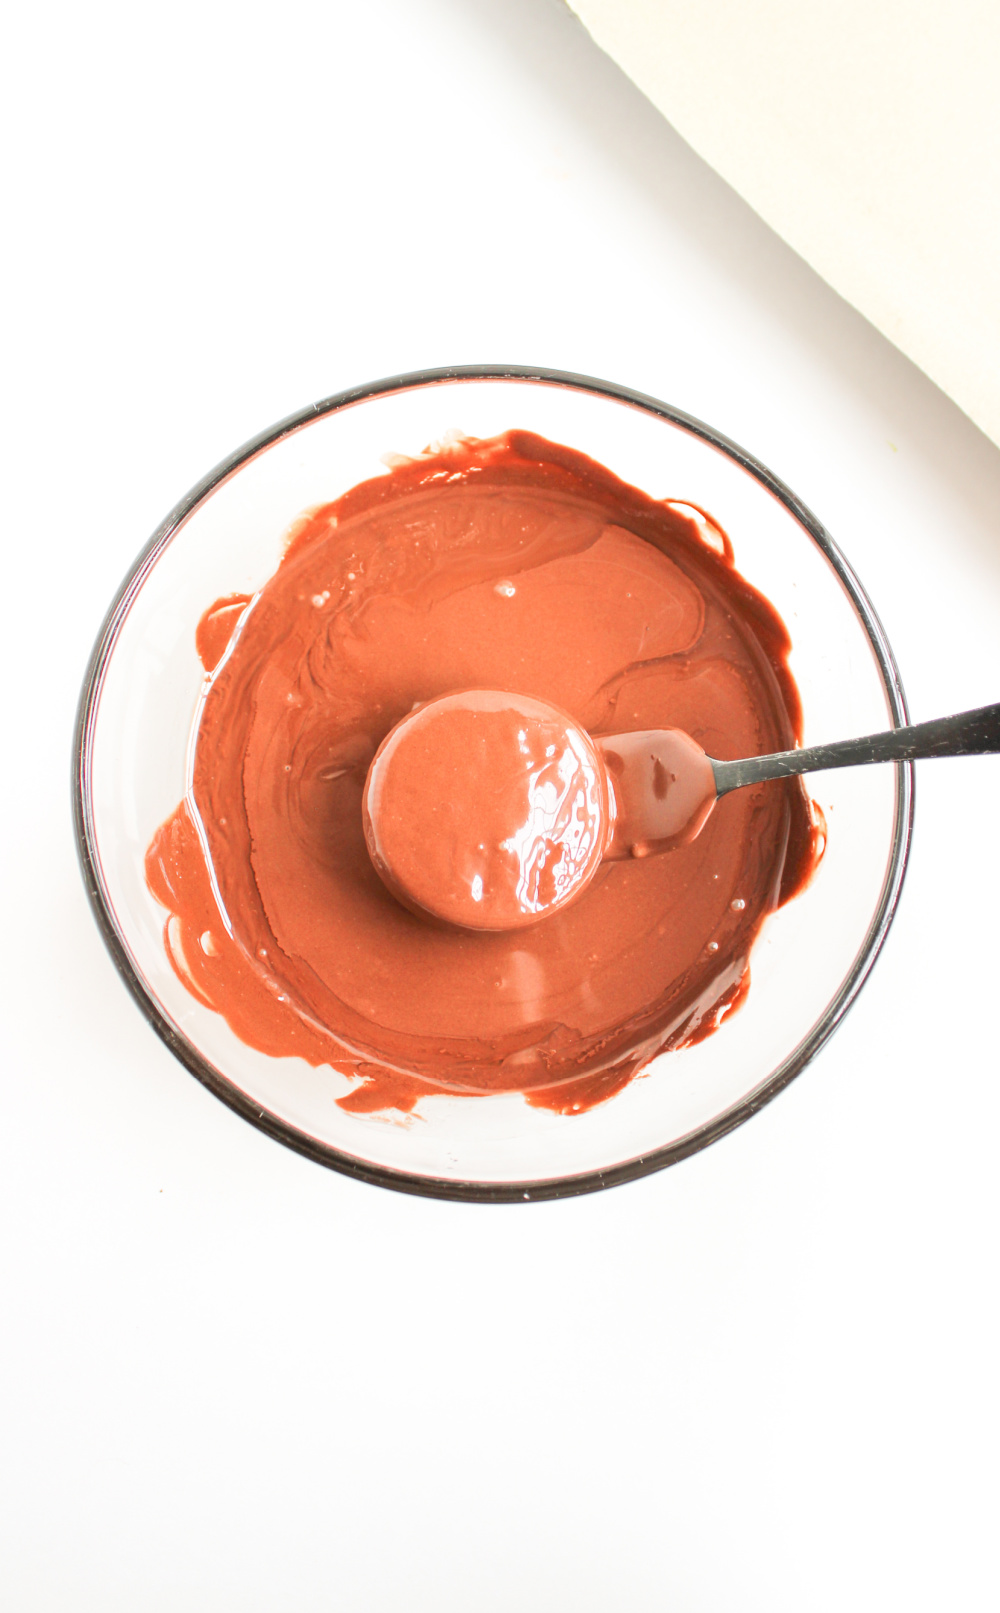
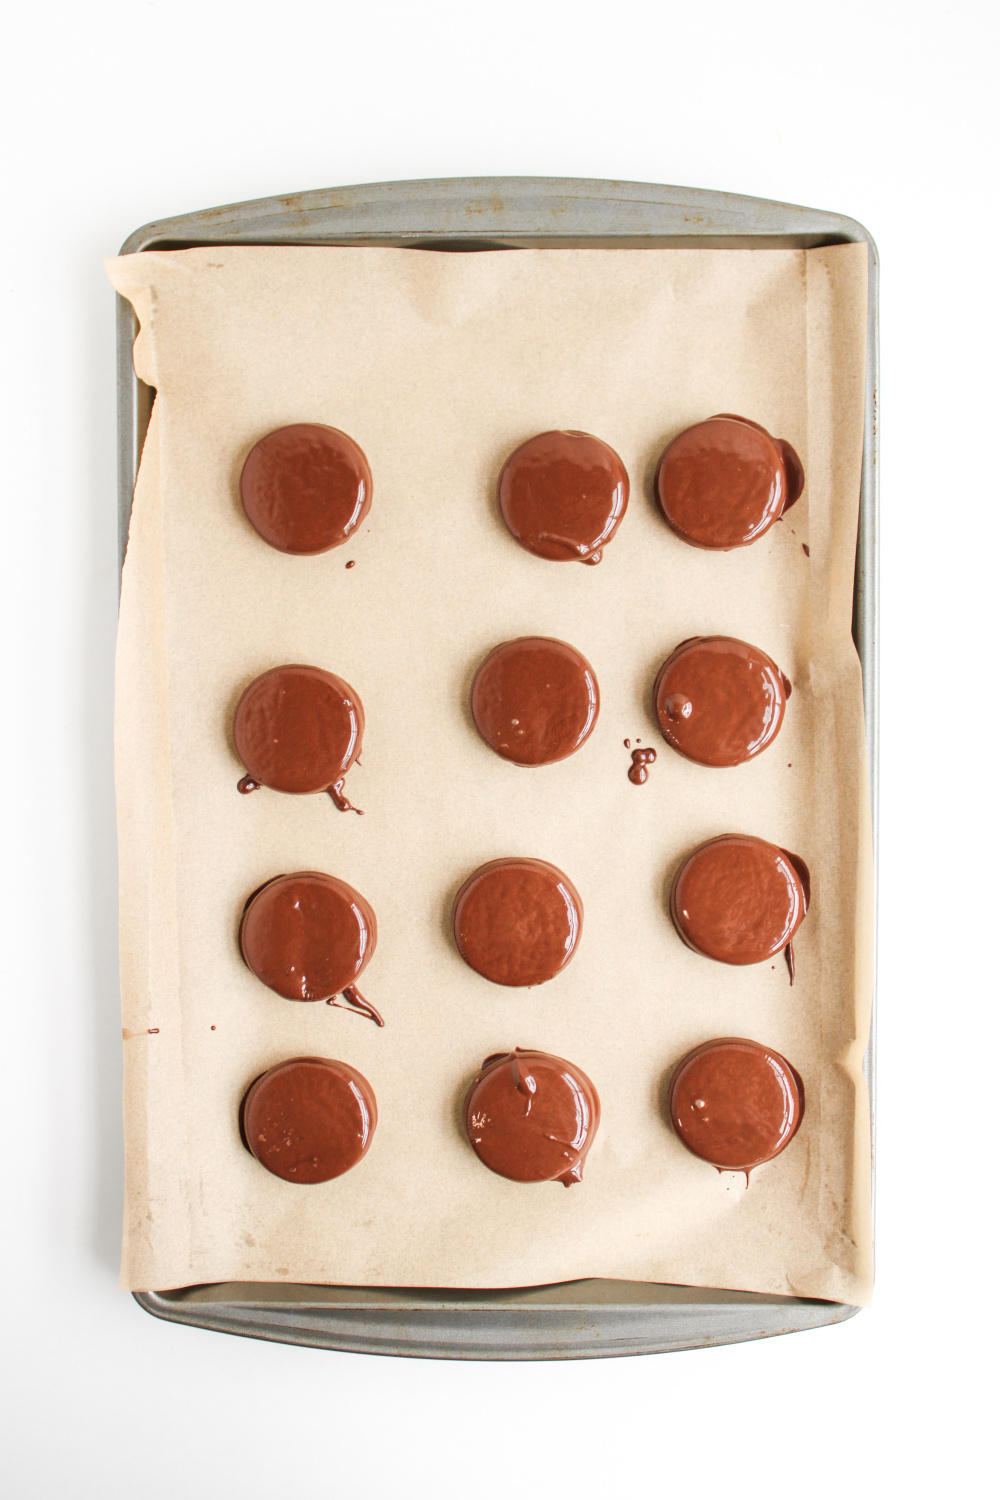
- Dip 12 Oreo cookies into the melted milk chocolate, ensuring they are fully coated.
- Gently tap off any excess chocolate, then transfer to one of the prepared baking sheets. Place the baking sheet in the fridge for about 10 minutes to allow the chocolate to harden.
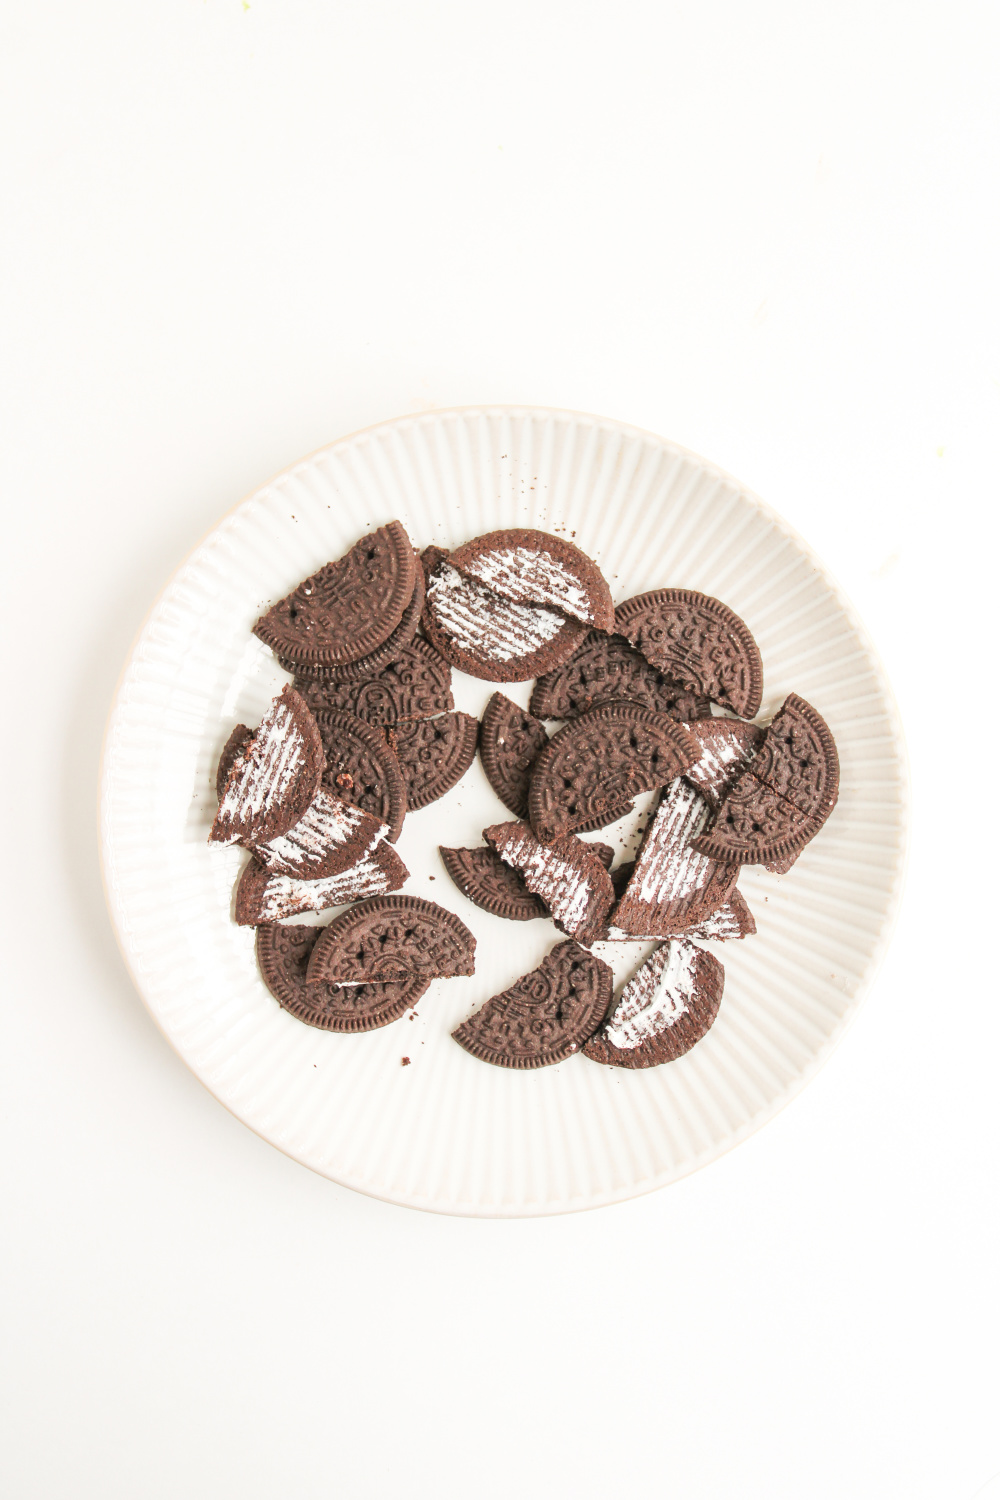
- Carefully separate the remaining Oreo cookies. Cut each cookie into halves, ensuring you don’t break them. (If needed, gently cut them in half.)
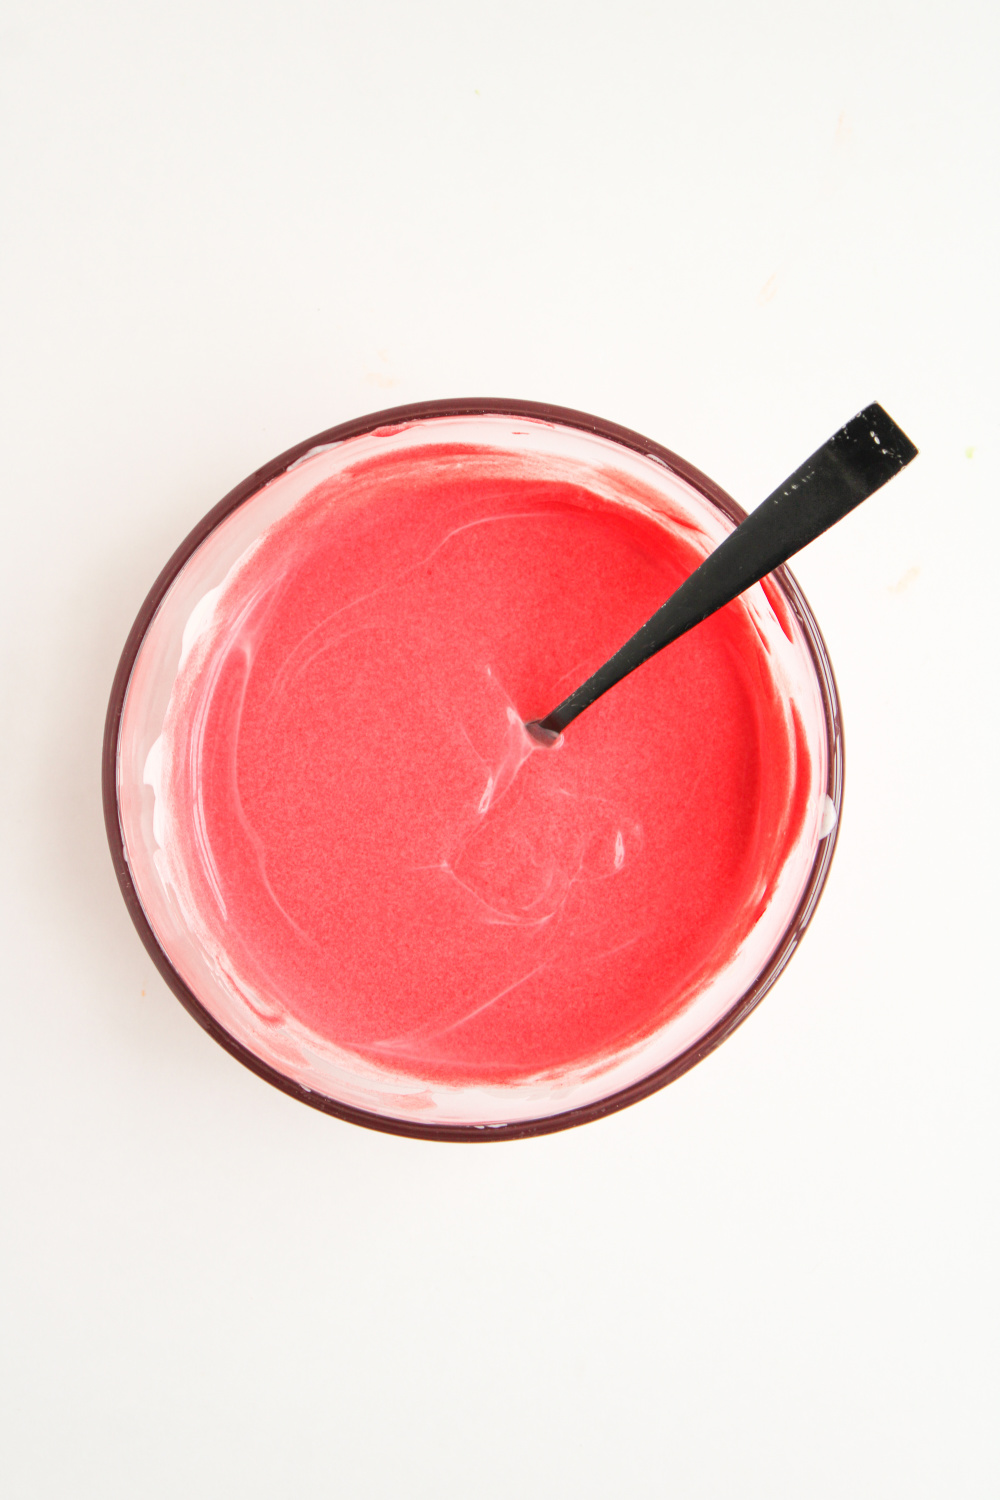
- Heat the white chocolate melts in a microwave-safe bowl, again using 30-second intervals and stirring in between. Once melted, add red food coloring, a little at a time, until the desired red color is achieved.
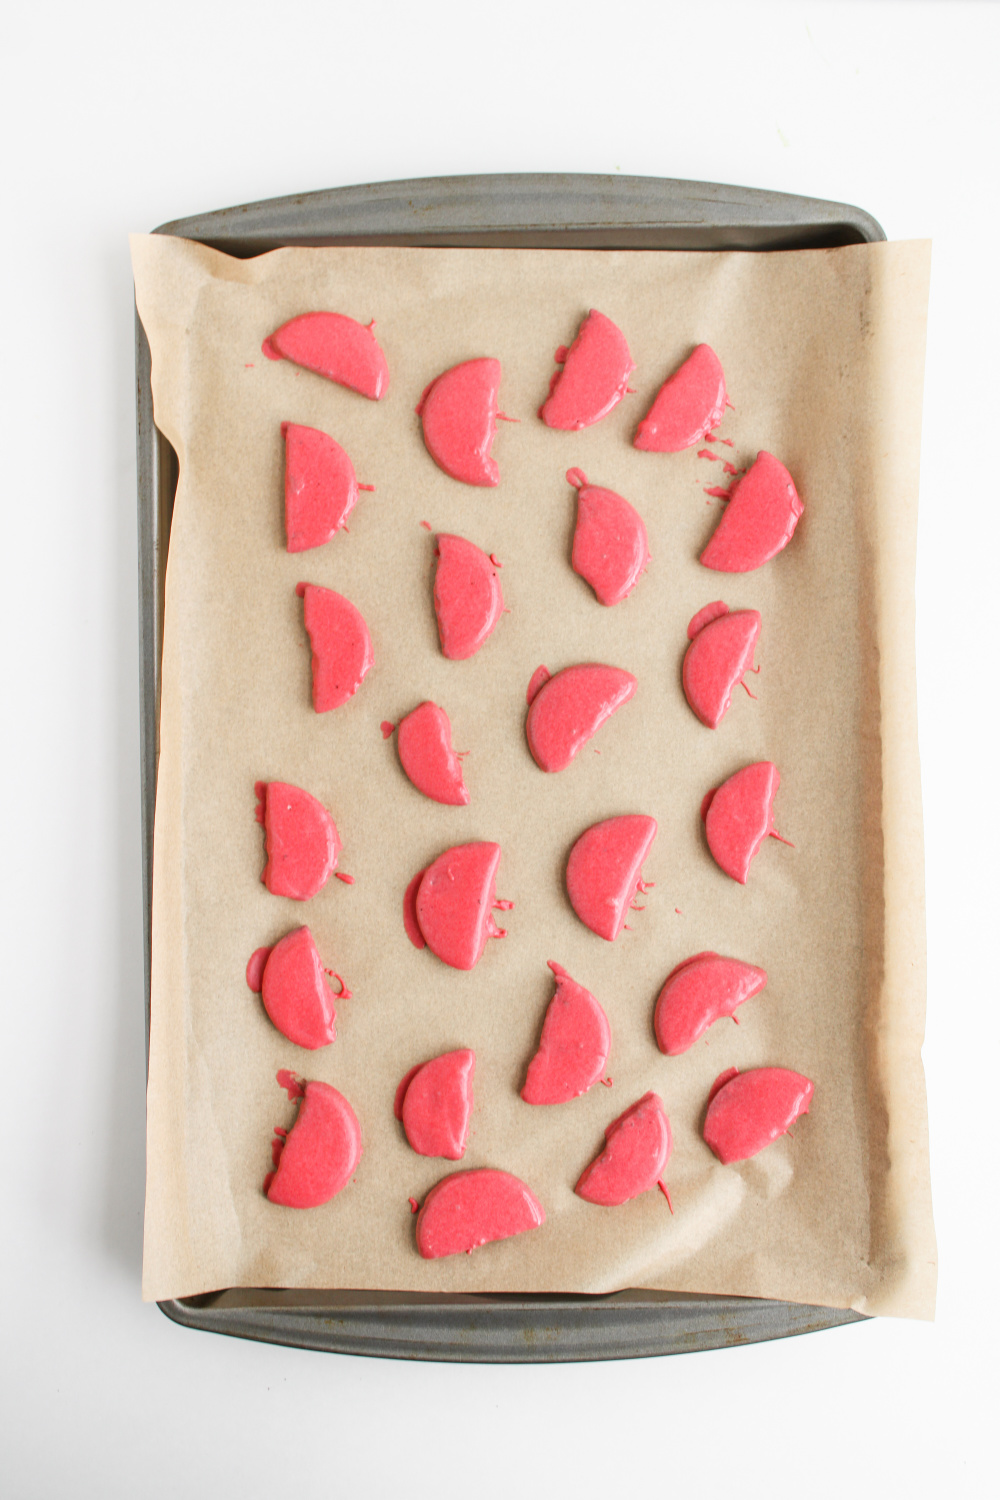
- Dip the Oreo halves into the red-colored white chocolate, ensuring both sides are fully covered. Place the halves on the second prepared baking sheet and transfer to the freezer for 10-15 minutes to harden.
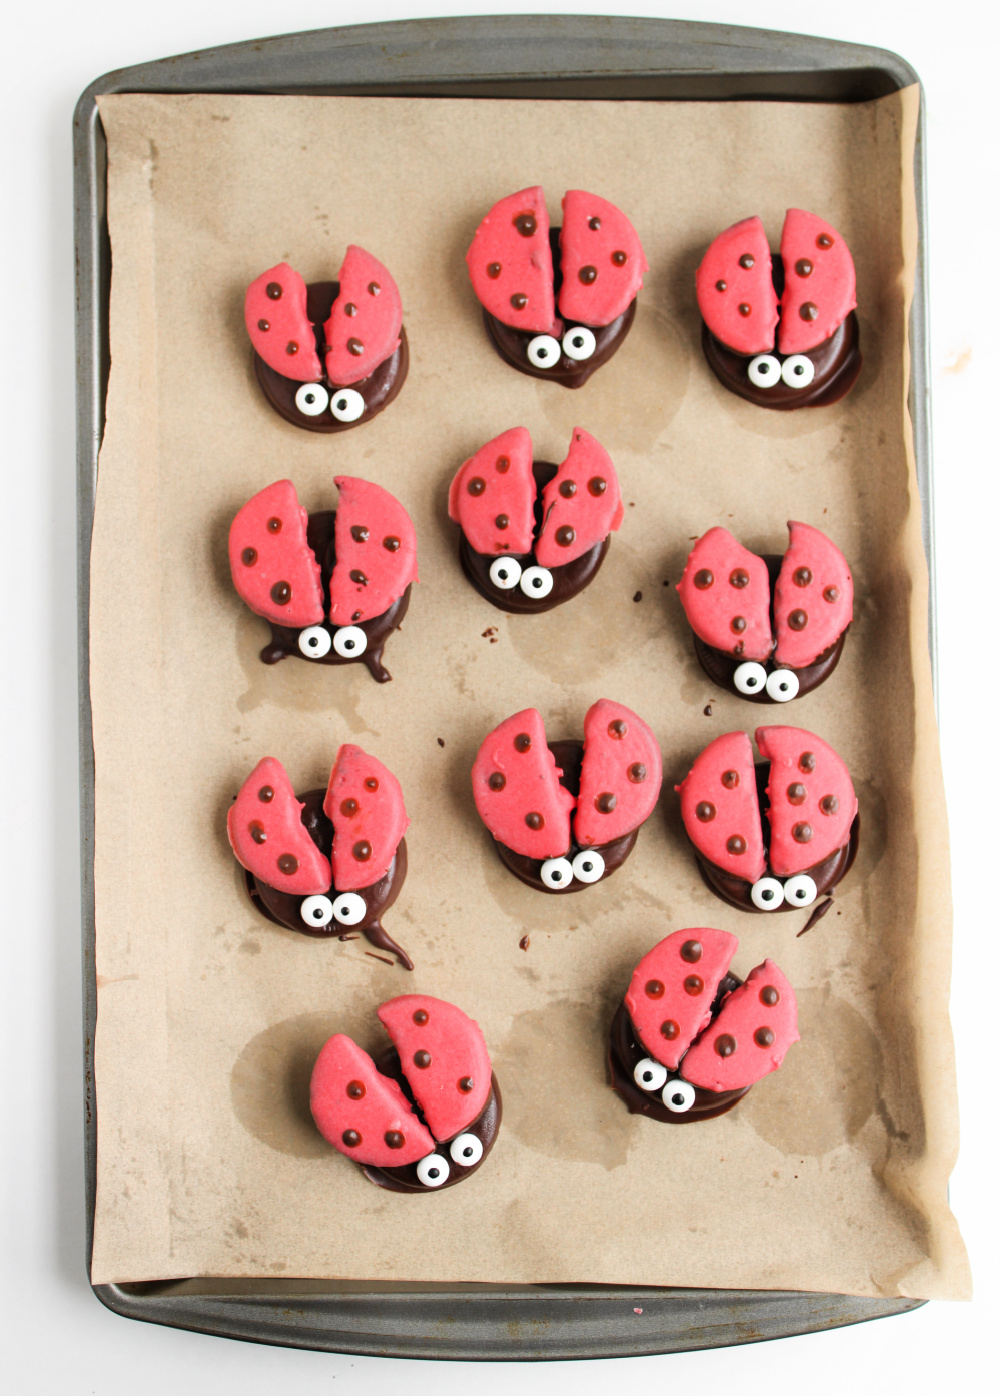
- Once the red wings have hardened, dip the bottom side of them into the remaining milk chocolate to create a thin coating. Immediately place each red wing onto a full milk chocolate-covered Oreo to form the ladybug’s wings.
- Dip the edible eyes in the remaining milk chocolate and place two eyes on the front of each cookie, near the top.
- Use a small, rounded tool (like a cake pop stick) to dip into the remaining melted milk chocolate and create small dots along the red wings to complete the ladybug look.
- Allow the chocolate to fully harden on the cookies before serving, about 10 minutes in the fridge.




Notes:
- Make sure the Oreo halves are carefully separated to avoid cracking.
- The vegetable oil will help the chocolate melt more evenly and create a smoother finish.

Print the easy Recipe:

Ladybug Chocolate Covered Oreos
So, if you're looking for a quick, charming, and utterly delightful treat that's a breeze to whip up, these Ladybug Chocolate Covered Oreos are your go-to. They're visually appealing, incredibly tasty, and a fantastic way to bring a little bit of garden magic indoors
Ingredients
- 18 to 20 Oreo cookies
- 10 oz milk chocolate melts
- 10 oz white chocolate melts
- 1 tbsp vegetable oil
- Edible eyes
- Red food coloring
Instructions
- Line two baking sheets with parchment paper and set aside.
- In a microwave-safe bowl, combine the milk chocolate melts and vegetable oil. Heat in 30-second intervals, stirring between each interval, until the chocolate is fully melted and smooth.
- Dip 12 Oreo cookies into the melted milk chocolate, ensuring they are fully coated. Gently tap off any excess chocolate, then transfer to one of the prepared baking sheets. Place the baking sheet in the fridge for about 10 minutes to allow the chocolate to harden.
- Carefully separate the remaining Oreo cookies. Cut each cookie into halves, ensuring you don't break them. (If needed, gently cut them in half.)
- Heat the white chocolate melts in a microwave-safe bowl, again using 30-second intervals and stirring in between. Once melted, add red food coloring, a little at a time, until the desired red color is achieved.
- Dip the Oreo halves into the red-colored white chocolate, ensuring both sides are fully covered. Place the halves on the second prepared baking sheet and transfer to the freezer for 10-15 minutes to harden.
- Once the red wings have hardened, dip the bottom side of them into the remaining milk chocolate to create a thin coating. Immediately place each red wing onto a full milk chocolate-covered Oreo to form the ladybug's wings.
- Dip the edible eyes in the remaining milk chocolate and place two eyes on the front of each cookie, near the top.
- Use a small, rounded tool (like a cake pop stick) to dip into the remaining melted milk chocolate and create small dots along the red wings to complete the ladybug look.
- Allow the chocolate to fully harden on the cookies before serving, about 10 minutes in the fridge.
Pin it for Later!


full seo optimizasyon buyhacklink.com etkili buyhacklink.com https://www.jadekusadasi.com/