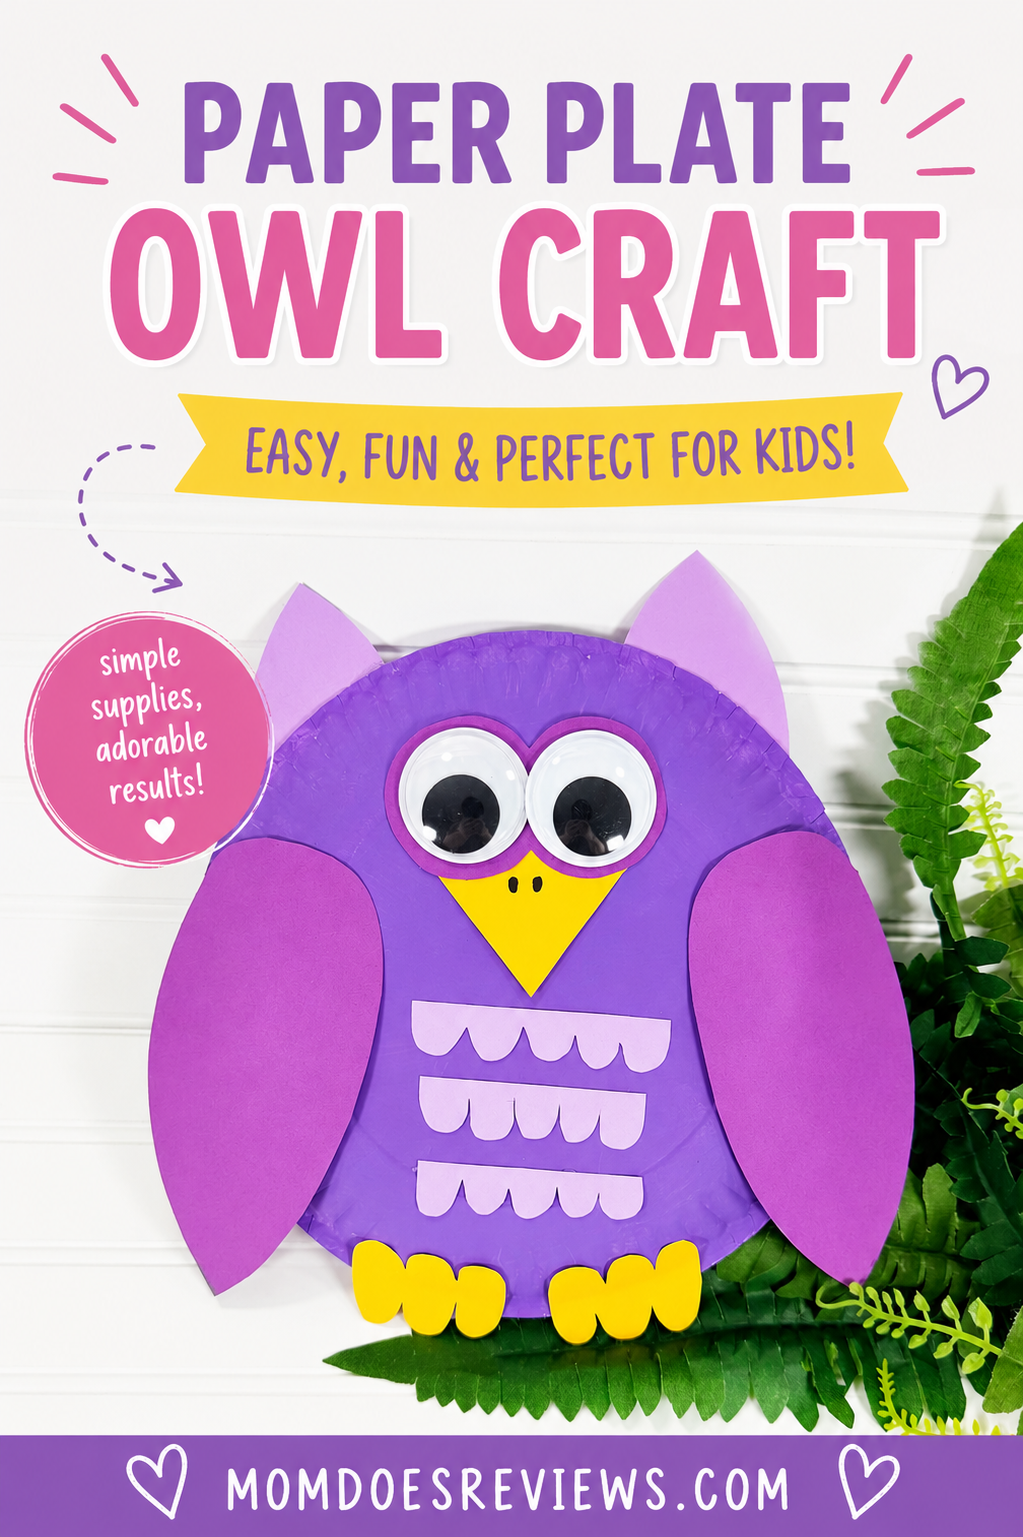
Paper Plate Owl Craft: A Fun Learning Activity for Kids
Looking for a fun and affordable craft to keep little hands busy? This adorable Paper Plate Owl Craft is the perfect activity for preschoolers, kindergarteners, and elementary-aged kids. Using a simple paper plate and a few inexpensive craft supplies, children can create their very own colorful owl while practicing important developmental skills.
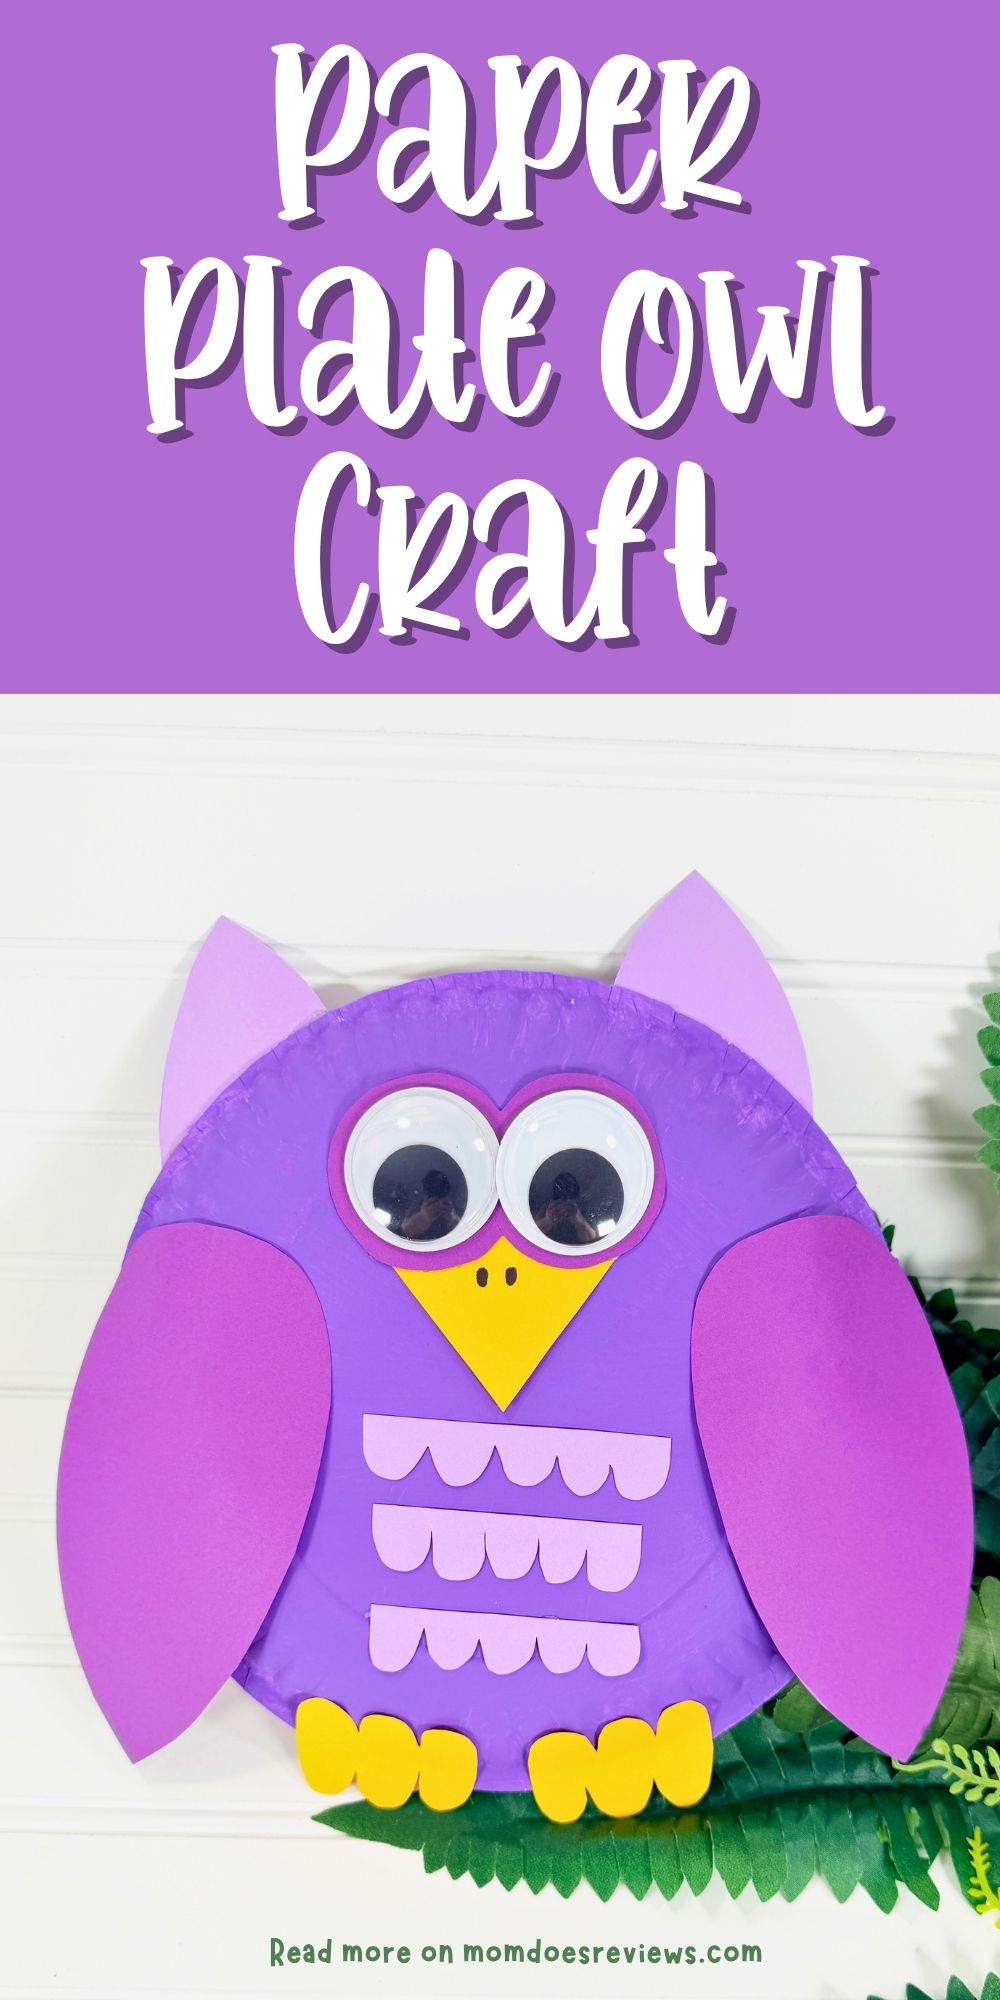
One of my favorite things about this craft is how versatile it is. Kids can choose their favorite colors, decorate their owl with unique patterns, and make each creation completely their own. Along the way, they’ll be strengthening fine motor skills through cutting, gluing, and assembling the various pieces. It’s also a wonderful opportunity to introduce counting activities, shape recognition, and even a conversation about owls and wildlife.
Best of all, this Paper Plate Owl Craft comes together in about 30 minutes, making it ideal for classroom projects, homeschool lessons, rainy afternoons, or weekend family fun. Whether you’re looking for a budget-friendly Dollar Store craft or simply need a screen-free activity for the kids, this cute owl is sure to be a hit!
More Paper Plate Crafts:
If you’re looking for a fun and colorful activity for kids, this Paper Plate Parrot Craft is a perfect choice. Using a simple paper plate from the Dollar Store, kids can create a vibrant parrot full of personality.
Get ready to crawl into a world of crafting fun because we have the perfect project to get those creative juices flowing! Our delightful Dollar Store Paper Plate Caterpillar Craft is here to prove that a simple paper plate can be transformed into the cutest, most charming little caterpillar.

In need of a fun and magical craft to spark some creativity in your kids? If they love all things unicorns, get ready for a crafting adventure they won’t forget! This super cute Unicorn Paper Plate Craft is the perfect way to spend a whimsical afternoon, transforming simple supplies into a mythical friend that’s full of sparkle and charm.
Get ready to stomp into a world of prehistoric fun! Our delightful Dollar Store Paper Plate Dinosaur Craft is here to prove that a simple paper plate can be transformed into the most adorable and playful dinosaur.
Materials:
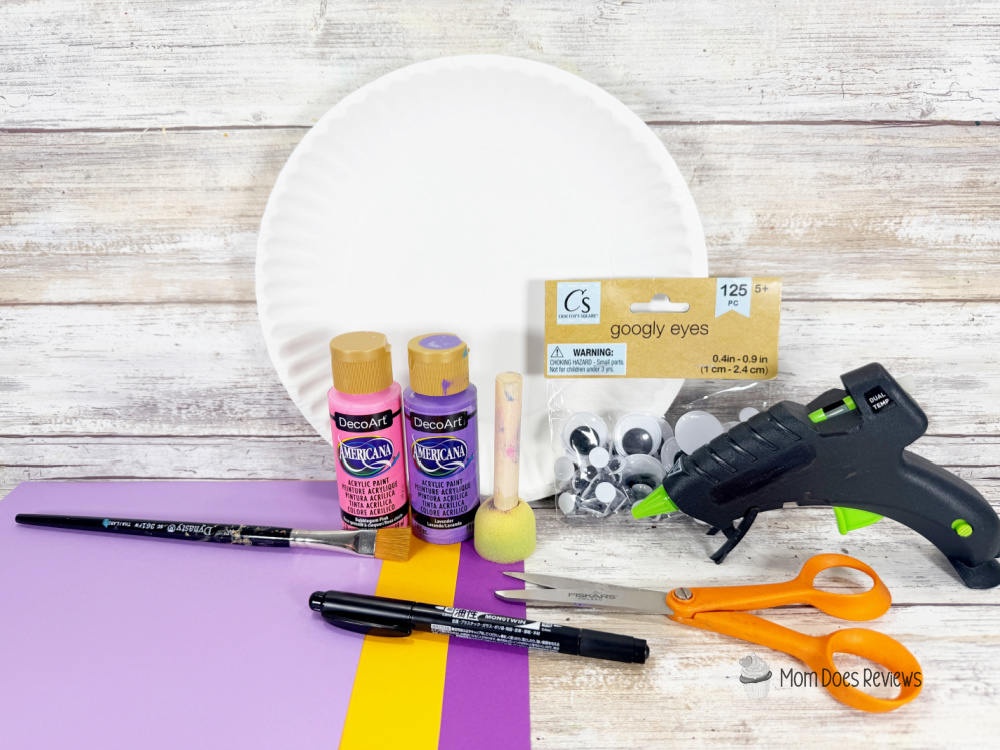
- Paper Plate – Dollar Store
- Wiggle Eyes – Dollar Store
- Cardstock – Purple, Lavender, Yellow
- Acrylic Craft Paint – Lavender
- Glue Gun and Glue Sticks
- Paintbrush
- Scissors
- Pencil
- Permanent Marker, Black
- PATTERNS- print here
Instructions:
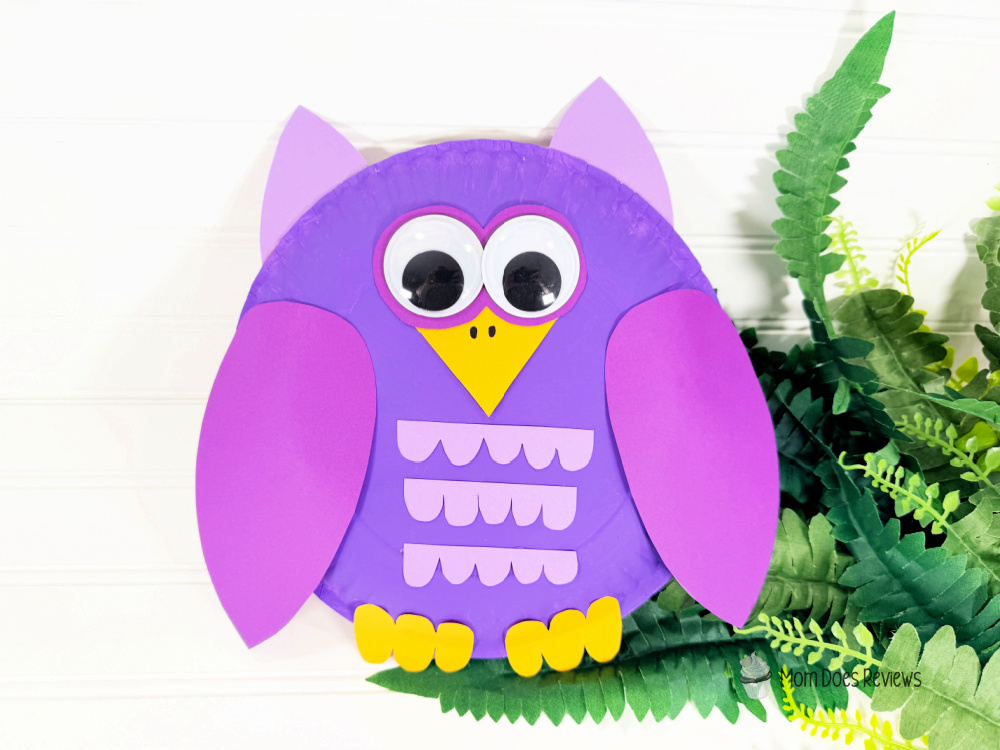
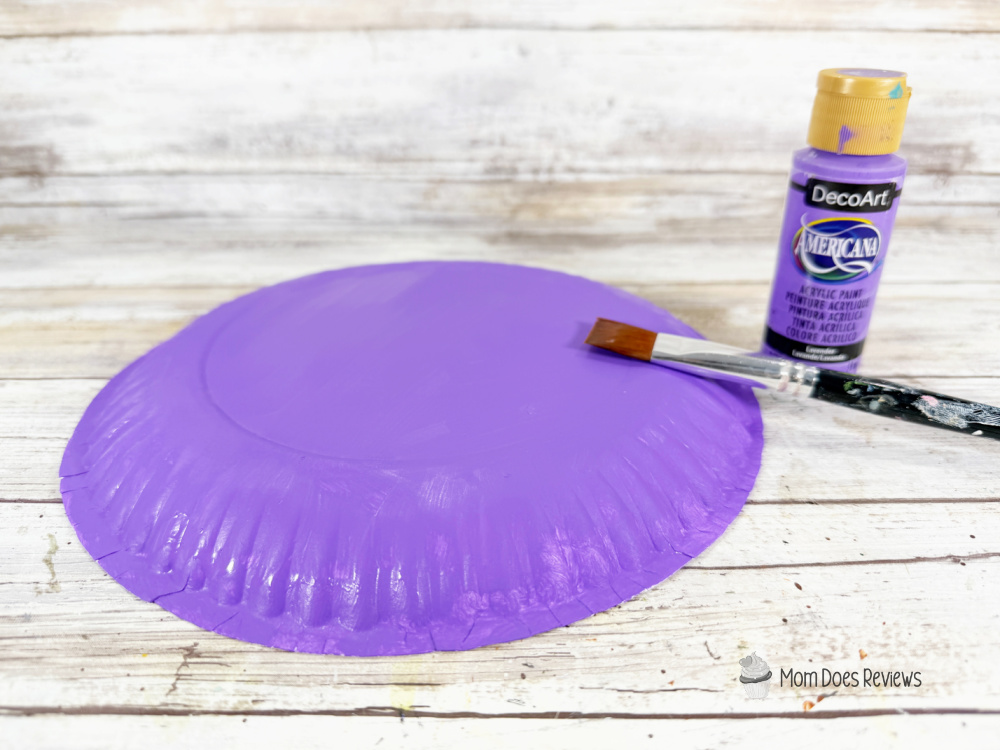
- Gather all supplies. Basecoat the outside of the paper plate with lavender acrylic craft paint. Set aside to dry and apply a second coat, if necessary.

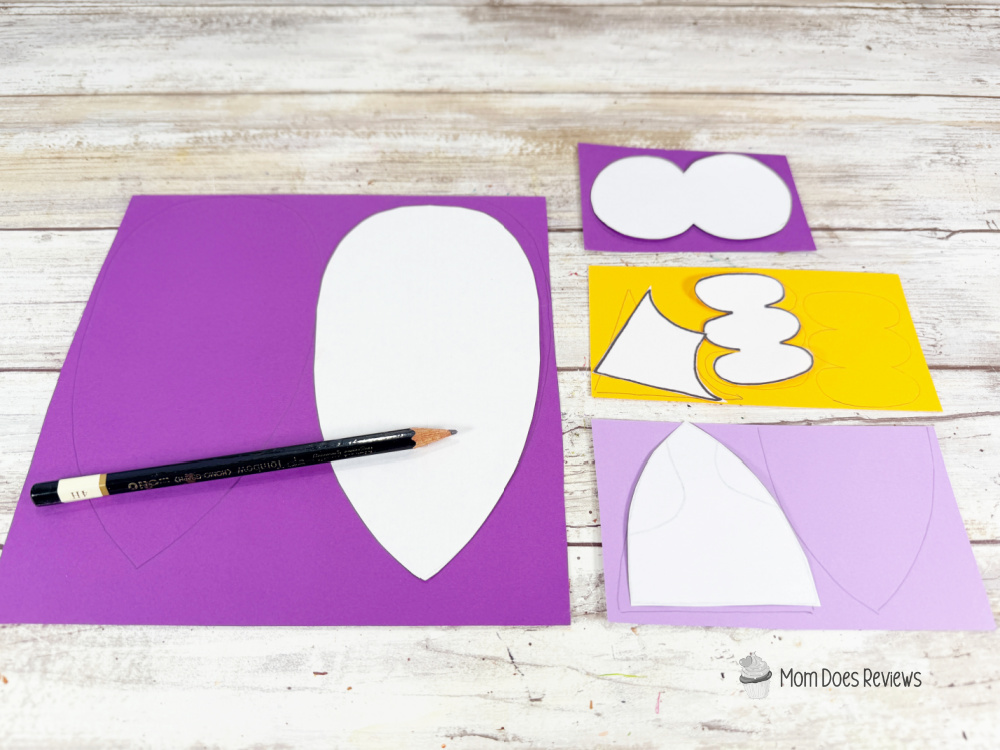
- Download and print the owl patterns, then cut out with scissors. Trace the beak once and the talons twice onto yellow cardstock. Trace the wings twice and the eyes once onto purple cardstock. Trace the feathers three times and the ears twice onto lavender cardstock with a pencil. You could also use colored craft foam, construction paper, or craft felt for this project.
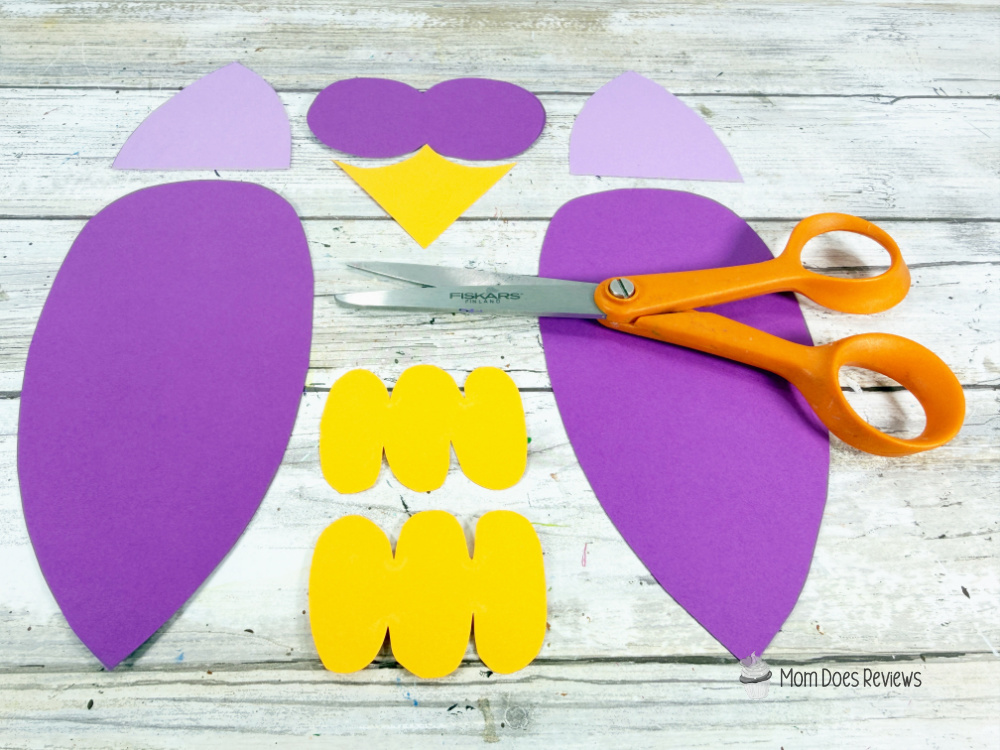
- Cut out the owl patterns with scissors, making sure to cut inside the traced lines for a clean, finished project.
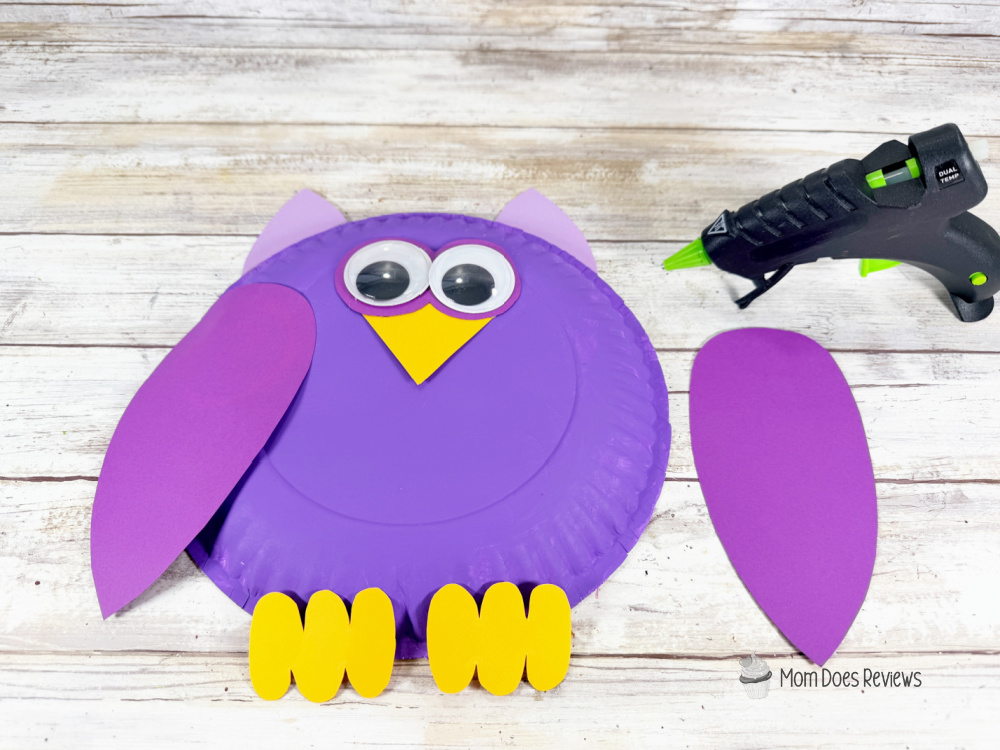
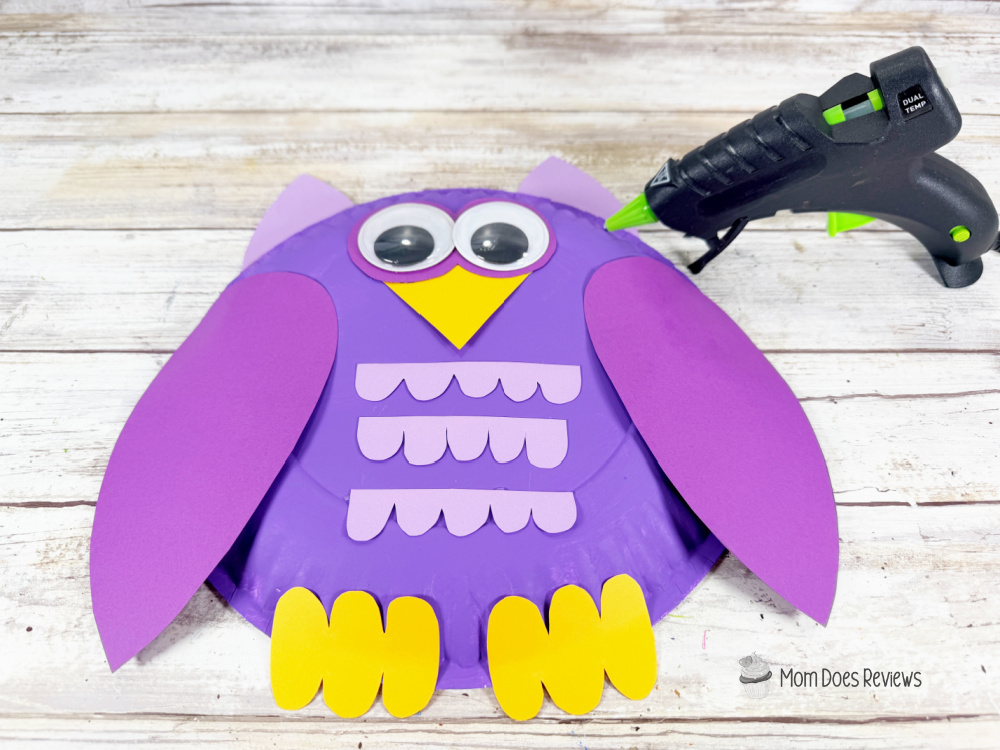
- Attach the ears, wings, and talons to the edge of the paper plate with a glue gun and glue sticks. Glue the eyes and beak to the inside of the paper plate. Attach two wiggle eyes to the owl’s face with a glue gun and glue sticks. TIP: You can use liquid craft glue for this project, but you will have to wait for it to dry.
- Attach the three rows of feathers to the owl’s chest with a glue gun and glue sticks.
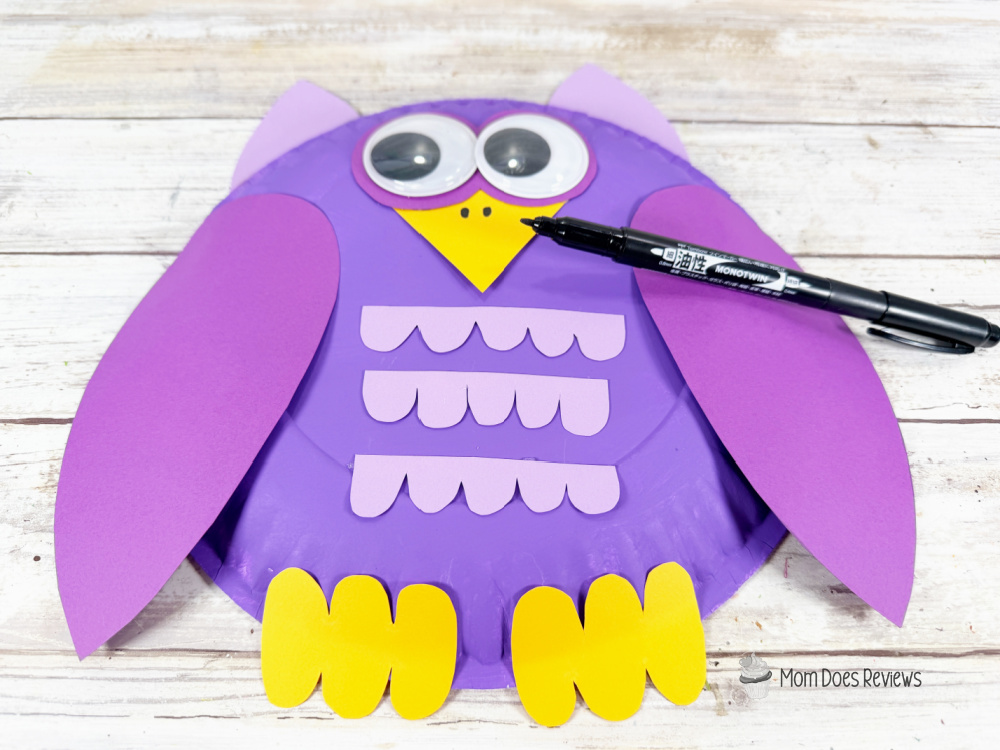
- To finish, draw two ovals at the top center of the owl’s beak with the black marker.
Print the Instructions:

Dollar Store Paper Plate Owl Craft
Create an adorable Paper Plate Owl Craft using simple Dollar Store supplies! This easy kids craft helps build fine motor skills, counting skills, and creativity in just 30 minutes.
Materials
- Paper Plate – Dollar Store
- Wiggle Eyes – Dollar Store
- Cardstock - Purple, Lavender, Yellow
- Acrylic Craft Paint - Lavender
Tools
- Glue Gun and Glue Sticks – Dollar Store
- Paintbrush
- Scissors
- Pencil
- Permanent Marker, Black
Instructions
STEP ONE
Gather all supplies. Basecoat the outside of the paper plate with lavender acrylic craft paint. Set aside to dry and apply a second coat, if necessary.
STEP TWO
Download and print the owl patterns, then cut out with scissors. Trace the beak once and the talons twice once onto yellow cardstock. Trace the wings twice and the eyes once onto purple cardstock. Trace the feathers three times and the ears twice onto lavender cardstock with a pencil. You could also use colored craft foam, construction paper, or craft felt for this project.
STEP THREE
Cut out the owl patterns with scissors, making sure to cut inside the traced lines for a clean, finished project.
STEP FOUR
Attach the ears, wings, and talons to the edge of the paper plate with a glue gun and glue sticks. Glue the eyes and beak to the inside of the paper plate. Attach two wiggle eyes to the owl’s face with a glue gun and glue sticks. TIP: You can use liquid craft glue for this project, but you will have to wait for it to dry.
STEP FIVE
Attach the three rows of feathers to the owl’s chest with a glue gun and glue sticks.
STEP SIX
To finish, draw to ovals at the top center of the owl’s beak with the black marker.
Pin it for Later!