
Ditch the Dishes, Grab a Bag: Walking Banana Pudding Fun for Everyone!
Forget fancy plates and messy spoons! This Walking Banana Pudding recipe is all about fun, portability, and, of course, deliciousness. It’s the perfect sweet treat for kids’ parties, backyard BBQs, picnics, or just a lazy afternoon snack.

Imagine this: individual bags of Nilla wafers transformed into mini pudding cups, layered with creamy vanilla pudding, fresh banana slices, and a dollop of whipped cream. Top it all off with a cherry for the ultimate sweet and satisfying bite!
This recipe is not only portable but also incredibly easy to make. With just a few simple ingredients, you can whip up a crowd-pleasing dessert that’s sure to be a hit with everyone. And the best part? It’s a fantastic opportunity to get the kids involved!
Little Hands, Big Fun:
Kids love getting their hands dirty (or in this case, pudding-y!), and this recipe is perfect for them to help with. They can crush some cookies, slice the bananas, and even decorate the tops with whipped cream and cherries. It’s a fun and engaging activity that gets them excited about dessert time.
Beyond the Banana:
While the classic banana pudding is always a winner, feel free to get creative with your fillings! Here are a few other “walking dessert” ideas to inspire you:
- Chocolate Chip Cookie Dough Delight: Swap the vanilla pudding for chocolate pudding and add mini chocolate chips to the mix.
- Strawberry Shortcake Surprise: Layer sliced strawberries with whipped cream and crumbled pound cake for a refreshing twist.
- S’mores on the Go: Toast some mini marshmallows and layer them with chocolate ganache and crushed graham crackers for a campfire classic.
So ditch the traditional dessert routine and embrace the fun of walking banana pudding! It’s a delicious, portable, and engaging treat that’s perfect for any occasion.

Check out these easy no-bake desserts your whole family will love:
If you’re looking for a hassle-free dessert experience, check out our no-bake Strawberry Twinkie Cake recipe! This recipe combines the classic charm of Twinkies with the lusciousness of fresh strawberries, resulting in a delectable treat that will leave you craving for more.
If you are looking for a super simple yet elegant dessert, then look no further than this delicious No-Bake Cherry Cheesecake! It is made with simple ingredients and is super easy to put together.
These No-Bake Pumpkin Vanilla Cheesecake Mini Trifles is enough to make you drool! With the deliciousness of the combined flavors and the oh-so-easy recipe, you AND your family will be in love! And, did I mention it is an easy after-dinner dessert when entertaining guests?
Walking Banana Pudding Ingredients:
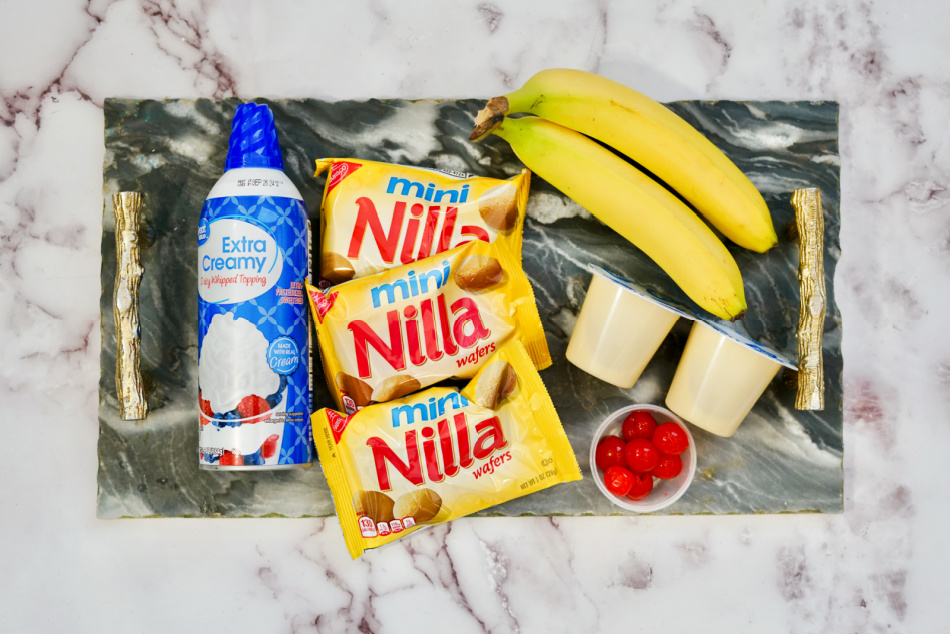
- 3 or more Mini Nilla Wafer Cookies (individual bags)
- Bananas
- Vanilla Pudding Cups (1 for each dessert)
- Whipped Cream
- Cherry
Walking Banana Pudding Instructions:
Preparation:
1: Open the Cookie Bags: Carefully cut open the top of each individual Nilla wafer bag. You can use scissors or a knife, but be gentle to avoid tearing the bag itself.
2: Fold the Top Down (Optional): For easier filling, you can fold the top of the opened bag down slightly to create a small “collar” around the opening. This helps keep the contents inside while you layer the ingredients.
Assembly:
1: Add Vanilla Pudding: Spoon a generous amount of vanilla pudding into each bag. Don’t overfill, as you want to leave room for the other layers.
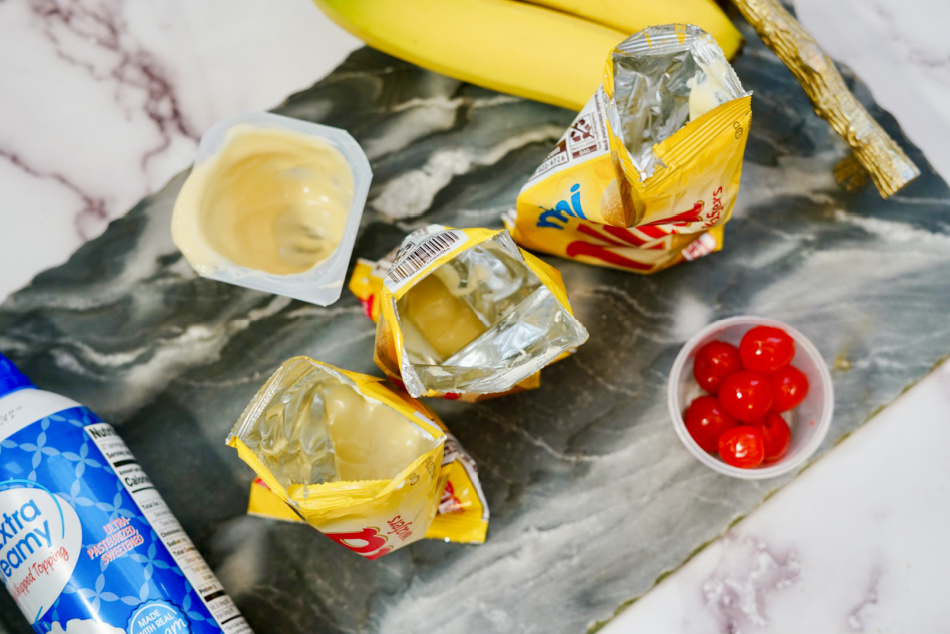 2: Layer Bananas: Add a few slices of banana to each bag on top of the pudding. You can adjust the amount based on your preference.
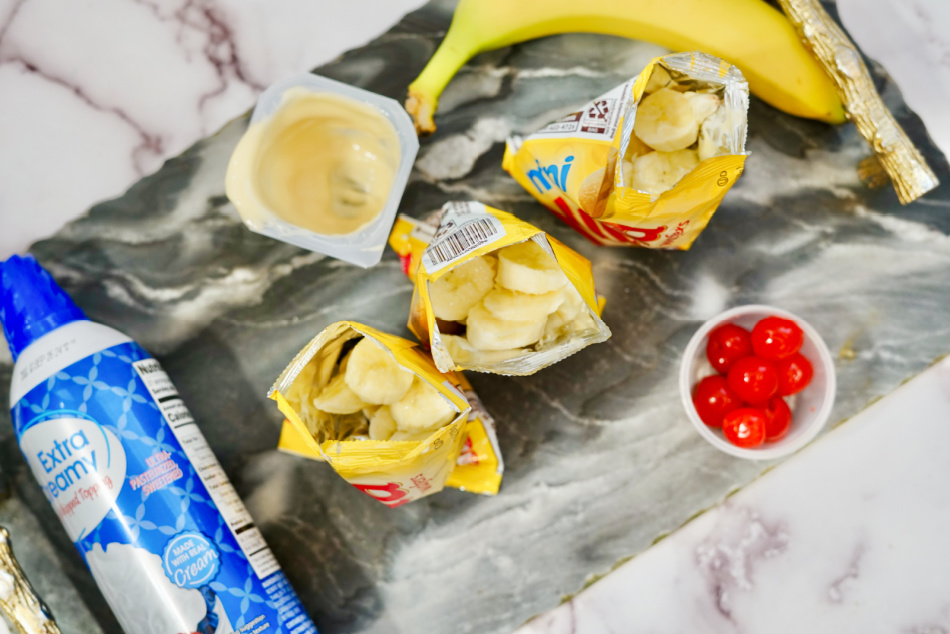
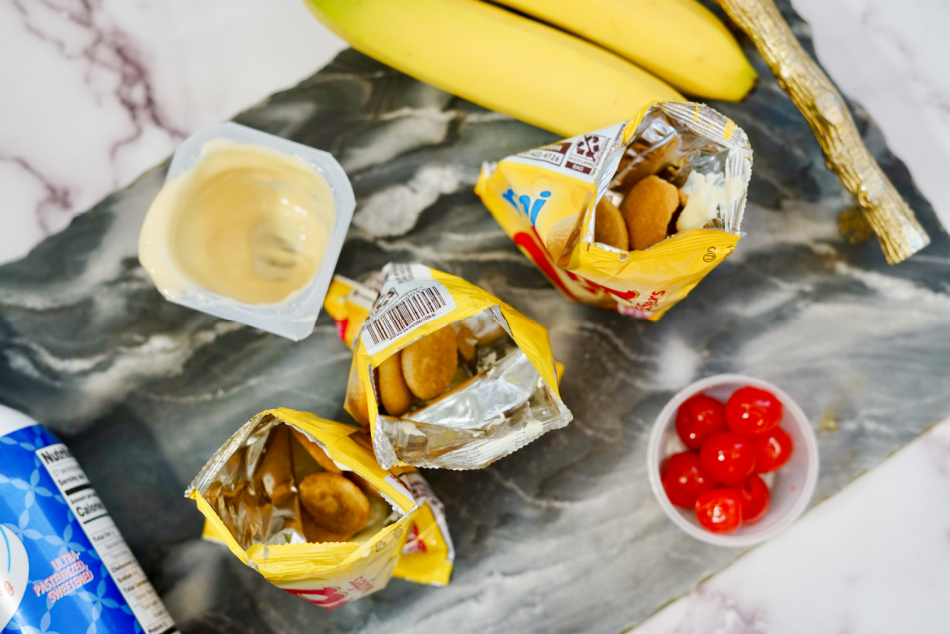
3: Add Cookies: Crumble (or leave them whole) a few cookies from the bag and sprinkle them over the bananas. This adds a nice textural contrast.
4: Top with Whipped Cream: Dollop a generous amount of whipped cream on top of each bag. You can use store-bought whipped cream or make your own for a fresh touch.
5: Cherry on Top (Optional): For a festive touch, add a maraschino cherry to the top of the whipped cream in each bag.
Tips:
- Keep it Cold: Since this dessert doesn’t involve baking, it’s important to keep it chilled until serving. You can store the assembled bags in the refrigerator for up to a few hours before they get soggy.
- Get Messy! This is a fun and interactive treat, so don’t be afraid to get a little messy! Let the kids help with the layering and decorating for a truly enjoyable experience.
FAQs:
- Can I use a different type of cookie? Absolutely! Feel free to experiment with different flavors like chocolate wafers, graham crackers, or even shortbread cookies.
- Do I have to use fresh bananas? Not necessarily. You can use frozen banana slices if you prefer, just be sure to thaw them slightly before adding them to the bags.
- How long will these walking pudding bags stay fresh? It’s best to enjoy them within a few hours of assembly, as the cookies can become soggy over time.
- Can I make these ahead of time? You can pre-portion the cookies and pudding into the bags, but wait to add the banana slices and whipped cream until just before serving.
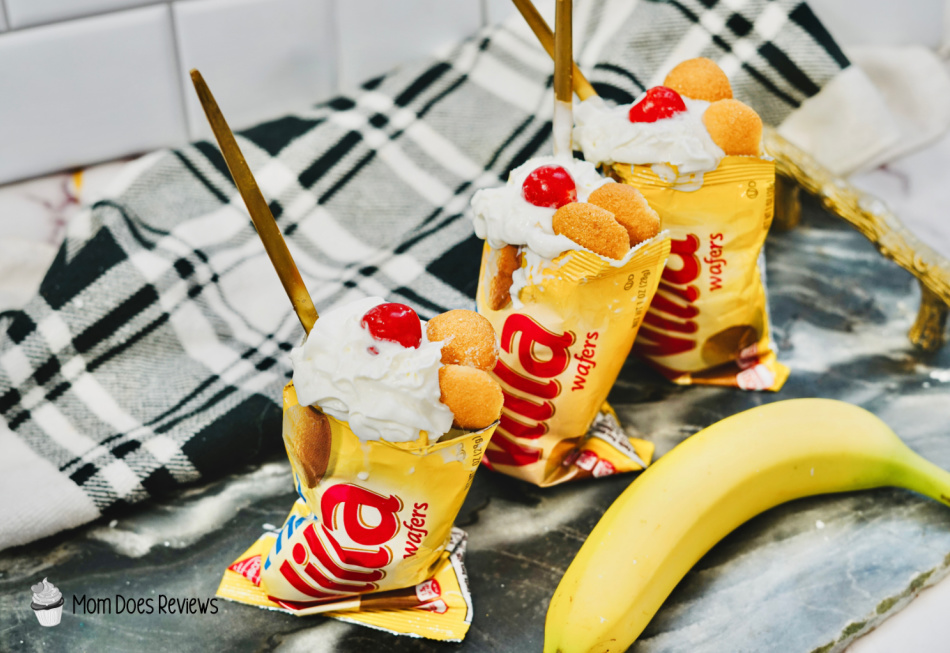
With these tips and answers to your questions, you’re all set to create a fun and delicious walking banana pudding experience that everyone will love!
Enjoy!
Serve your walking banana pudding bags with spoons or napkins for easy enjoyment. They’re perfect for picnics, backyard barbecues, kids’ parties, or simply a fun and delicious after-school snack.
Print the Recipe Tutorial:
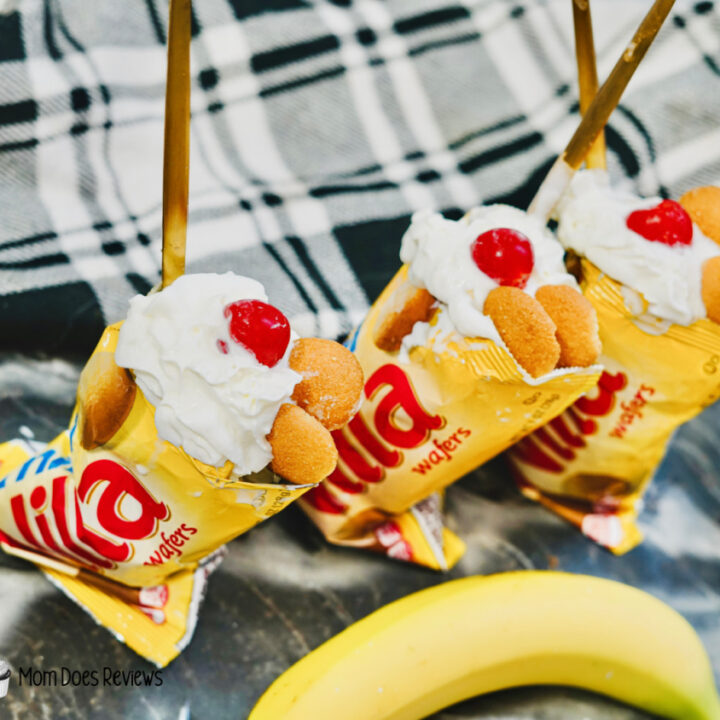
Easy Walking Banana Pudding
Ditch the traditional dessert routine and embrace the fun of walking banana pudding! It's a delicious, portable, and engaging treat that's perfect for any occasion.
Ingredients
- Nilla Wafer Cookies
- Banana
- Vanilla Pudding Cups
- Whipped Cream
- Cherry
Instructions
Remove the cookies from the bags.
Add vanilla pudding into each bag.
Add banana slices and cookies.
Top with whipped cream & and cherry.
Enjoy this portable dessert with a spoon and plenty of napkins!
Pin it for Later!

