
This fun Dollar Tree Bee Happy Wreath Craft will put a smile on everyone’s face. Print the list of supplies and head to the Dollar Tree. This unique craft is worth the time and energy. I love the farmhouse decor look!

Check out more Dollar Tree/Dollar Store Crafts!
We have quite a few of them! Head on over and take a look at all our dollar store crafts. I am sure you will find at least a couple to try!
Here are a few of my favorites:
Grab some simple Dollar Store clay pots and doilies to create the cutest Fourth of July bugs! These Patriotic Clay Pot Bugs are the cutest- don’t you agree? This is a fun activity to keep the kiddos busy with counting and motor skills.
We also have a couple of fun Flip Flop Dollar Store crafts like this Hello Sign and this Life is Better in Flip Flops sign that would be perfect to adorn your door this coming Summer?
We even have 20+ Creative Dollar Store Farmhouse Decor Ideas You Will Love!
Bee Happy Wreath Supplies Needed:
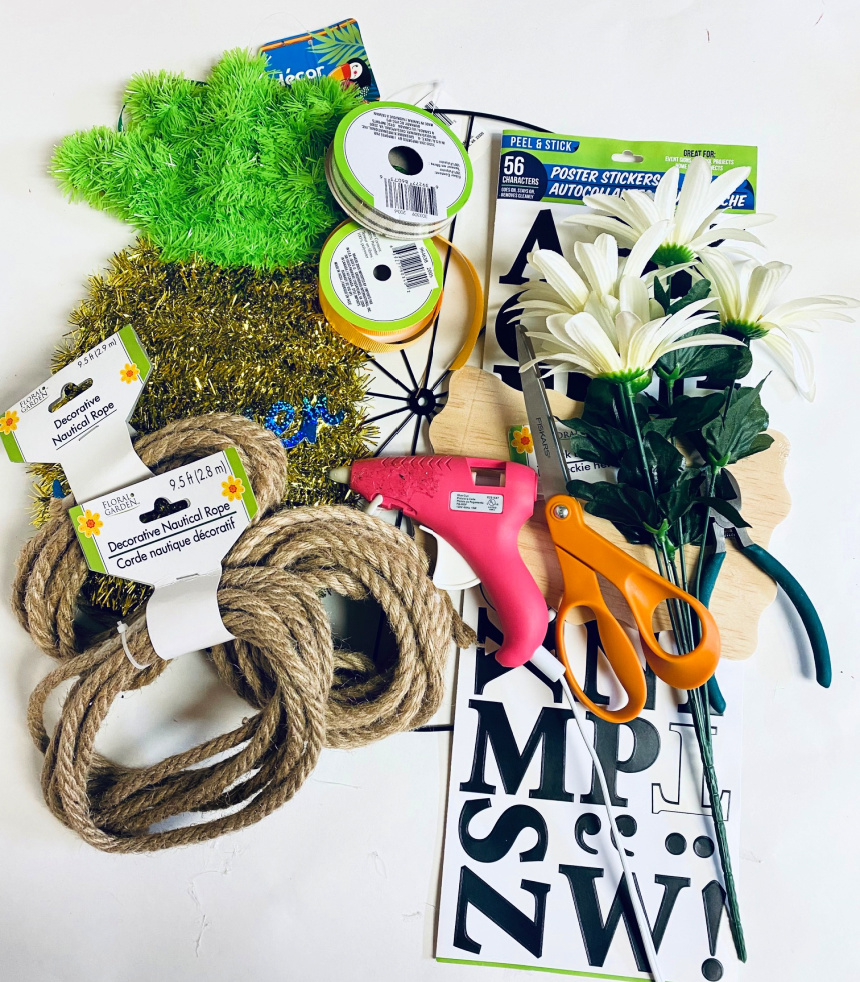
- Dollar Tree Wheel Wreath Form (these are new so check a few dollar trees)
- 3 Dollar Tree Nautical Rope
- Scissors
- Hot Glue Gun/ glue sticks
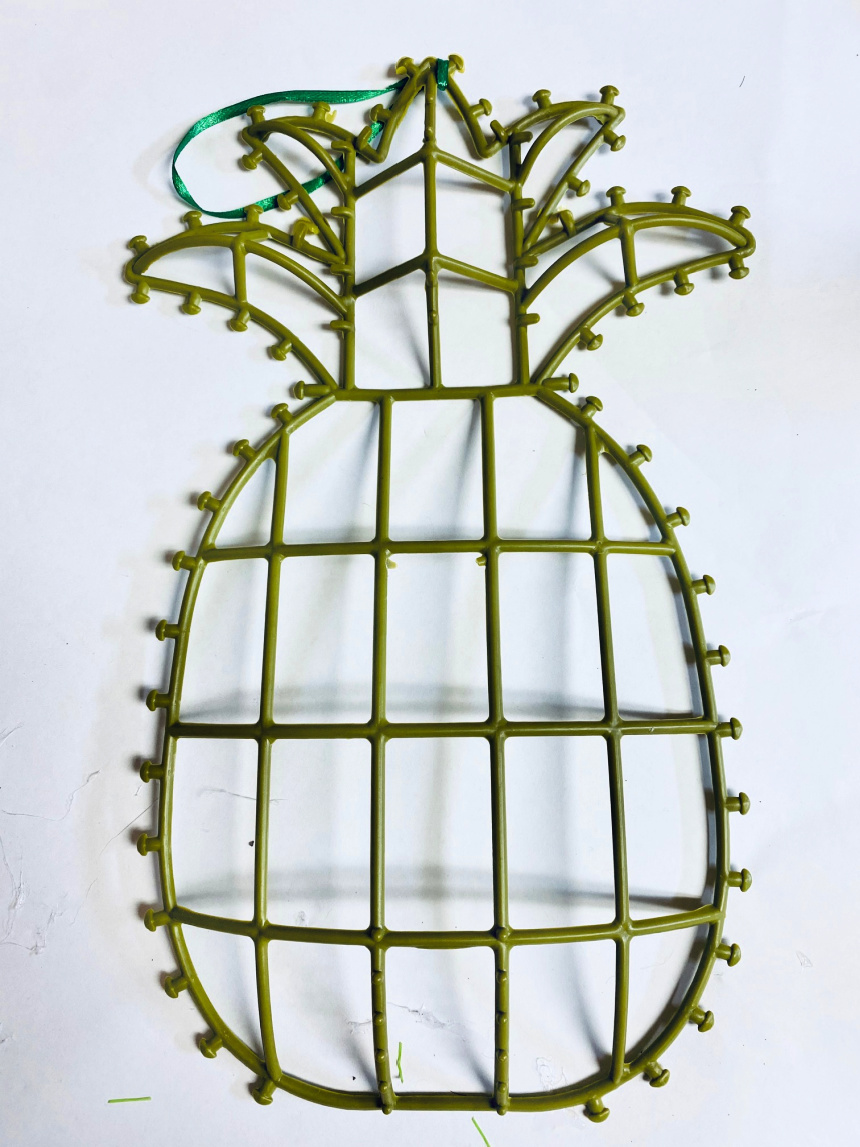
- Dollar Tree Pineapple wall décor
- Dollar Tree Wooden scalloped edge plaque
- Dollar Tree Poster Stickers
- Wire Cutters
- Dollar Tree White Black Eyed Susan flowers
- Dollar Tree Black and white striped ribbon and yellow ribbon
- Paint Brush
- Waverly Ink Chalk Paint

Bee Happy Wreath Instructions:
Start by adding the poster sticker letters to the wooden plaque.

Next remove all of the tinsel on the pineapple wall décor. It removes very easily
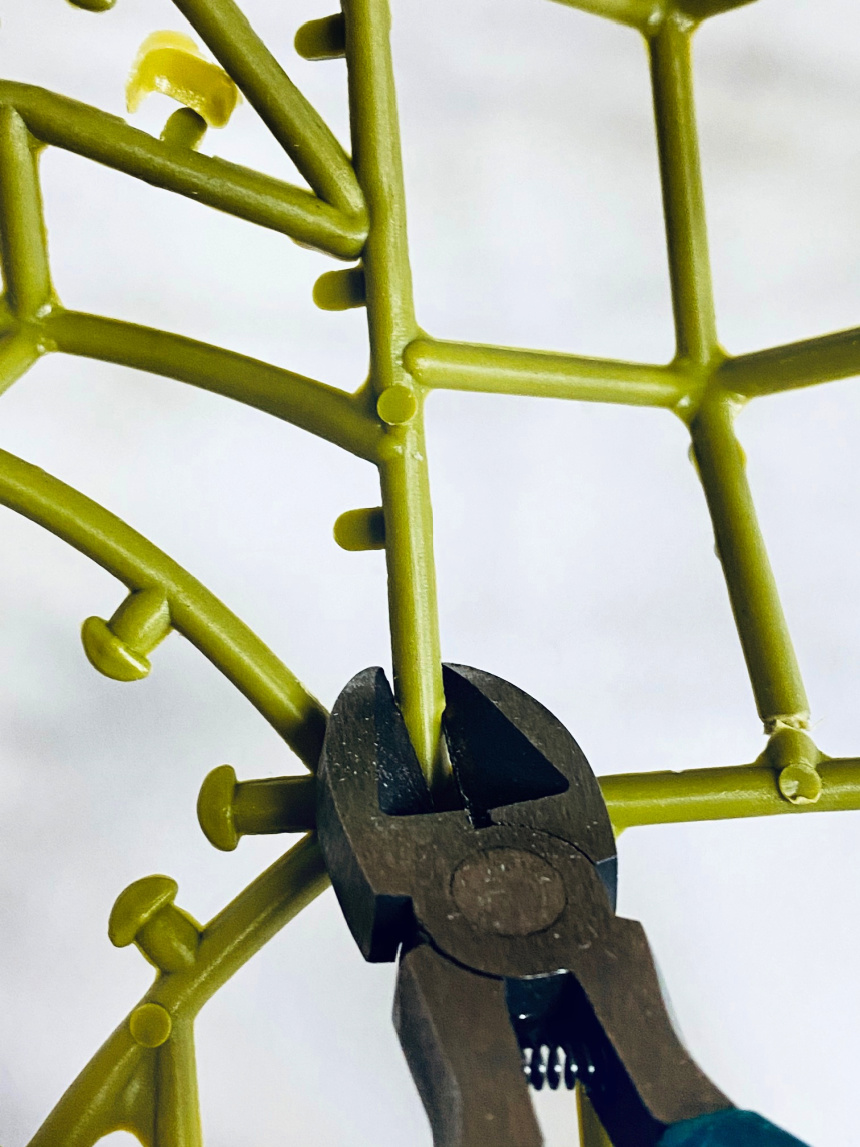
Next using your wire cutters, cut the top part of the pineapple, then try and clip the edges that stick out from the pineapple so that the rope with have a tighter fit.
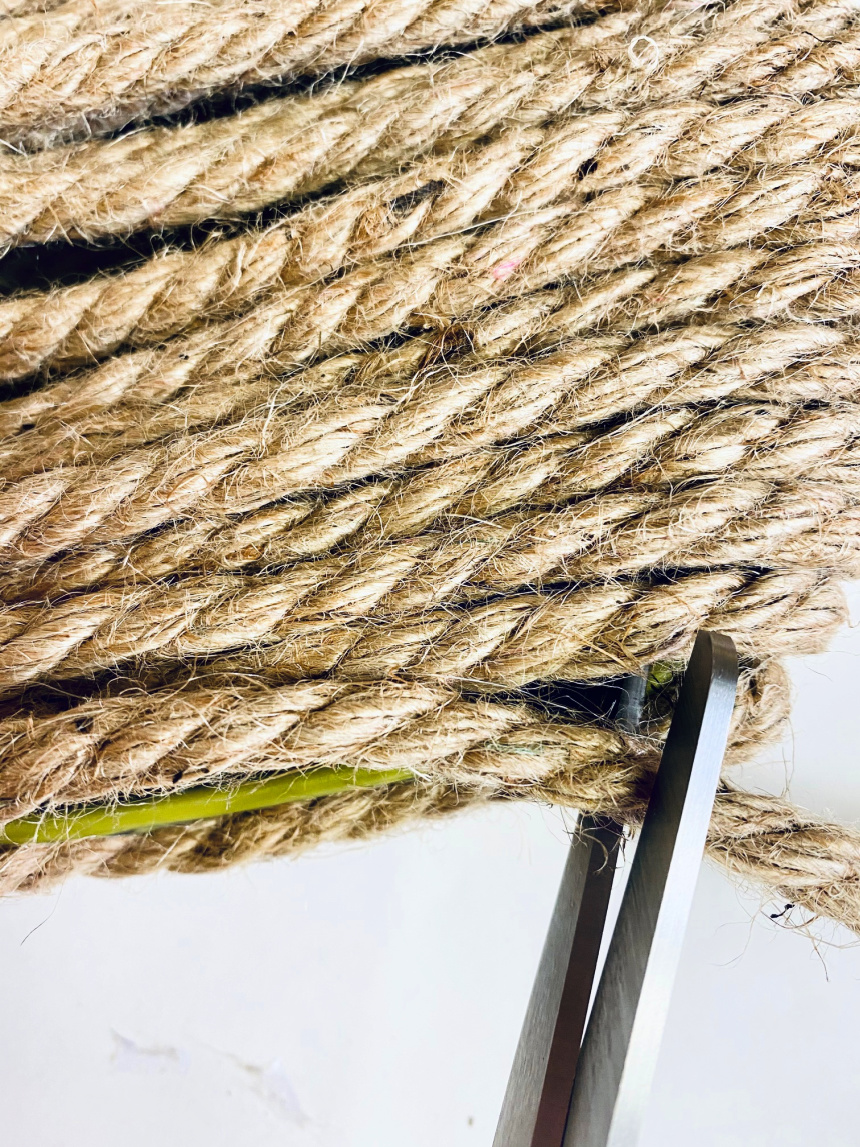
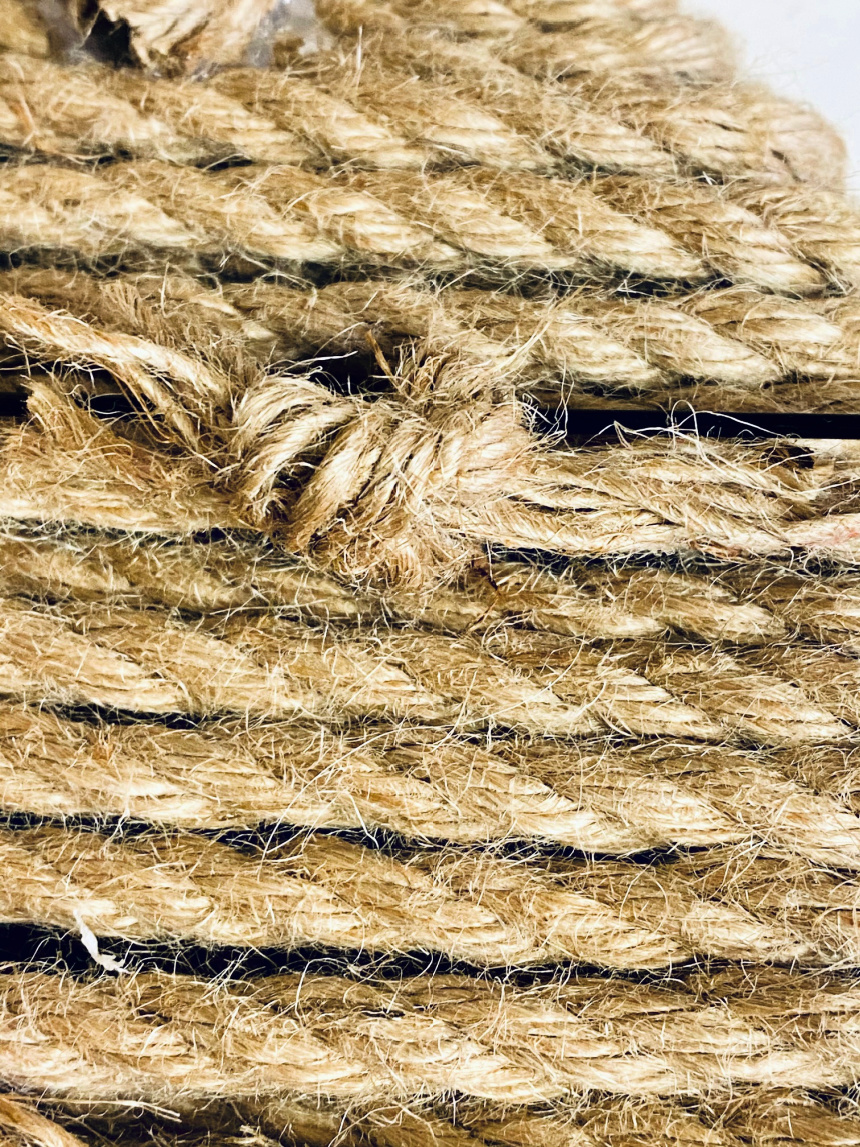
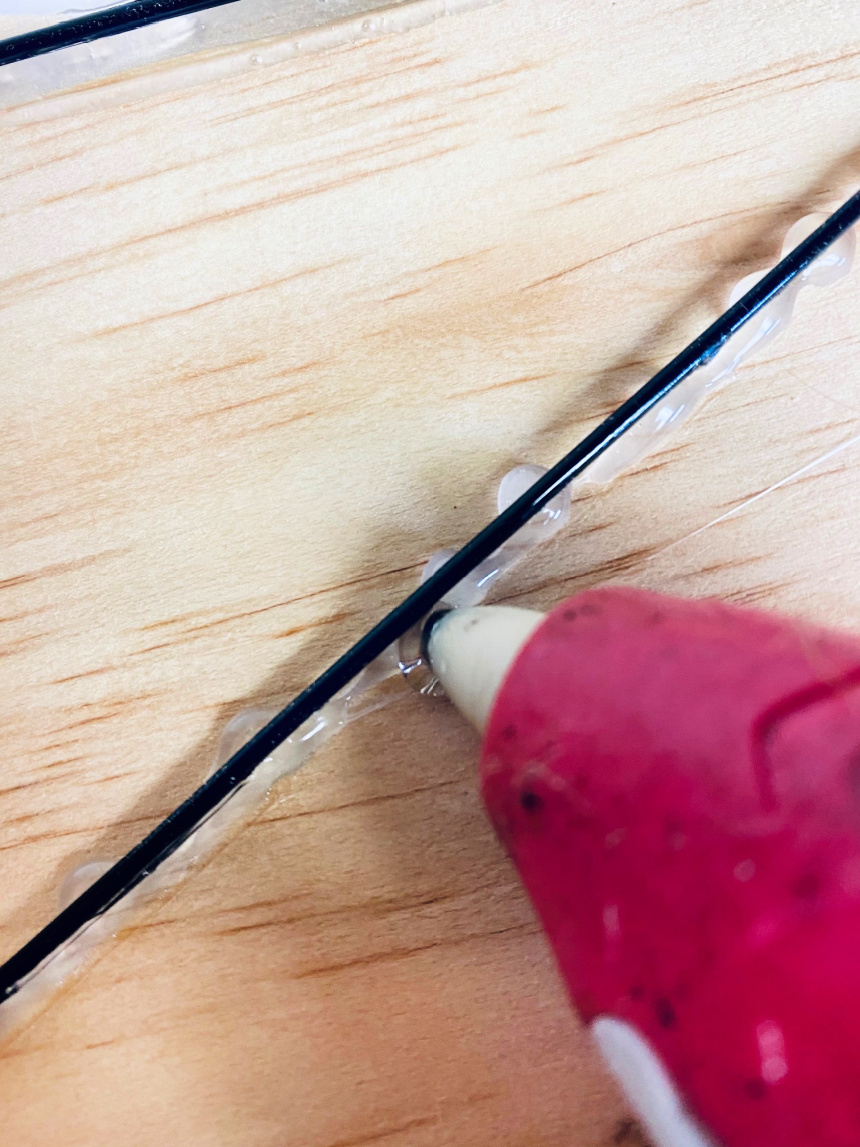
Next add some hot glue to the top piece, and add the nautical rope on top.
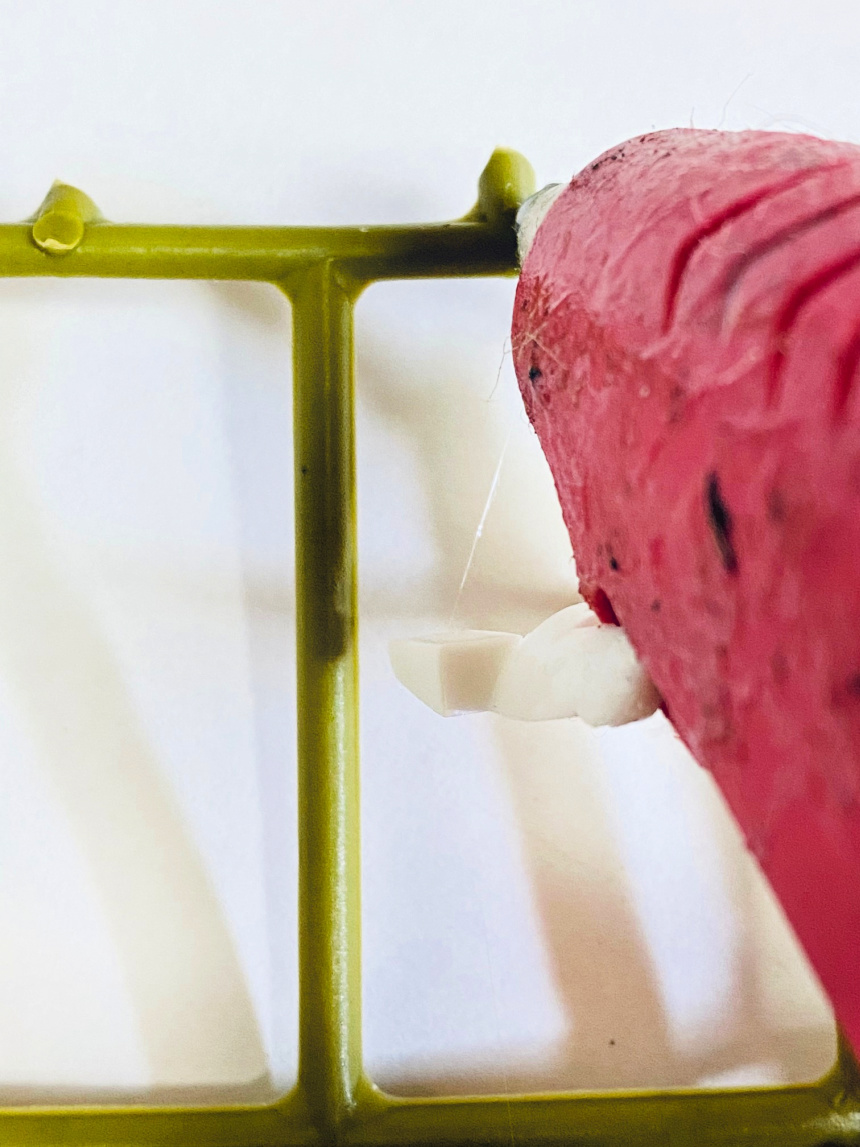
Repeat this process, adding hot glue and to the edges of the pineapple so that the rope has something to adhere to. Once you have reached the bottom, add some hot glue to the bottom piece and trim the end off. I tucked the little bit that was left inside of the other rope.
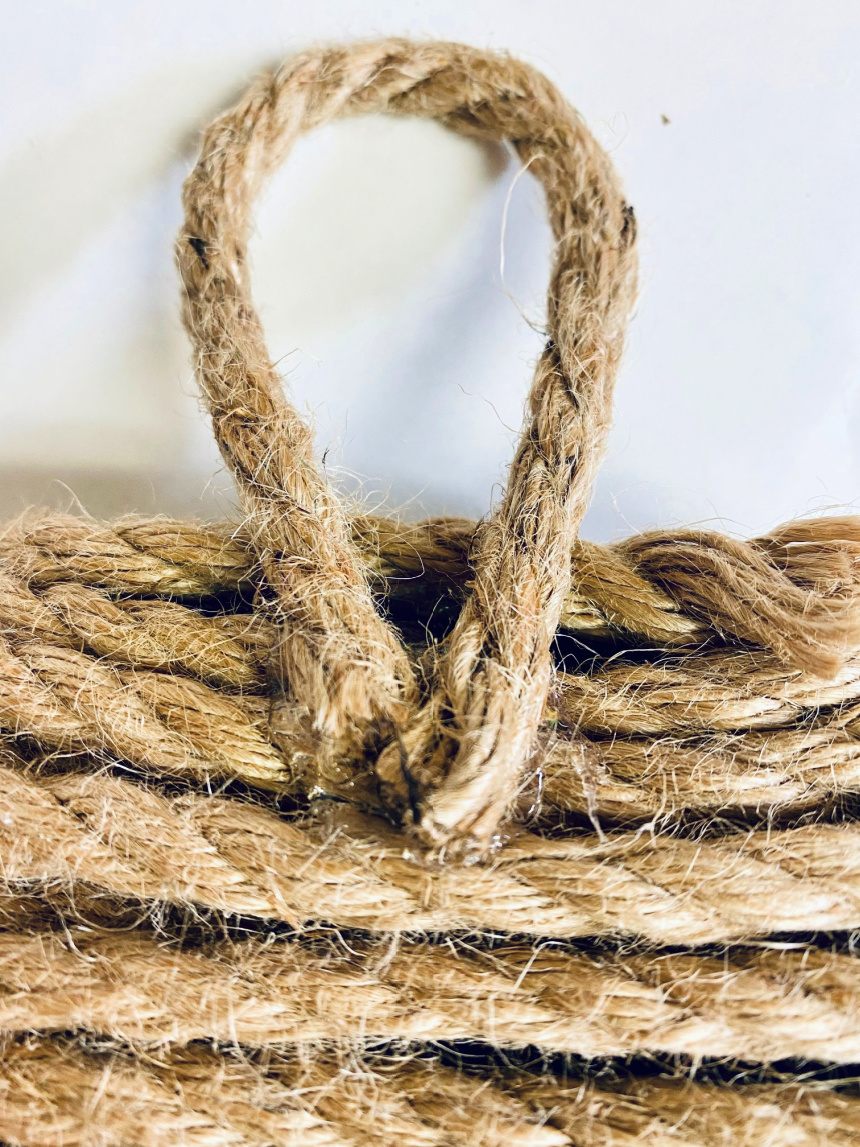
Next cut a 4 inch piece of rope to create the top loop, and hot glue
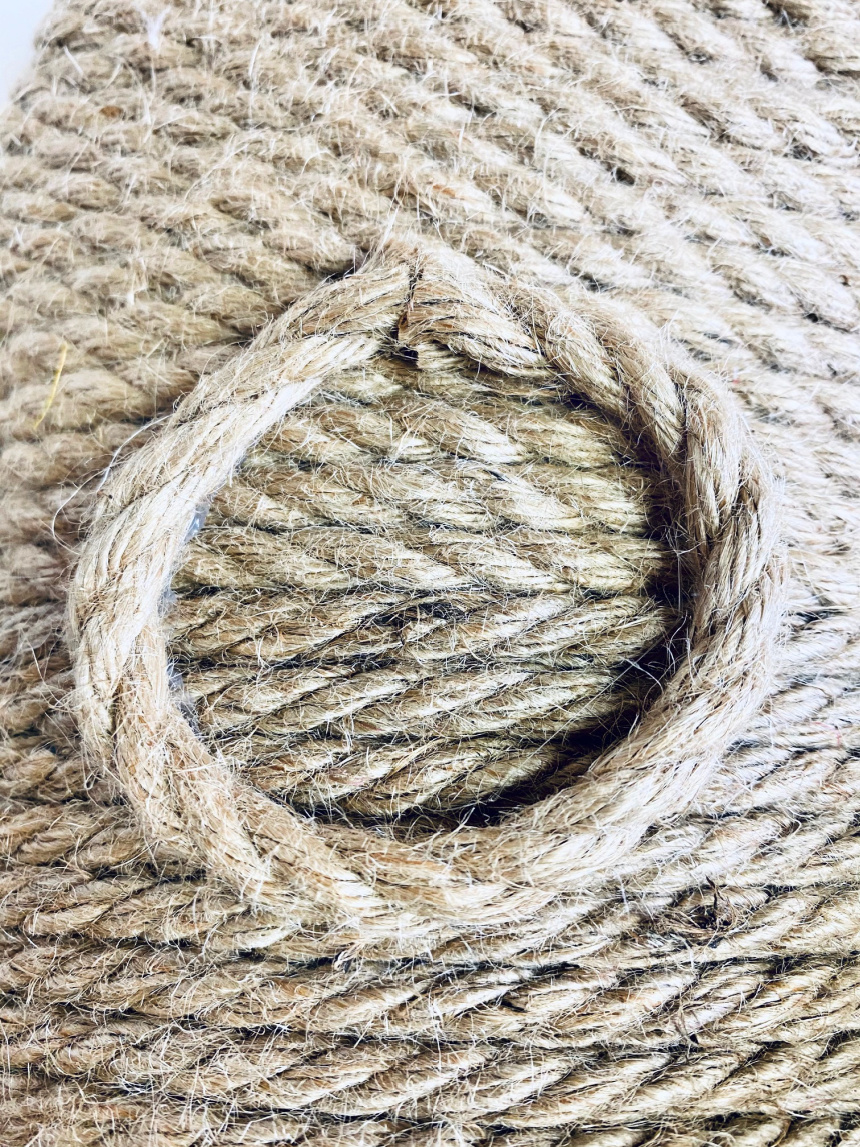
Cut another 4 inch piece of rope to create the circle for the beehive, hot glue the backside of the rope and add to the beehive
Cut (2) 4 inch sections of the yellow ribbon, and (2) 4 inch of the black and white ribbon.
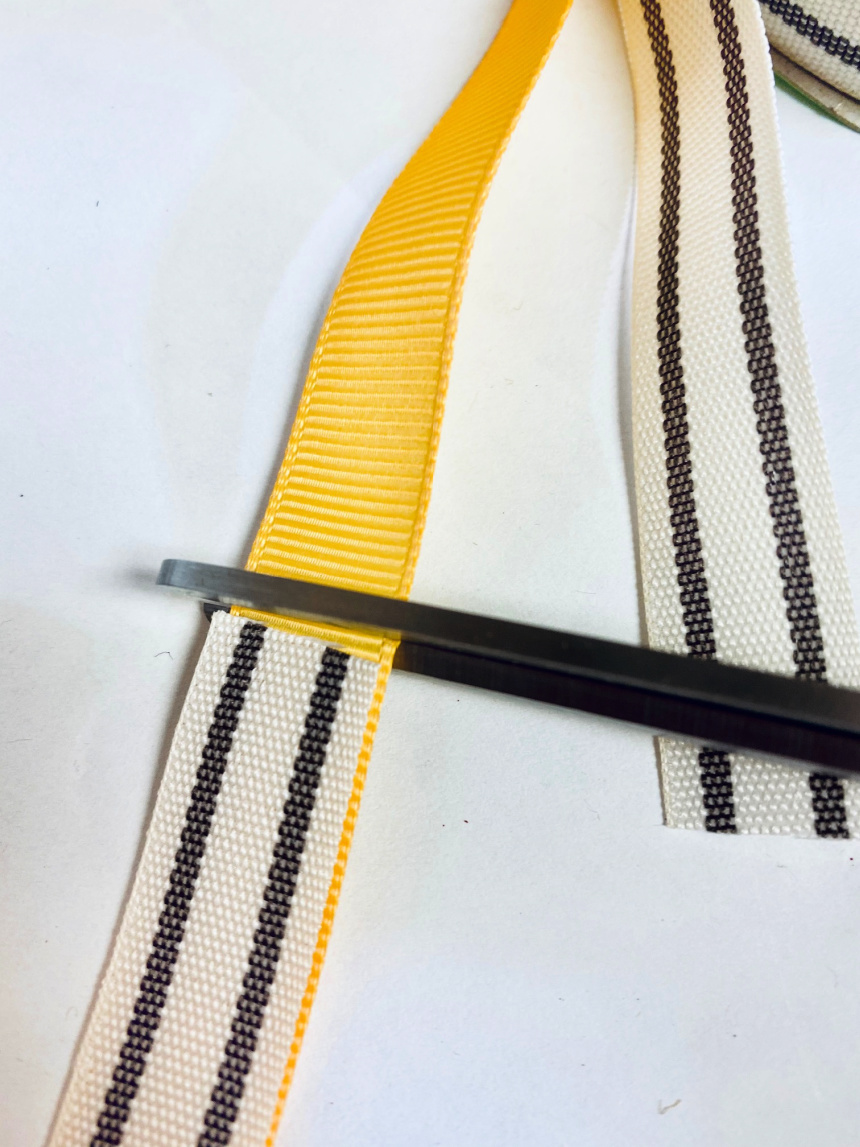
To make the bow, I placed a yellow ribbon on the bottom, the added a dab of hot glue then a piece of the black and white ribbon, and repeat this for the other pieces. For the last piece that goes in the center, fold the piece so both ends meet flat, and add some glue. Then glue it to the beehive

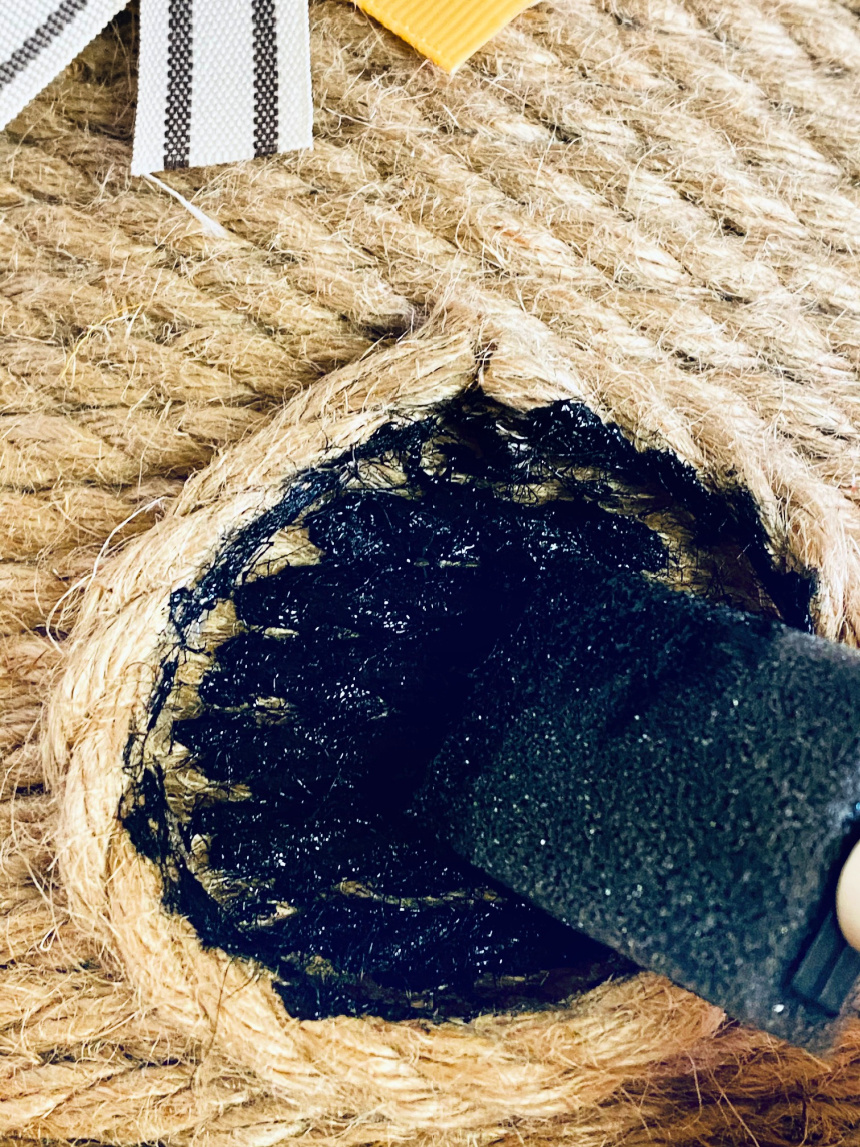
Next using the waverly ink chalk paint, or whatever black chalk paint you have, fill in the center of the round rope section.
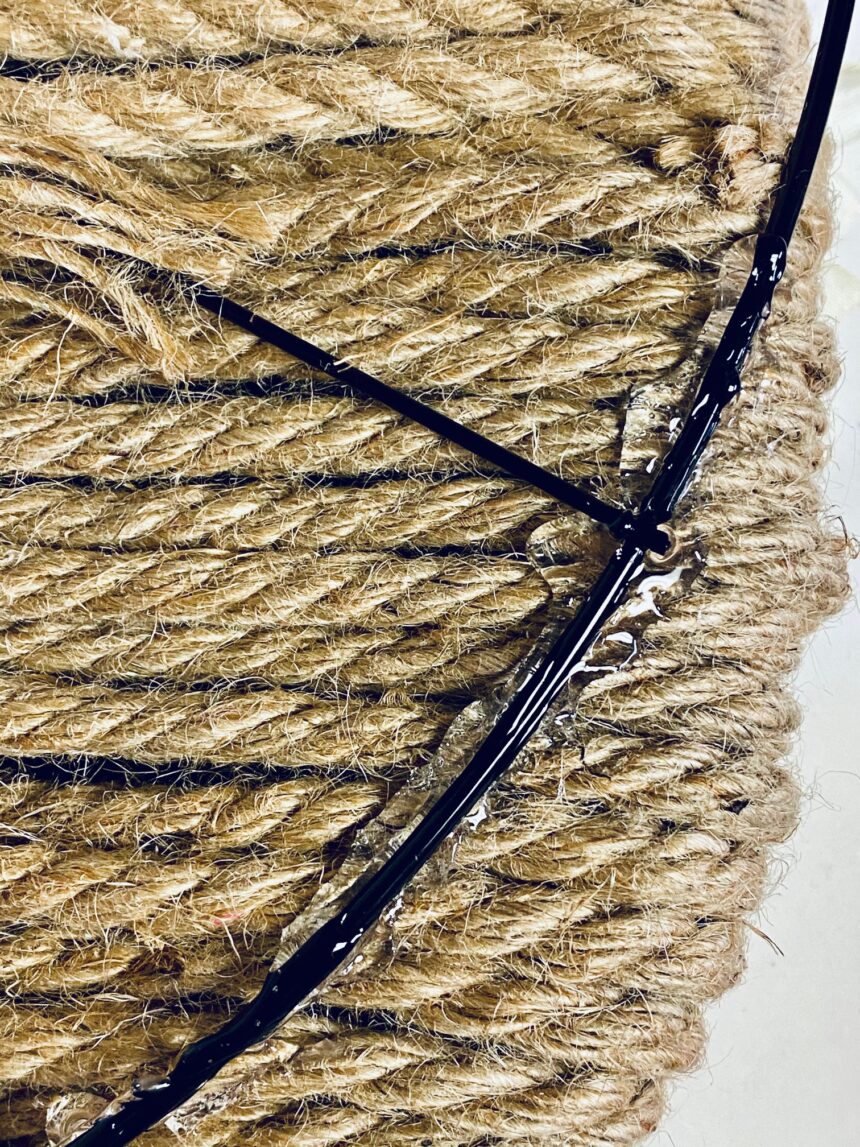
To attach the beehive to the bike wheel wreath, I cut some leftover sections of the rope that I had and unraveled it so that I would have 3 pieces of the rope.
Then tied the beehive to the rope in a few spots to secure it. I also added hot glue so that it would be more stable
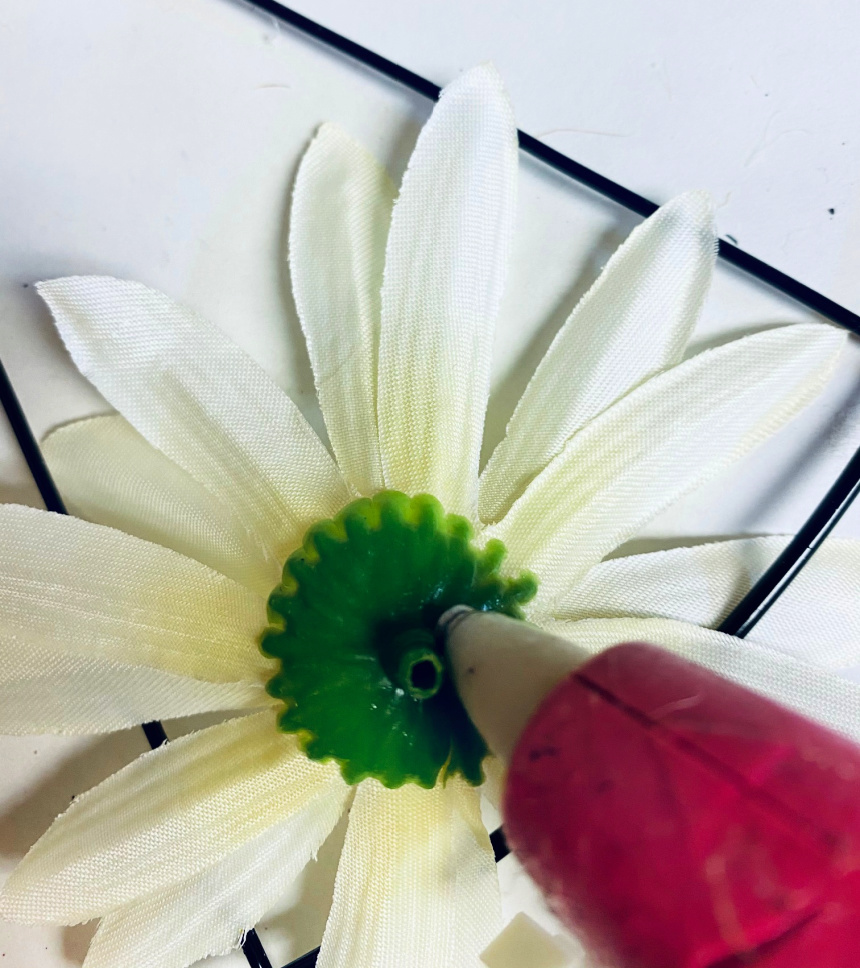
Next pop the flower off from the stem and add some hot glue to the bottom of it to add it to the beehive
Add a good amount of hot glue to the backside of the wooden plaque that will adhere to the wreath.
Hang it where everyone can enjoy it!

Print the Directions:

Dollar Tree Bee Happy Wreath
Grab these supplies at your local Dollar Tree and get ready to make a fun project. Yes, a shiny pineapple is transformed into a beehive!
Materials
- Dollar Tree Wheel Wreath Form (these are new so check a few dollar trees)
- 3 Dollar Tree Nautical Rope
- Dollar Tree Pineapple wall décor
- Dollar Tree Wooden scalloped edge plaque
- Dollar Tree Poster Stickers
- Dollar Tree White Black Eyed Susan flowers
- Dollar Tree Black and white striped ribbon and yellow ribbon
- Waverly Ink Chalk Paint
Tools
- Scissors
- Hot Glue Gun/ glue sticks
- Wire Cutters
- Paint Brush
Instructions
Start by adding the poster sticker letters to the wooden plaque
Next remove all of the tinsel on the pineapple wall décor. It removes very easily
Next using your wire cutters, cut the top part of the pineapple, then try and clip the edges that stick out from the pineapple so that the rope with have a tighter fit.
Next add some hot glue to the top piece, and add the nautical rope on top. Repeat this process, adding hot glue and to the edges of the pineapple so that the rope has something to adhere to. Once you have reached the bottom, add some hot glue to the bottom piece and trim the end off. I tucked the little bit that was left inside of the other rope.
Next cut a 4 inch piece of rope to create the top loop, and hot glue
Cut another 4 inch piece of rope to create the circle for the bee hive, hot glue the backside of the rope and add to the bee hive
Cut (2) 4 inch sections of the yellow ribbon, and (2) 4 inch of the black and white ribbon. To make the bow I placed a yellow ribbon on the bottom, the added a dab of hot glue then a piece of the black and white ribbon, and repeat this for the other pieces. For the last piece that goes in the center, fold the piece so both ends meet flat, and add some glue. Then glue it to the bee hive
Next using the waverly ink chalk paint, or whatever black chalk paint you have, fill in the center of the round rope section.
To attach the bee hive to the bike wheel wreath, I cut some leftover sections of the rope that I had and unraveled it so that I would have 3 pieces of the rope. Then tied the bee hive to the rope in a few spots to secure it. I also added hot glue so that it would be more stable
Next pop the flower off from the stem and add some hot glue to the bottom of it to add it to the bee hive
Add a good amount of hot glue to the backside of the wooden plaque that will adhere to the wreath.
Pin for Later!
