A strong, beautiful backyard patio gives your family an outdoor space for weekend barbecues and quiet morning coffee. Setting up stone pavers on your own might feel intimidating, but granite brings incredible durability and classic style to any backyard. Choosing the right granite pattern layout turns basic stone slabs into a custom design piece. With proper planning, you can build stunning stone patios that stand up to weather and heavy foot traffic for decades.
Picking the Best Layout for Backyard Spaces
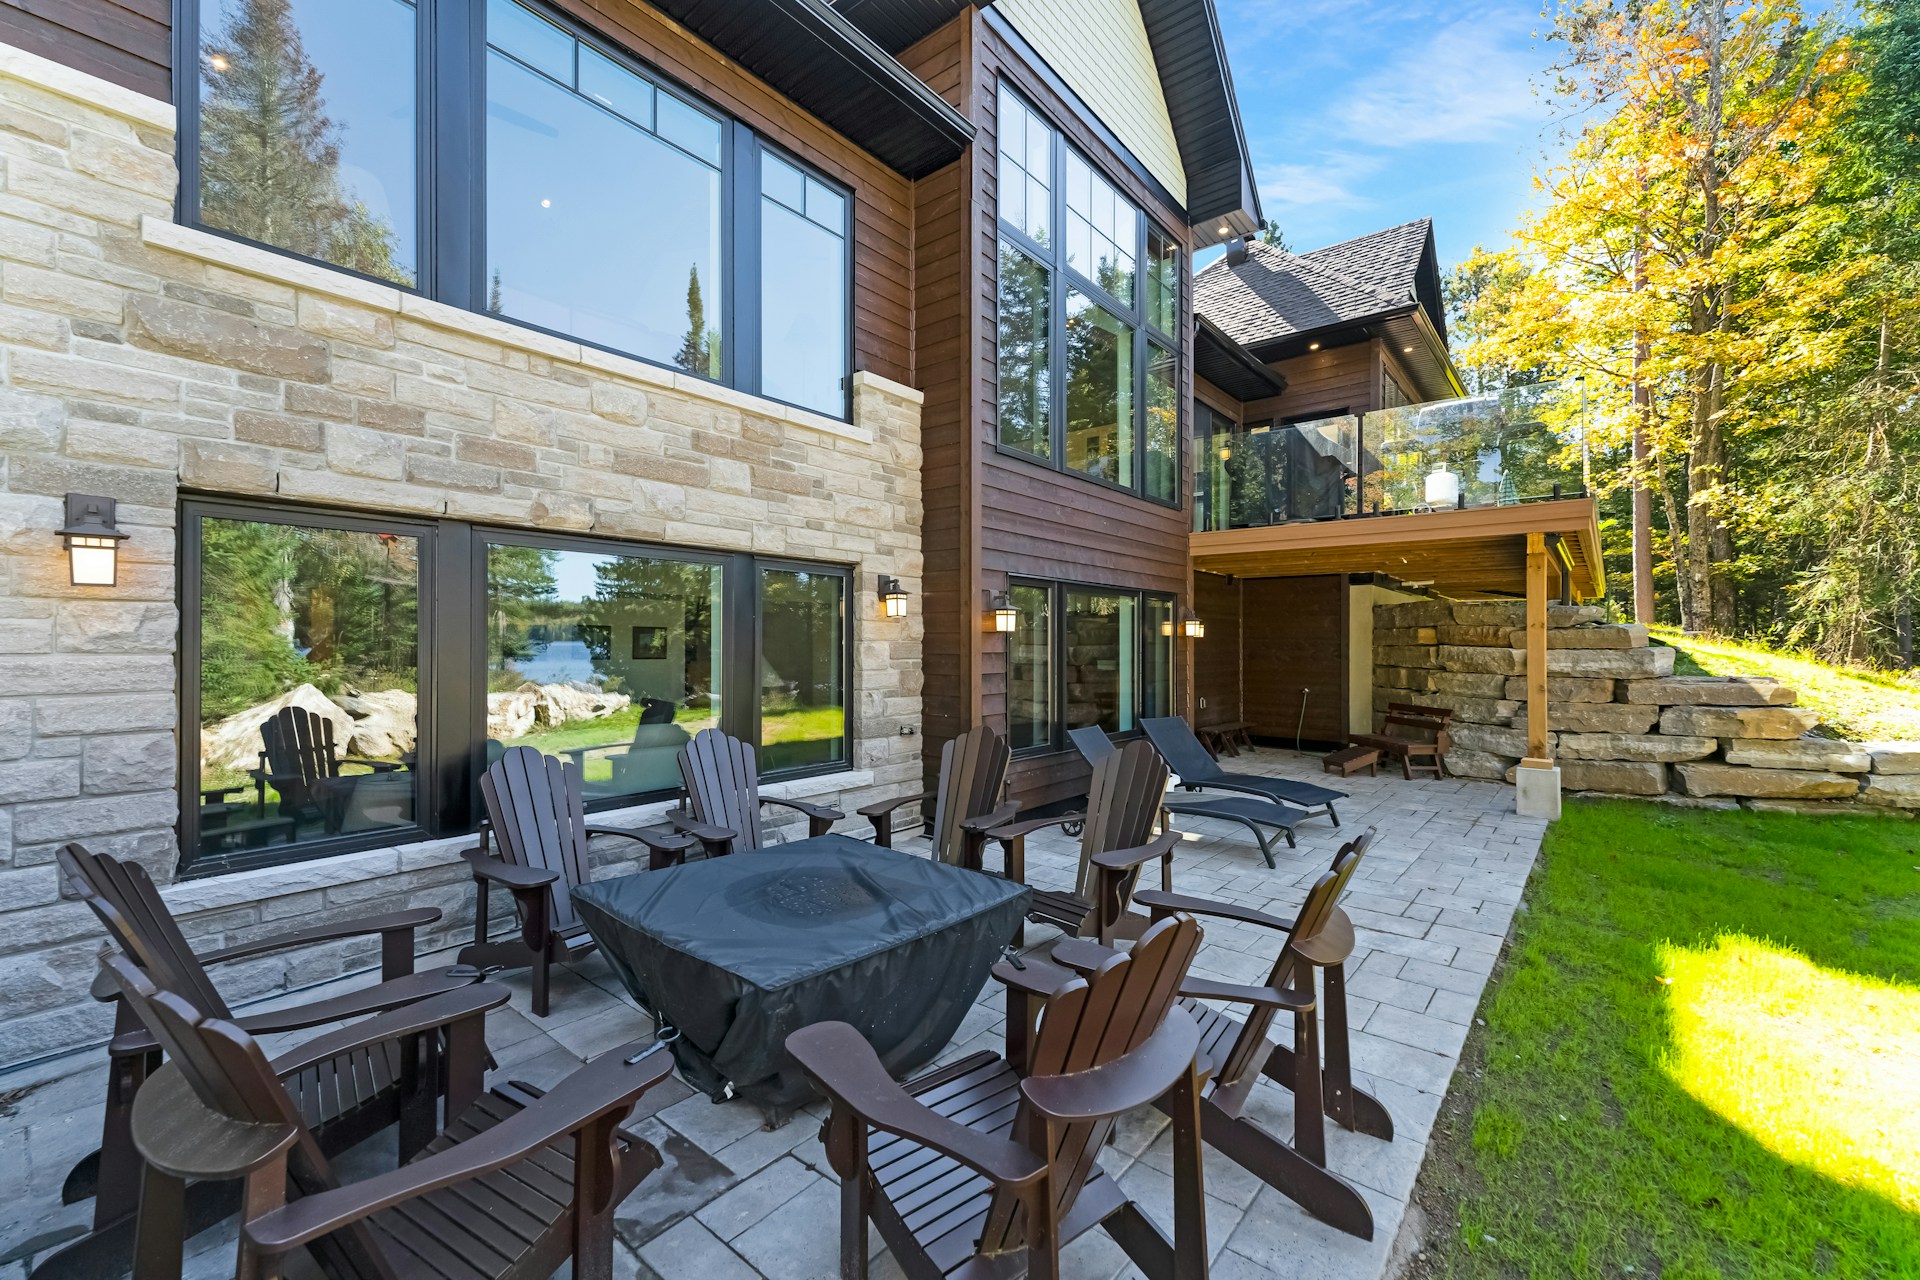
Designing an outdoor seating area requires thinking about how your family plans to use the space. When shopping for durable outdoor materials, selecting high-quality granite pattern pavers helps define the shape and flow of your yard. Solid stone options give home DIY projects a clean look that elevates simple backyards into functional gathering spots.
Family patios must handle heavy grills, patio dining sets, and playing kids without shifting underfoot. Choosing a pattern that distributes weight evenly prevents individual stones from sinking through years of use. Matching your layout to the architectural style of your home creates a cohesive property design.
Classic Patterns That Never Go Out of Style
Traditional stone patterns remain popular for backyard projects for their timeless visual structure. Paving design resources report that herringbone arrangements supply striking visual appeal, and straight lines deliver a minimalist appearance. This classic herringbone layout locks rectangular stones together, which stops movement when heavy furniture rests on top.
Other traditional arrangements offer unique visual and practical benefits for suburban homes. Exploring these layouts helps you select the right style for your specific yard layout:
- Running bond patterns stagger rectangular stones in offset rows, creating a clean, extended look for small spaces.
- Basketweave patterns arrange pairs of stones at right angles, forming a woven geometric texture across the patio floor.
- European fan patterns use curved arcs of small granite blocks to create dramatic focal points in circular patio areas.
Outdoor design experts highlight that zigzag designs and V-shaped weaving patterns form a tightly interlocked grid that holds firm under heavy pressure. These interlocking shapes work well on main walkways leading to garden areas. Selecting these established geometric layouts makes measuring easier for first-time builders.
Modern Trends in Large Paver Sizing
Contemporary backyard design leans toward larger stone dimensions that reduce visible joint lines. Design trends for 2026 show oversized stones measuring 24 inches or larger, creating a sleek modern aesthetic. Home renovation reports identify large format blocks as one of the major design shifts for 2026.
Working with wider stone dimensions requires careful handling during installation to protect corners. Technical guides note that large format pieces frequently employ stack bond or running bond arrangements to keep proper alignment and structural stability. Fewer joints mean less weed growth between stones, cutting down on annual patio maintenance.
Digging and Preparing the Base Correctly
Proper foundation work keeps your granite project level and stable through changing seasonal weather. Digging out topsoil requires removing grass roots, stones, and soft dirt until reaching firm subsoil. Soils heavy in clay with poor drainage require digging down to a depth of 17 inches when installing 30 mm thick stone slabs for heavy driveways.
Once excavation finishes, building a multi-layered gravel bed prevents future patio sinking. Industry guidelines explain that a standard foundation requires 6 inches of compacted gravel covered by 1 inch of sand beneath the stone layer. Tamping each layer down tightly forms a solid base that drains water away from your home foundation.
Dry Fitting Slabs Before Permanent Installation
Placing stone slabs on paper or dry ground prevents costly mistakes before setting them in sand. Professional installers recommend arranging stone slabs directly on the ground before applying mortar to visualize layout lines and confirm proper alignment. This trial run allows home builders to make custom cuts on edge pieces without rushing.
Using chalk lines across your prepared sand bed helps keep long pattern rows straight. Taking time to dry fit your granite pieces reveals offset gaps early in the build process. Adjusting stone spacing during this prep phase guarantees a symmetrical final layout across your entire yard.
Adding Final Sand and Locking Joints
Finishing your stone patio requires filling the small gaps between pavers to lock everything together. Sweeping fine polymeric sand into the joints seals out moisture and prevents insects from burrowing beneath stones. Using a push broom in multiple directions fills every crevice across the granite layout.
Misting the patio lightly with water activates the binding agents in the joint sand. Once dry, the sand hardens into a flexible barrier that resists washouts from heavy rainfall. Taking these final steps leaves your backyard ready for family gatherings, cookouts, and years of outdoor relaxation.
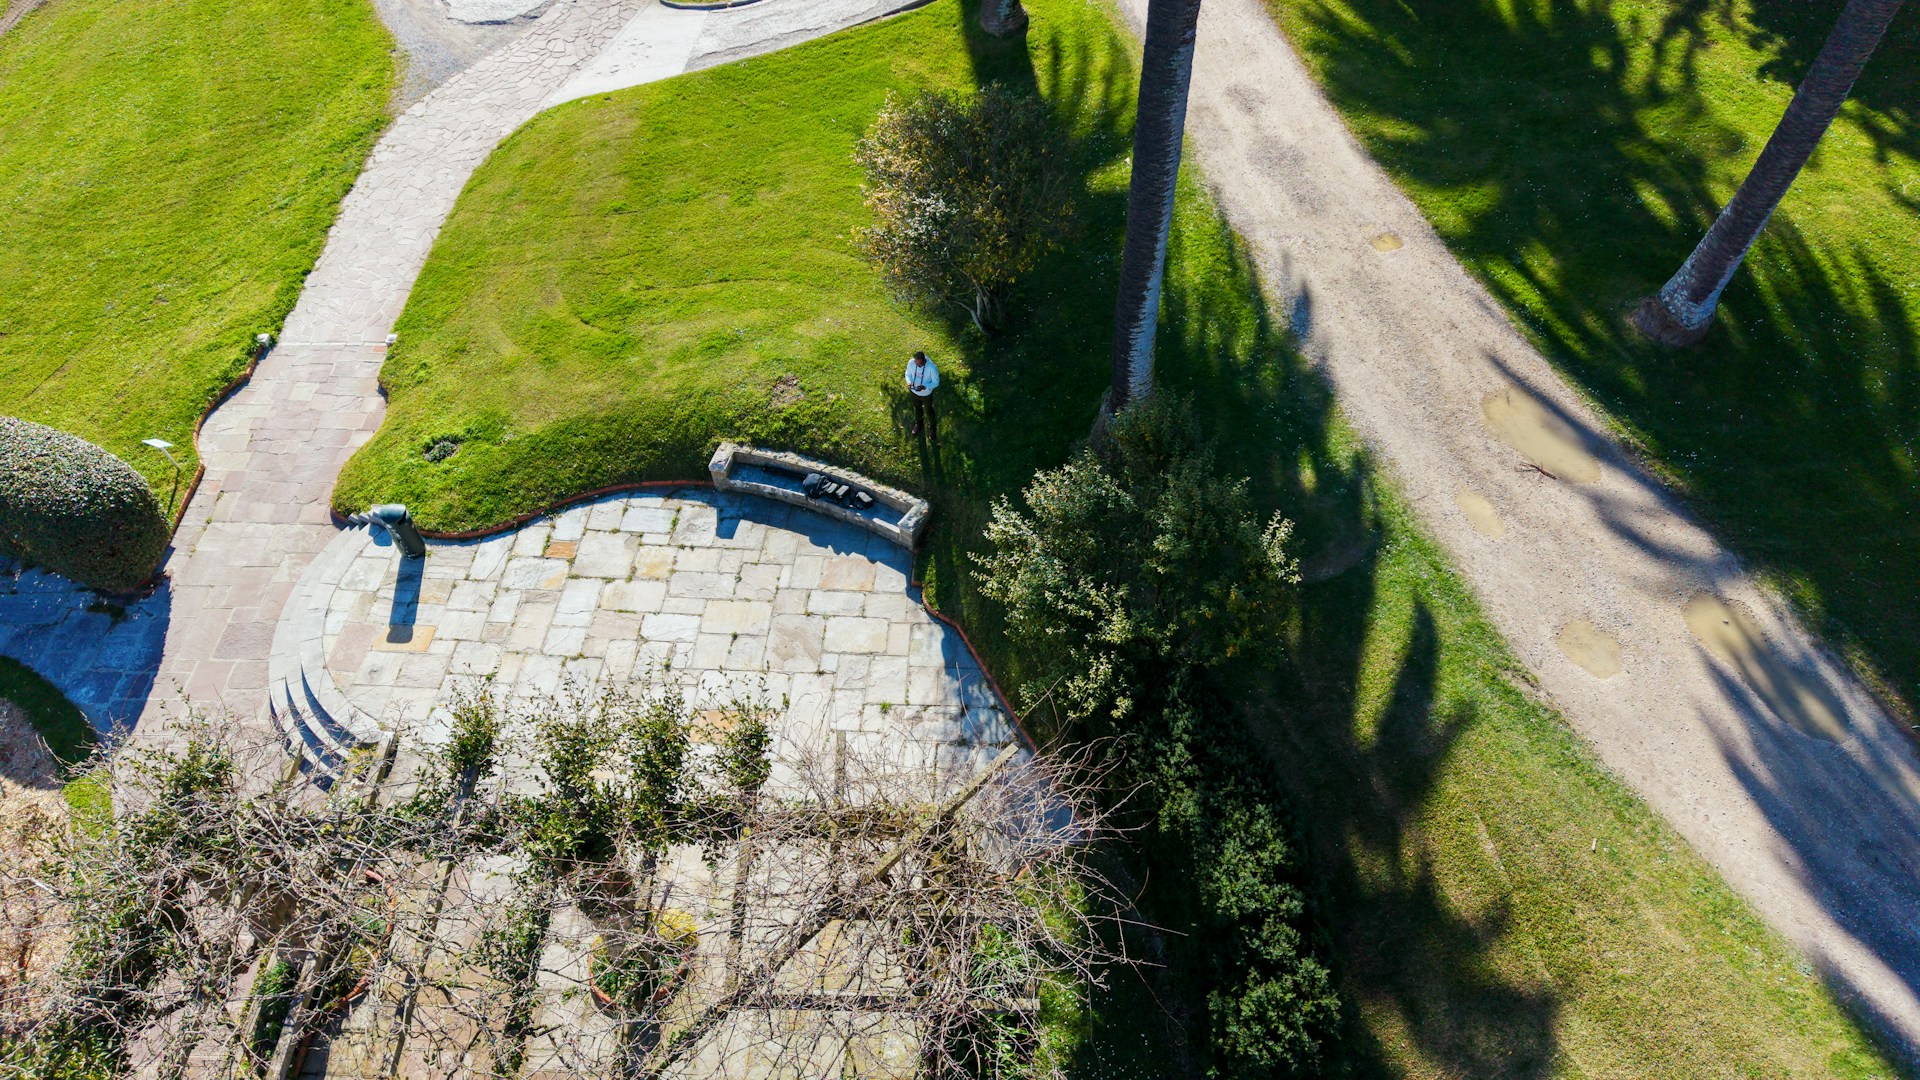
Building a granite stone patio is a rewarding DIY project that turns your backyard into a durable, stylish space for gatherings. From choosing the right granite pattern layout to preparing the base and locking joints with polymeric sand, each step ensures your patio lasts for decades. With careful planning and granite’s natural strength, you’ll create an outdoor area your family can enjoy for years to come.
