
Fantastic Foxes: Craft Your Own Clothespin Friends!
Get ready for an absolutely foxy crafting adventure that’s as charming as it is easy! Our super cute Clothespin Fox Craft is here to add a touch of woodland whimsy to your day. You won’t believe how simple it is to transform ordinary clothespins into adorable little fox friends, perfect for decorating, holding notes, or simply bringing a smile to your face.

This project is fantastic because it uses common, affordable supplies (you might even have them lying around the house!), making it accessible for everyone. It’s a wonderful hands-on activity for kids to boost their fine motor skills and creativity, while adults will find it a delightful way to unwind and create something sweet. The magic really happens as you watch these little foxes take shape, complete with pointy ears and bushy tails!
Once your charming clothespin foxes are complete, the fun doesn’t stop there! Use them to clip up artwork, organize papers, seal snack bags, or even as playful puppets for storytelling. They’re a fantastic way to add a personalized, handmade touch to your space or create thoughtful little gifts. So, gather your craft supplies, and let’s get ready to make some fantastic foxy friends!
More Cute Animal Crafts:
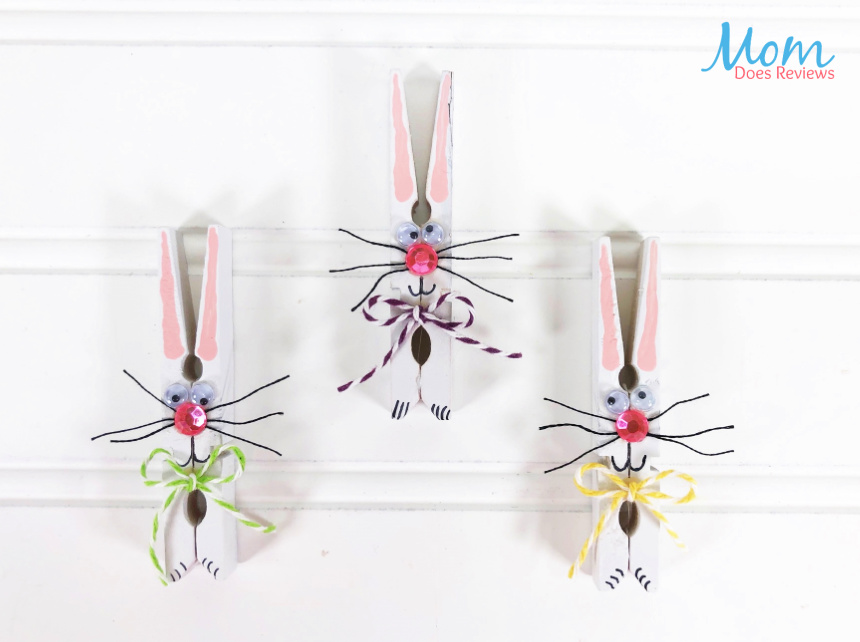
Wooden clothespins and simple supplies from the Dollar Store transform into the cutest Clothespin Bunny Craft with the sweetest face. These unique bunnies will put a smile on everyone’s face! My friend loved hers so much, we added a magnet on the back so she could keep in on her fridge all year long!
Are you looking for a delightful and creative project that’s guaranteed to brighten up your day? Well, get ready to unleash your inner artist because making your very own Papercraft Peacock is the perfect way to add a dazzling splash of color and a whole lot of fun to your crafting time!
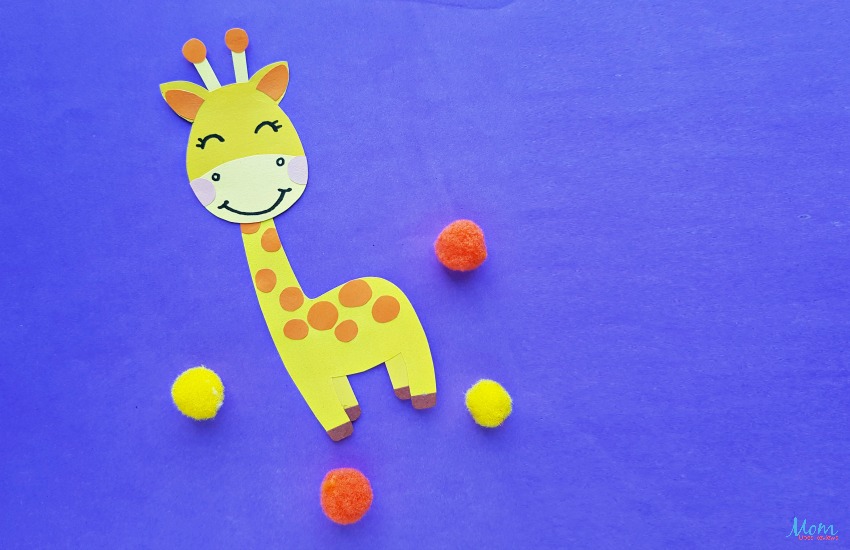
If you are looking for a super cute craft for the kids, then look no further than this super cute Giraffe Paper Craft! It is an easy craft for the kids to do using only a few supplies and following the simple step-by-step instructions. The kids will love the bright colors and creating their very own smiling giraffe!
The kids will squeal in delight at this adorable Angelfish Paper Craft! It is bright, colorful, and fun. Additionally, it is extremely easy to make, making it a perfect rainy afternoon or classroom craft. You can choose fun colors for a rainbow of fun fish!
Just wait until you see this adorable Dollar Store Clothespin Mermaid Craft! It is oh so cute and of course, inexpensive as it uses Dollar Store supplies and is super easy to make. And, did I mention the kids will squeal in delight?!
Materials needed:

- Clothespin
- Construction papers
- Orange paint
- Paint brush
- Marker
- Double-sided tape
- Print the Template

Instructions:
- Prepare Your Materials: Gather all your supplies, including a clothespin, orange paint, paintbrush, templates, scissors, colored papers, a marker, and glue.
- Paint the Clothespin: Begin by thoroughly painting the clothespin with orange paint. Use even strokes with the brush to ensure full coverage. Be mindful to get into any crevices, then set the clothespin aside on a piece of newspaper or a drying rack to let it dry completely.

- Cut and Prepare Templates: Once the clothespin is dry, it’s time to cut out your templates. (Print it here) Carefully cut around each shape, following the lines closely to ensure a snug fit on your clothespin. Take each template and trace it onto the matching colored paper.
- Cut Out the Traced Shapes: After tracing, use scissors to cut the shapes out from the colored paper. Make sure to be precise with your cuts to ensure a clean look for your decoration.
- Assemble the Pieces: Start assembling your cut-out shapes one by one. Add the cutouts for the face and ears to the head and the white tips to the tail.
- Attach the head and Tail: Begin by attaching the head to the top of the clothespin using glue. Press gently to ensure a good bond. Then, attach the tail to one side with glue as well, adjusting its position for the best aesthetic. Then attach the white stomach to the body of the clothespin.
- Add Facial Details: Use a black marker to draw facial features on the head, such as eyes, a nose, and a mouth. You could also add any other details you fancy, like blush marks or patterns, to give it more character.
- Enjoy Your Creation: Your decorative clothespin fox is now complete! Use it to clip papers together, as a fun gift tag, or simply display it as a creative piece in your space. Enjoy the satisfaction of having crafted something uniquely yours!


 Then attach the white stomach to the body of the clothespin.


Print the Tutorial:

Fox Clothespin Craft
Our super cute Fox Clothespin Craft is here to add a touch of woodland whimsy to your day. You won't believe how simple it is to transform ordinary clothespins into adorable little fox friends, perfect for decorating, holding notes, or simply bringing a smile to your face.
Materials
- Clothespin
- Construction papers
- Orange paint
- Paint brush
- Marker
- Double-sided tape
Instructions
- Paint the clothespin orange and let it dry.
- Cut the templates and trace them to the corresponding papers and assemble them one by one.
- Attach the head at the top of the clothespin.
- Attach the tail on the side.
- Draw the details of the face using a marker.
- Enjoy your creation!
Pin it for Later!
