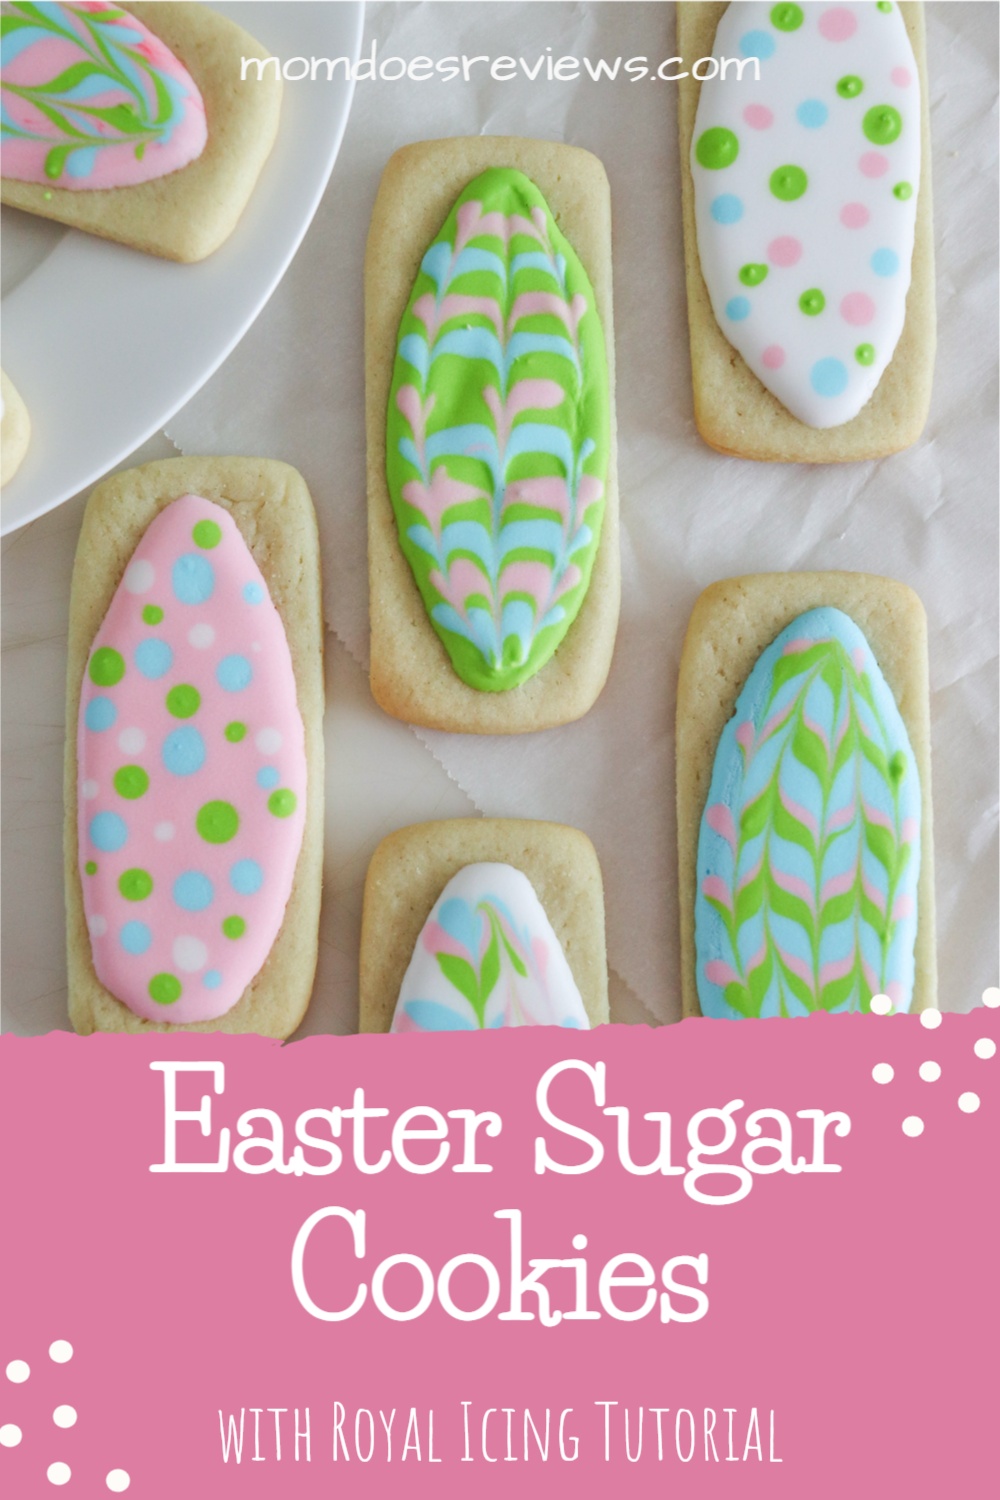
Every Easter, my mom would bake a huge batch of sugar cookies and decorate them with colorful frosting and sprinkles. We would all pitch in to help, and by the end, we had a kitchen covered in flour and sugar. These days, I love to make sugar cookies with my kids – it’s a fun tradition that we all enjoy. In this post, I’ll share a tutorial for Easter Sugar Cookies decorated with Royal Icing. You’ll love these easy tips for decorating them. I hope you’ll give them a try!

Don’t miss even more Easter Cookie Recipes!
Now you can make your own Crumbl Cookies at home. The best part of Crumbl cookies are all the unique flavors that are so fun to try. Check out these Crumbl Easter Egg Whopper Cookies– they are so decadent with the frosting and extra candy on the top!
Spring is here and Easter is right around the corner! Whether for serving on Easter day or filling the baskets, we MUST have cute edible treats! That’s why we are sharing this easy and cute Easter M&M Cookie recipe with you!
You are going to love these adorable Easter Cookie Cups! Not only are these treats super yummy, but they are also super easy to make!
Be sure to check out our 70 Adorable Easter Cupcakes & Cookies–they are sure to bring a smile to all who sees them!
Sugar Cookie Ingredients:
- 1 package Pillsbury refrigerated sugar cookie dough
- ¼ cup all purpose flour
Sugar Cookie Directions:
Combine dough and flour. Roll to ¼” thickness.
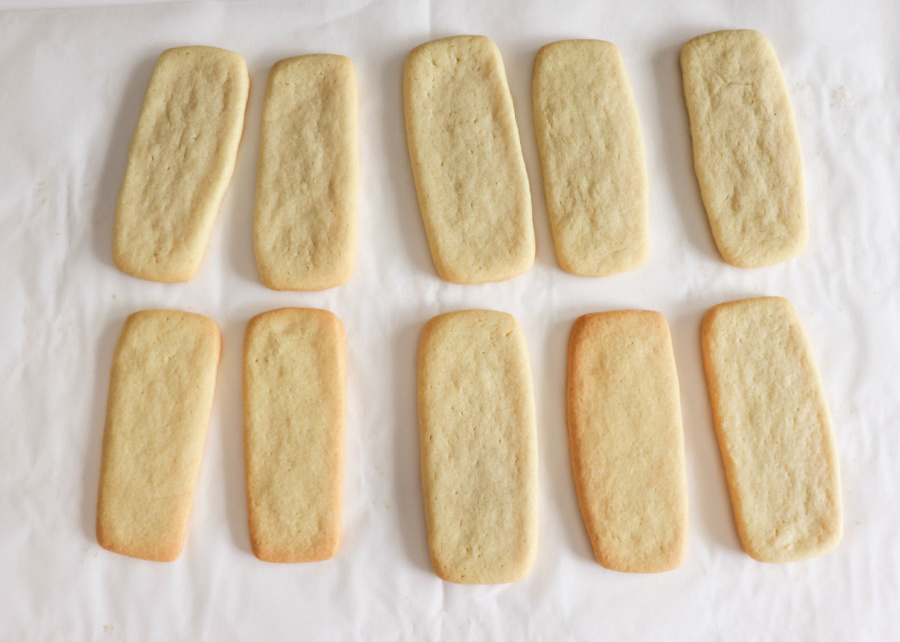
Cut out ½” x 3” rectangles.
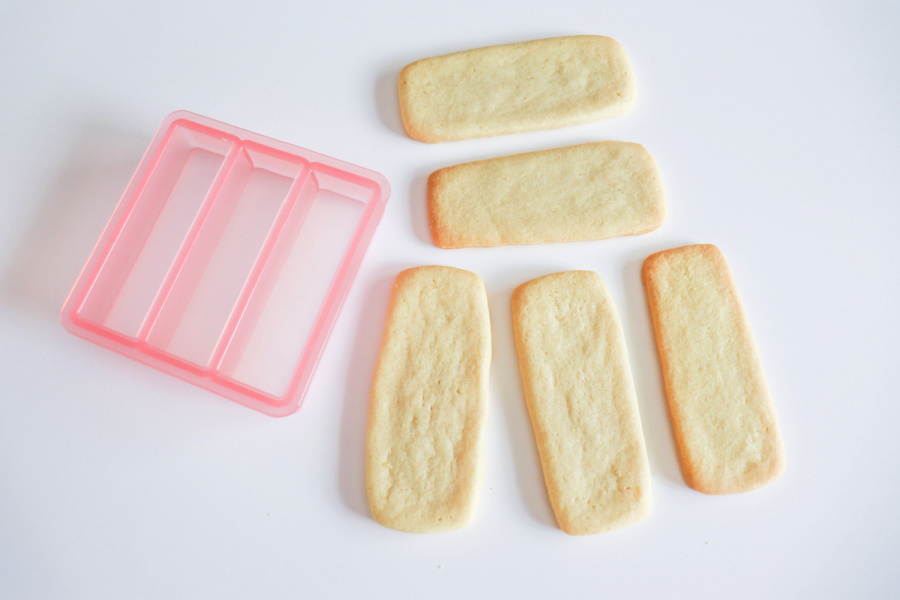
Bake at 350 for 8 minutes or until the edges start to brown.
Royal Icing Ingredients:
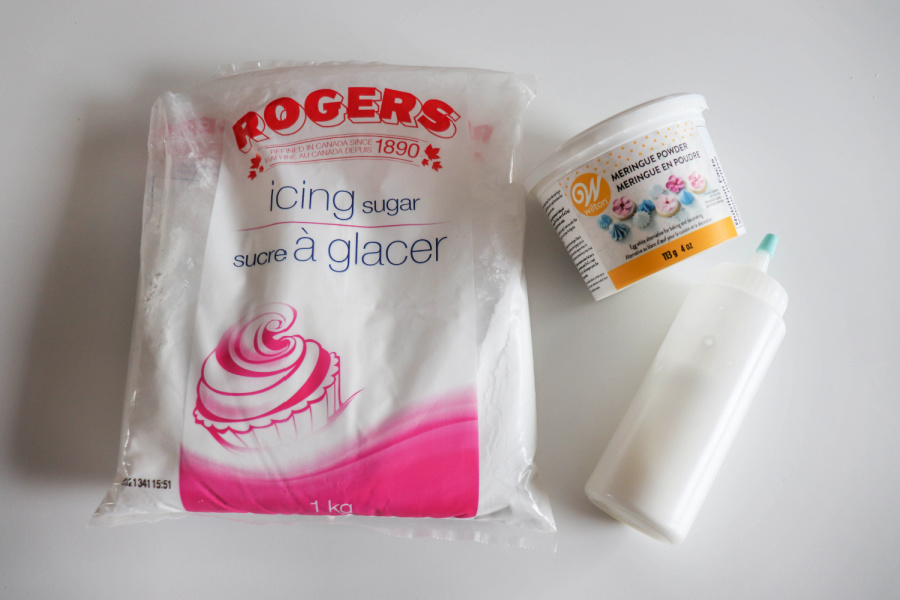
- 4 cups powdered sugar
- 3 tablespoons meringue powder
- 8-12 tablespoons room temperature water
- Gel food coloring
Royal Icing Directions:
In a stand mixer combine sugar and meringue powder.
Add 8 tablespoons of water, using the whisk attachment, beat for 1 minute on low.
Continue to add water one tablespoon at a time until the icing slowly drizzles from the whisk when lifted.
Once prepared – if the icing is too hard, add more water. Too runny, add more icing sugar.
Separate the icing into small mixing bowls and add desired food coloring.
Mix well. Scoop the icing into piping bags or icing bottles.

Decorating Instructions:
Line around the edge of the cookie with icing and fill the middle.
Use a toothpick to poke bubbles or direct icing into holes.
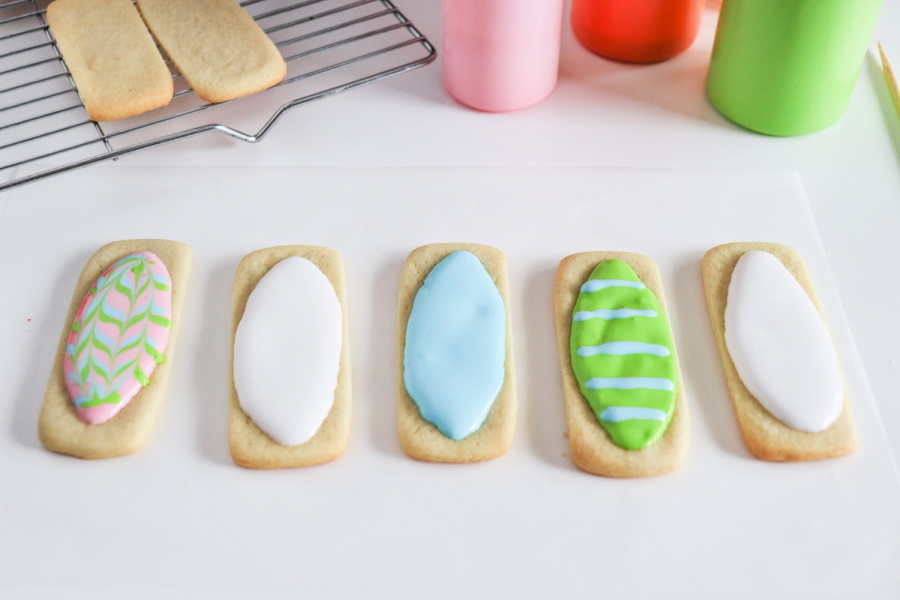
Allow each design area to dry before moving on.
The icing should completely dry, at room temperature for at least four hours, before adding piping details to the top.
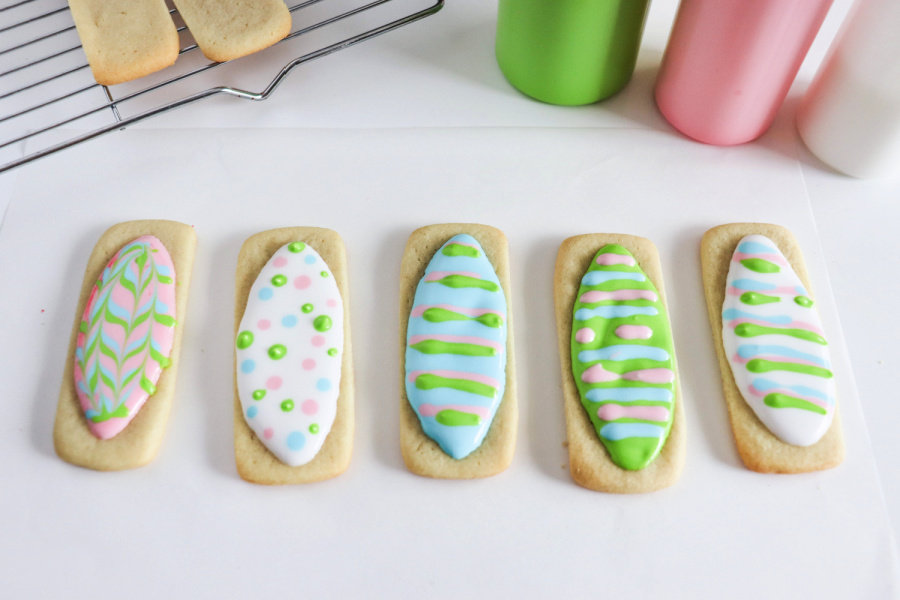
Polka Dots: before the flooded area dries, add dots of different colored icing.
Hearts: before the flooded area dries, add dots of different colored icing, drag a toothpick through each dot, creating a heart.
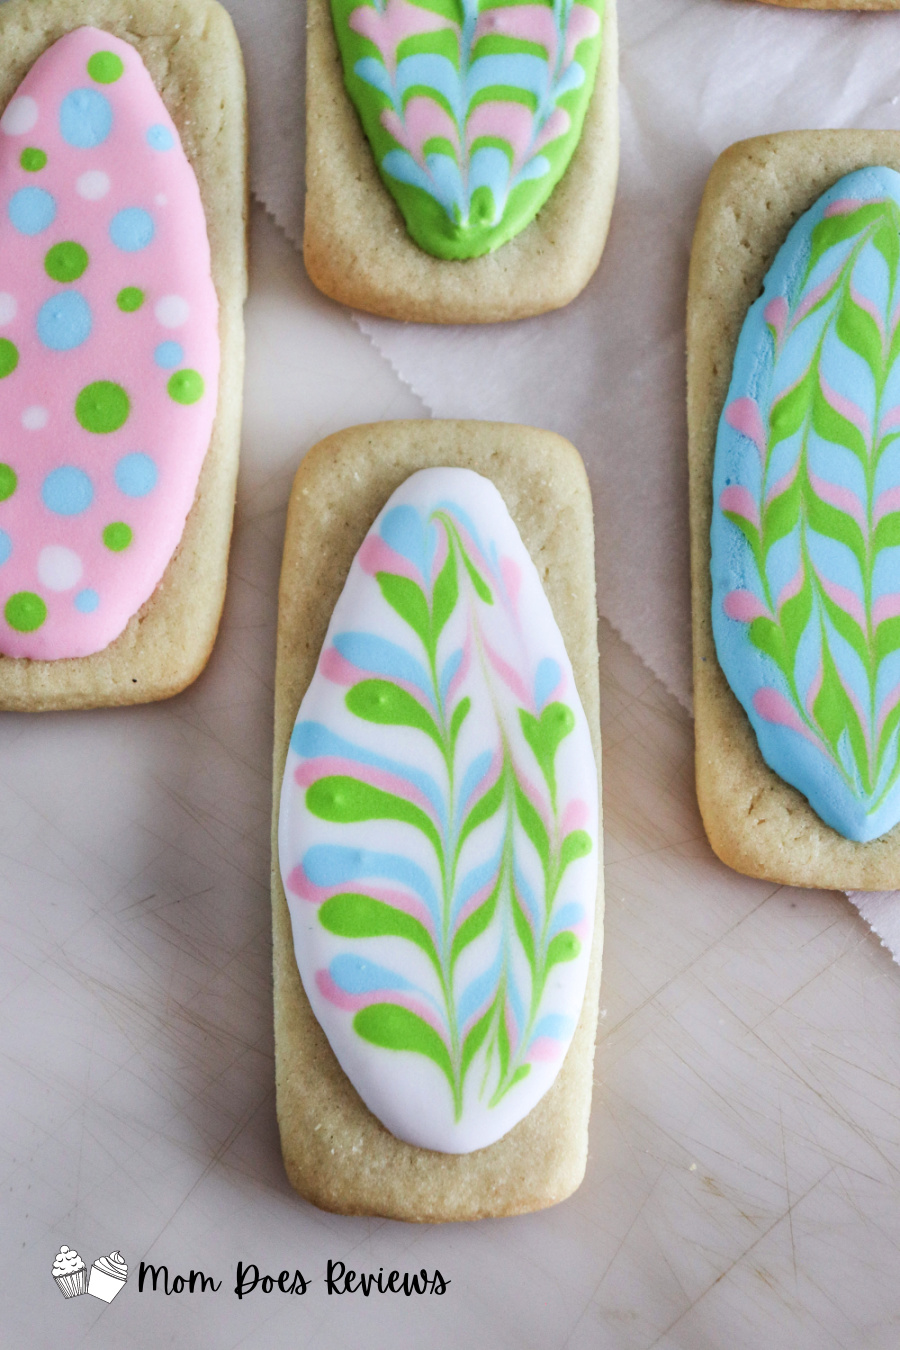
Zig zag design: before the flooded area dries, add stripes of different colored icing and then drag a toothpick through the stripes.
Sprinkles: before the flooded area dries, add sprinkles.
Candy: glue to the cookie with a drop of icing.
Edible marker: before using on the icing, allow the icing to completely harden for at least four hours.
Print the Tutorial:
Easter Sugar Cookies with Royal Icing Tutorial
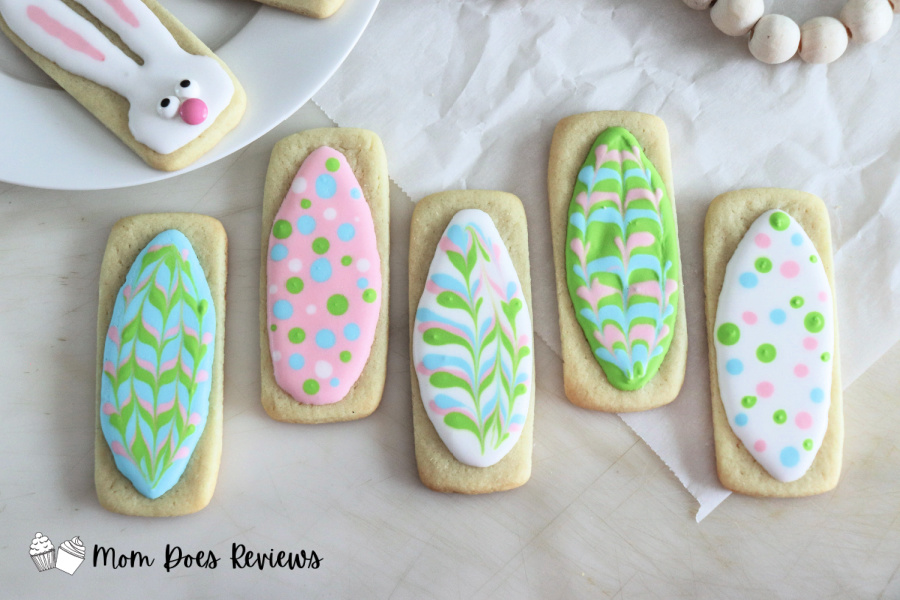
This super easy tutorial takes you through the steps to make those beautifully decorated cookies you see on Facebook. If I can make them, you can too! These Easter Sugar Cookies are so cute!
Ingredients
- Cookie Ingredients:
- 1 package Pillsbury refrigerated sugar cookie dough
- ¼ cup all purpose flour
- Royal Icing Ingredients:
- 4 cups powdered sugar
- 3 tablespoons meringue powder
- 8-12 tablespoons room temperature water
- Gel food coloring
Instructions
Cookie Directions:
Combine dough and flour. Roll to ¼” thickness. Cut out ½” x 3” rectangles. Bake at 350 for 8 minutes or until the edges start to brown.
Icing Directions:
In a stand mixer combine sugar and meringue powder. Add 8 tablespoons of water, using the whisk attachment, beat for 1 minute on low. Continue to add water one tablespoon at a time until the icing slowly drizzles from the whisk when lifted.
Once prepared - if the icing is too hard, add more water. Too runny, add more icing sugar.
Separate the icing into small mixing bowls and add desired food coloring. Mix well. Scoop the icing into piping bags or icing bottles.
Decorating instructions:
Line around the edge of the design with icing and fill the middle. Use a toothpick to poke bubbles or direct icing into holes. Allow each design area to dry before moving on. The icing should completely dry, at room temperature for at least four hours, before adding piping details to the top.
Pin for Later!