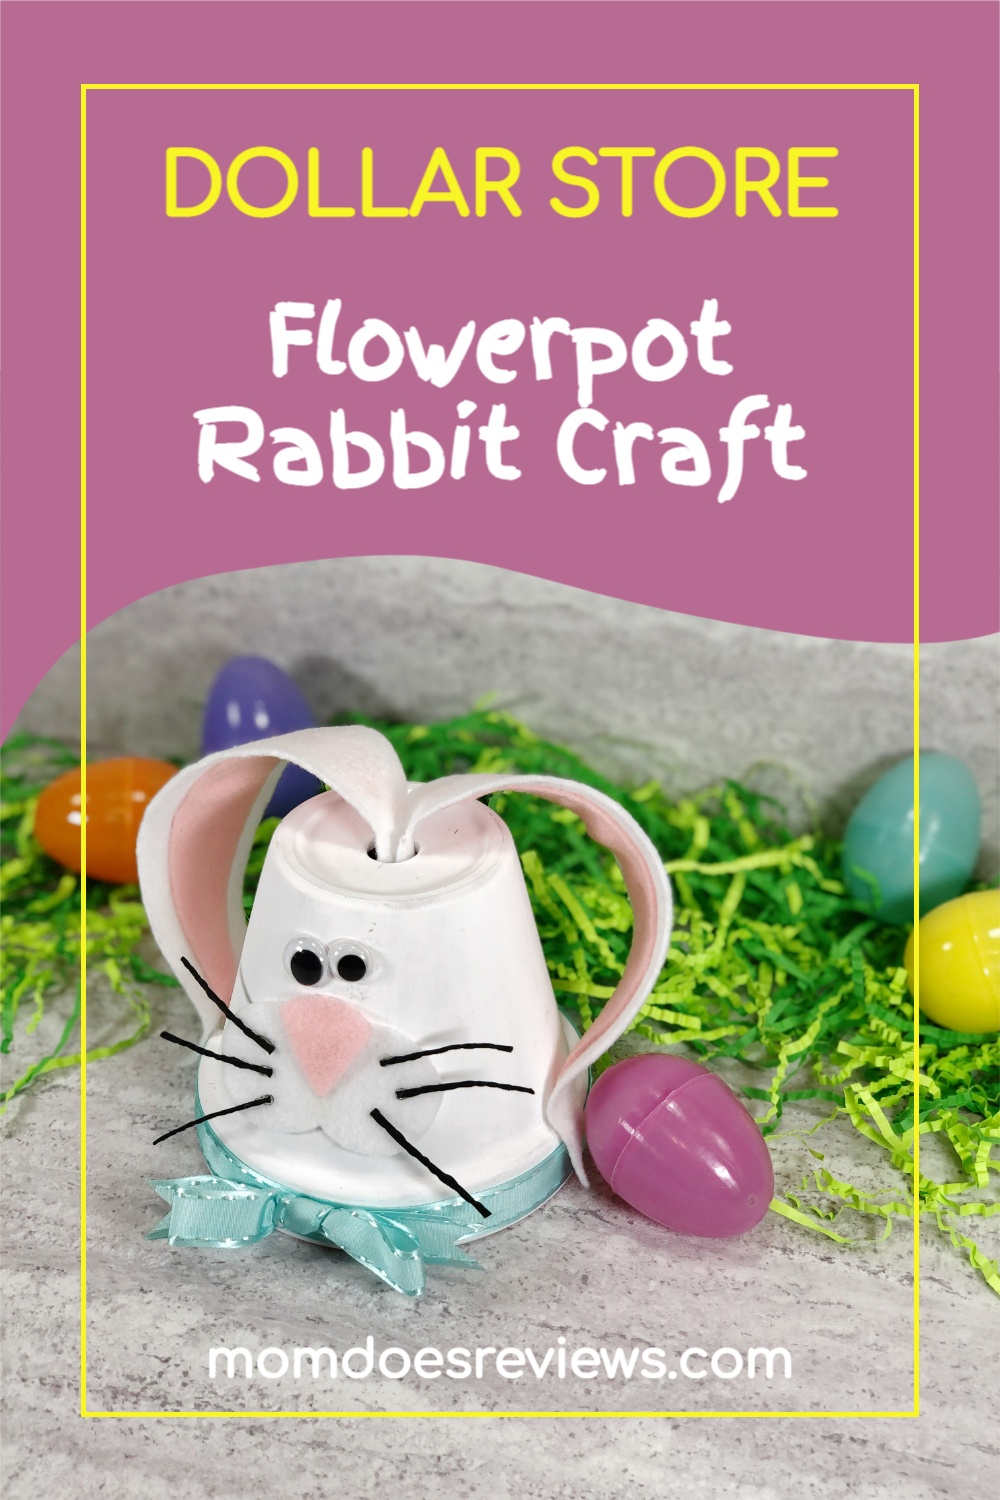
The kids will squeal in delight over this super cute and fun Dollar Store Flowerpot Rabbit Craft! Not only is it super adorable, but it is also super easy to make AND inexpensive! Just gather your supplies and follow the easy step-by-step instructions below.

What can be cuter than a pink-nosed bunny? Nothing, right?
This easy-to-make craft is so much fun to make but most importantly the kids will have a ball with it!
Moms will love it because it is a Dollar Store craft meaning it is inexpensive to make.
This fun bunny rabbit will bring smiles to the kiddos and provide a fun afternoon activity for home or for the classroom.
And, if you are looking for more cute Easter crafts, check these cuties out!
Clay Pot Carrot Craft for Easter Fun
This bright and colorful Clay Pot Carrot Craft goes together quickly and easily with limited supplies. Hide some treats inside and drop off on your neighbor’s front porch. The kids will love helping make this fun Carrot Craft and showing an act of kindness with the end result.
Easter Egg Bunny Craft
This year, kids can decorate their eggs like an Easter Bunny! To make this super cute Easter Egg Bunny, just gather a few supplies (felt, green cardstock paper, glue and a sharpie) and in less than 20 minutes, you have this fun craft!
Easter Bunny Jar Craft
I know a lot of families get together with other families or at churches for the time-honored tradition and for Easter dinner. This year, we wanted to be able to gift our family and friends a little something when we come together for the event. This Easter Bunny Jar Craft is easy to do and oh so cute! And, it is perfect for gifting to family and friends!
Now, let’s get back to our super adorable Dollar Store Flowerpot Rabbit Craft!
Dollar Store Flowerpot Rabbit Craft
All you need for this fun craft sis simple supplies from the Dollar Store along with some paint, felt and ribbon transform into the sweetest Flowerpot Rabbit craft ever!
The kids can make a set for a teacher, friend, neighbor or you can use them as place cards for your family’s Easter dinner.
They are so quick and easy to make with the kiddos.
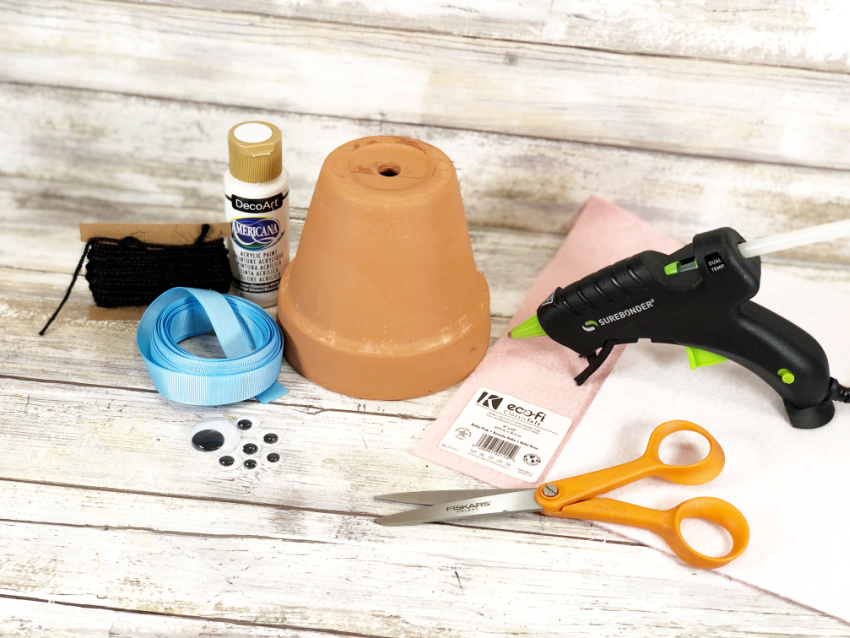
Materials needed:
Flowerpot, 4”
Kunin Classics Felt 9” x 12” Craft Cuts – White (1), Baby Pink (1)
Permanent Marker – Dollar Store
Acrylic Craft Paint – White
Scissors
Paintbrush
Ribbon – Blue
Wiggly Eyes (2) – Dollar Store
Glue Gun and Glue Sticks – Dollar Store
Black Twine – Dollar Store
Plain Paper
Flowerpot Bunny Patterns
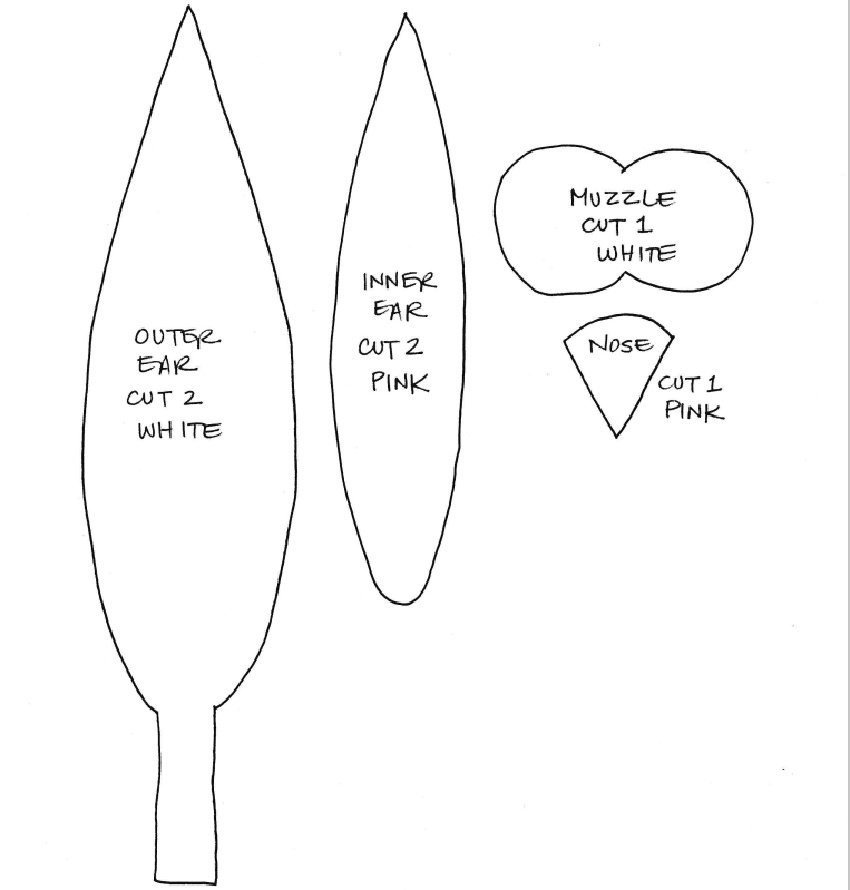
Print the template by clicking HERE or by clicking the image above.
How to make this cute Flowerpot Rabbit Craft:
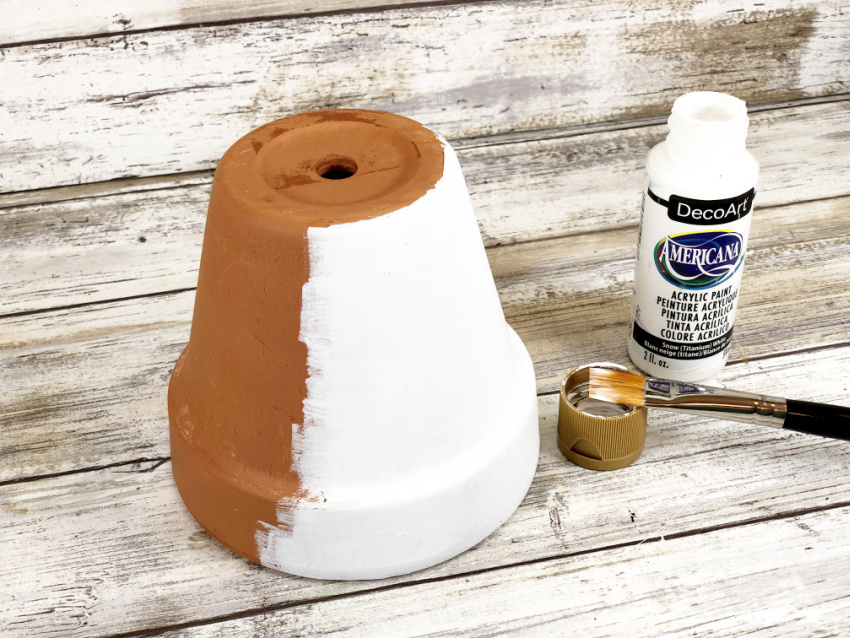
STEP ONE
Gather all supplies. Basecoat the 4″ flowerpot with white acrylic craft paint, let dry and apply a second coat if necessary. A 4” flowerpot was used for this craft, but any size would work.
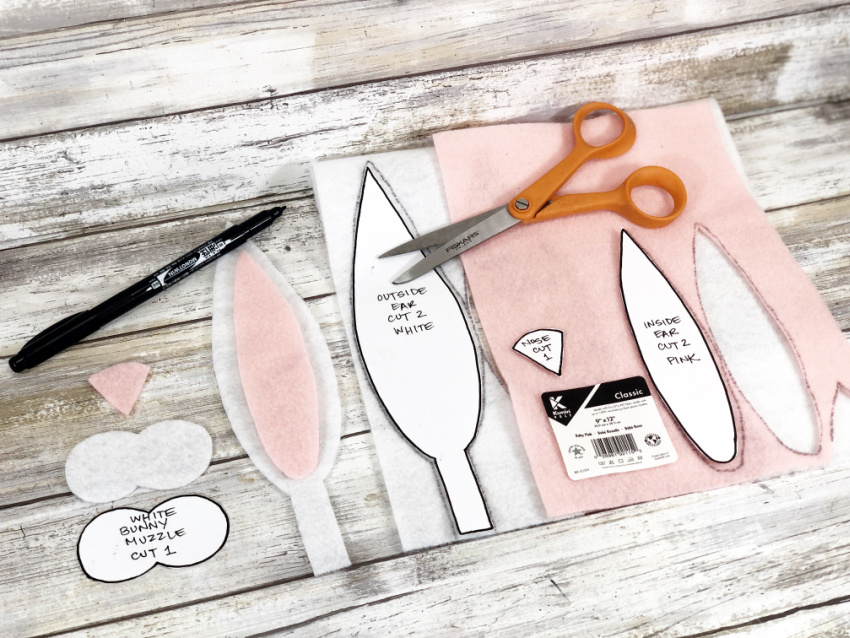
STEP TWO
Download and print patterns for Flowerpot Rabbit Craft. Cut out patterns to use as templates. Using a permanent marker, trace two ears and a muzzle on white felt, two inside ears, and a nose on baby pink felt, and then cut out with scissors. TIP: Cut inside the traced line, so that your project looks neat and clean. You can also pin the paper patterns to the felt and cut out with scissors.

STEP THREE
Attach the pink inner ear felt pieces to the center of the white outer ear felt pieces with a glue gun and glue sticks. Glue the pink nose onto the white muzzle. You can use liquid craft glue for this project, but you will have to wait for it to dry.
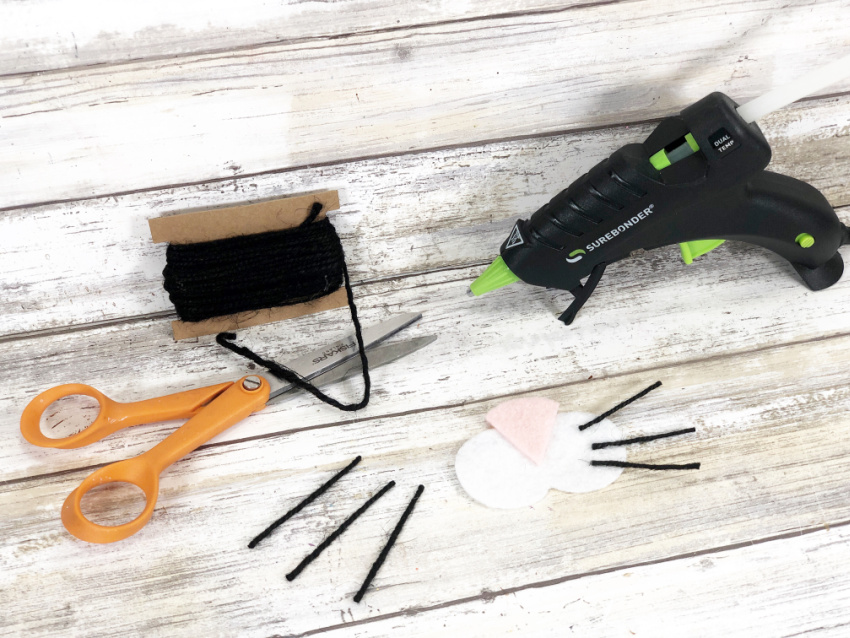
STEP FOUR
Measure and cut six 2″ long pieces of black twine and glue to the Rabbit’s muzzle for whiskers. Attach the completed muzzle and wiggle eyes to flowerpot using the photo for placement.
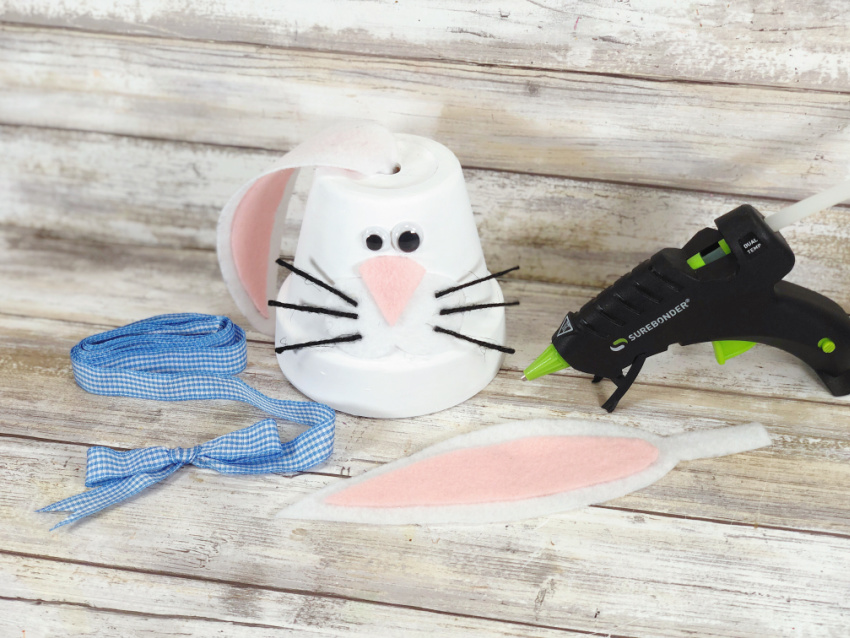
STEP FIVE
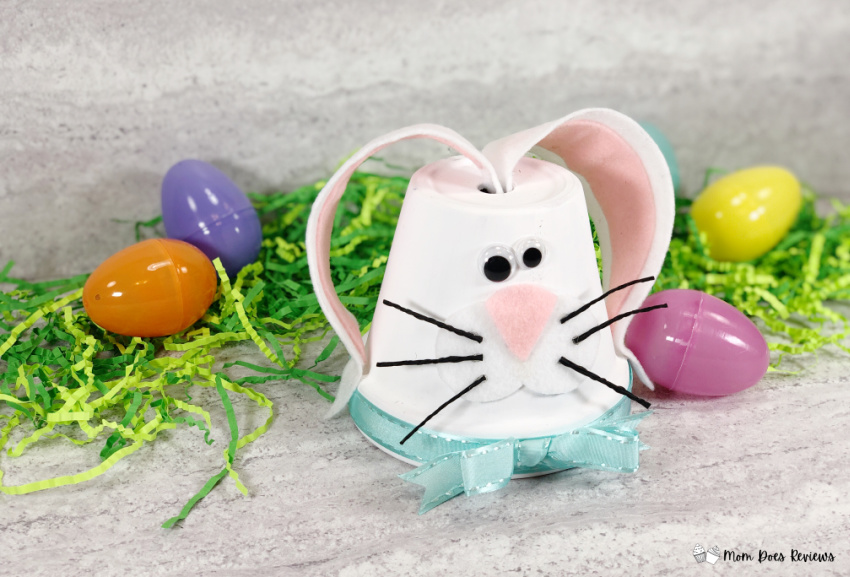
Embellish base of the Rabbit Flowerpot with a band of ribbon in blue, securing in the back with glue, then tie a bow and attach to the front center. Insert the tab of the felt rabbit ears into the hole in the flowerpot and adjust as needed.

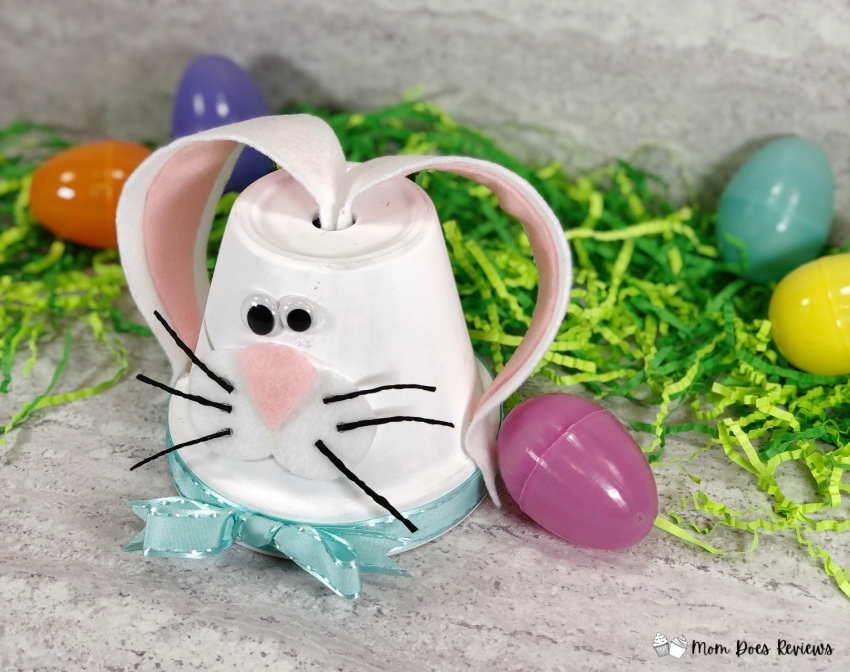
And here is Mr. Rabbit ready for his close-up!
Print this cute Dollar Store Flowerpot Rabbit Craft!
Dollar Store Flowerpot Rabbit Craft
The kids will squeal in delight over this super cute and fun Dollar Store Flowerpot Rabbit Craft! Not only is it super adorable, but it is also super easy to make AND inexpensive! Just gather your supplies and follow the easy step-by-step instructions below.
Materials
- Flowerpot, 4”
- Kunin Classics Felt 9” x 12” Craft Cuts – White (1), Baby Pink (1)
- Permanent Marker – Dollar Store
- Acrylic Craft Paint – White
- Scissors
- Paintbrush
- Ribbon – Blue
- Wiggly Eyes (2) - Dollar Store
- Glue Gun and Glue Sticks – Dollar Store
- Black Twine – Dollar Store
- Plain Paper
- Flowerpot Bunny Patterns
Instructions
- Gather all supplies. Basecoat the 4″ flowerpot with white acrylic craft paint, let dry and apply a second coat if necessary. A 4” flowerpot was used for this craft, but any size would work.
- Download and print patterns for Flowerpot Rabbit Craft. Cut out patterns to use as templates. Using a permanent marker, trace two ears and a muzzle on white felt, two inside ears, and a nose on baby pink felt, and then cut out with scissors. TIP: Cut inside the traced line, so that your project looks neat and clean. You can also pin the paper patterns to the felt and cut out with scissors.
- Attach the pink inner ear felt pieces to the center of the white outer ear felt pieces with a glue gun and glue sticks. Glue the pink nose onto the white muzzle. You can use liquid craft glue for this project, but you will have to wait for it to dry.
- Measure and cut six 2″ long pieces of black twine and glue to the Rabbit’s muzzle for whiskers. Attach the completed muzzle and wiggle eyes to flowerpot using the photo for placement.
- Embellish base of the Rabbit Flowerpot with a band of ribbon in blue, securing in the back with glue, then tie a bow and attach to the front center. Insert the tab of the felt rabbit ears into the hole in the flowerpot and adjust as needed.
Pin it for later!