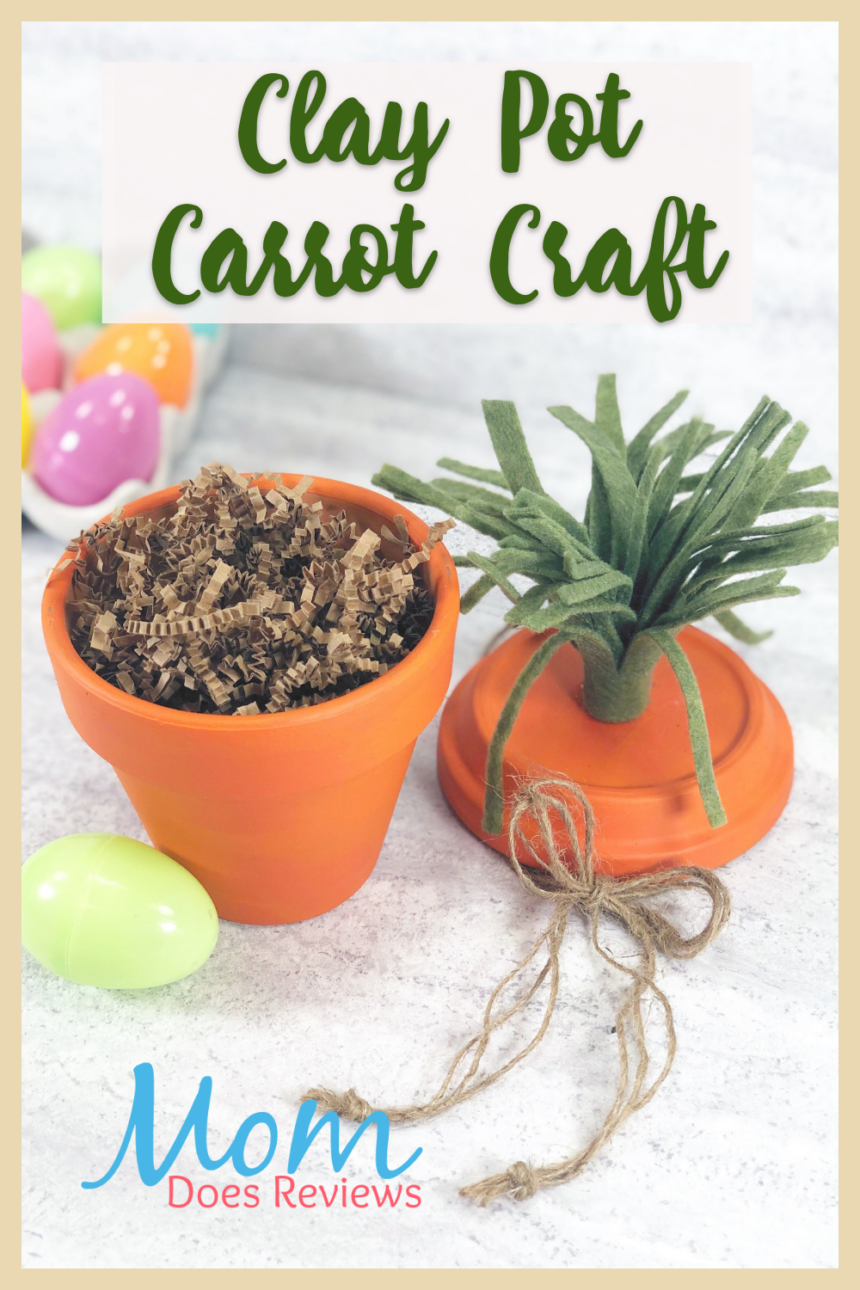
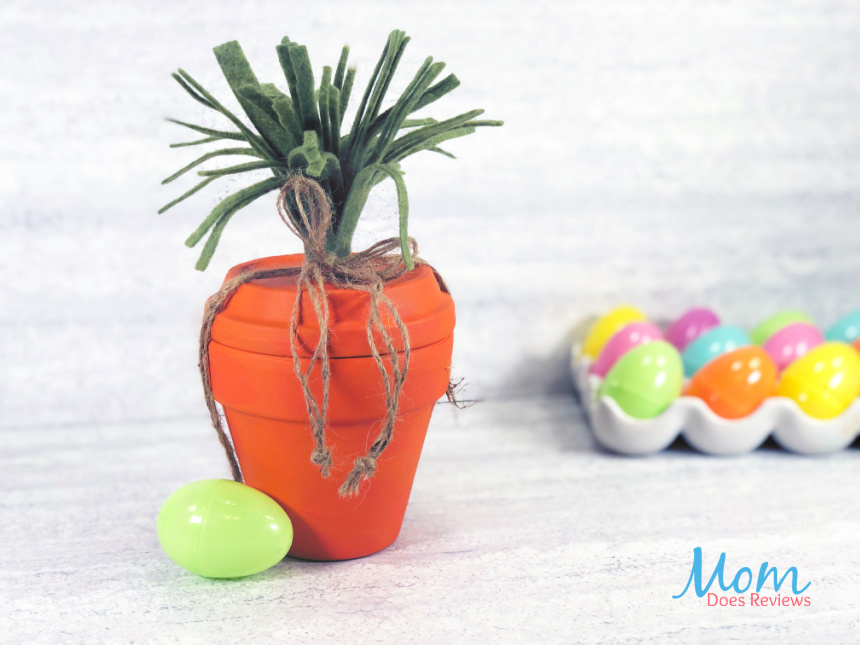
Easter is coming and we have another fun craft for you. This bright and colorful Clay Pot Carrot Craft goes together quickly and easily with limited supplies. Hide some treats inside and drop off on your neighbor’s front porch. The kids will love helping make this fun Carrot Craft and showing an act of kindness with the end result.
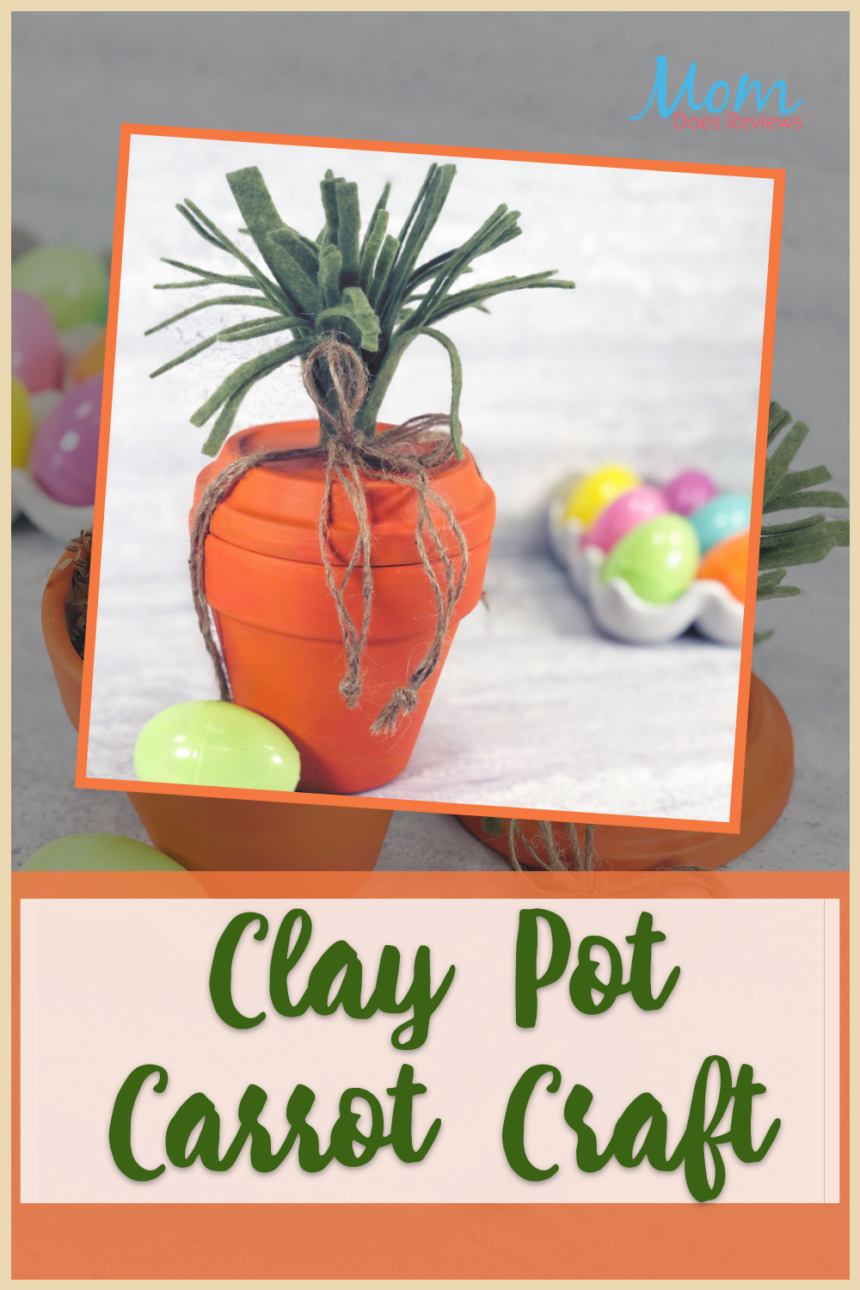
It’s an Easter Surprise!
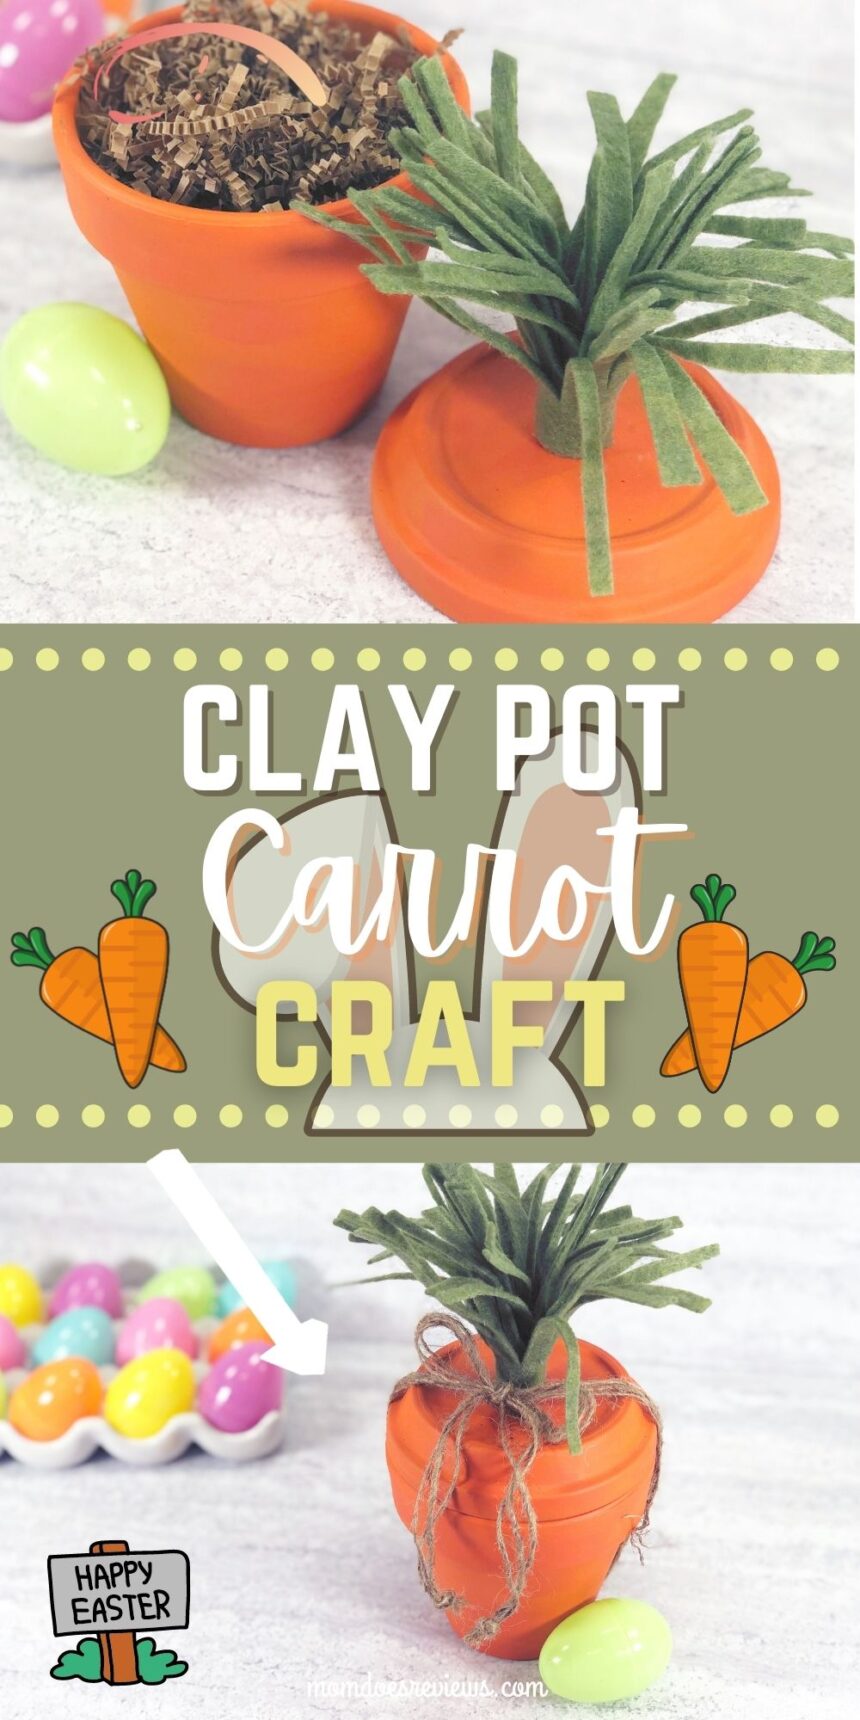
Fill the Clay Pot Carrot Craft with paper shred, favorite candies, and a gift card for older kiddos as a special Easter treat!
Want more Easter Crafts?
Easter Bunny Egg Craft: This year, kids can decorate their eggs like an Easter Bunny! To make this super cute Easter Egg Bunny,
Bunny Jar Craft: Check out this Easter Bunny Jar Craft – it’s easy to do and oh so cute! And, it is perfect for gifting to family and friends!
Easy Bunny Butts: Make your own super cute and easy Dollar Store Bunny Butts with only 3 supplies. They look so cute in Easter Baskets
Supplies needed to make this fun Clay Pot Carrot:
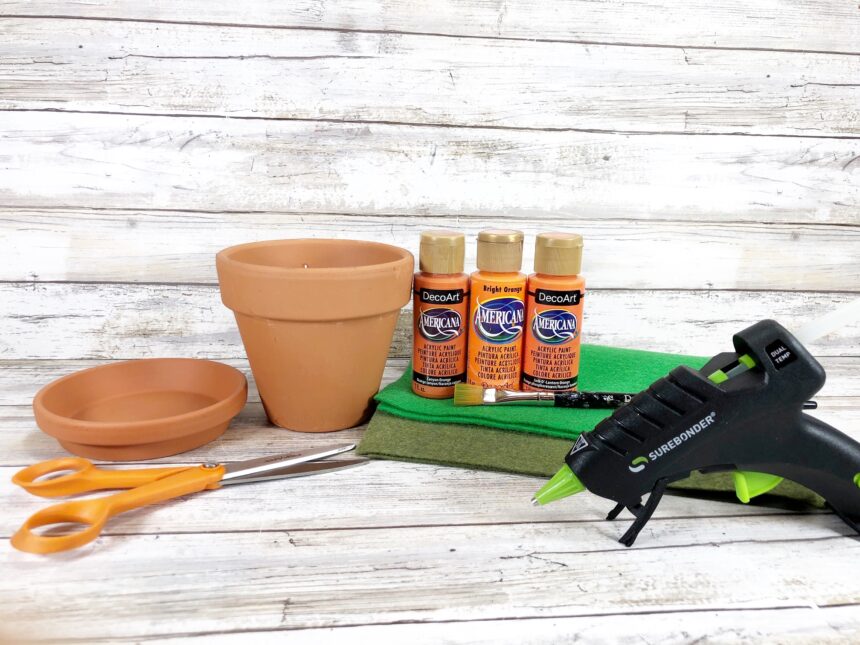
- Clay Pot – 4” in diameter
- Clay Saucer – 4” in diameter
- Craft Felt Sheet 9” by 12” – Olive Green
- Natural Jute Twine – Dollar Store
- Acrylic Craft Paint – Bright Orange, Primary Orange, Dark Orange
Materials needed:
- Glue Gun and Glue Sticks
- Scissors
- Paintbrush
- Ruler
- Permanent Marker – Black
Instructions to Make the Clay Pot Carrot:
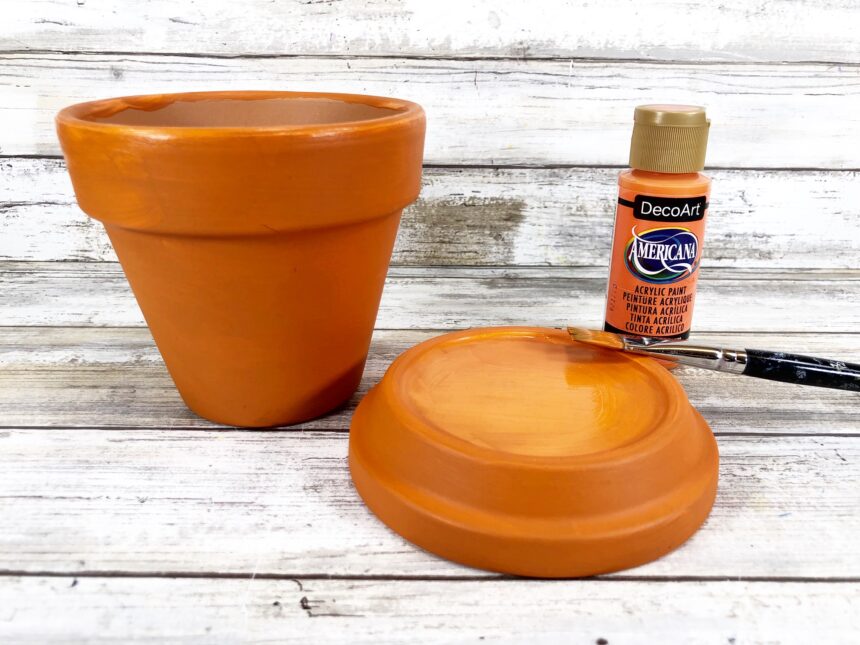
STEP ONE
Gather all materials then remove all packaging and labels. Basecoat clay pot and saucer with primary orange acrylic craft paint. Let the paint dry and then apply a second coat, if necessary.
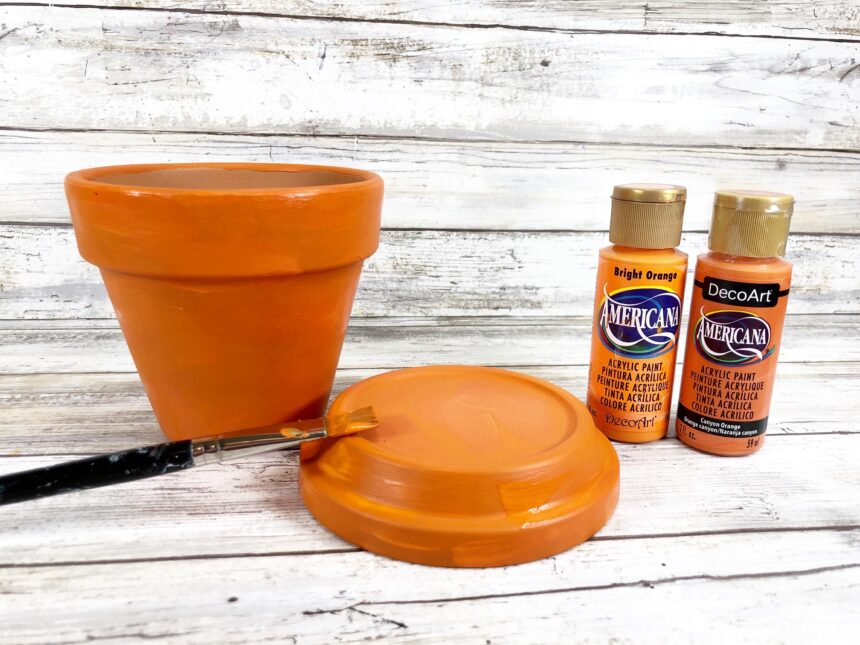
STEP TWO
Once the clay pot and saucer is dry, apply random swashes of bright orange and dark orange acrylic craft paint to replicate the texture of a carrot.
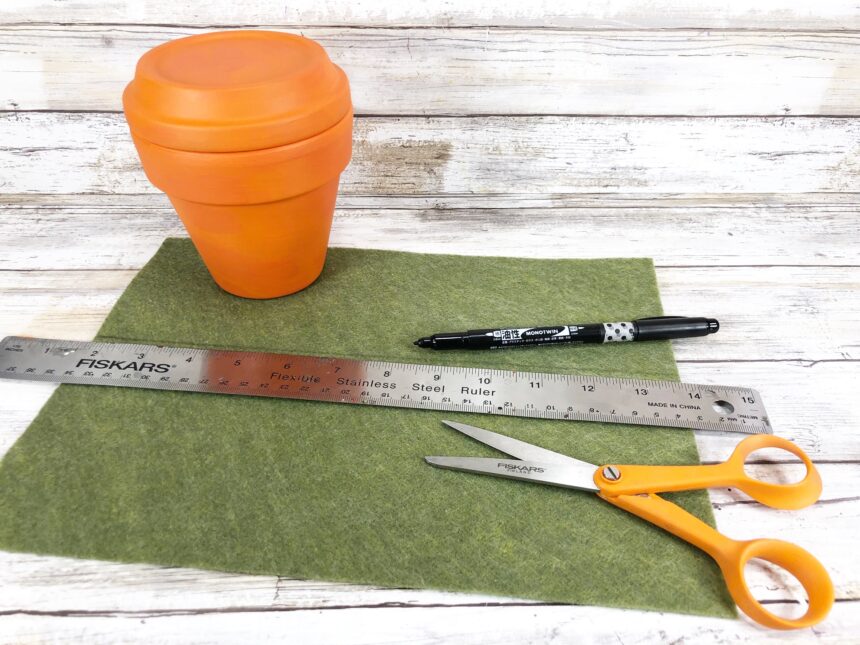
STEP THREE
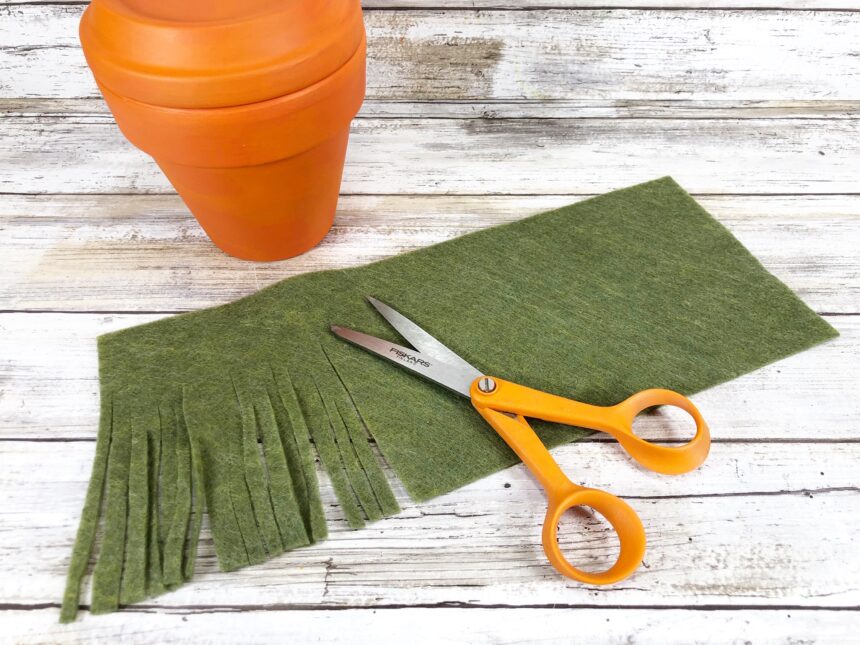
Measure a four-inch by nine-inch rectangle of olive colored green craft felt, and then cut out with scissors.
STEP FOUR
Fringe the nine-inch length of olive colored green craft felt with scissors, leaving a one-inch section intact for rolling. Cut some narrow and some wide to replicate a carrot top.
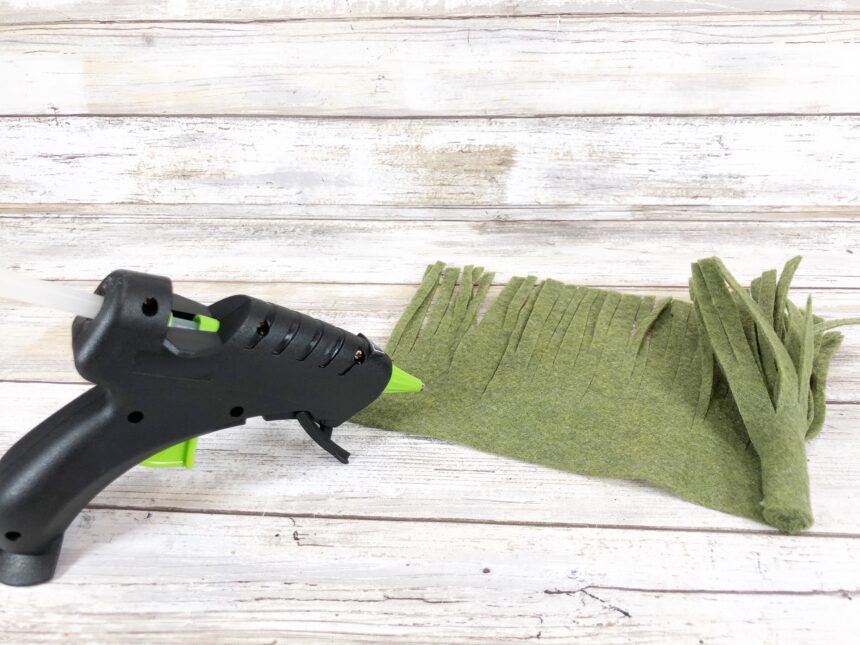
STEP FIVE
Using a glue gun and glue sticks, apply glue to the solid section of felt and roll as tightly as possible. Work in small sections and take your time with this step.
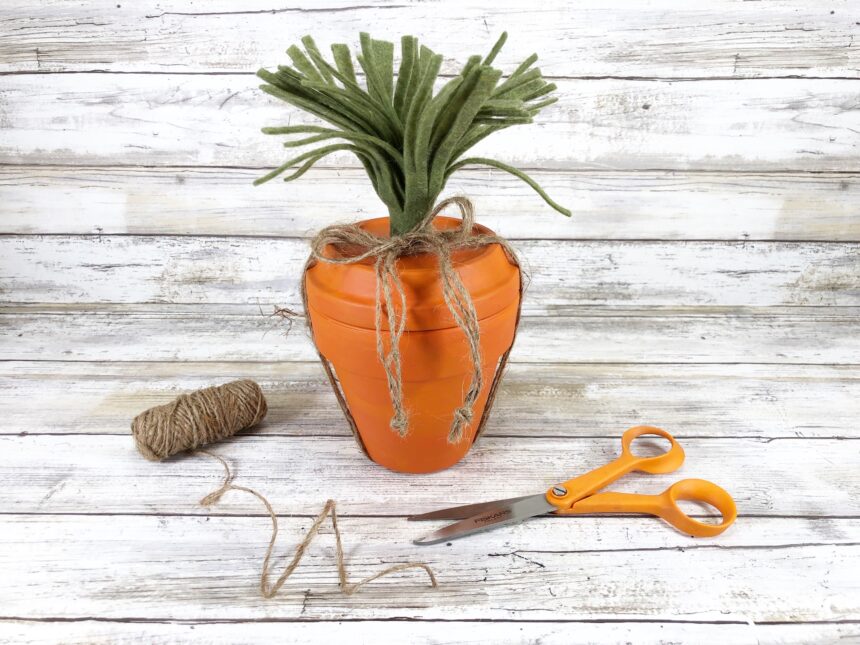
STEP SIX
Attach the felt carrot top to the center of the clay saucer with a glue gun and glue sticks. Hold tightly in place until the glue has cooled.

STEP SEVEN
Measure and cut three lengths of natural jute twine 36” each. Wrap twine around bottom of pot and secure at the top center with a bow. Knot the ends of the twine to finish.
Print the Directions:

Clay Pot Carrot Craft
Fill the Clay Pot Carrot Craft with paper shred, favorite candies, and a gift card for older kiddos as a special Easter treat!
Materials
- Clay Pot – 4” in diameter
- Clay Saucer – 4” in diameter
- Craft Felt Sheet 9” by 12” – Olive Green
- Natural Jute Twine – Dollar Store
- Acrylic Craft Paint – Bright Orange, Primary Orange, Dark Orange
Tools
- Glue Gun and Glue Sticks
- Scissors
- Paintbrush
- Ruler
- Permanent Marker - Black
Instructions
STEP ONE
Gather all materials then remove all packaging and labels. Basecoat clay pot and saucer with primary orange acrylic craft paint. Let the paint dry and then apply a second coat, if necessary.
STEP TWO
Once the clay pot and saucer is dry, apply random swashes of bright orange and dark orange acrylic craft paint to replicate the texture of a carrot.
STEP THREE
Measure a four-inch by nine-inch rectangle of olive colored green craft felt, and then cut out with scissors.
STEP FOUR
Fringe the nine-inch length of olive colored green craft felt with scissors, leaving a one-inch section intact for rolling. Cut some narrow and some wide to replicate a carrot top.
STEP FIVE
Using a glue gun and glue sticks, apply glue to the solid section of felt and roll as tightly as possible. Work in small sections and take your time with this step.
STEP SIX
Attach the felt carrot top to the center of the clay saucer with a glue gun and glue sticks. Hold tightly in place until the glue has cooled.
STEP SEVEN
Measure and cut three lengths of natural jute twine 36” each. Wrap twine around bottom of pot and secure at the top center with a bow. Knot the ends of the twine to finish.
Pin for Later!