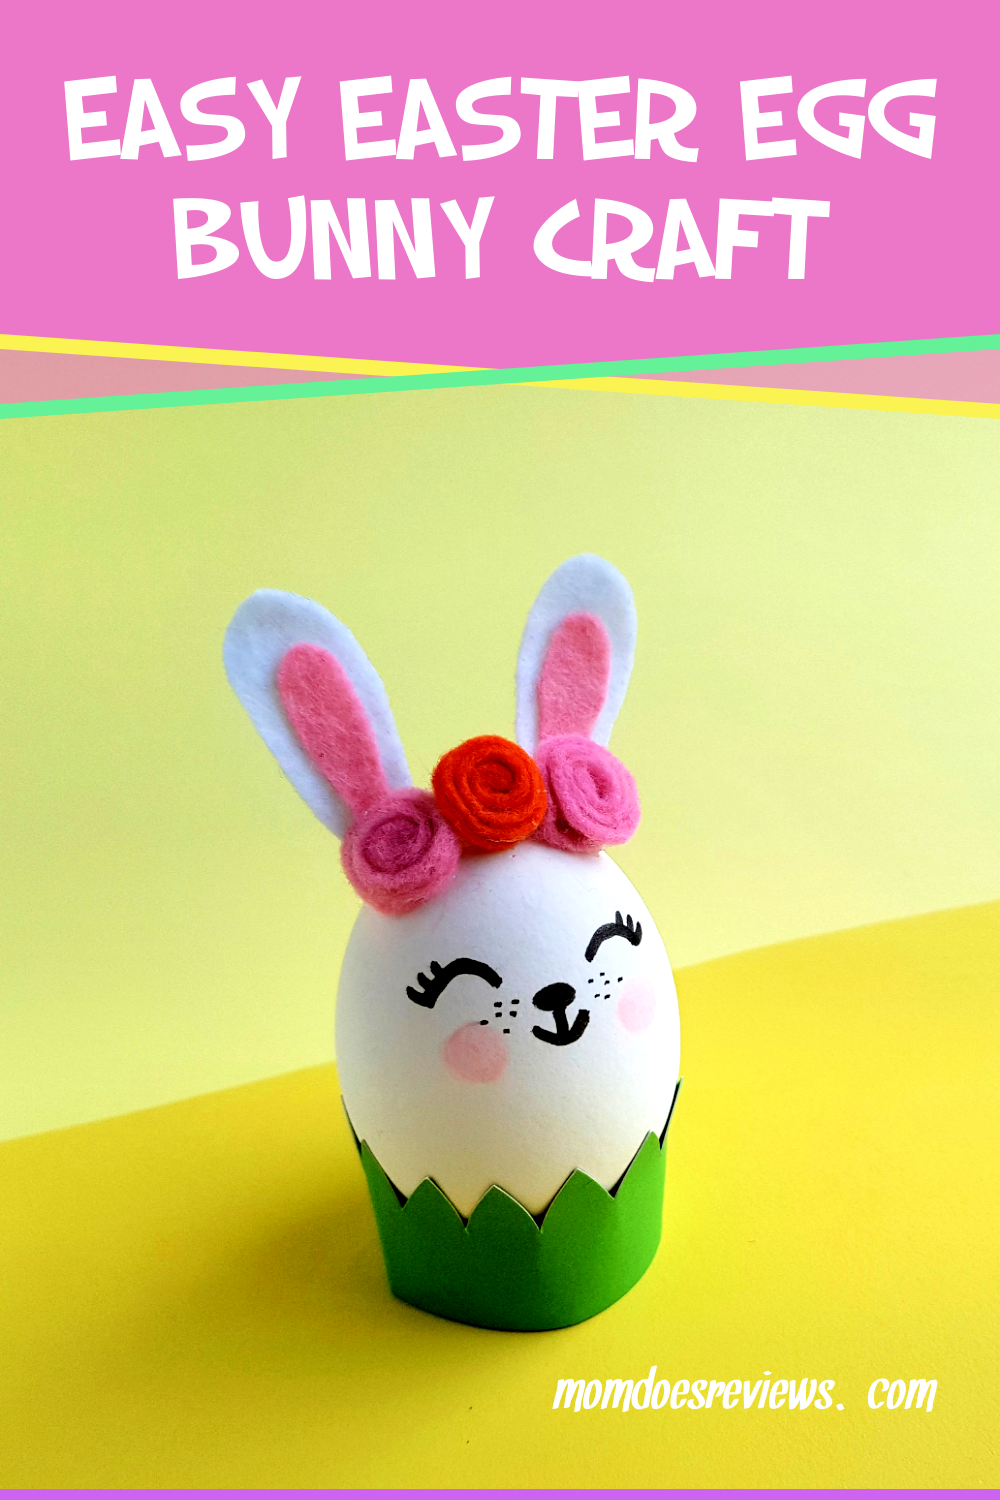
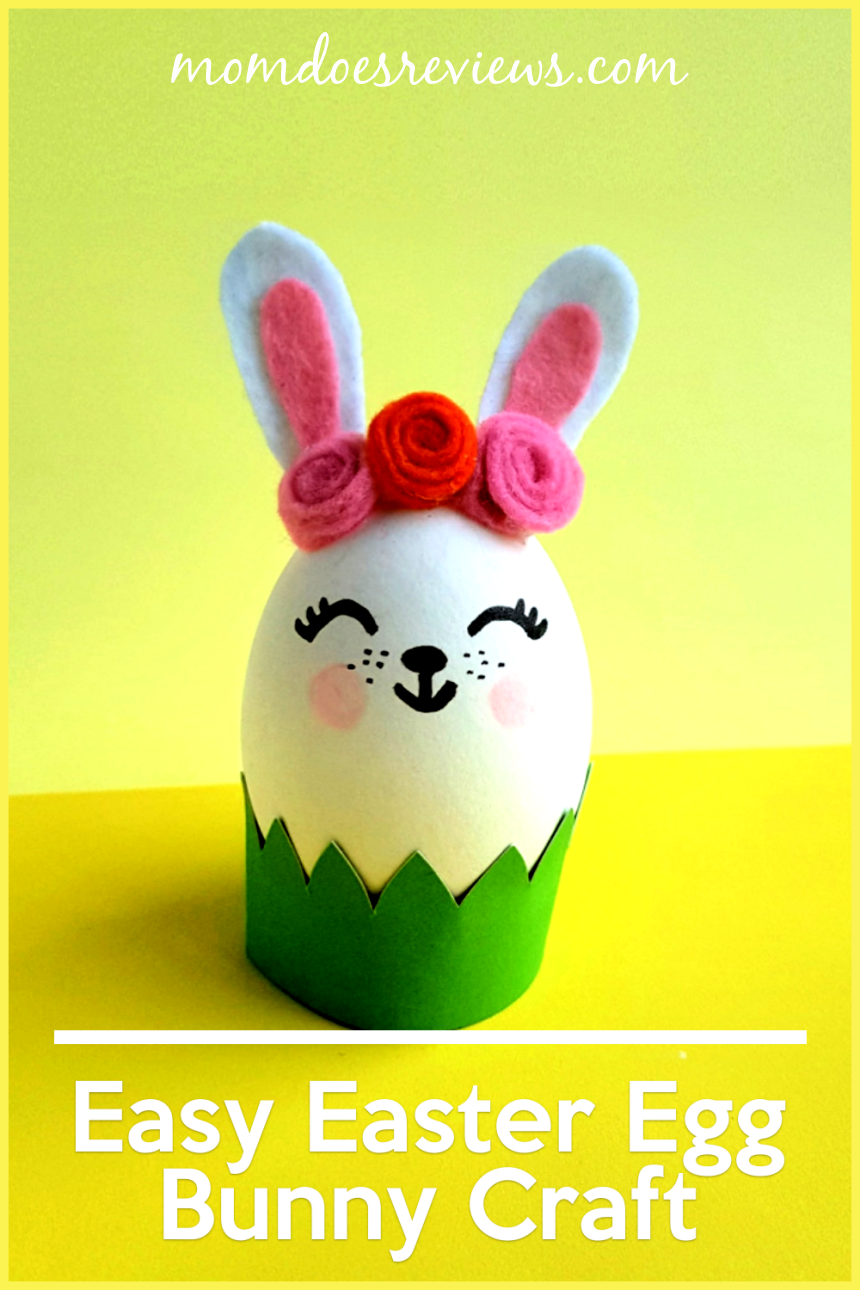
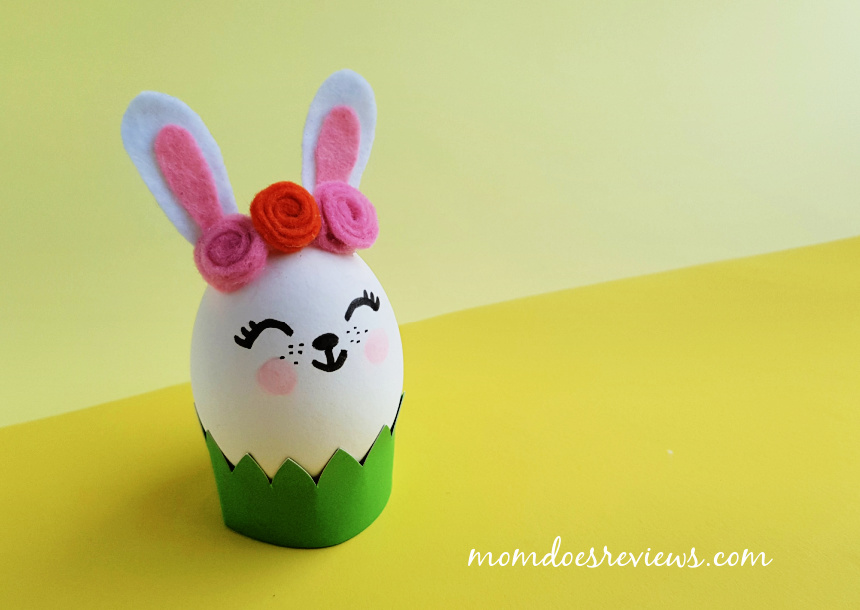
Easter is almost here and we all know the kids love their Easter eggs! This year, kids can decorate their eggs like an Easter Bunny! To make this super cute Easter Egg Bunny, just gather a few supplies (felt, green cardstock paper, glue and a sharpie) and in less than 20 minutes, you have this fun craft!
You can make this craft with a hollowed out, clean egg or, if you have littles helping, I would decorate them after you hard boil them.
Wouldn’t this craft make a great new Easter Tradition?
Here are some more Easter Egg crafts to keep your kids busy!
What could be more fun than dying the eggs in a fun unique way? These Tissue Paper Dyed Easter Eggs are easy to do and they are absolutely beautiful!
This year, instead of the same old boring dye why not step it up a notch with these Must-Try Easter Egg Decorating Ideas? These unique and creative ideas will spur your creative side and leave you with a basket of gorgeous unique eggs!
List of Supplies:
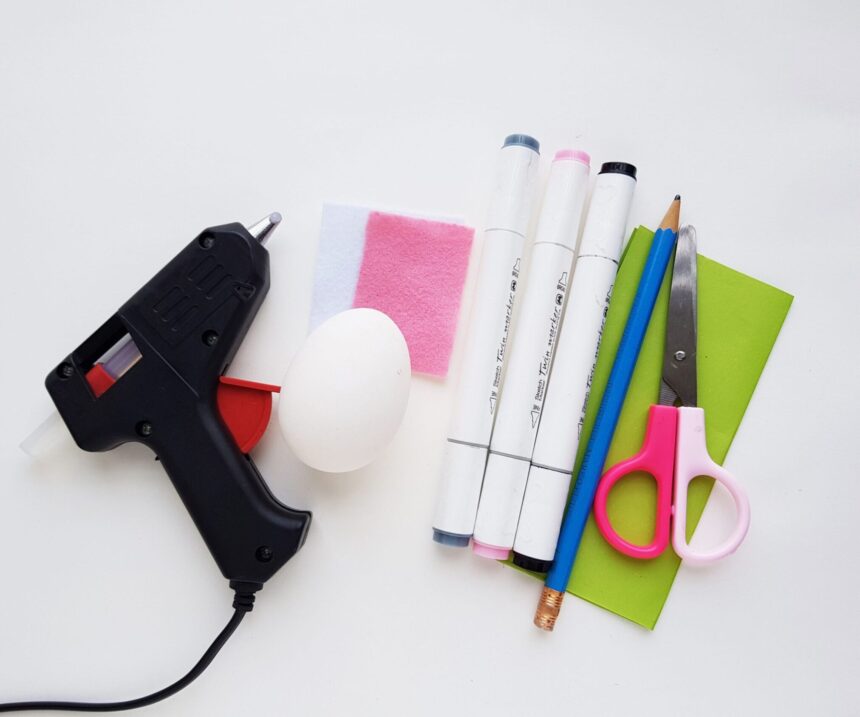
- Egg
- Green Craft paper
- Felt fabric
- Craft glue
- Pencil
- Sharpie
- Scissors
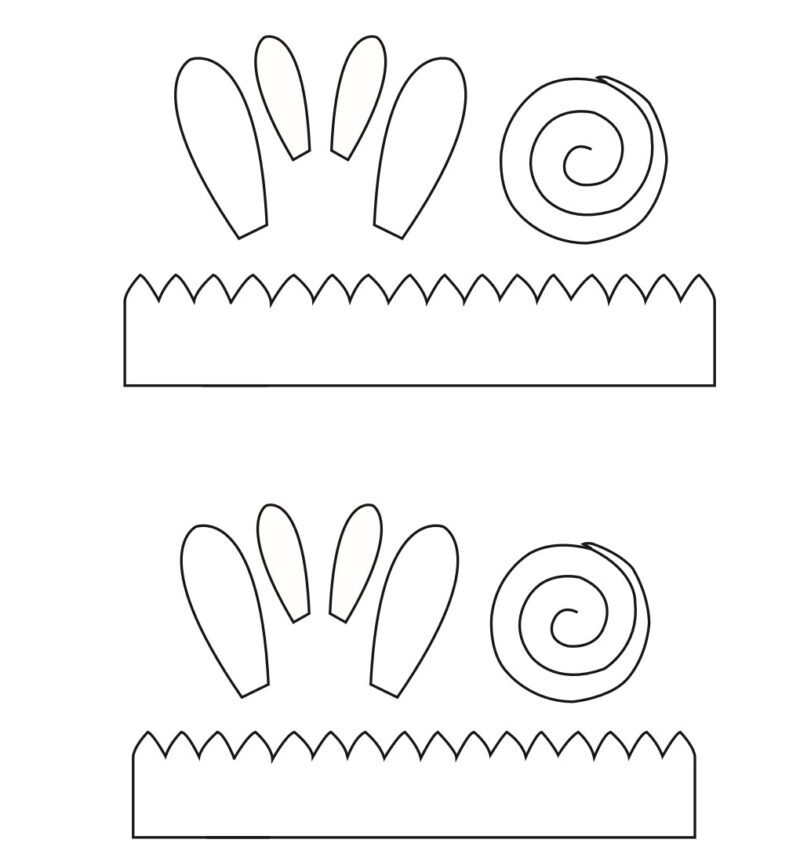
- Grass and pattern template- Print it HERE
Easter Egg Bunny Craft Instructions:
You can use an empty egg shell if you can manage to drain it through a small hole. Either way, you will need to wash, clean and dry the egg before crafting,
Step -1:
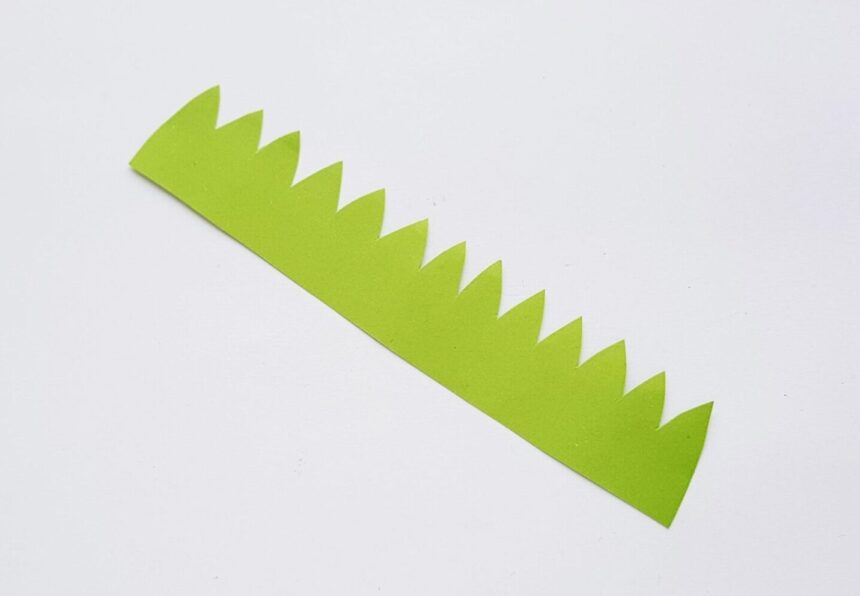
Trace grass pattern on a green colored craft paper and cut out the pattern using scissors.
Step -2:
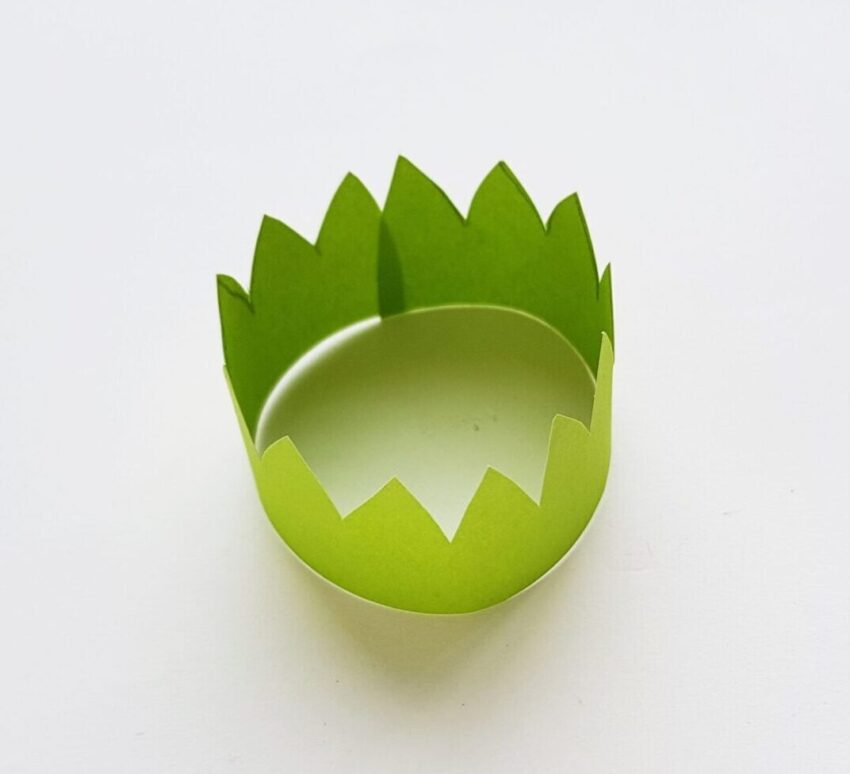
Roll the grass cut-out to form a tube pattern and glue the open ends to secure the grass tube pattern.
Step – 3:
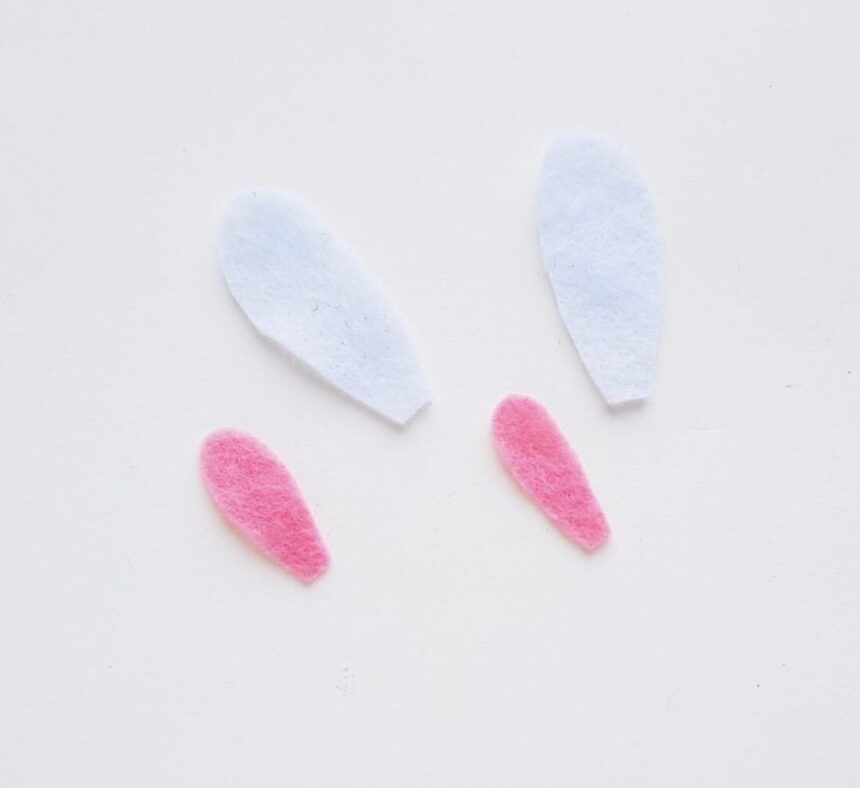
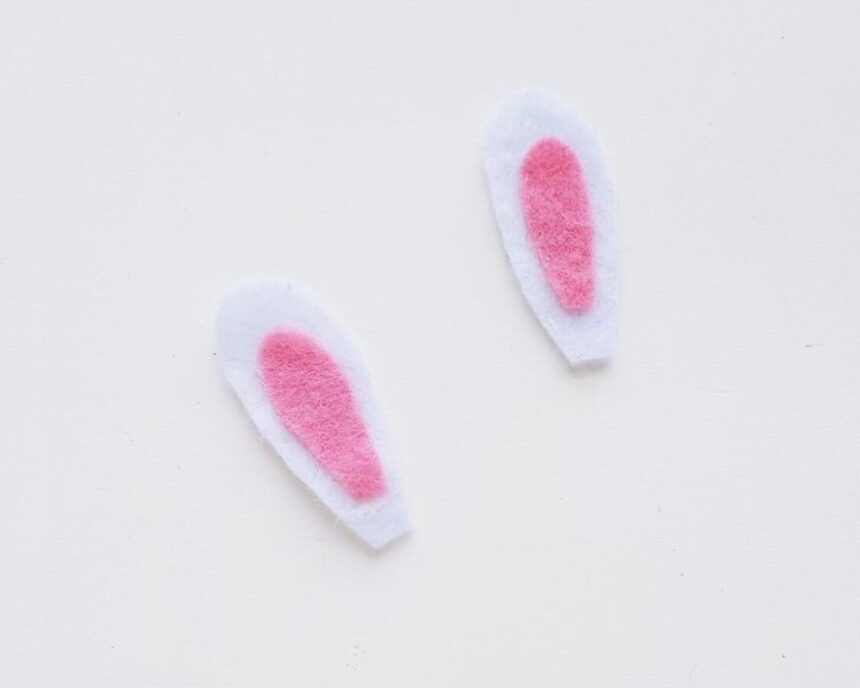
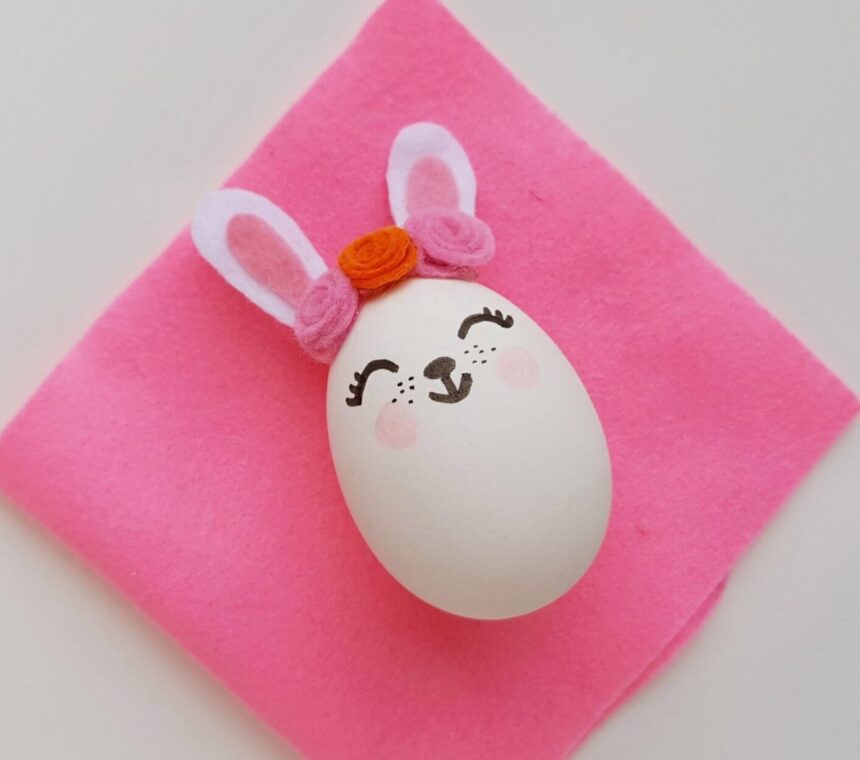
Trace and cut out outer ear patterns on white felt and inner ear patterns on pink felt. Cut out the traced patterns.
Step – 4:
Attach the pink ear cut-outs on the white (outer) ear cut-outs.
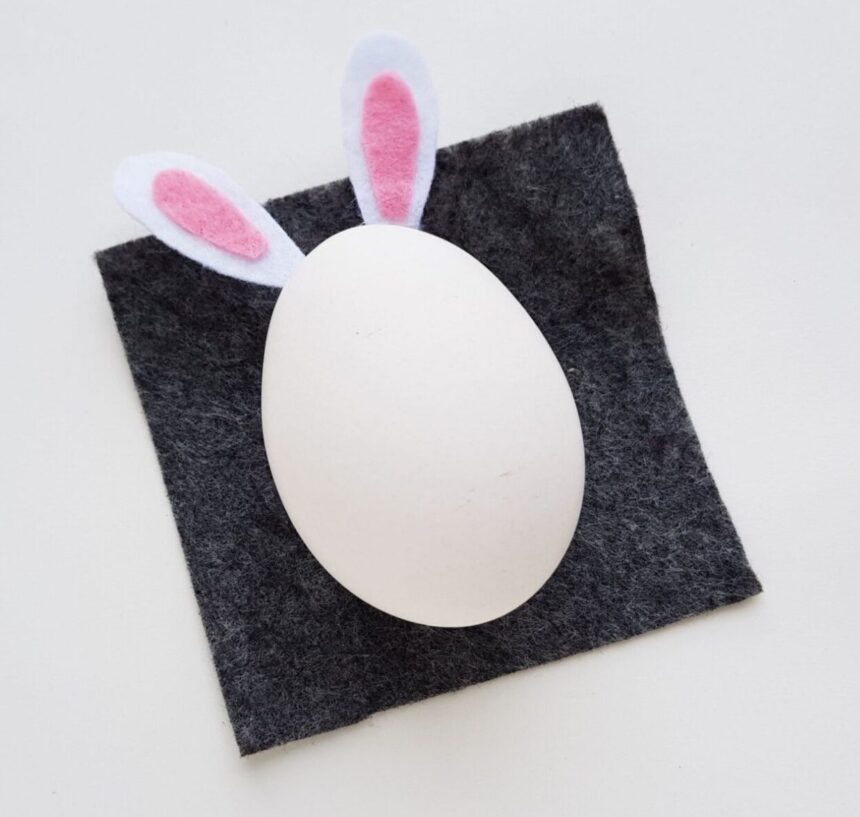
Step – 5:
Attach the ear patterns on the narrow side (this will be the top side of the egg bunny) of the egg.
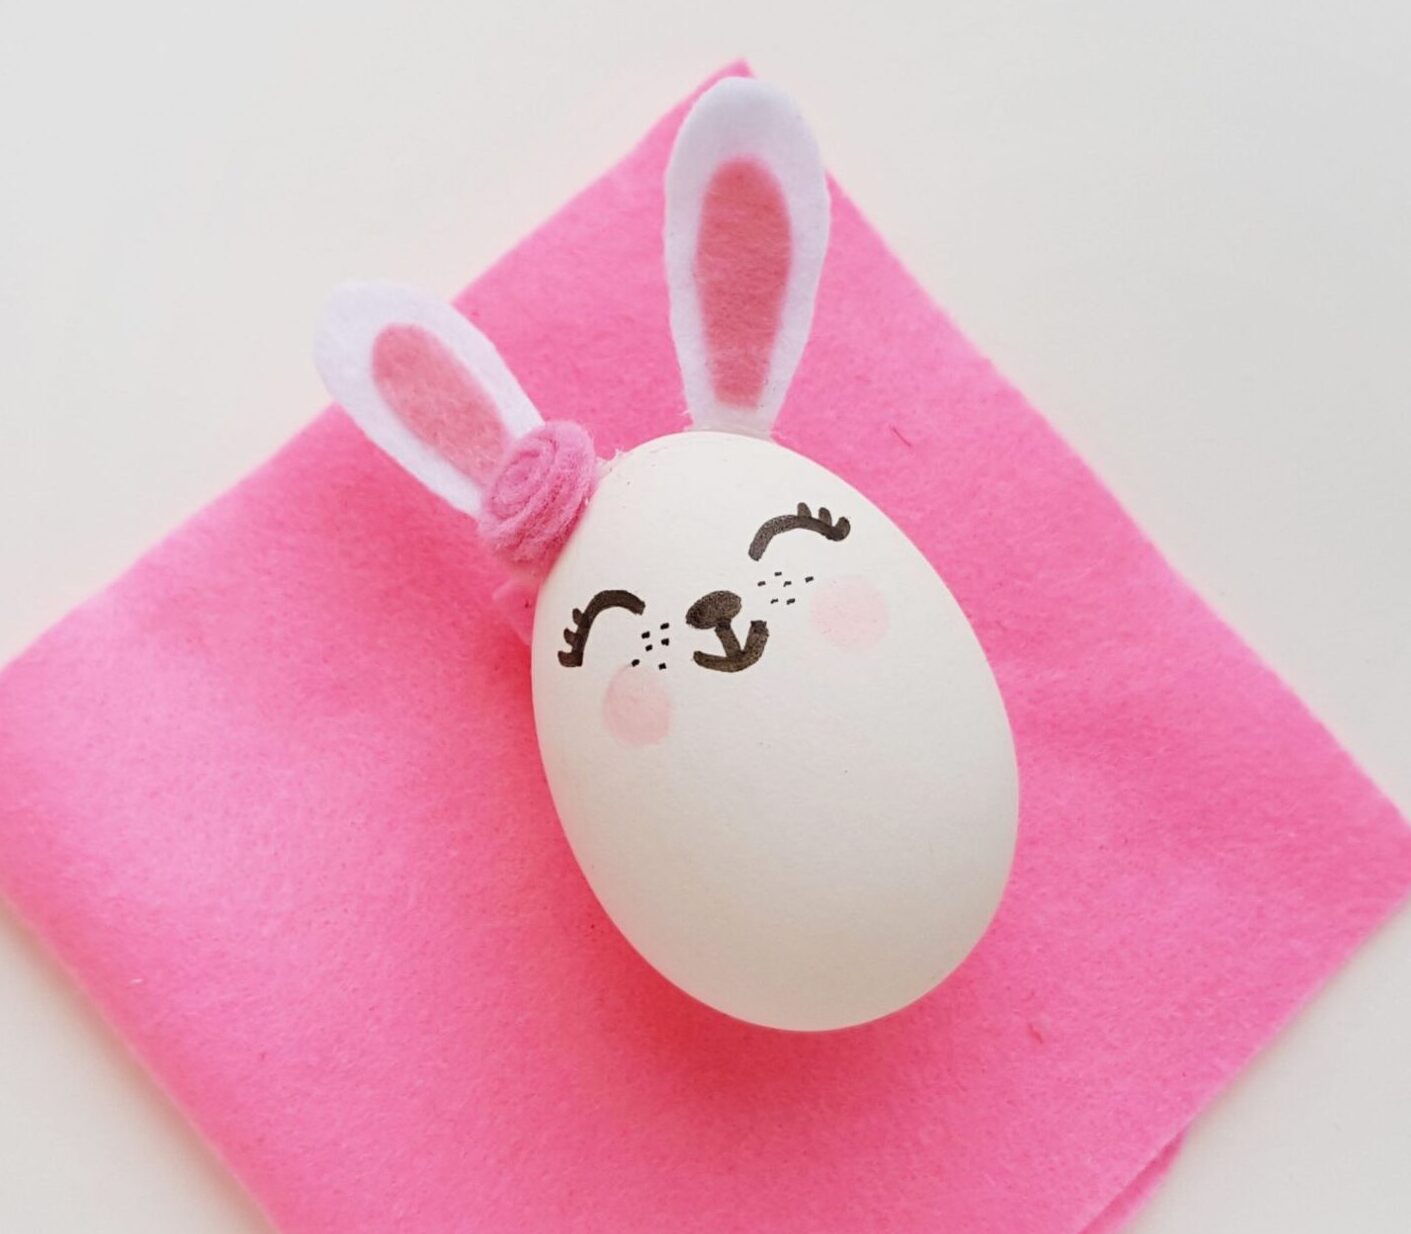
Step – 6:
Use a black sharpie to draw the eyes, nose and mouth of the egg bunny. Draw these details on the top half part of the egg.

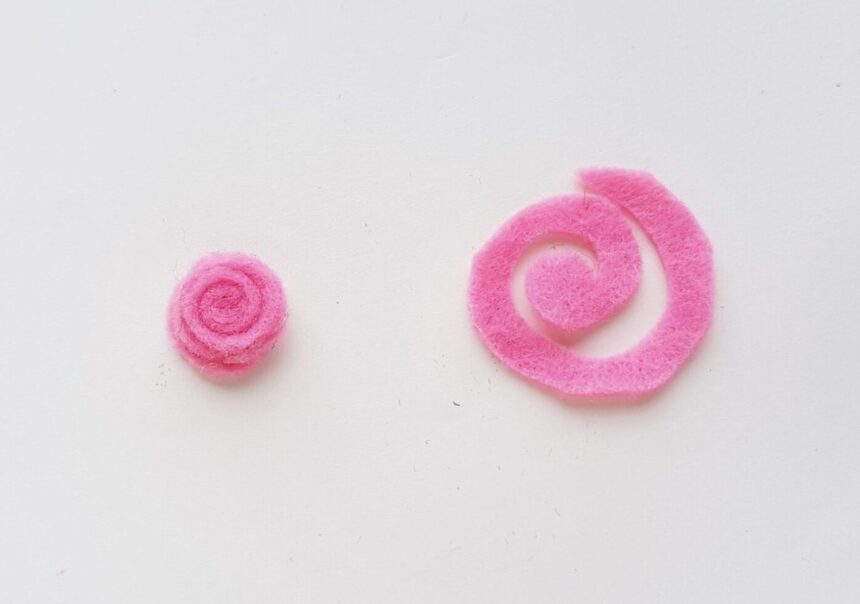
Step – 7:
Trace and cut out the spiral patterns from any colored felt fabric as you like. Coil the spiral patterns to form rolled flower patterns.
Step – 8:
Attach the felt flowers on the top side of the egg bunny, right below the ear patterns.
Step – 9:
Attach 3 or 4 flowers on the top end and then place the egg bunny on the grass tube carefully.
Print the Easter Egg Bunny Craft Instructions:

Easter Egg Bunny Craft
This craft uses a real white egg- empty or hard-boiled, its a cute way to make an Easter bunny!
Materials
- 1. Egg
- 2. Craft paper – green colored
- 3. Felt fabric
Tools
- 1. Craft glue
- 2. Pencil
- 3. Sharpie
- 4. Scissors
Instructions
Step -1:
You can use an empty egg shell if you can manage to drain it through a
small hole. Either way, you will need to wash, clean and dry the egg before
crafting Trace grass pattern on a green colored craft paper and cut out the
pattern using scissors.
Step -2:
Roll the grass cut-out to form a tube pattern and glue the open ends to
secure the grass tube pattern.
Step - 3:
Trace and cut out outer ear patterns on white felt and inner ear
patterns on pink felt. Cut out the traced patterns.
Step - 4:
Attach the pink ear cut-outs on the white (outer) ear cut-outs.
Step - 5:
Attach the ear patterns on the narrow side (this will be the top side of
the egg bunny) of the egg.
Step - 6:
Use a black sharpie to draw the eyes, nose and mouth of the egg bunny.
Draw these details on the top half part of the egg.
Step - 7:
Trace and cut out the spiral patterns from any colored felt fabric as
you like. Coil the spiral patterns to form rolled flower patterns.
Step - 8:
Attach the felt flowers on the top side of the egg bunny, right below
the ear patterns.
Step - 9:
Attach 3 or 4 flowers on the top end and then place the egg bunny on the
grass tube carefully.
Pin for Later!