This shop has been compensated by Collective Bias, Inc. and its advertiser. All opinions are mine alone. #NaturallyCheesy #CollectiveBias
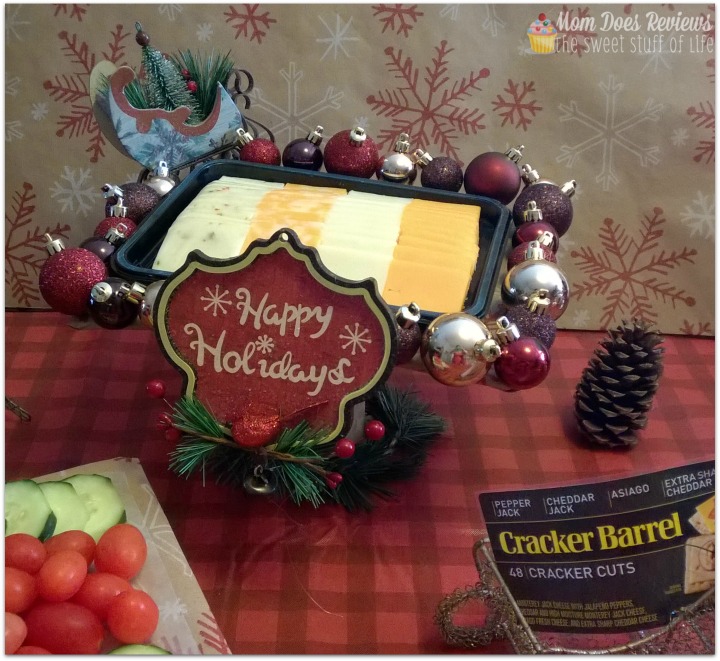
I love finding easy ways to entertain during the holidays. Spending less time preparing for my guests, and less time restocking the party table during the party, means I’m enjoying my friends and loved ones company much more than I would otherwise. Cracker Barrel Cheese Trays already have cheese slices perfectly placed onto a tray for you. All you have to do is remove the plastic and serve! There is no need to relocate each row onto another serving platter when you can create a custom Cracker Barrel Cheese Tray Stand to use instead!
Look for Cracker Barrel Cheese Trays at Walmart while doing your holiday party shopping.
 I found my Cracker Barrel Cheese Tray located in the dairy and cheese section of my local Walmart.

Step 1 to preparing you own cheese tray stand is to outline your display tray onto your cardboard, being certain to leave 1/2 inch excess on all sides to accommodate the decorations you will be adding.
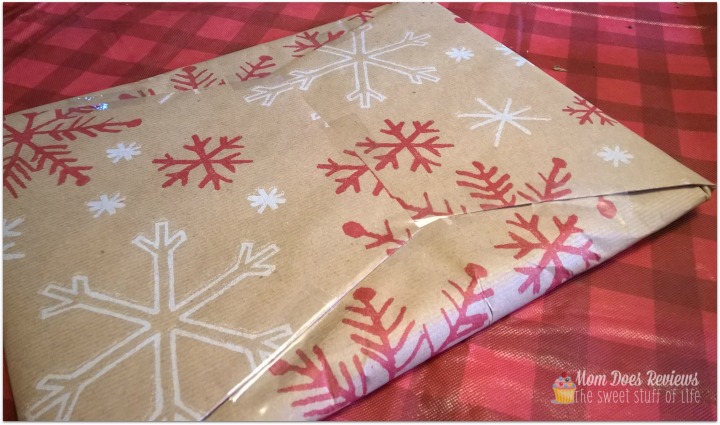
Wrap your cardboard in wrapping paper using tape or glue. Be sure you are taping the bottom of your intended tray and not the top.
Begin gluing your ornaments onto the top of your tray stand. I started by looking for the perfect placement of my larger ornaments first and then filling in with my glass ball ornaments.
Wrap the base of your spindle with wrapping paper. Use glue or tape to secure.
Cover one end of your spindle core with tape and begin filling with dry beans to add stability to your base. Afterwards, glue the top of your stand to the base and allow to dry completely.
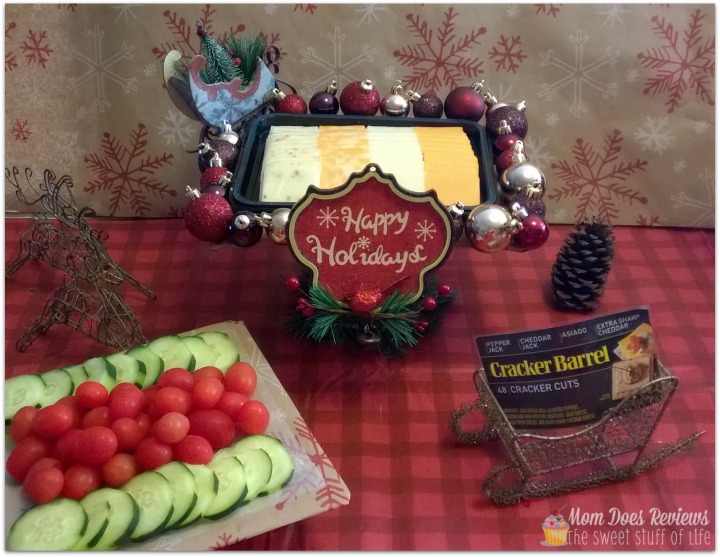
When you are ready to greet your guest. Remove the plastic from your Cracker Barrel Cheese Tray and set tray directly onto your tray stand!
#DIY Cracker Barrel Cheese Tray Stand
Supplies:
- Cardboard (extra thick, or two/three layers)
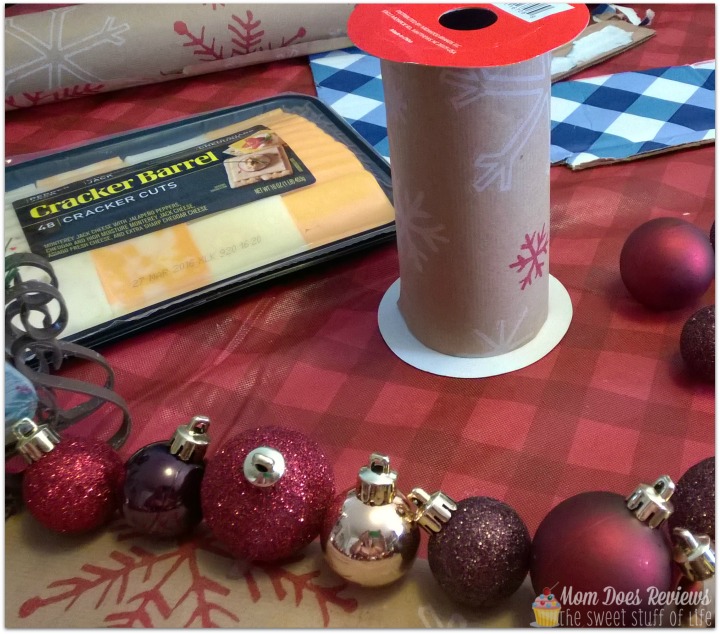
- Ribbon Spindle
- Wrapping Paper
- Tape/Hot Glue & Gun
- Dry Beans
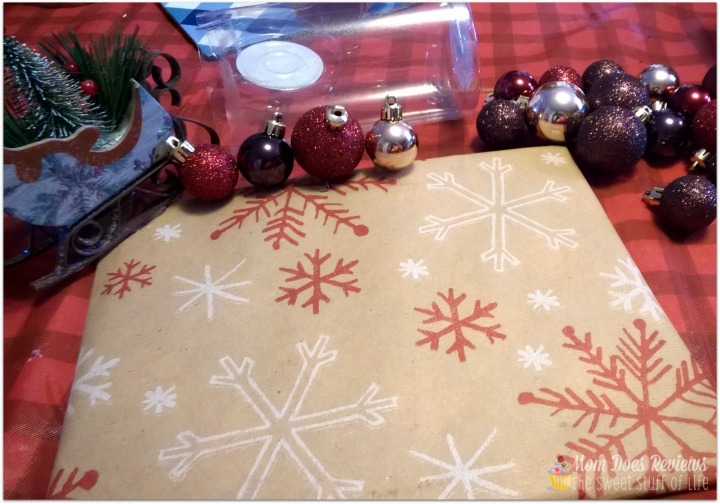
- Accent Holiday Ornaments
- Ball Holiday Ornaments
Set cheese tray onto cardboard and trace exterior edge.
Cut cardboard 1/2-1 inch away from the outline, discard trimmings.
Wrap cardboard in your festive wrapping paper tightly. Make sure the tape sides are facing the bottom of what will be your cheese stand.
Using your hot glue gun, glue accent ornaments into place on your “tray”.
Glue ball ornaments onto the remainder of the cardboard tray edges.
Wrap empty ribbon spindle base with wrapping paper.
Cover one end of the spindle core with tape.
Fill spindle core with dry beans.
Glue an empty ribbon spindle onto the bottom center of “tray” for height.
Allow entire serving tray stand to dry.
Unwrap Cracker Barrel Cheese Tray and set inside serving tray stand.
Serve guests.

red t shirt
#DIY Cracker Barrel Cheese Tray Stand #NaturallyCheesy #ad #Cbias –