Heating upgrades work best when they solve the specific reasons a home feels cold, costs too much to warm or develops uncomfortable temperature swings. A new appliance may help, but smaller problems such as air leaks, blocked vents and thin insulation can waste much of the heat it produces.
Start with a simple home assessment before committing to a major purchase. Look at energy bills across several months, note which rooms heat slowly and check how often the heating system cycles on and off. These details can point you toward upgrades that will noticeably improve comfort instead of adding technology you may not need.
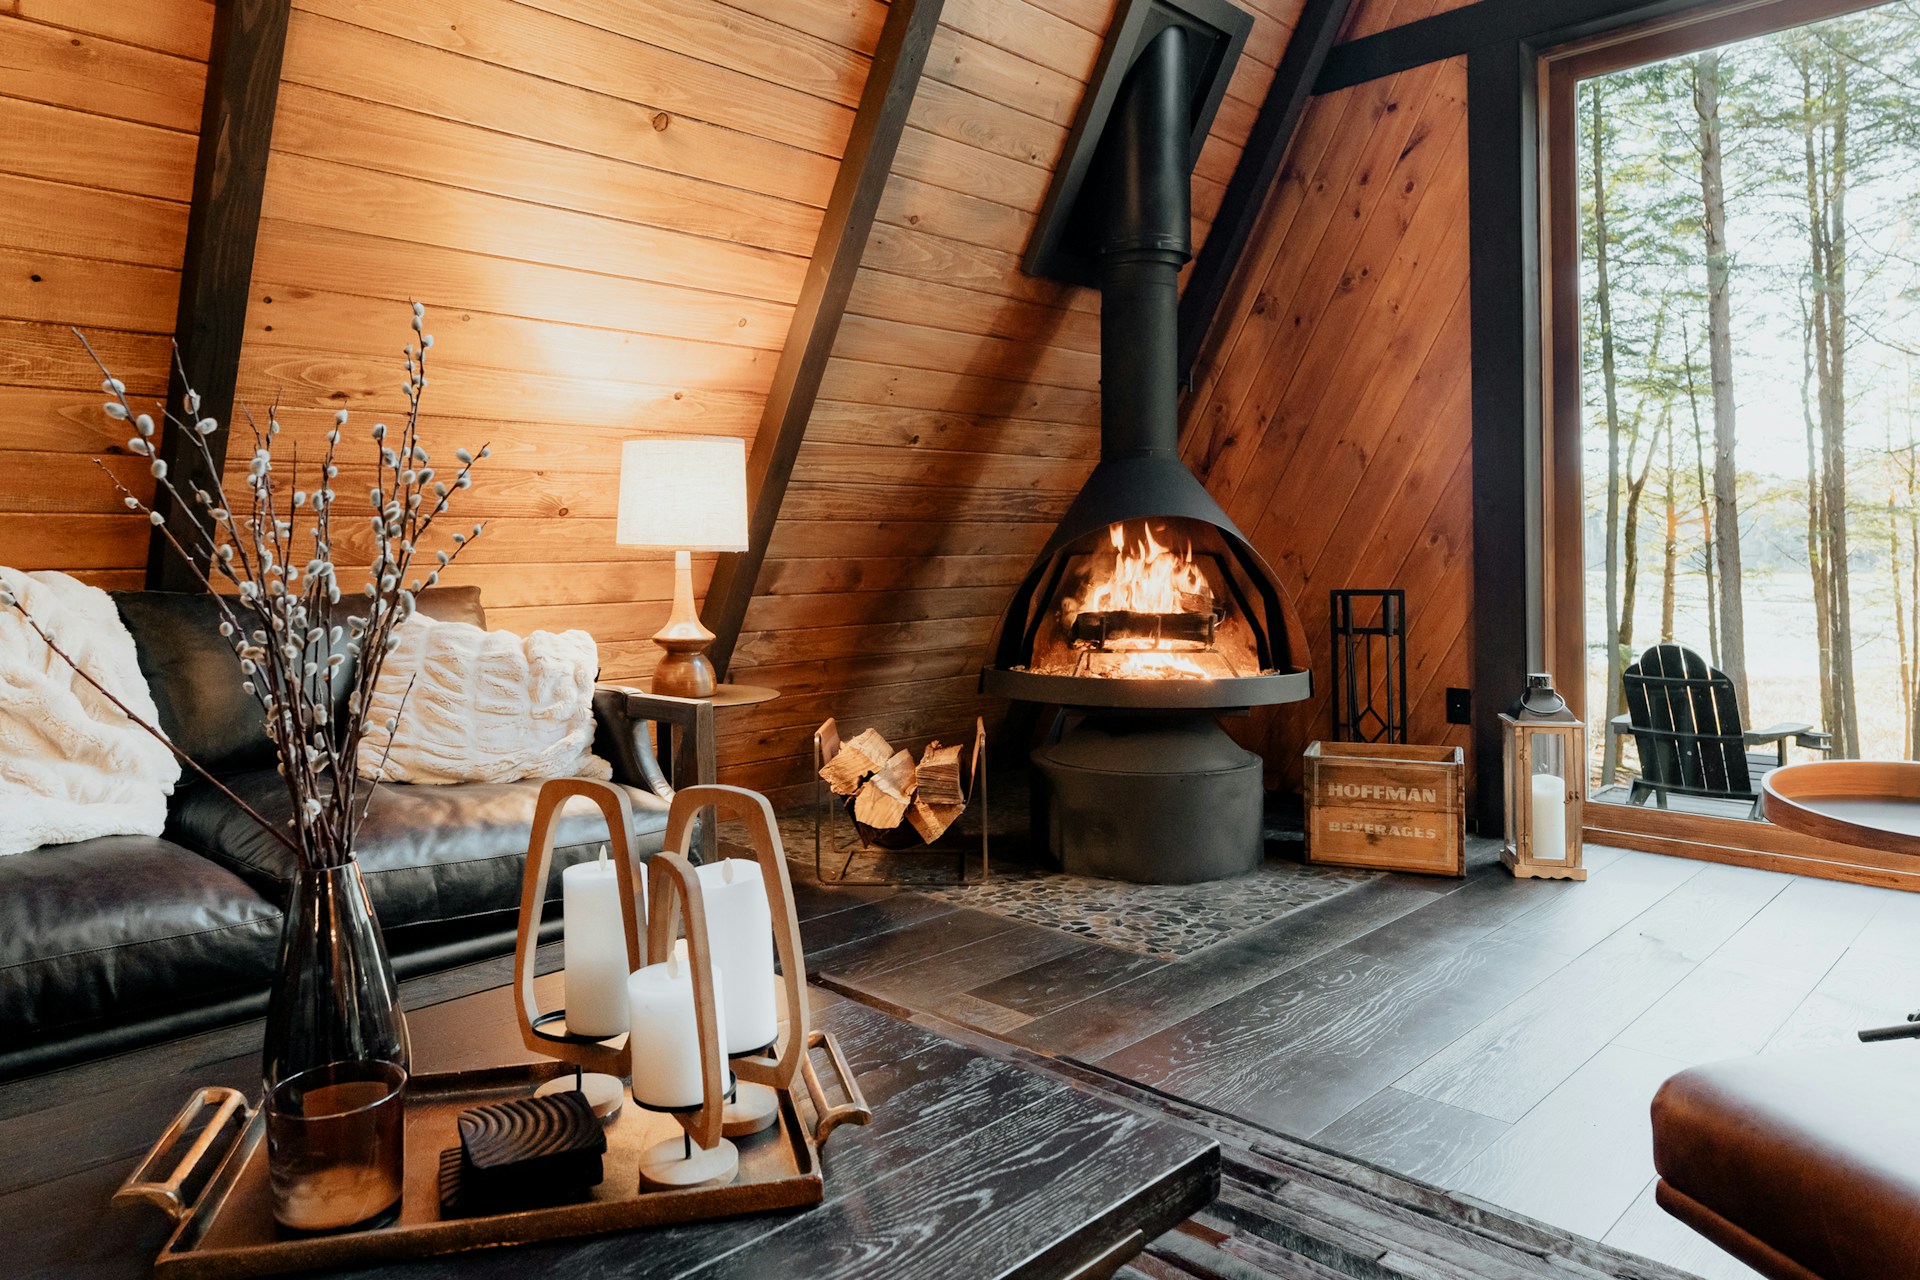
Image Credit: Unsplash
Identify Inefficient Heating Traps
Some of the most expensive heating problems are easy to overlook because the system still appears to work. For example, a dusty filter can restrict airflow through a forced-air system, causing longer run times and uneven room temperatures. Follow the equipment manufacturer’s replacement schedule and check the filter monthly during periods of heavy use.
Furniture placement also matters. A sofa pushed against a vent or a thick curtain hanging over a radiator can prevent warm air from circulating. Leave several inches of open space around heat sources and keep return-air grilles clear. ENERGY STAR offers more efficient heating guidance, including advice on system maintenance and thermostat use.
Next, inspect doors, windows and accessible pipe openings for drafts. An inexpensive incense stick can help reveal moving air, though it should be kept well away from curtains and other flammable materials. Apply weatherstripping to moving parts such as doors and use appropriate caulk around fixed gaps. If a window frame feels cold but has no obvious leak, an insulating window treatment may improve comfort.
Thermostat location is another common trap. A thermostat near direct sunlight, a drafty doorway or a heat-producing appliance may read a temperature that doesn’t reflect the rest of the room. Ask a heating professional whether relocation or a compatible remote sensor would deliver steadier control. A basic service appointment can also identify short cycling, dirty components and aging controls before they increase monthly costs.
Explore Flexible Fuel Systems
Heating needs can change as energy prices, room use and household schedules shift. A flexible system may suit homeowners who want an additional heat source for a frequently used living area. Before comparing options, calculate the space’s heating requirement based on its dimensions, insulation level, ceiling height and number of exterior walls. An appliance that’s too large can make a room uncomfortably hot, while an undersized model may struggle for hours.
If you’re considering a stove that can operate with more than one suitable fuel type, a helpful starting point is choosing a multi-fuel stove for your home. Compare rated heat output, efficiency information and installation requirements. The appliance must also be suitable for the room and compatible with the home’s ventilation and exhaust setup.
Treat installation as part of the purchase price. A qualified professional should assess clearances, floor protection, airflow and any existing chimney or flue. Local building requirements vary, so confirm permits and inspection rules before work begins. Install carbon monoxide alarms in the locations recommended by local safety authorities and test them regularly.
Flexible heating also requires practical household habits. Store approved fuel as directed, follow the appliance manual and arrange routine cleaning and inspection. For a broader explanation of system types and operating considerations, this home heating overview can help you compare a supplemental appliance with central heating options. The best choice should fit your daily routine as well as the room’s technical needs.
Image Credit: Unsplash
Boost Insulation in Overlooked Spaces
Insulation improvements often deliver a quieter, more comfortable home without changing the main heating equipment. The attic usually deserves the first inspection because warm air rises and can escape through gaps around access hatches, recessed fixtures and utility penetrations. Look for compressed insulation, bare patches and signs of moisture. Water damage needs to be repaired before new material goes in.
Pay attention to the attic hatch itself. A thin panel with gaps around its edges can behave like an open window. Add weatherstripping around the frame and attach a suitable rigid insulation panel to the hatch where safe. Never cover fixtures or equipment that require ventilation or clearance.
Floors above garages, crawl spaces and other unheated areas can also feel cold even when the thermostat shows a comfortable number. A trained contractor can determine the correct insulation type and moisture strategy for these spaces. The wrong installation may trap moisture against wood, so climate conditions and construction details matter. These energy-efficient home upgrades provide useful context for prioritizing insulation alongside other improvements.
Smaller areas add up too. Check the space beneath sinks where plumbing enters the wall, the opening behind a dryer connection and gaps around cable lines. Seal minor penetrations with products intended for the surface and location. Use extra care around hot pipes, vents and electrical components, where specialized fire-resistant materials may be required.
After insulation work, watch indoor humidity and air quality. A tighter home may need controlled ventilation to manage moisture and everyday pollutants. If windows begin collecting heavy condensation or rooms smell persistently musty, ask an energy auditor or building professional to evaluate ventilation instead of assuming more sealing is always better.
Balance Modern Efficiency and Charm
Heating upgrades don’t have to make a comfortable home feel clinical. Period details, traditional room layouts and visible heat sources can remain part of the design while better controls and hidden building improvements reduce energy use.
Start with changes that have little visual impact. Programmable or smart thermostats can adjust temperatures around sleep and work schedules, provided they’re compatible with the heating system. Pipe insulation, duct sealing and attic air sealing usually stay out of sight. These measures allow decorative features to remain the focus of the room.
When replacing visible equipment, check proportions and finishes as carefully as technical specifications. A compact unit may suit a small room better than an oversized model that dominates the wall. Keep required safety clearances open instead of filling them with baskets, furniture or decorative objects. If the room has original flooring, ask the installer how approved floor protection can be integrated without damaging historic material.
Avoid replacing something solely because it looks old. Some existing radiators and heating elements can continue working well after professional cleaning, balancing or control upgrades. On the other hand, damaged equipment, unreliable controls and systems with unavailable replacement parts may justify a larger investment. A licensed technician can estimate remaining service life and explain which repairs are realistic.
Consider operating costs across several years, not only the purchase price. Maintenance, professional inspections, replacement filters and energy use all affect the total. Ideas for lower-energy home upgrades can help place heating work within a wider improvement plan.
Once the work is complete, record thermostat settings and room temperatures for a week. A simple log will show whether the upgrade fixed cold spots and reduced long run times. It also gives an installer useful information if the system needs a final adjustment and heating upgrades, helping your home stay warm without losing the character that made it feel welcoming in the first place.
