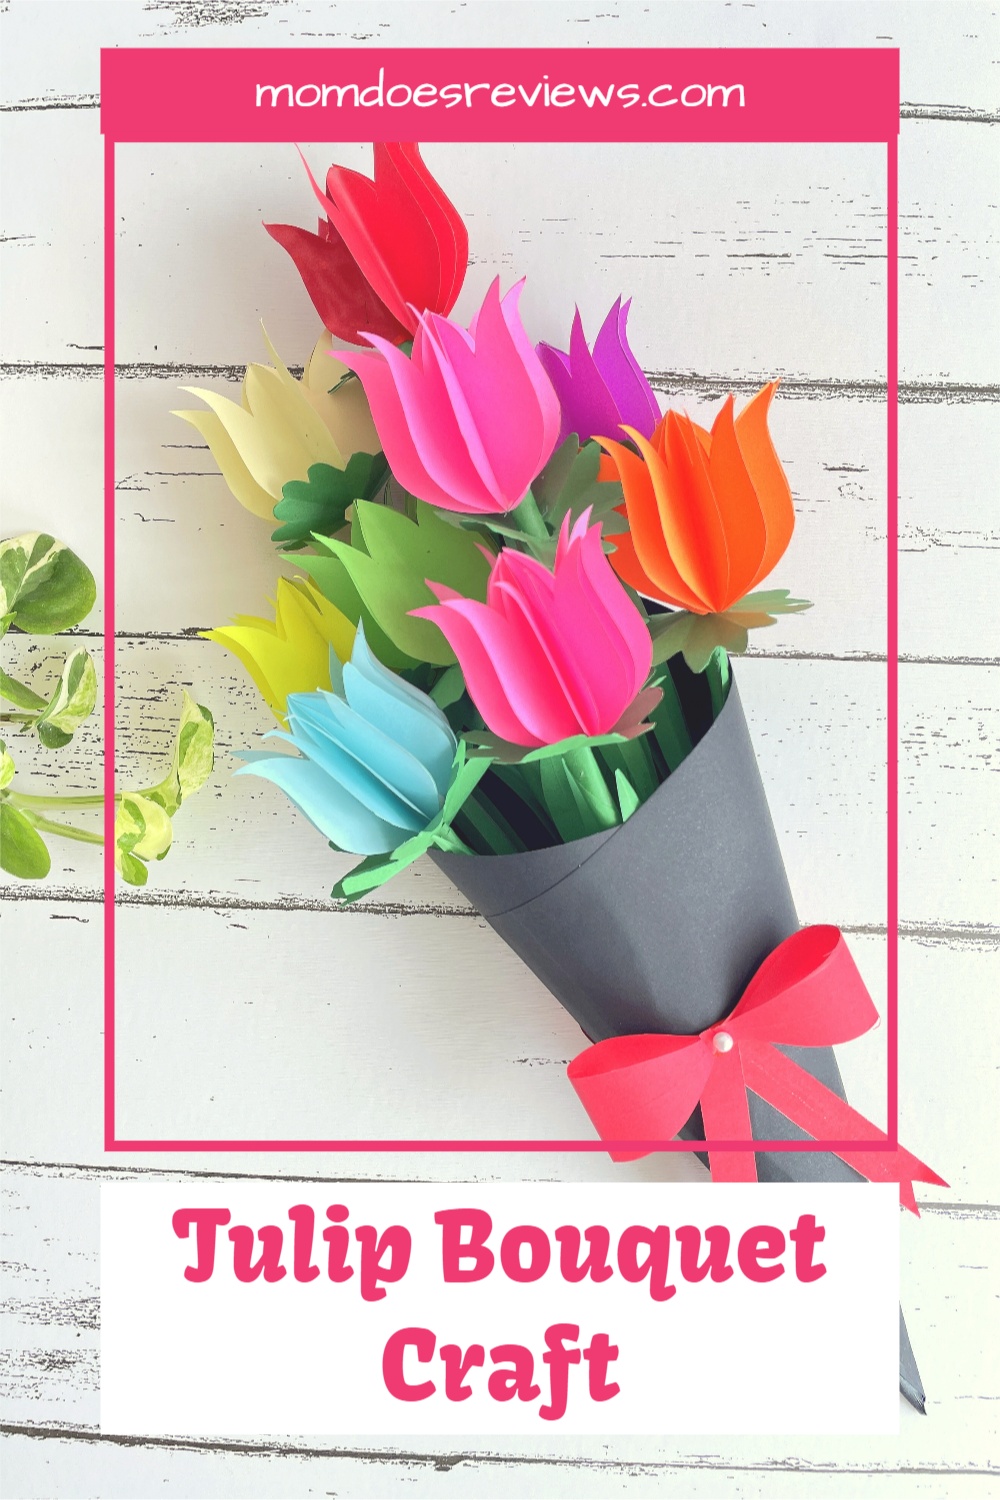
Looking for a fun and easy way to keep your kids entertained? Why not try making some paper flower crafts together! Crafting with your kids can be a great way to bond, and it’s also a lot of fun. This Tulip Bouquet Paper Craft uses supplies that you probably already have at home. And, these Tulips would be a great craft to make for Mother’s Day! So grab some colored paper and get ready for some creative crafting!

Looking for more fun paper flower crafts? Take a look at these!
Crepe Paper Calla Lily
The Calla Lily is a beautiful perennial flower loved and known by many. You can find them in many flower gardens and they come as potted plants. If you are a fan of these lovely lilies and love doing fun paper crafts, you will love this easy Crepe Paper Calla Lily craft! This fun paper craft requires very few supplies has super easy step-by-step instructions. It is a perfect rainy afternoon activity!
Origami Tulips
I have always been fascinated with Origami and the fun things you can make simply by folding paper. If you are looking for a fun paper craft, then give these Origami Tulips a try! Just follow the easy step-by-step instructions and you can create a beautiful tulip bouquet!
This fun Flower Basket Paper Craft is so adorable! It is an easy craft to make and requires only a handful of supplies you probably already have at home. It’s perfect for spring and Mother’s Day!
Quilled Hyacinth Flowers
Paper quilling is a favorite past time for many and it’s no wonder! It produces such fun and amazing designs like these Quilled Hyacinth Flowers! If you have never tried it, now is the time! We have a super easy tutorial that shows you step-by-step how to make these gorgeous flowers!
Colorful Flower Wreath
On those long rainy afternoons and the kids are bored, it leaves us Moms doing our best to find fun activities to entertain them. And, with Spring right around the corner, we thought this fun Colorful Flower Wreath would brighten up the day! It is an easy craft to do. Just follow the simple step-by-step instructions!
Supplies Needed for your Tulip Bouquet:
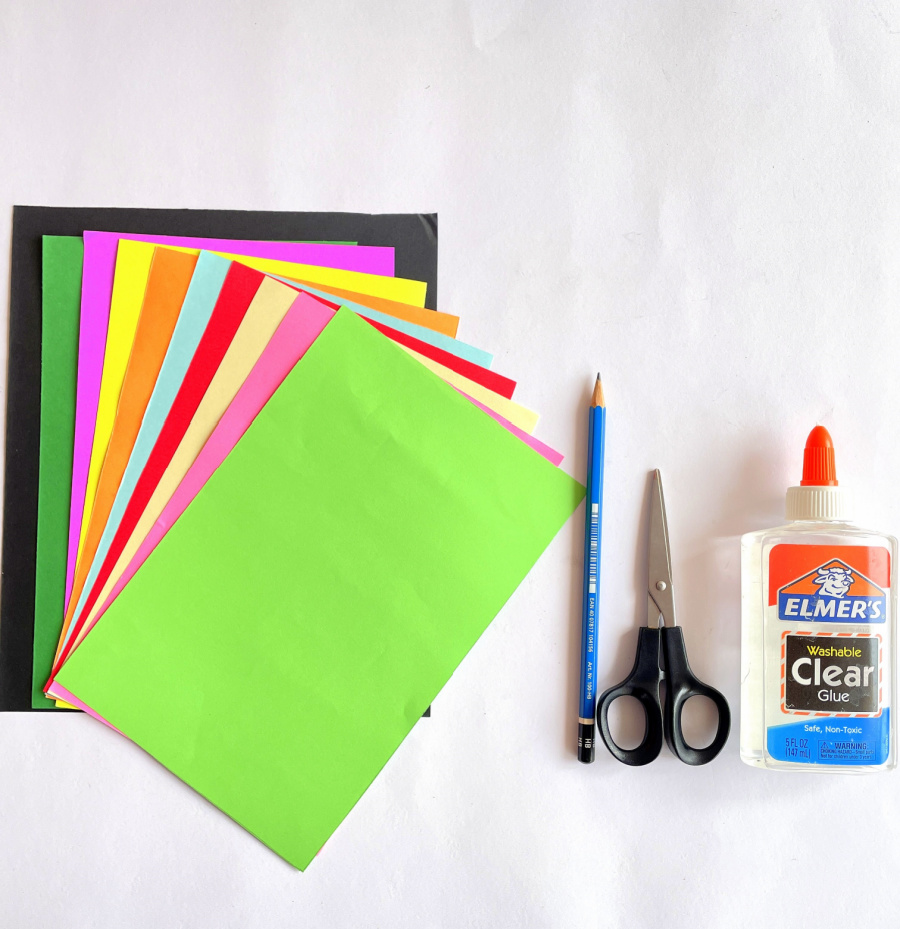
- Red, orange, yellow, blue, violet, green, pink and black card stock paper.
- Elmer’s Glue or School Glue.
- Scissors.
- Ornamental pearl beads.
- Tulip bouquet template
Tulip Bouquet Tutorial:
Gather your supplies
Take one of the card stock paper, fold it and keep the tulip flower template along the fold. Draw around the template.
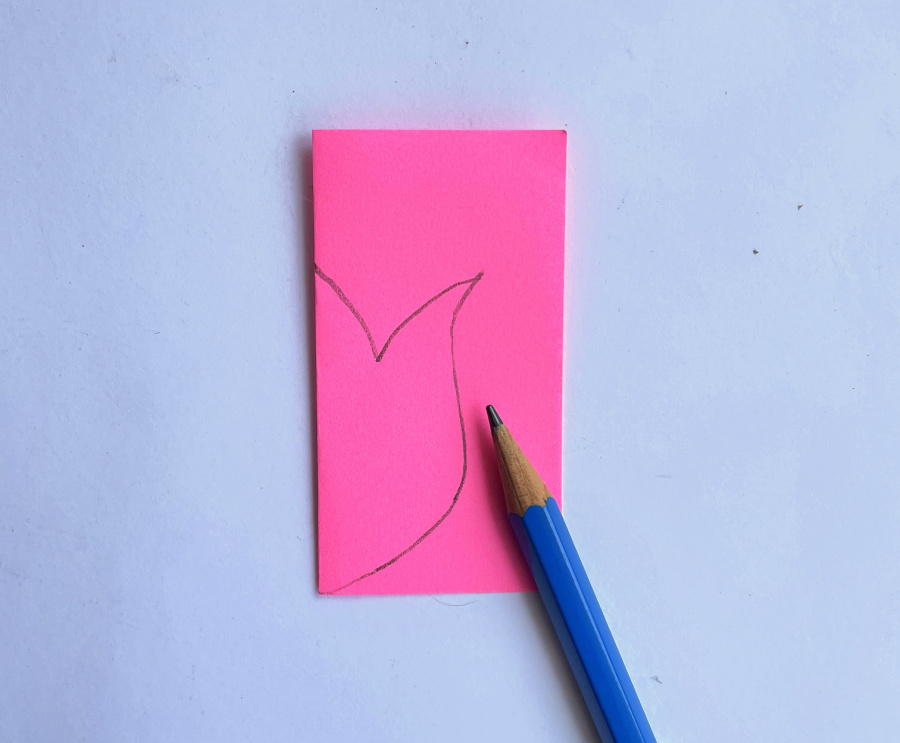
Cut along the drawing to get one of the petals of the flower.
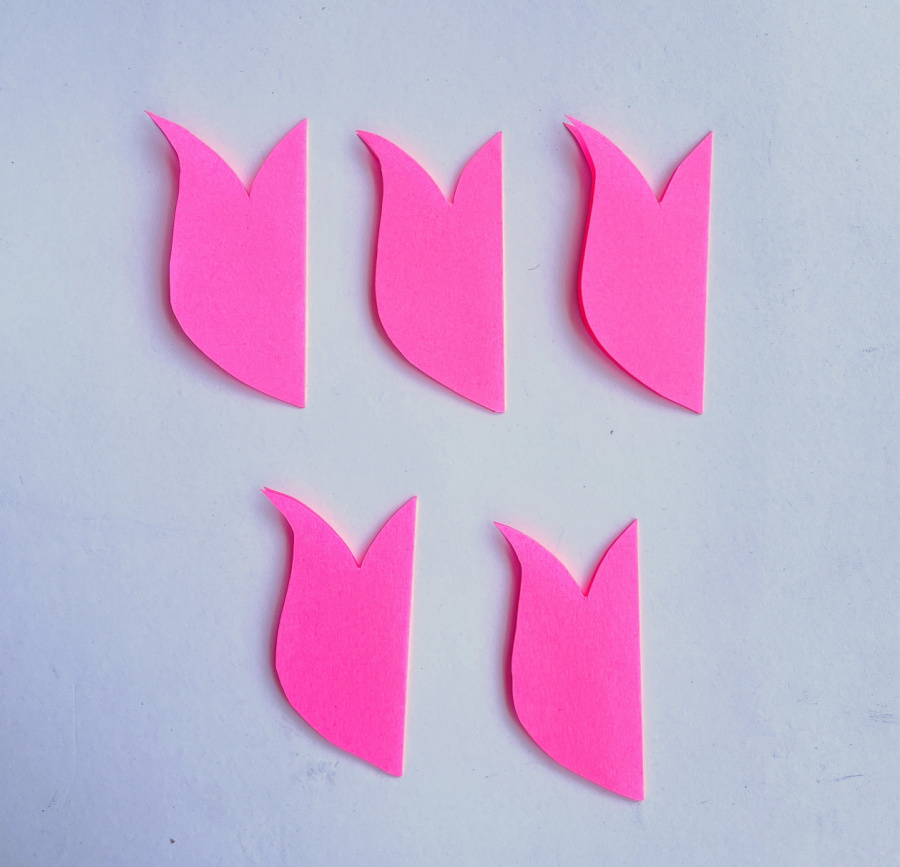
You will need five petals for each flower.
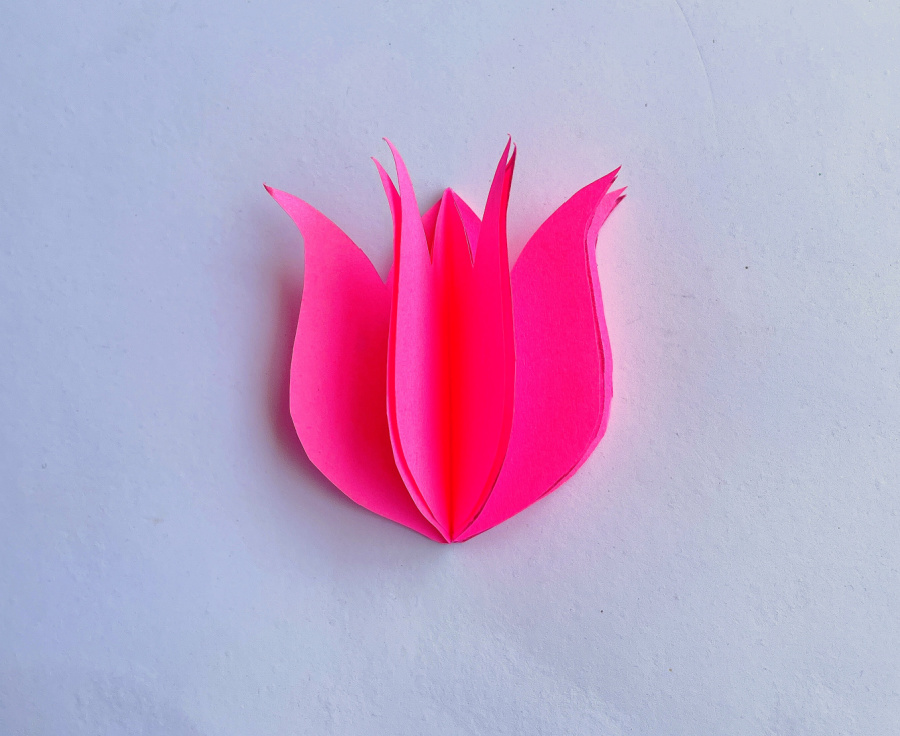
Take one of the petals, apply glue along one side and glue the next petal, lining up the edges.
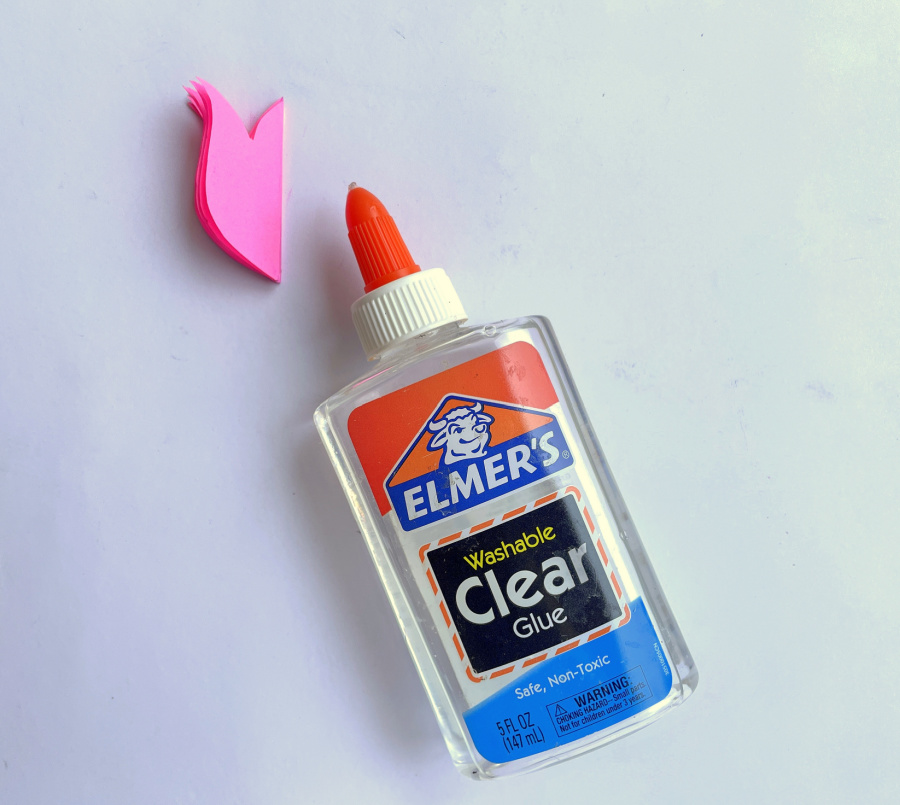
Continue gluing till all the petals are joined together (the petals along the edges are not glued to each other till we attach the stem).
How to make the stem:
Take the green card stock paper and start rolling it from one of the corners.
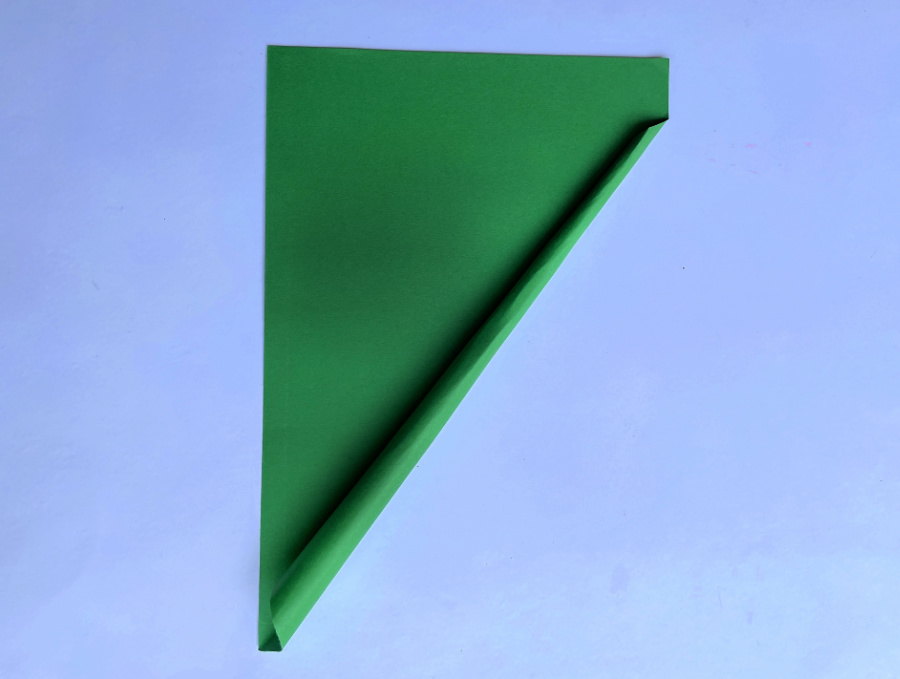
Keep rolling till you reach the other corner and glue it to secure.
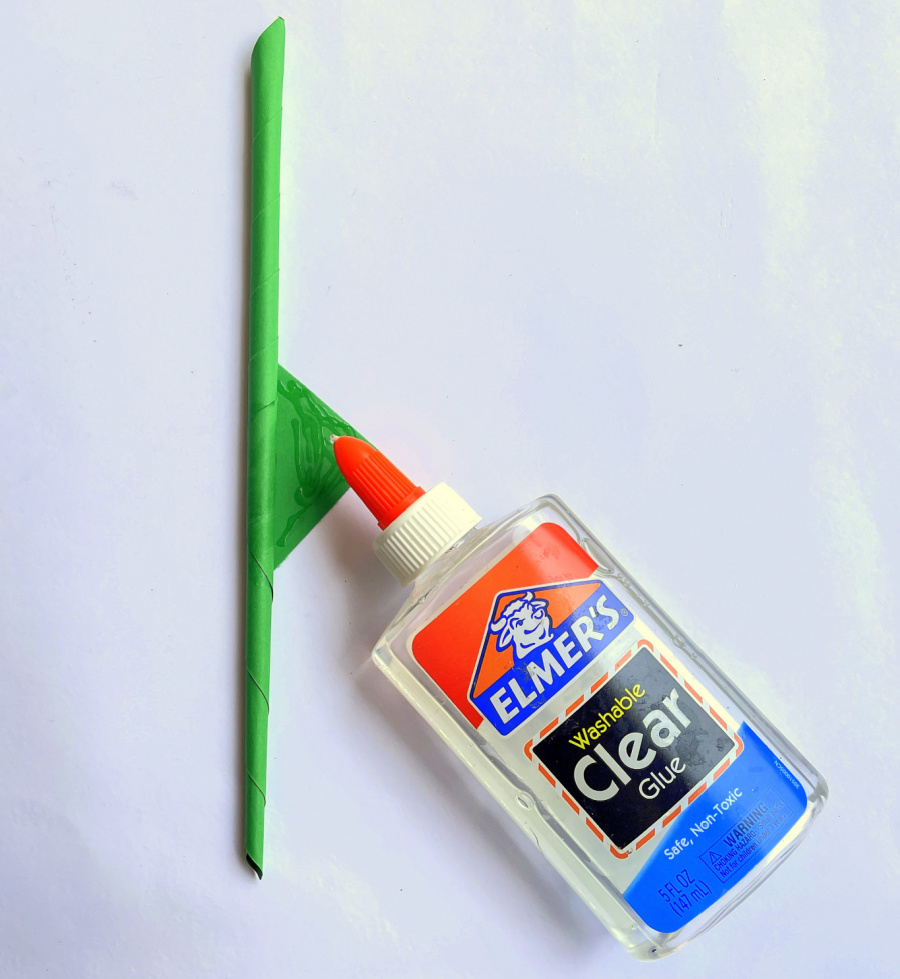
Glue the stem to the center of the flower.
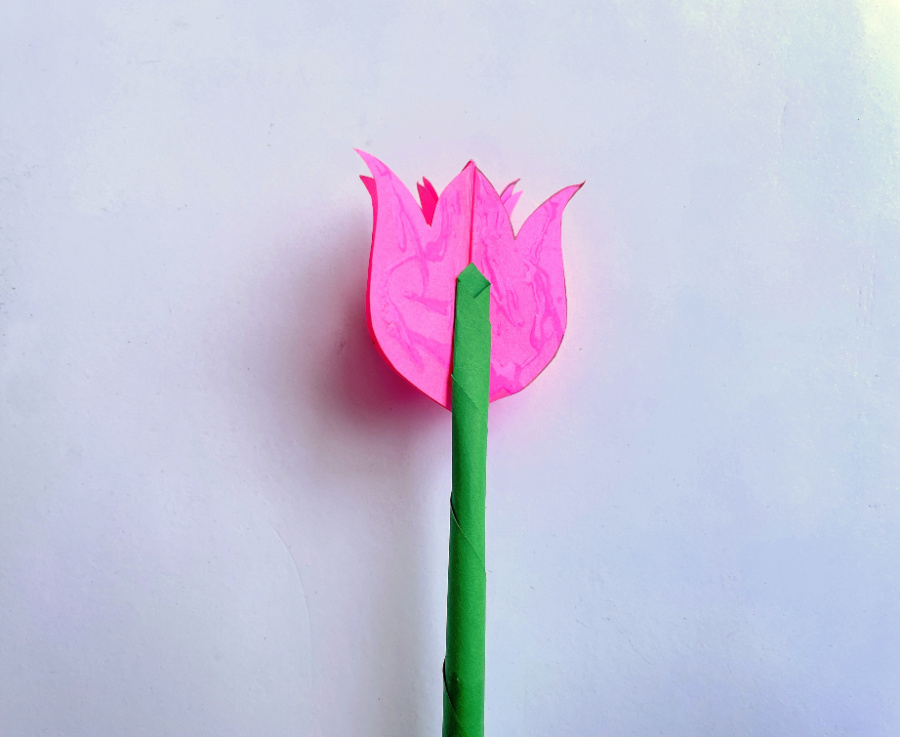
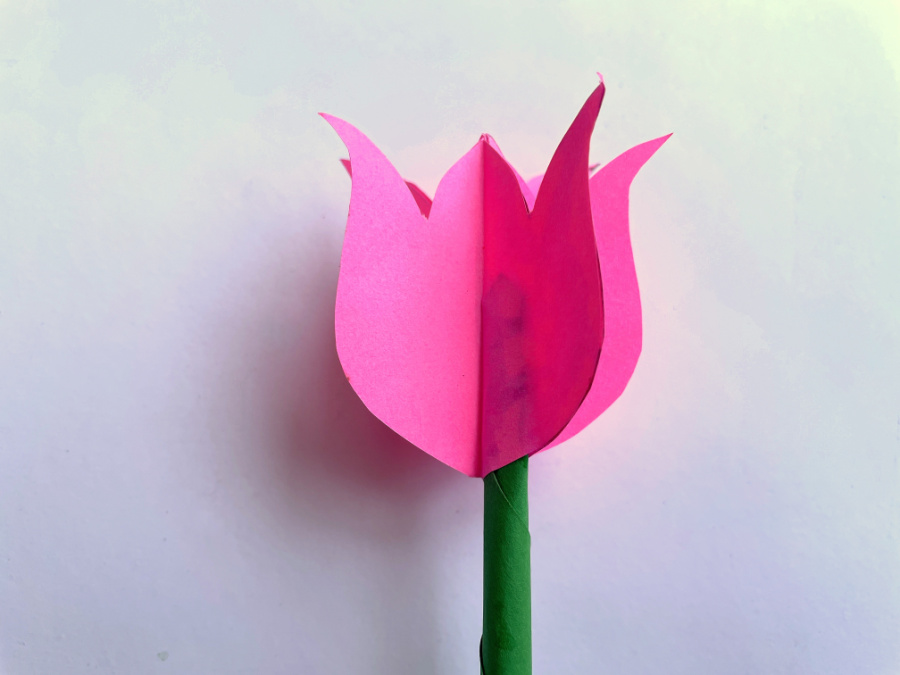
Next stick the petals at both the ends together to shut the flower.
Use the tulip bouquet template. Cut the sepals for the flower.
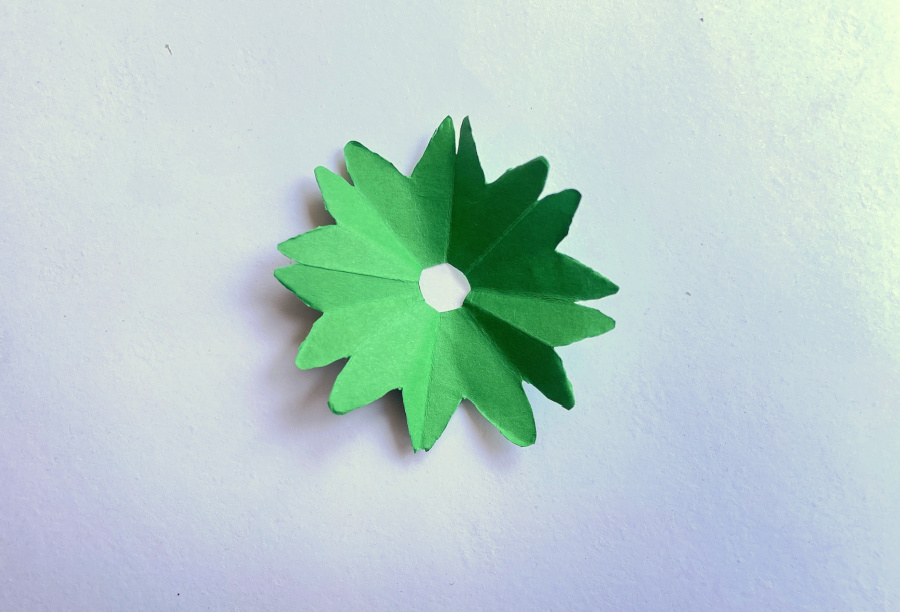
Insert it over the stem, starting from the lower edge and till it reaches the base of the flower.

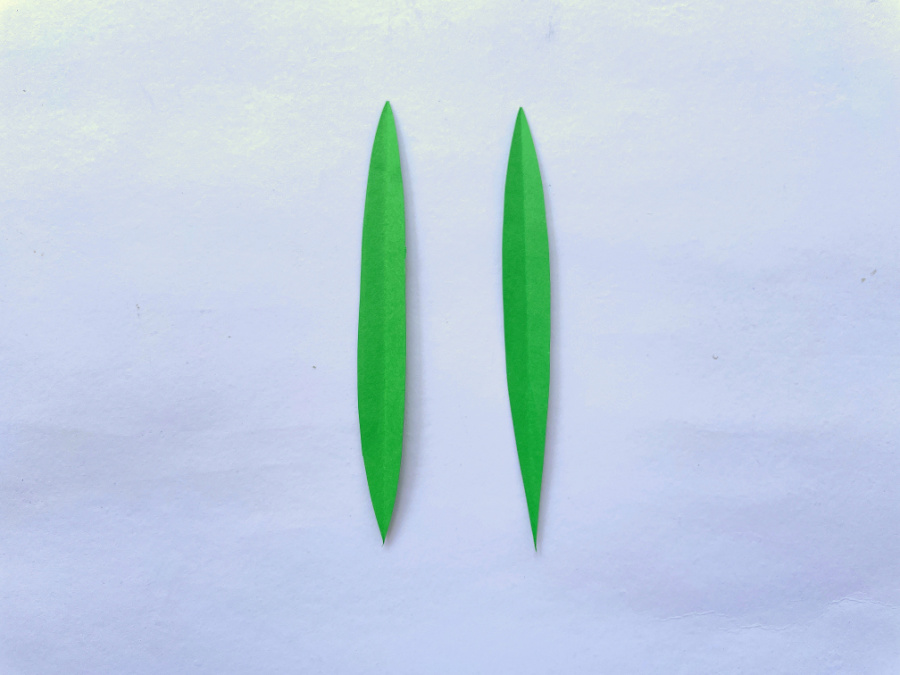
Cut 2 leaves using the given template.
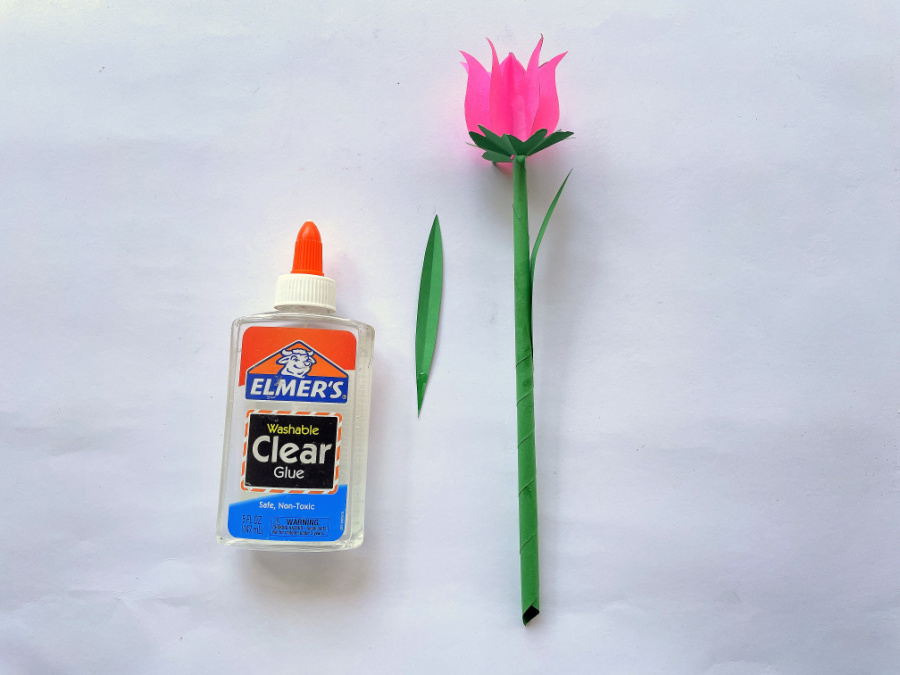
Apply glue along one half of the leaves and glue it to the stem.
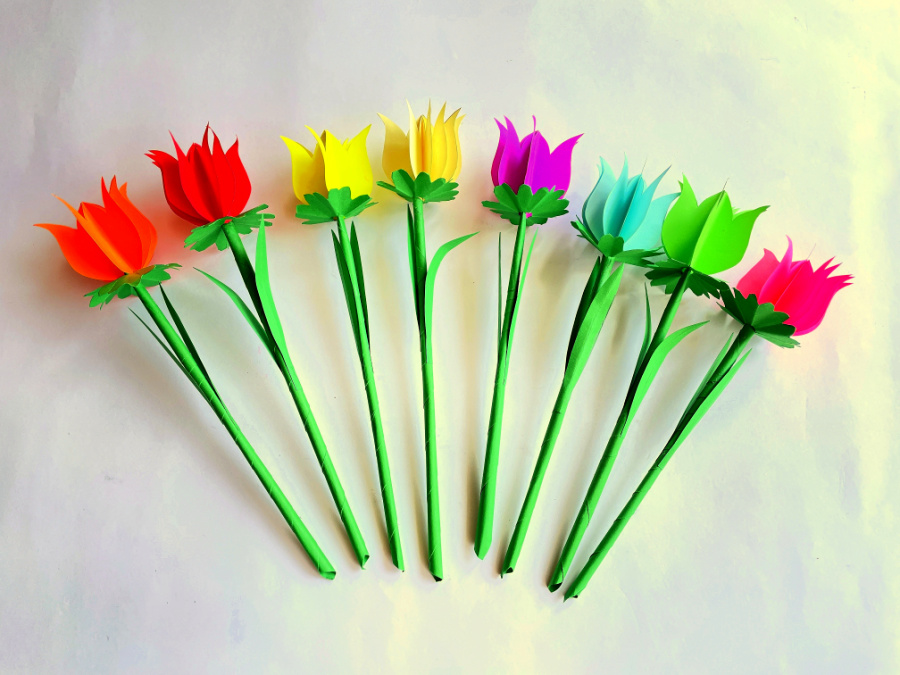
You need to make about eight flowers in a similar manner to get a full bouquet.
How to make the tulip bouquet:
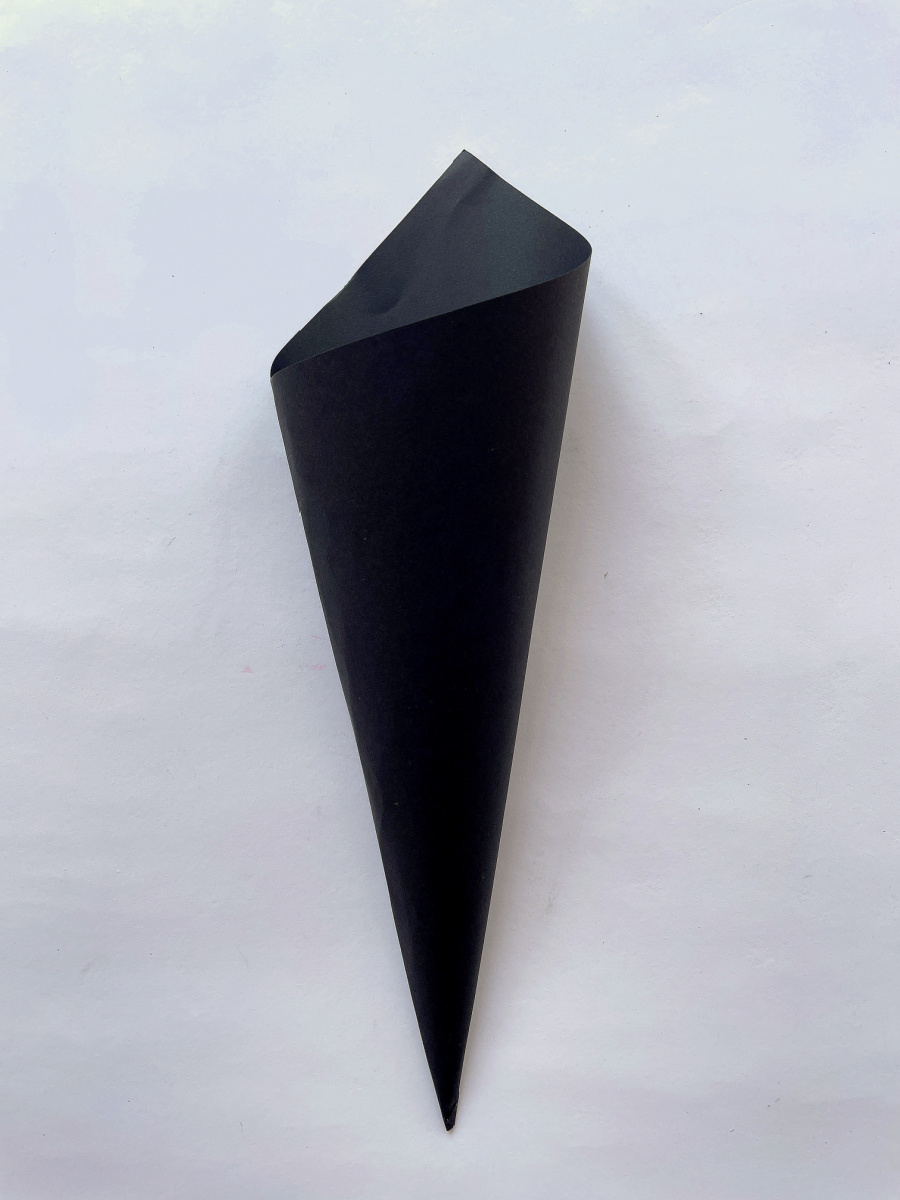
Take the black card stock paper, roll it from the corner to get a conical shape.
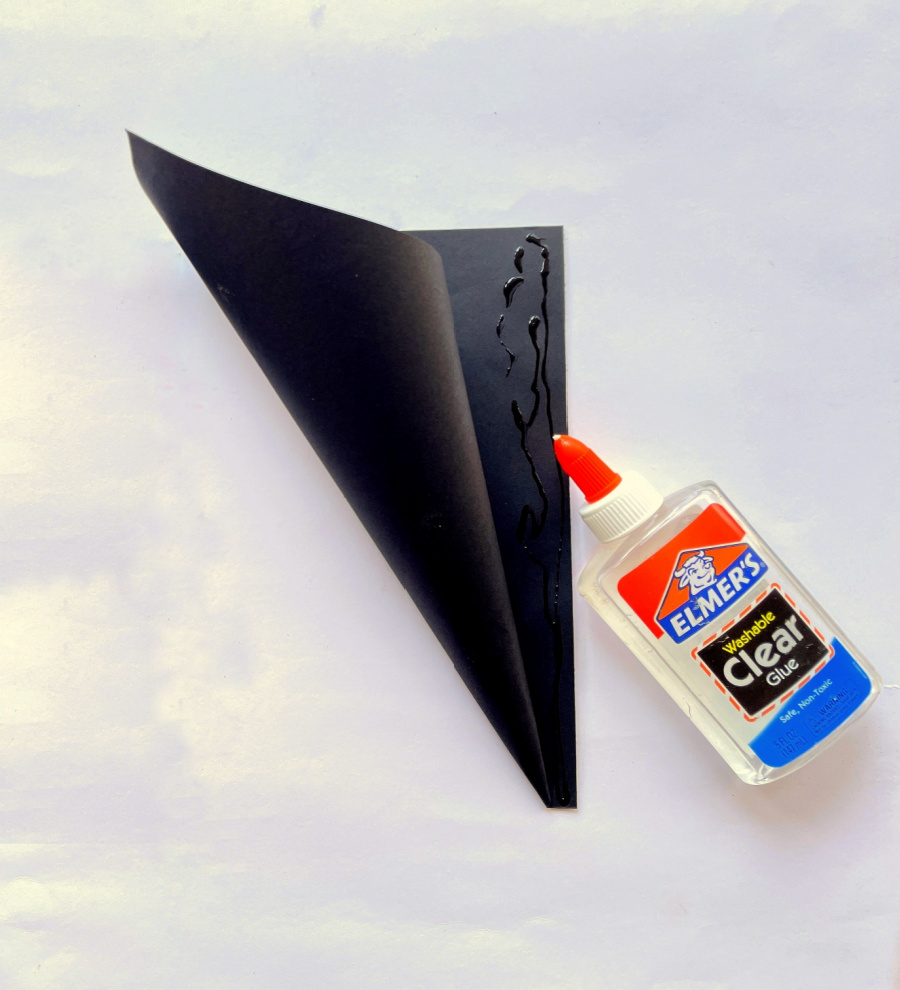
Apply glue along one of the edges and stick to secure the cone.
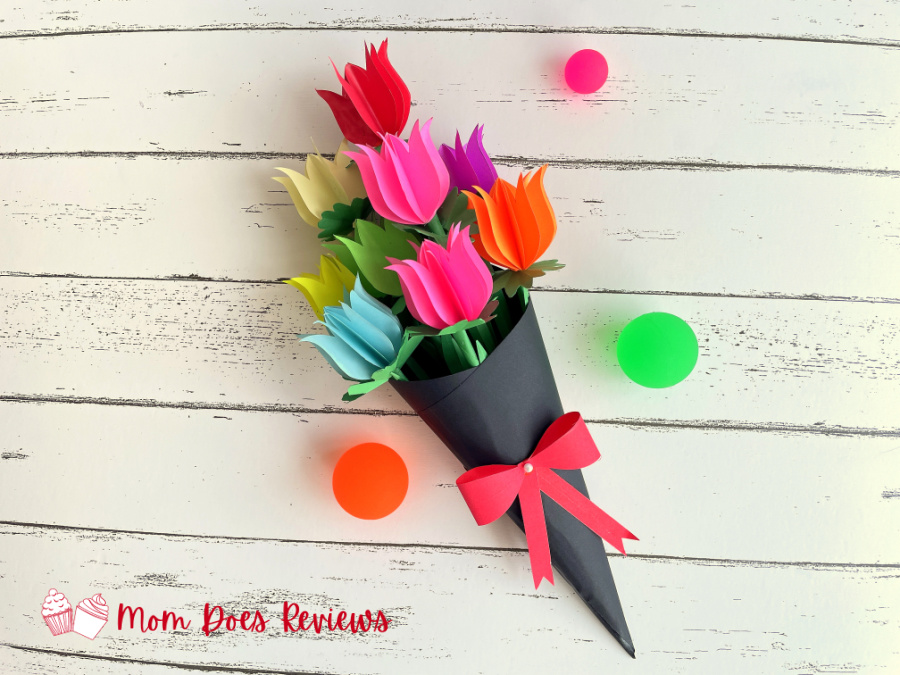
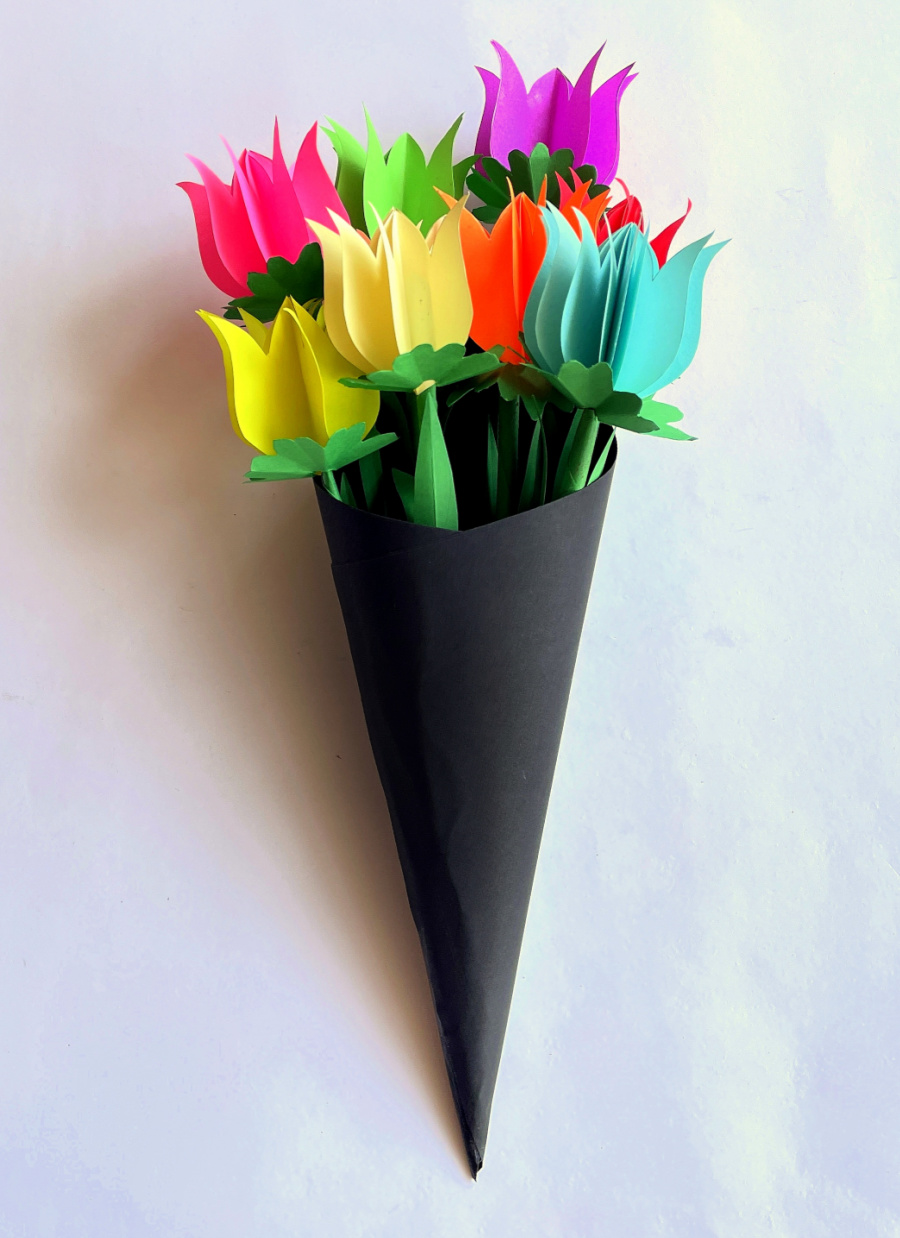
Arrange the flowers nicely inside the bouquet.
Cut the shape for making the bow, using the template in the PDF.

Apply glue along the center, fold the two edges inwards and glue them at the center to form the bow.
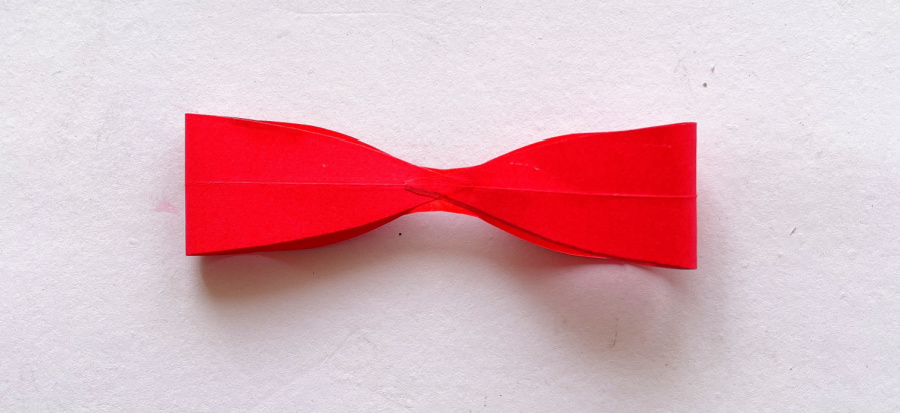
Take a red paper strip 0.5- inch wide and 8- inches long. Cut out a triangle from the ends, fold it and glue it on the underside of the bow to form the bow tail. You may glue the pearl along the center of the bow.

Next, cut a red paper strip 0.5- inches wide and 10- inches long. Glue it around the bouquet, about half way from the top.
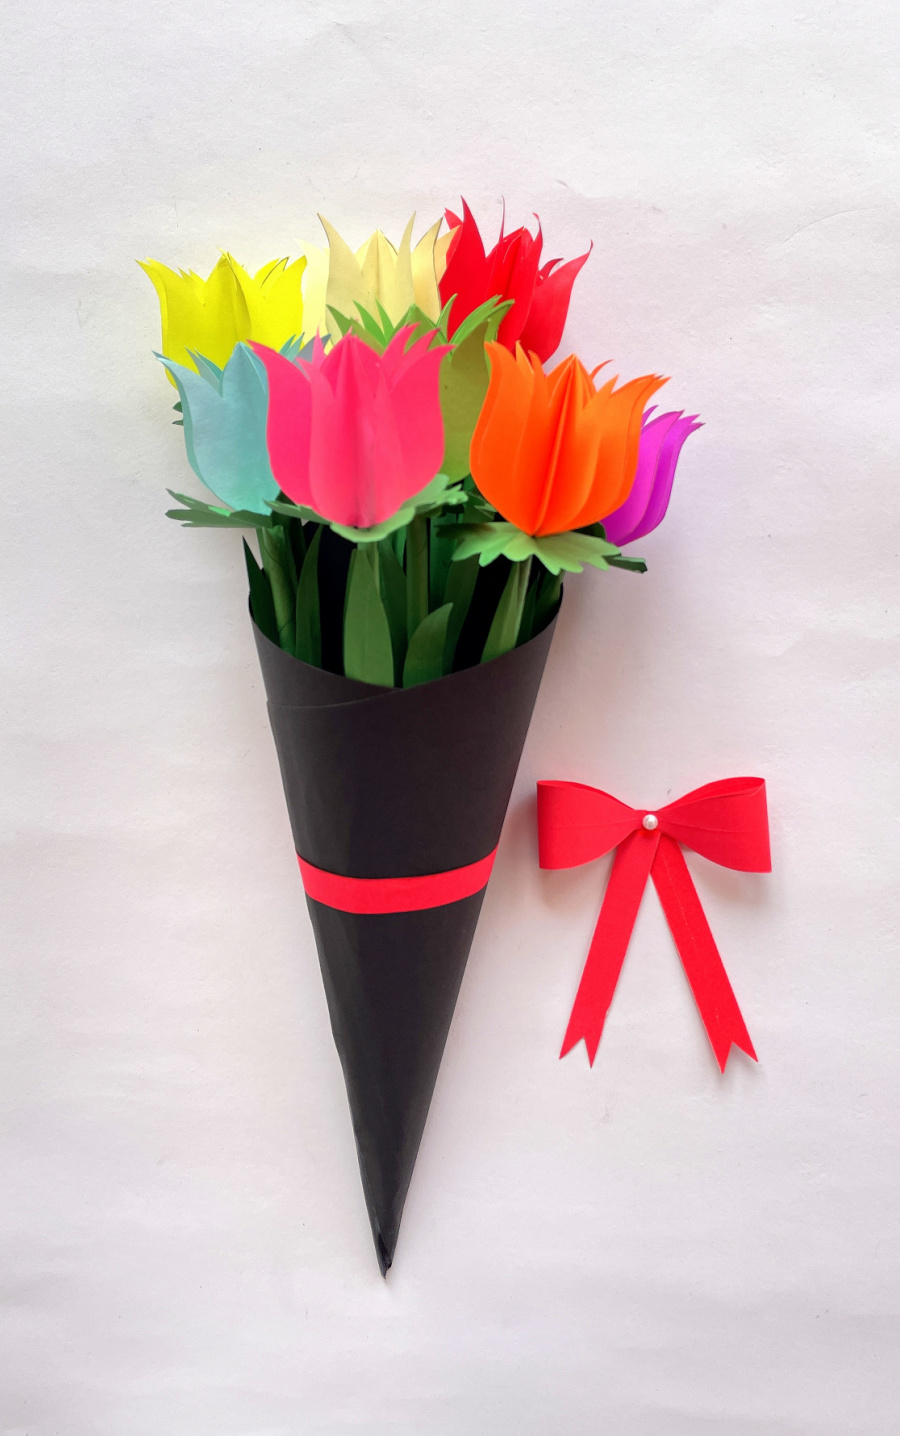
Glue the bow over it and your bouquet is ready!
Print the Tutorial:

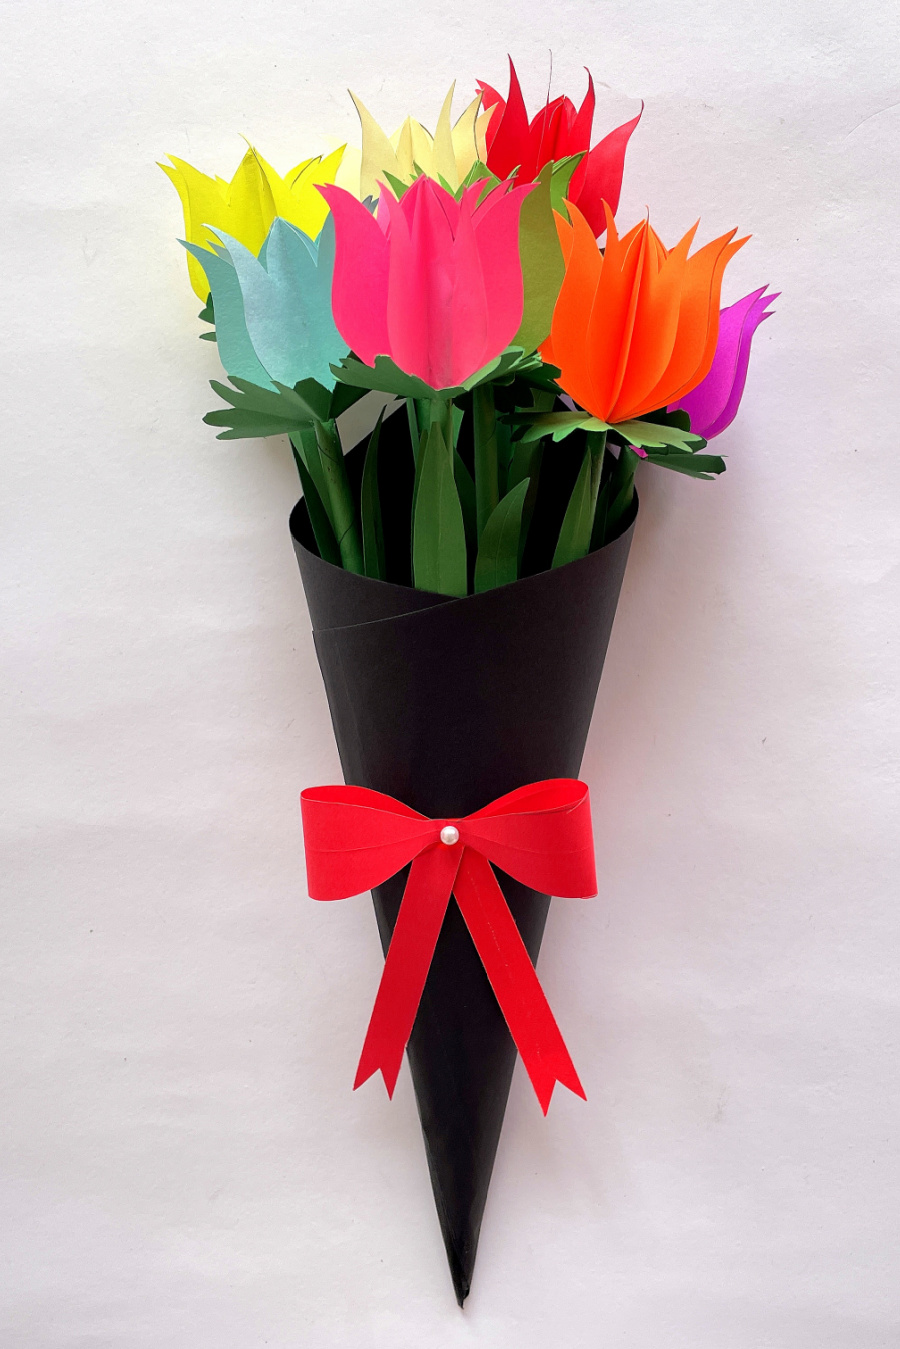
Tulip Bouquet Paper Craft
Looking for a fun flower craft to make with your kids? This Tulip Bouquet is easily made with card stock paper, glue and scissors! It's easy and beautiful and they never wilt!
Materials
- Red, orange, yellow, blue, violet, green, pink and black card stock paper.
- Elmer’s Glue or School Glue.
- Ornamental pearl beads.
Tools
- Scissors.
Instructions
Gather your supplies
Take one of the card stock paper, fold it and keep the tulip flower template along the fold. Draw around the template. Cut along the drawing to get one of the petals of the flower.
You will need five petals for each flower.
Take one of the petals, apply glue along one side and glue the next petal, lining up the edges.
Continue gluing till all the petals are joined together (the petals along the edges are not glued to each other till we attach the stem).
Let’s make the stem.
Take the green card stock paper and start rolling it from one of the corners.
Keep rolling till you reach the other corner and glue it to secure.
Glue the stem to the center of the flower.
Next stick the petals at both the ends together to shut the flower.
Cut the sepals for the flower, using the given template.
Insert it over the stem, starting from the lower edge and till it reaches the base of the flower.
Cut 2 leaves using the given template.
Apply glue along one half of the leaves and glue it to the stem.
You need to make about eight flowers in a similar manner to get a full bouquet.
Let’s make the bouquet.
Take the black card stock paper, roll it from the corner to get a conical shape. Apply glue along one of the edges and stick to secure the cone.
Arrange the flowers nicely inside the bouquet.
Cut the shape for making the bow, using the template in the PDF.
Apply glue along the center, fold the two edges inwards and glue them at the center to form the bow.
Take a red paper strip 0.5- inch wide and 8- inches long. Cut out a triangle from the ends, fold it and glue it on the underside of the bow to form the bow tail. You may glue the pearl along the center of the bow.
Next, cut a red paper strip 0.5- inches wide and 10- inches long. Glue it around the bouquet, about half way from the top.
Glue the bow over it and your bouquet is ready!
Pin for Later!