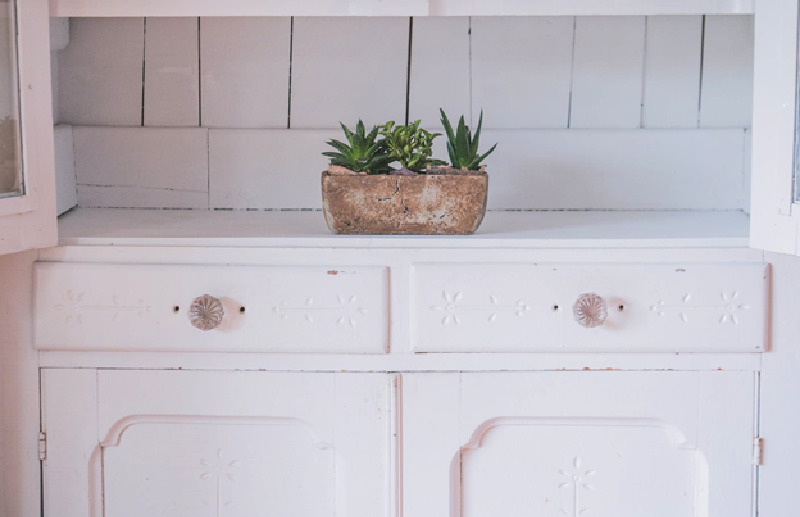
Refinishing furniture to create a vintage, country-chic look is a fantastic home improvement project to tackle in your free time. Many people who experiment with this hobby fall in love and continuously look for the next piece they can paint.
Milk paint is one of the best applications for creating this stylish look, but it can be tricky to work with. Here’s what you need to know about milk paint and how to get the results you want.
What Is Milk Paint?
As the name implies, milk paint is a type of paint that includes milk proteins. It comes in a powdered form that you’ll need to mix as you go. When comparing milk paint versus chalk paint, there are many similarities. However, milk paint requires that you mix it as you need it and will spoil after a few days if unused.
One of the benefits of milk paint is that it’s eco-friendly and water-based, keeping harsh chemicals out of your home. The water base helps milk paint bond with porous surfaces, rather than merely resting on top as other paints do.
This type of paint is also versatile, and you can alter it based on what bonding agents, drying oil, or other techniques you use.
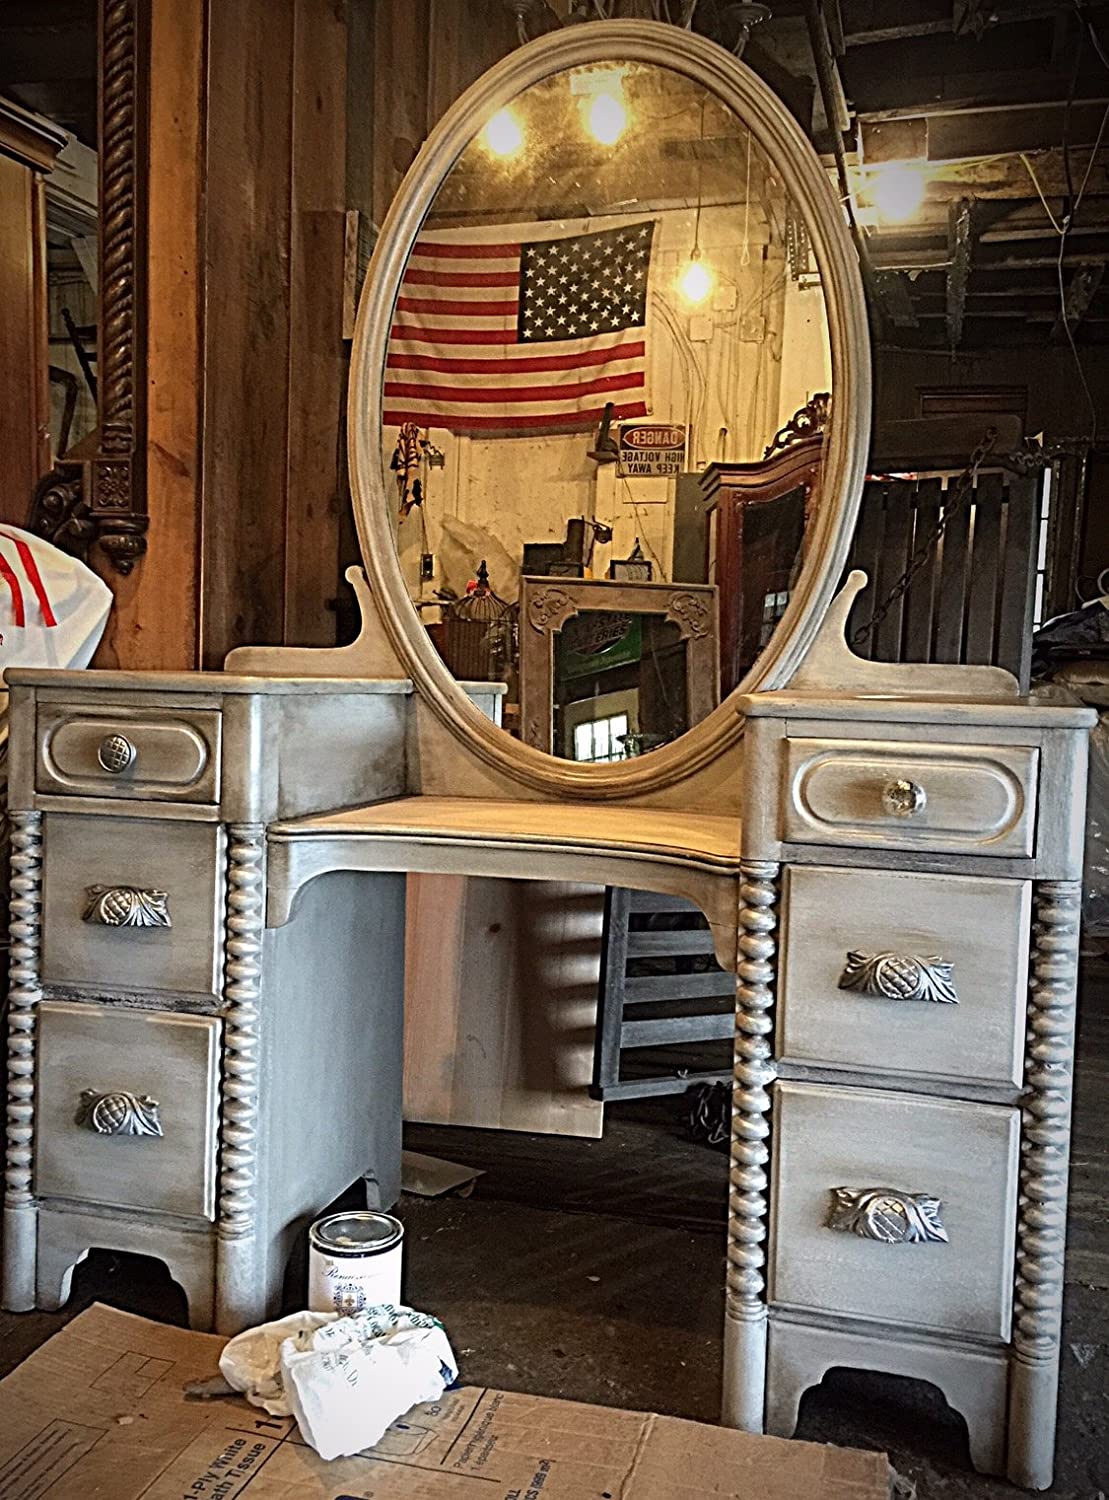
Which Pieces Will Milk Paint Work With?
Milk paint can be used on any porous surface, from untreated wood to terra cotta pots to bricks. It’s important to note that if the piece you’re working on has a varnish or veneer, the milk paint won’t stay without a bonding agent. If you’re trying to paint a faux wood veneer, the paint may not stay on even with a bonding agent added.
When working with furniture, it’s best to remove any existing finish or paint before applying your milk paint.
Understanding the Look You Want
One of the top things to consider when working with milk paint is what end result you want. On its own, milk paint will distress and start to flake and chip over time. Many crafters want this look, as it adds a stunning vintage element that’s hard to recreate. If this is the look you desire, leave a bonding agent out of the mix.
If you prefer a glossy, unchipped finish that will last for years to come, you’ll want to add a bonding agent to the paint and finish with a top coat.
Mixing and Finding Consistency
As mentioned, working with milk paint can be tricky. When you get your milk paint, it will come in a powder form that you’ll mix with water. This part is straightforward! However, you’ll need to keep mixing it every 20-30 minutes to ensure the pigment doesn’t start to separate from the water.
It’s also important to measure and calculate what ratio of pigment to water to use when mixing. Altering the ratio can help you achieve the coverage or tone that you want. However, if you run out of paint in the middle of a project, you need to remember the ratio to mix a new batch.
Remember, it’s better to have a little extra milk paint prepared than to run out.

Using Drying Oils
Drying oils are a finishing product that can help protect your piece. It’s best to use a drying oil when using milk paint on a high traffic area, such as an outdoor bench or your wood floors. The drying oil will oxidize and harden, creating a protective barrier that will protect your paint.
Non-drying oils do not have the same effect. These treatments absorb into the surface and add a nice sheen, but do not have the protective qualities. Non-drying oils are ideal for spaces that may come in contact with food or skincare products, such as countertops and vanities, as they’re safer for human contact.
While this guide can help you get started with milk paint, experience is the best teacher. Pick a project, get started, and learn as you go.