
Cricut crafts are all the rage right now and it’s no wonder why! You can make amazing crafts like these oh so cute Cricut Chalk Painted Jars! So, dust off that Cricut machine and follow the simple step-by-step instructions below to make you a set.
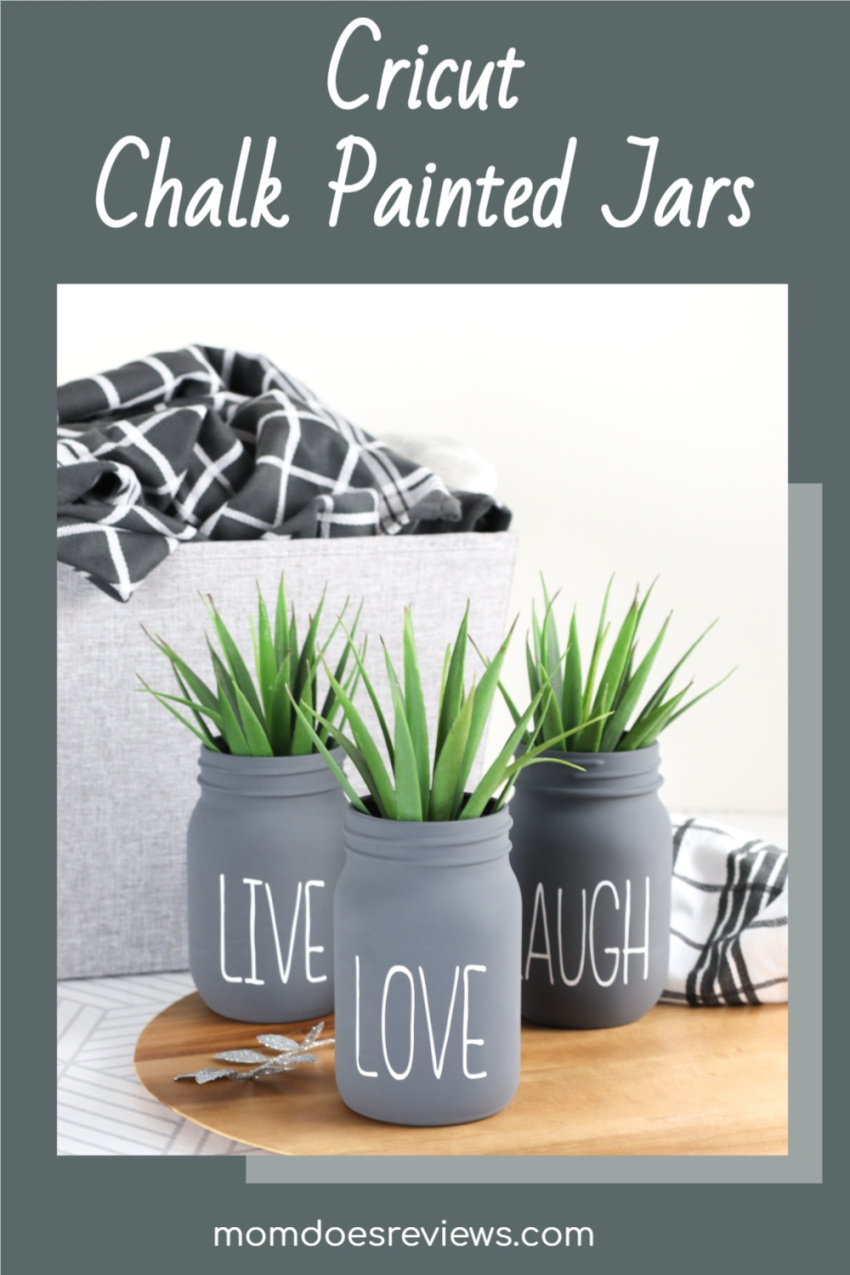
I am in love with this DIY Cricut Chalk Painted Jars craft! The jars come out simply BEAUTIFUL!
In this particular craft, I opted for gray tones for a more ‘farmhouse’ look but you can do any color you like. I also think the gray color and choice of words are perfect for the new year. But again, the sky is the limit on what colors or words you want to use.
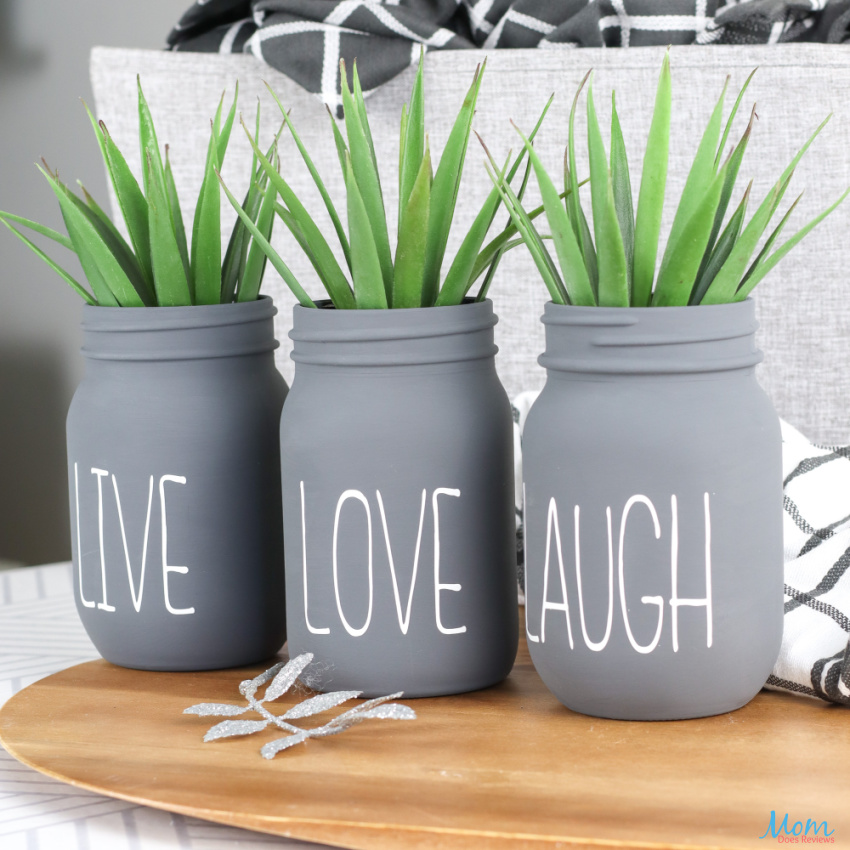
To get started, read over the supply list and gather them up. Then, simply follow the easy step-by-step instructions.
The painted jars come out so fabulously cute they deserve a place front and center in your home, don’t you think?
And, while not Cricut crafts, we love working with mason jars for an array of crafting projects! Take a look at these fun decoupage ideas – double fun if you love flowers and plants!
Upcycled & Decorative Decoupage Mason Jars: Enjoy fresh flowers in your home or outdoor space with these fun Upcycled Ladies Shirt Decoupage Mason Jars! They are super easy to make and the sky is the limit on the colors you choose!
Upcycled Men’s Shirts Decoupage Planters Craft: Let your plants shine in fun Upcycled Decoupage Planters! These unique planters are made with upcycled men’s shirts and are super cute. They are also easy to make and require only a few materials. Your plants will look adorable dressed out in these fun planters.
But now, let’s get back to the star of the show – these amazing Cricut Chalk Painted Jars!
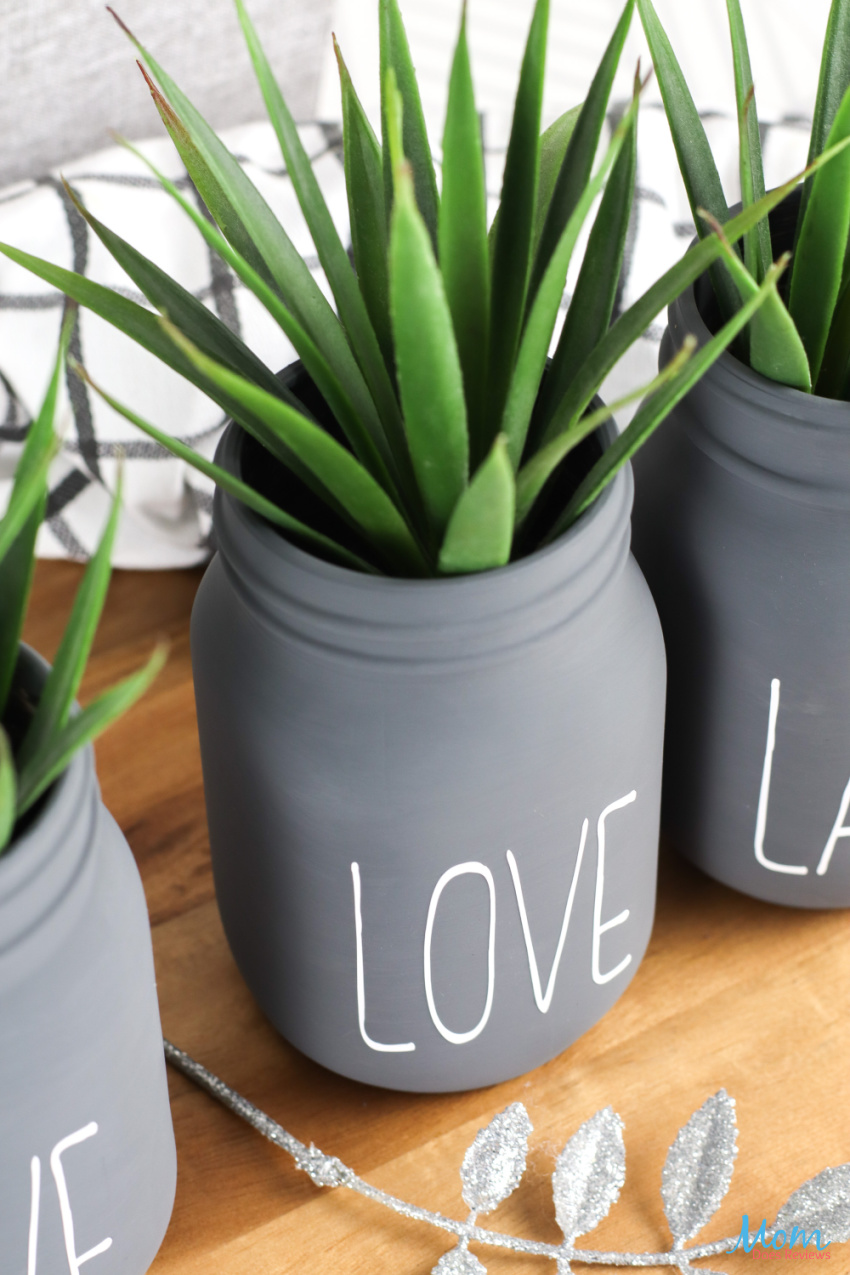
Cricut Chalk Painted Jars
Materials Needed:
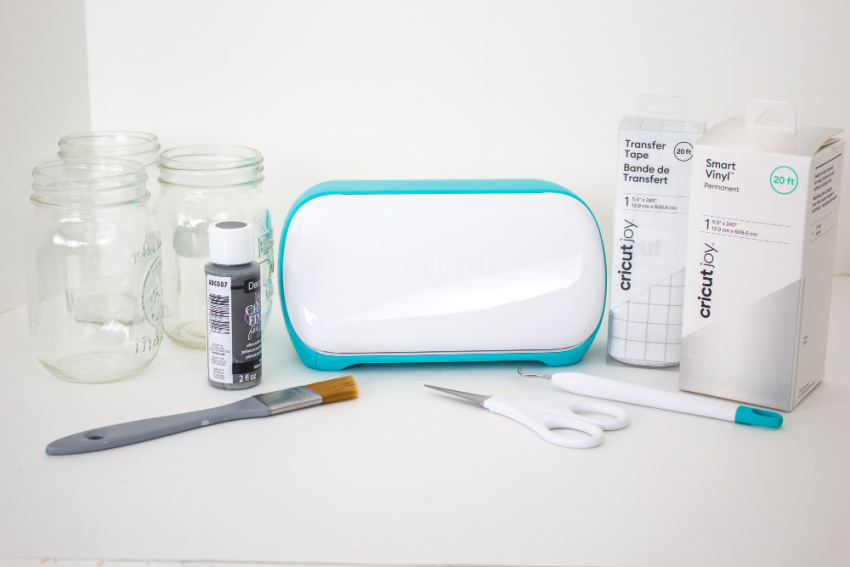
Cricut Joy (or Cricut Maker) with Fine Point Blade
Smart Vinyl, Permanent) in white
3 Mason Jars with rims (optional), 16oz
Scissors
Weeder tool (optional)
Americana Chalky Finish (for Glass) in Relic
Paintbrush
Decorative ribbon (optional)
How to make these cute Cricut Chalk Painted Jars:
1. Gather supplies.
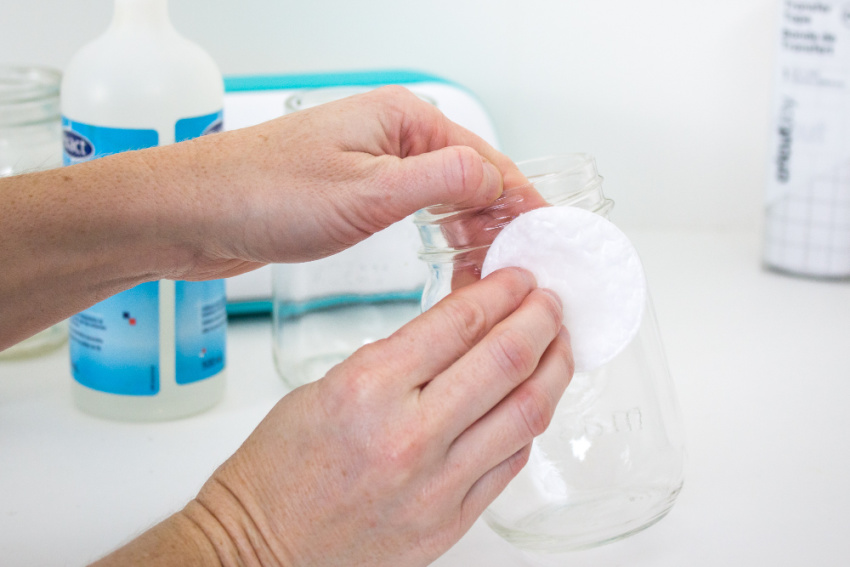
2. Thoroughly wash jars with soap and hot water and let them dry completely before using. Wipe the surface of the jars with rubbing alcohol before painting.
Preparing the Mason Jars
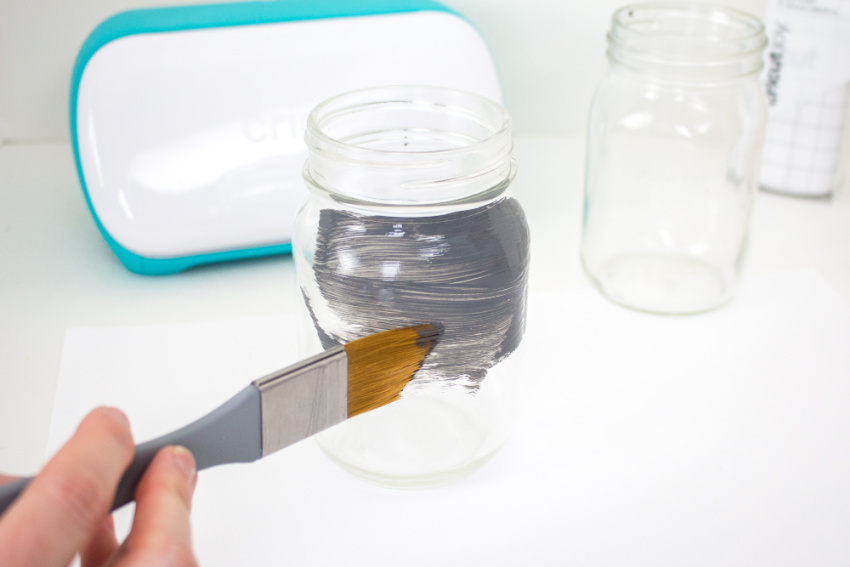
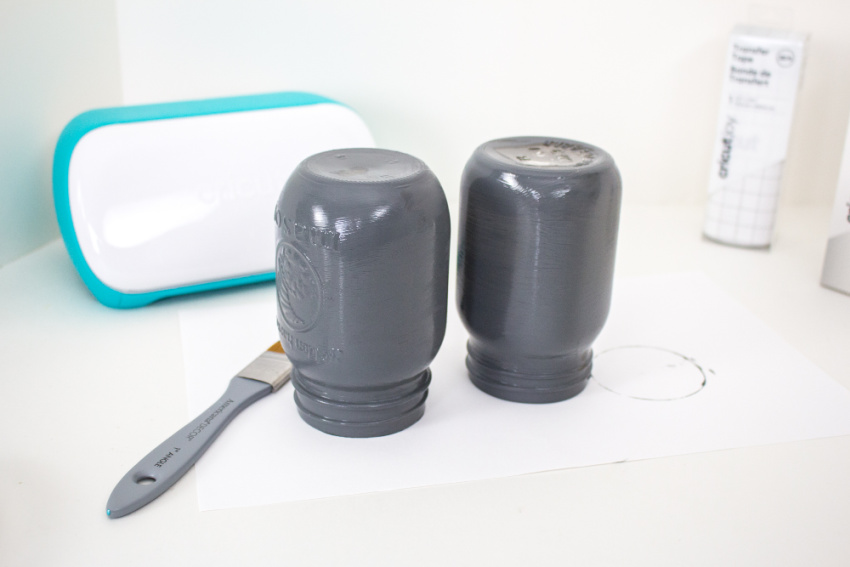
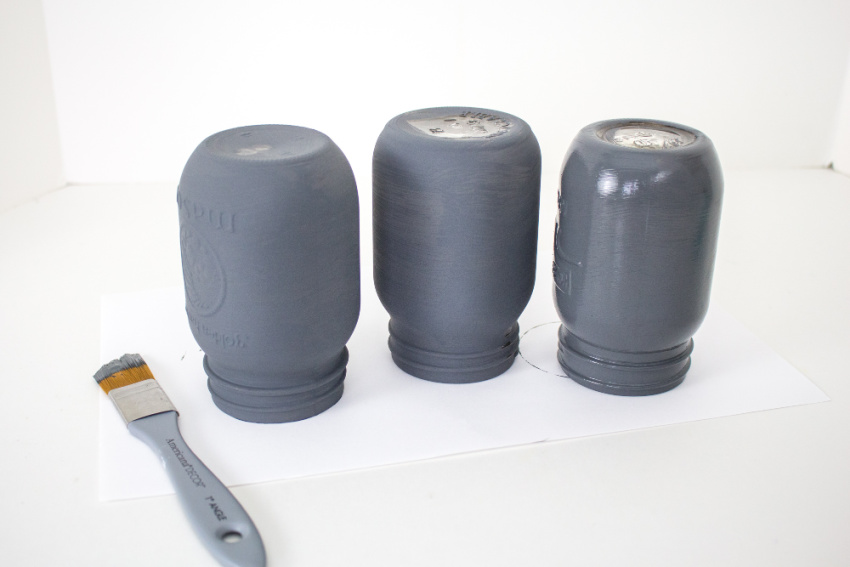
3. Apply a thick coat of chalky finish paint to each of the mason jars. Put aside to dry fully and repeat with additional coverage as needed. Leave enough time to dry fully between coats of paint, approx. 4-6 hours.
Creating the Text in Design Space
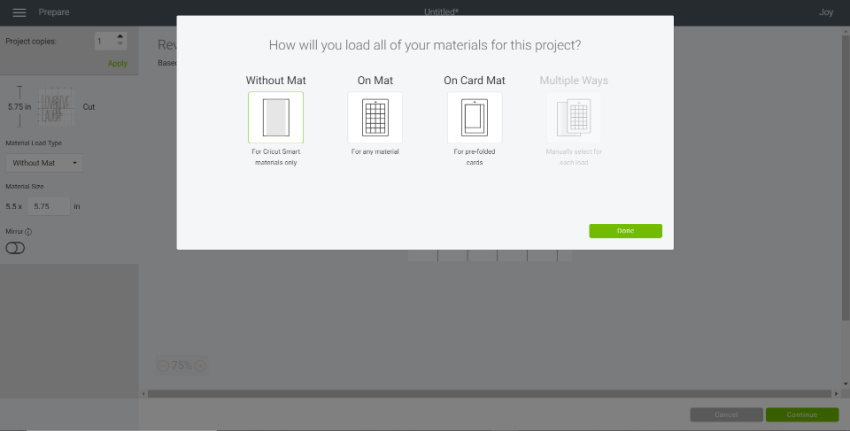
4. Open a blank canvas in Design Space.
5. Select the text icon from the toolbar.
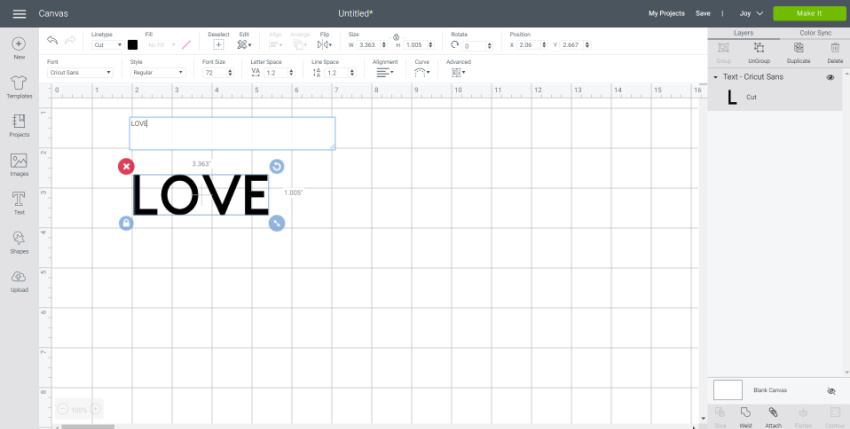
6. Type LOVE.
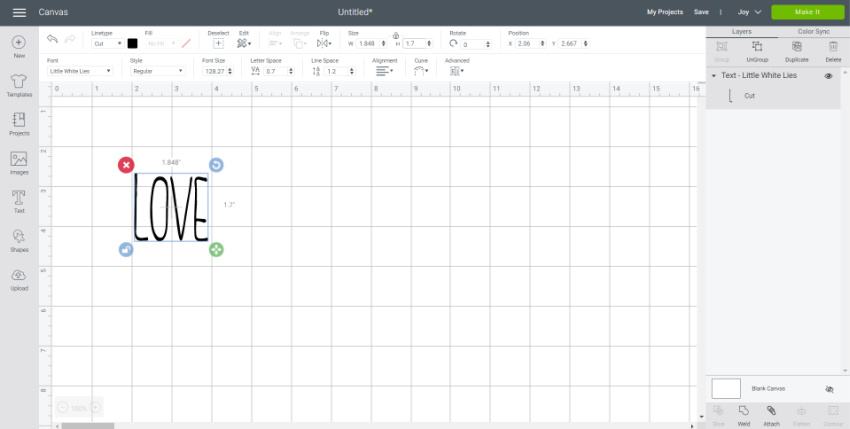
7. Change the font to “Little White Lies”.
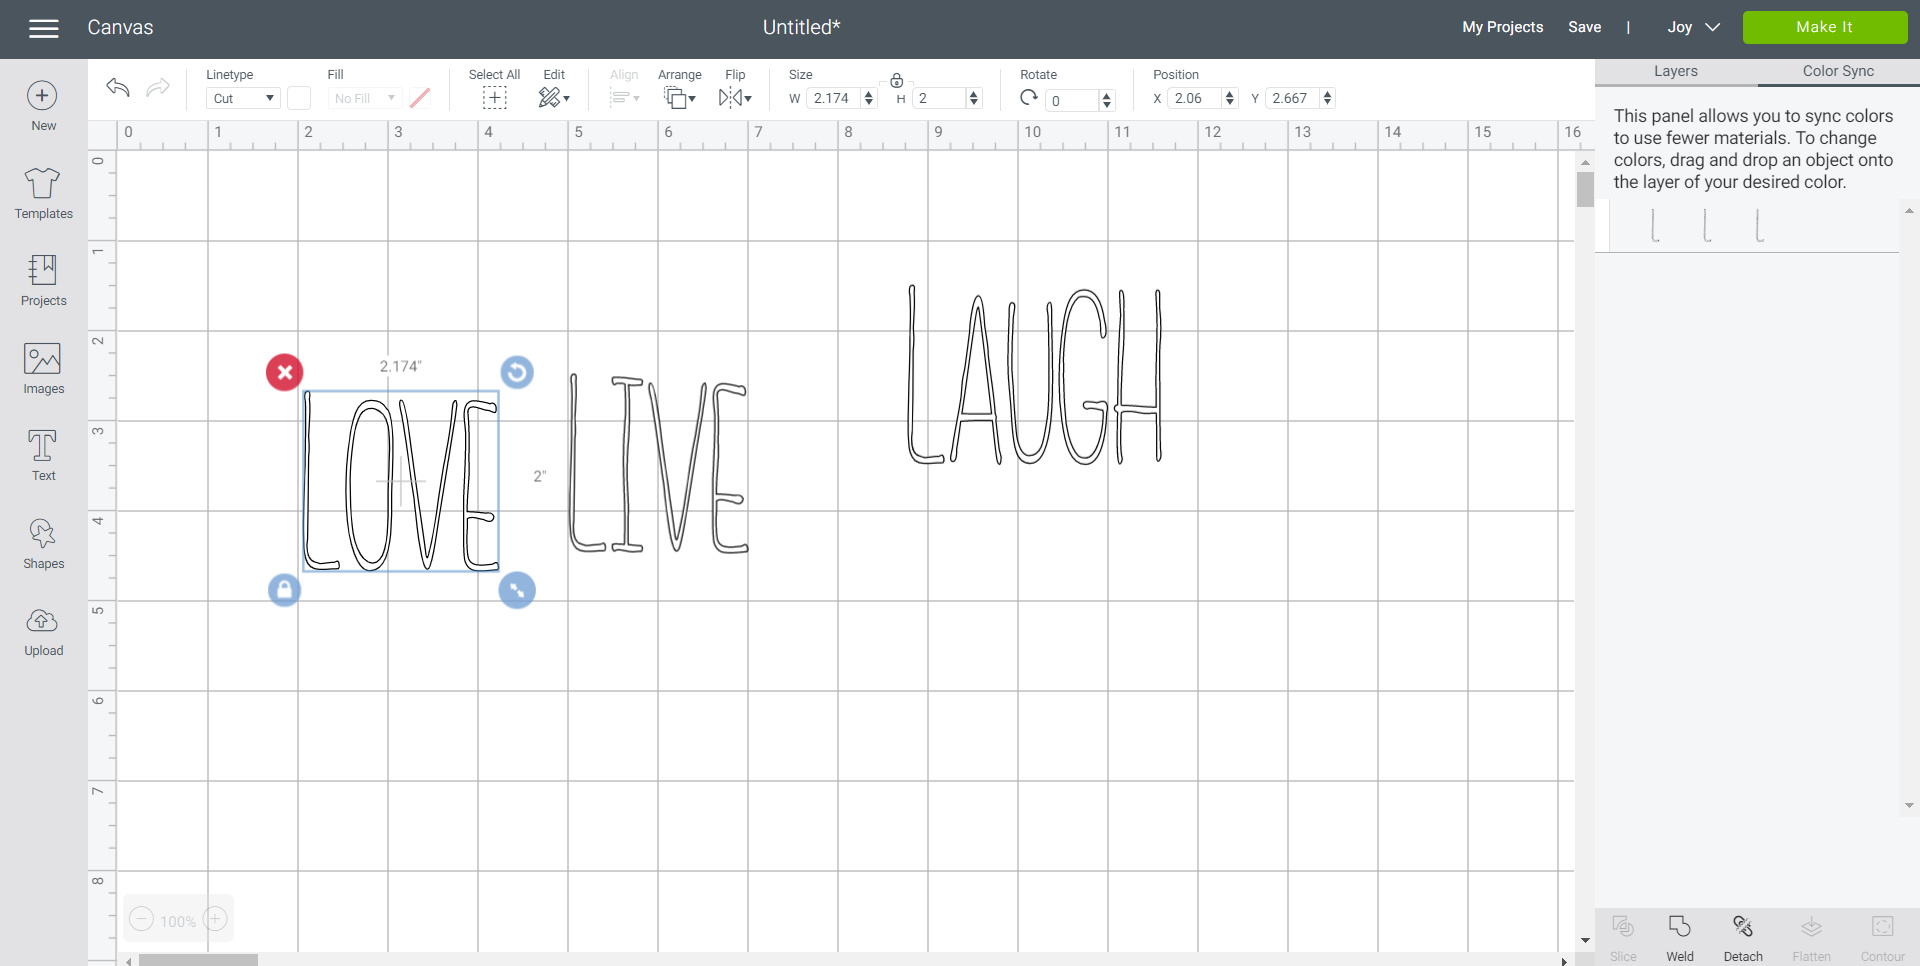
8. With the word highlighted, adjust the letter spacing to 0.7.
9. Stretch the lettering by clicking on the lock symbol above the size section and adjusting the height to 1.7” while keeping the width the same.
10. Next, click on the unlock symbol and adjust the word height to 2”.
11. With the word highlighted, click on the “Attach” button.
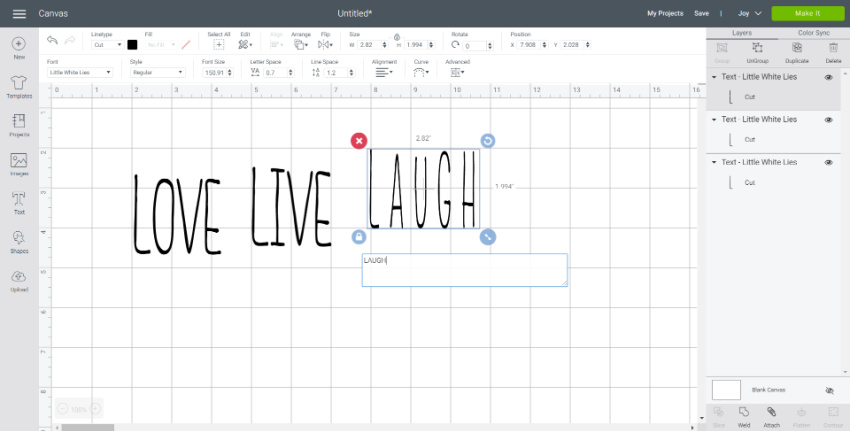
12. Steps 5-11 for the other words: LIVE and LAUGH.
Cutting
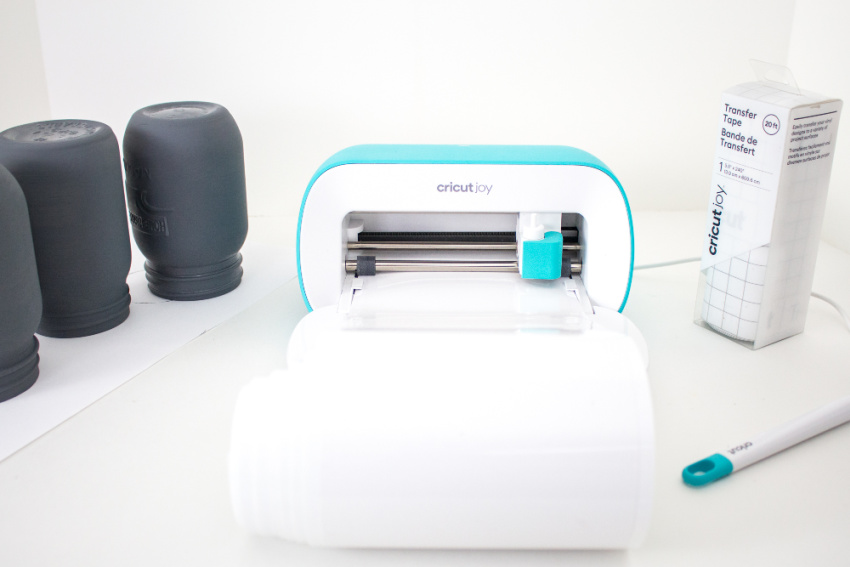
13. Select “Make It” in Design Space.
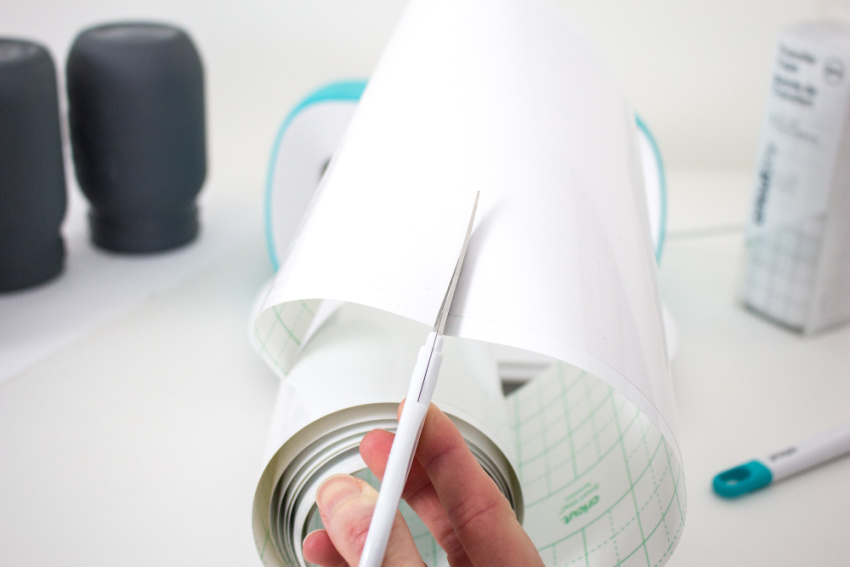
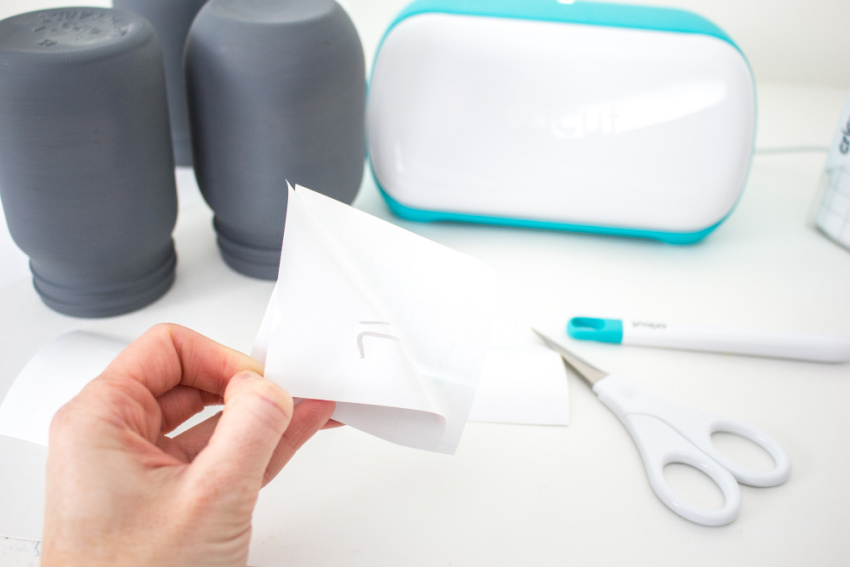
14. For cutting the words, set the material type to Smart Vinyl.
15. Follow prompts for loading the mat into the Cricut Joy and cutting the Smart Vinyl. When prompted, unload the vinyl from the cutting machine.
How to Assemble the Jars
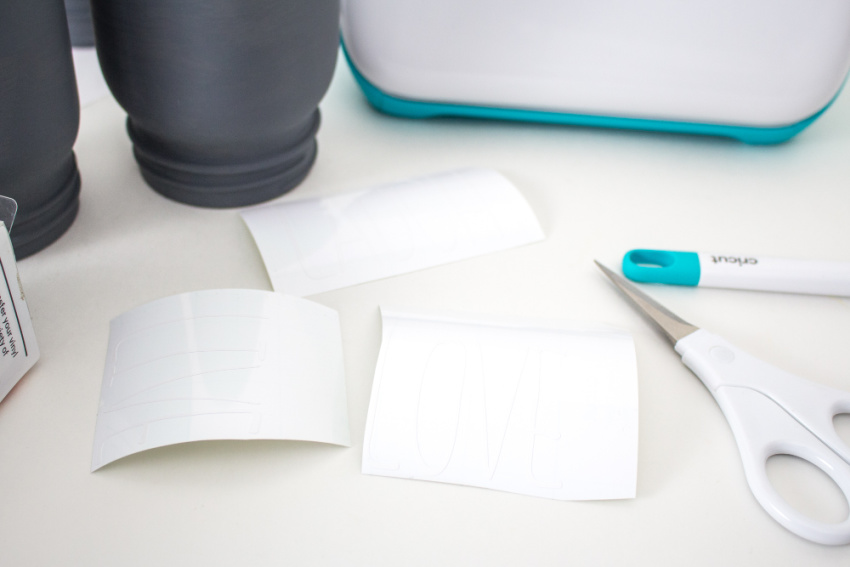
16. Cut around each word with a pair of scissors.
17. Peel away the excess vinyl around the cut images and discard.
18. Cut a piece of transfer tape a bit larger than the size of the text.
19. Peel away the transfer tape backing but ensure the transfer tape is not overly sticky. Dab the sticky side of the transfer tape with your hand to weaken the adhesive.
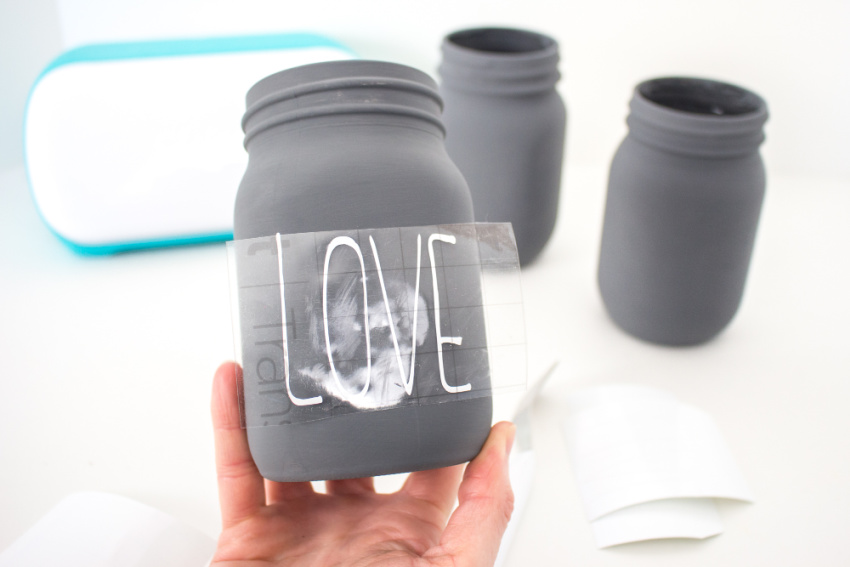
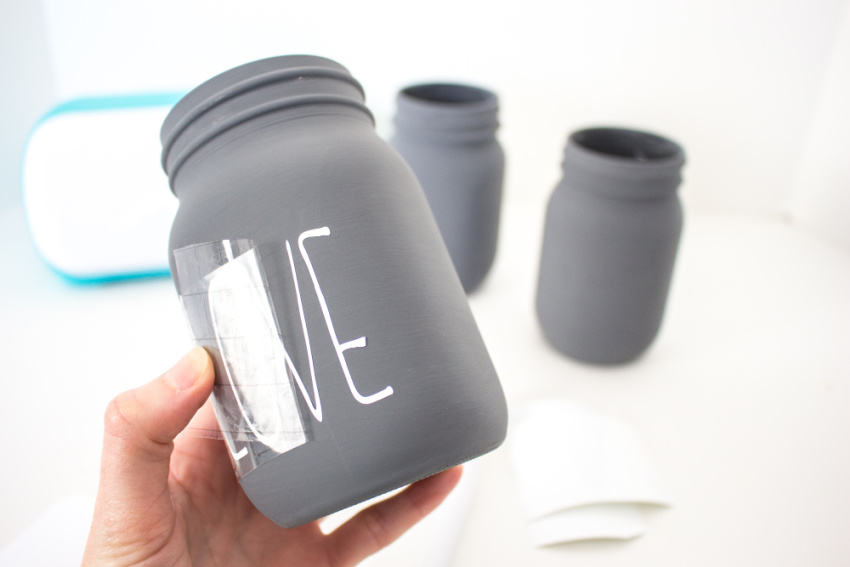
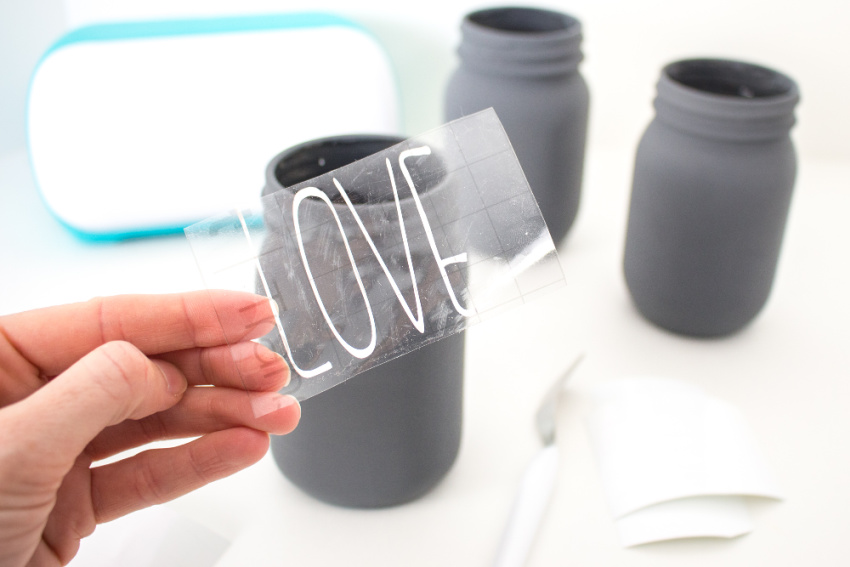
20. Place the transfer tape over top of the cut word. Gently rub the vinyl to help it stick to the transfer tape. Peel away the vinyl backing, leaving just the image adhered to the transfer tape. Position the phrase with the transfer tape on to the smooth side of a jar and press in place. Press the vinyl phrase down with your fingers to help it to stick to the painted glass jar. Slowly and carefully remove the transfer tape leaving the vinyl image on the jar.
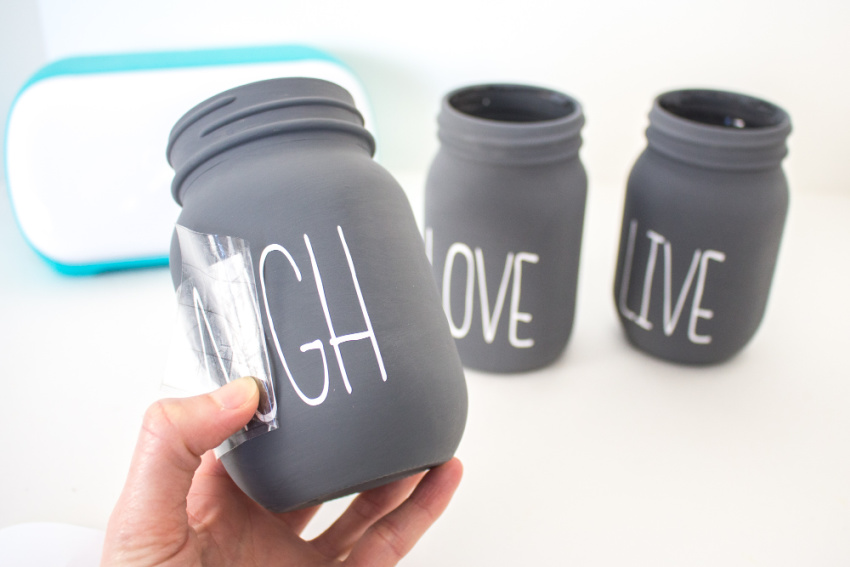
21. Repeat for the other mason jars.
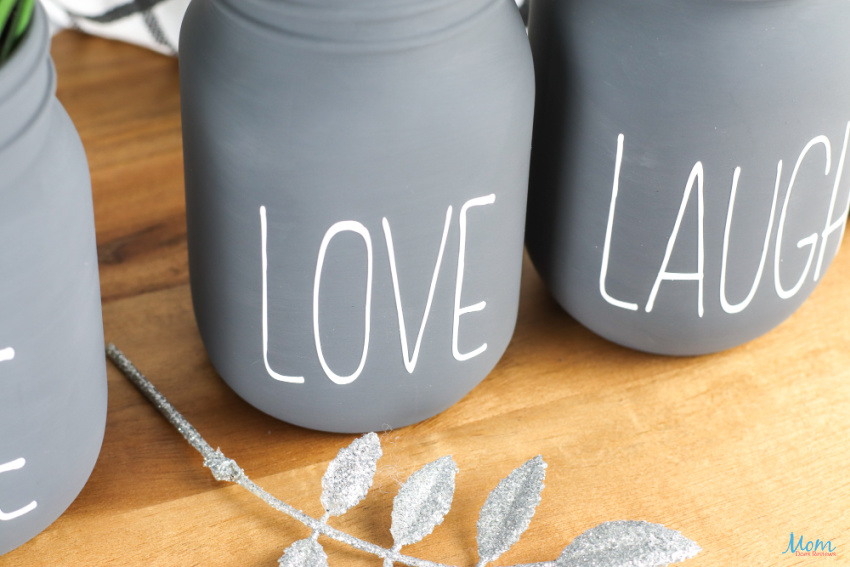
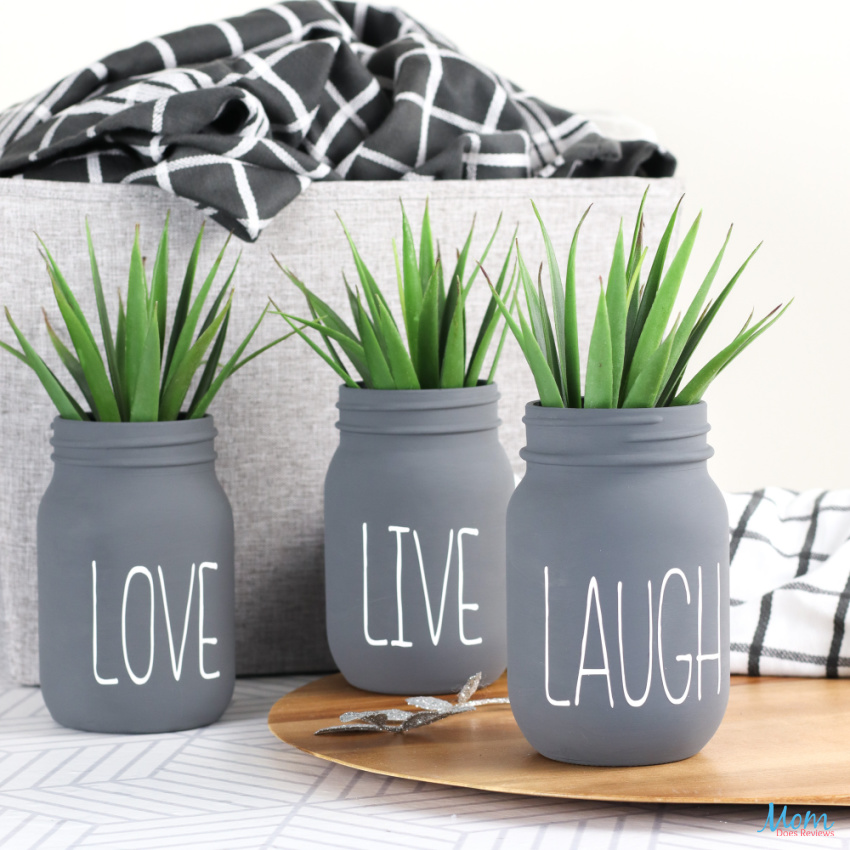
22. To finish, fill the containers with greenery, sweets or a candle. Place the jar rims and lids back on the jars if desired.
Print this easy DIY for Cricut Chalk Painted Jars!

Cricut Chalk Painted Jars
Cricut crafts are all the rage right now and it's no wonder why! You can make amazing crafts like these oh so cute Cricut Chalk Painted Jars! So, dust off that Cricut machine and follow the simple step-by-step instructions below to make you a set.
Materials
- Cricut Joy (or Cricut Maker) with Fine Point Blade
- Smart Vinyl, Permanent) in white
- 3 Mason Jars with rims (optional), 16oz
- Scissors
- Weeder tool (optional)
- Americana Chalky Finish (for Glass) in Relic
- Paintbrush
- Decorative ribbon (optional)
Instructions
1. Gather supplies.
2. Thoroughly wash jars with soap and hot water and let them dry completely before using. Wipe the surface of the jars with rubbing alcohol before painting.
Preparing the Mason Jars
3. Apply a thick coat of chalky finish paint to each of the mason jars. Put aside to dry fully and repeat with additional coverage as needed. Leave enough time to dry fully between coats of paint, approx. 4-6 hours.
Creating the Text in Design Space
4. Open a blank canvas in Design Space.
5. Select the text icon from the toolbar.
6. Type LOVE.
7. Change the font to “Little White Lies”.
8. With the word highlighted, adjust the letter spacing to 0.7.
9. Stretch the lettering by clicking on the lock symbol above the size section and adjusting the height to 1.7” while keeping the width the same.
10. Next, click on the unlock symbol and adjust the word height to 2”.
11. With the word highlighted, click on the “Attach” button.
12. Steps 5-11 for the other words: LIVE and LAUGH.
Cutting
13. Select “Make It” in Design Space.
14. For cutting the words, set the material type to Smart Vinyl.
15. Follow prompts for loading the mat into the Cricut Joy and cutting the Smart Vinyl. When prompted, unload the vinyl from the cutting machine.
How to Assemble the Jars
16. Cut around each word with a pair of scissors.
17. Peel away the excess vinyl around the cut images and discard.
18. Cut a piece of transfer tape a bit larger than the size of the text.
19. Peel away the transfer tape backing but ensure the transfer tape is not overly sticky. Dab the sticky side of the transfer tape with your hand to weaken the adhesive.
20. Place the transfer tape over top of the cut word. Gently rub the vinyl to help it stick to the transfer tape. Peel away the vinyl backing, leaving just the image adhered to the transfer tape. Position the phrase with the transfer tape on to the smooth side of a jar and press in place. Press the vinyl phrase down with your fingers to help it to stick to the painted glass jar. Slowly and carefully remove the transfer tape leaving the vinyl image on the jar.
21. Repeat for the other mason jars.
22. To finish, fill the containers with greenery, sweets or a candle. Place the jar rims and lids back on the jars if desired.
Pin it for later!
Happy Crafting!
