
Craving Cake in a Flash? Whip Up Red Velvet in a Jar!
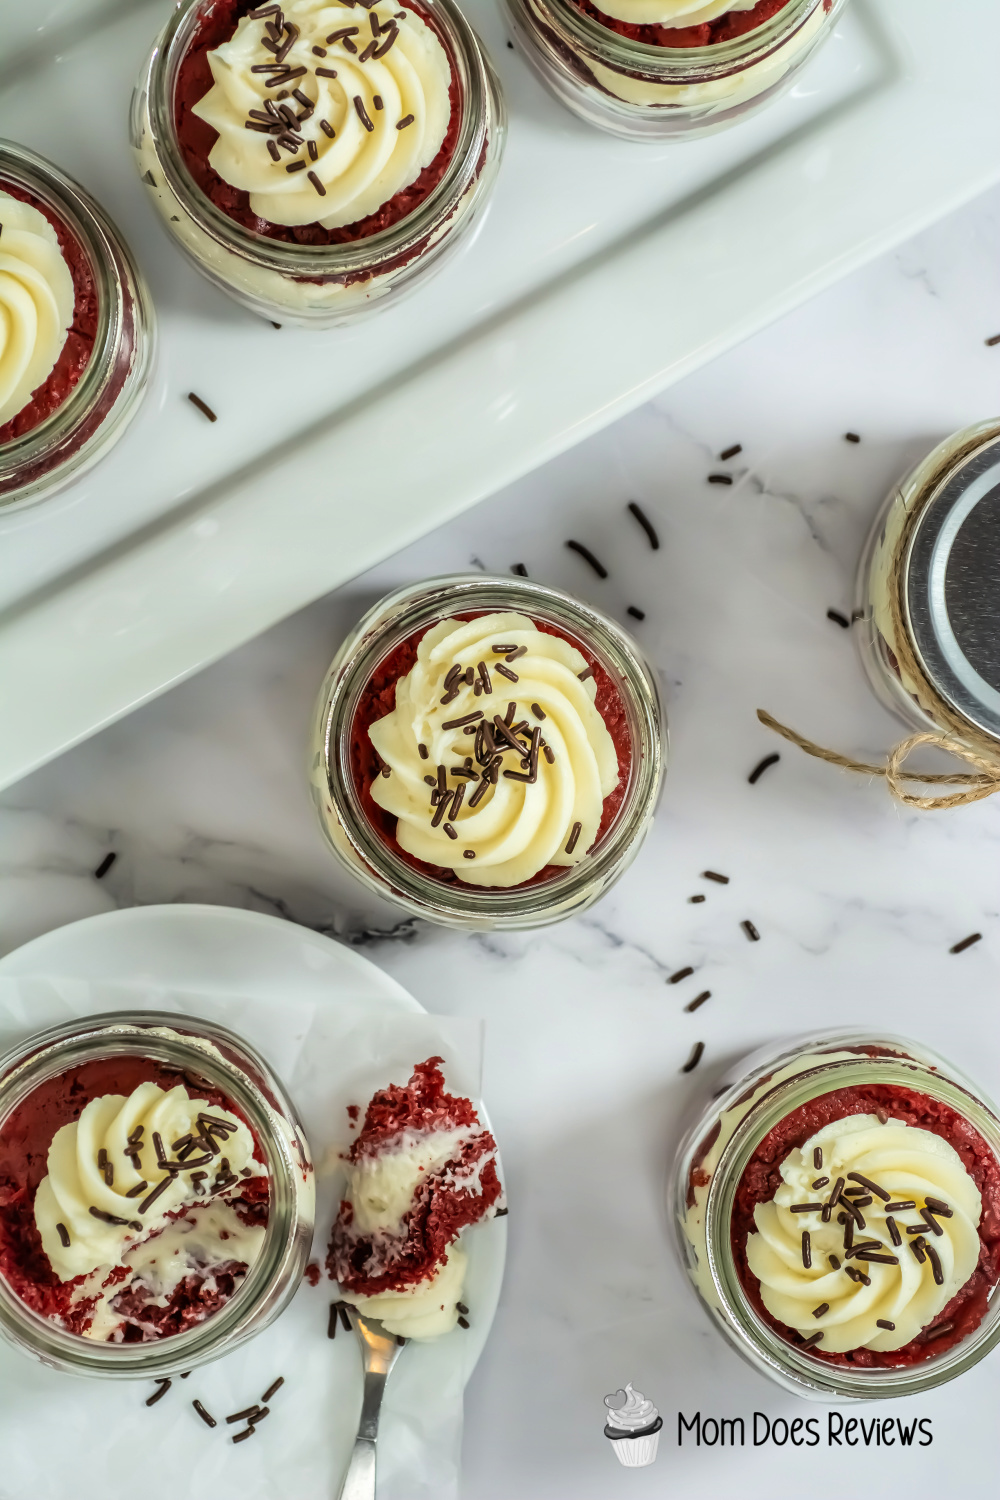
Dreaming of a decadent dessert but short on time or serving ware? Look no further than this adorable (and delicious) recipe for Red Velvet Cake in a Jar! Imagine a delightful parfait of moist red velvet cake layered with swirls of rich, homemade cream cheese frosting. It’s a taste sensation that’s easy to make, perfect for portion control, and guaranteed to satisfy your sweet tooth.
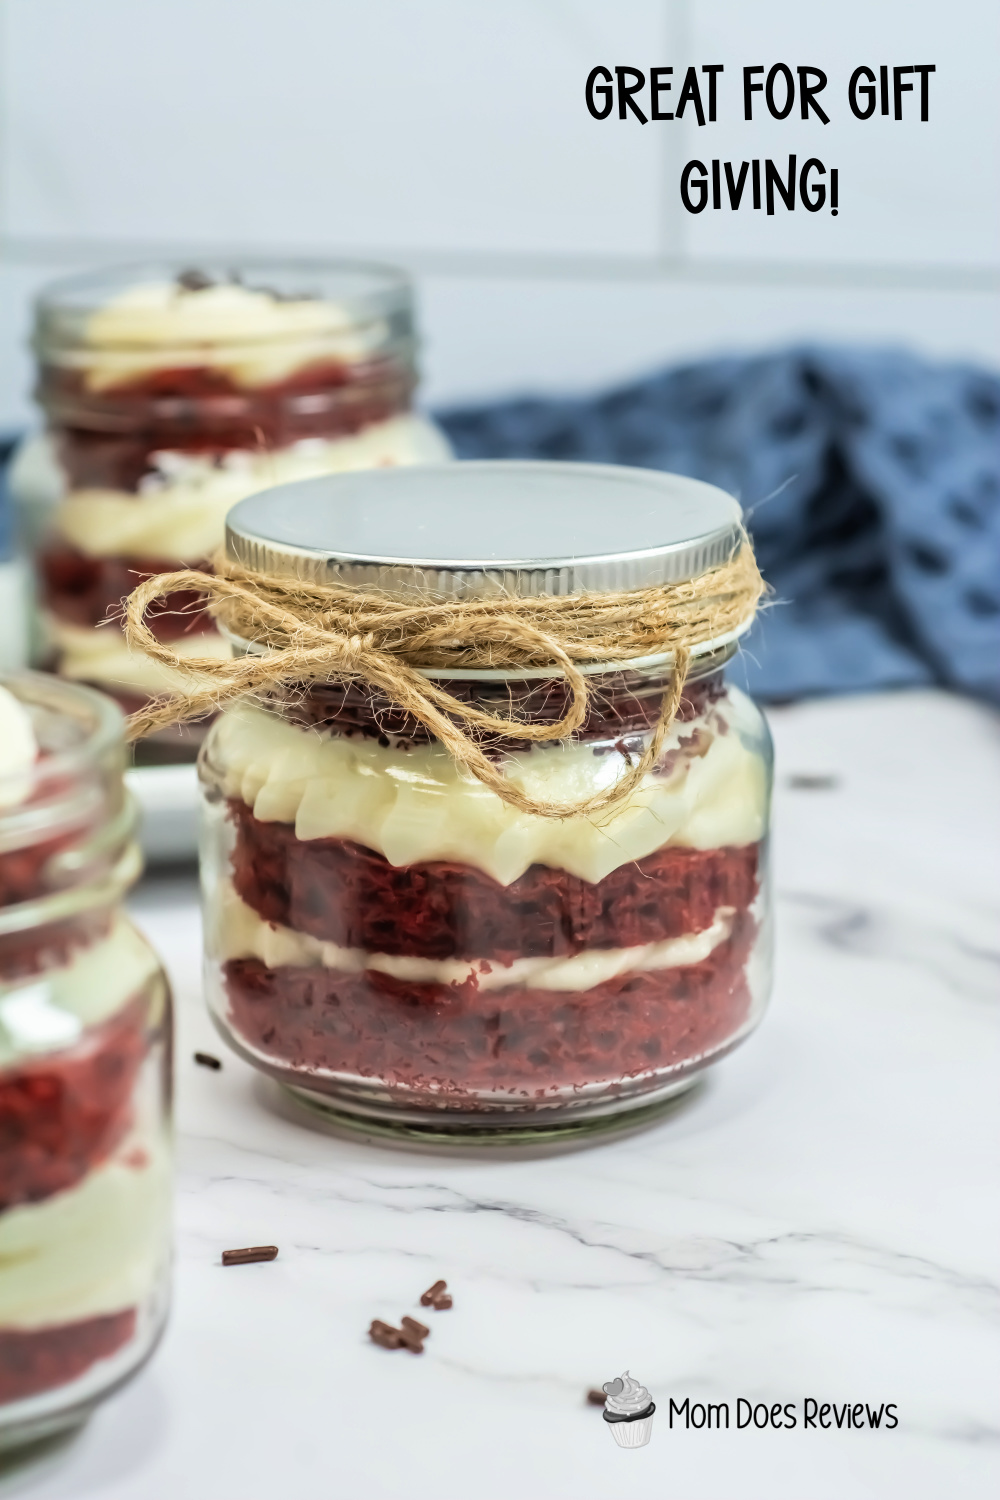
But wait, there’s more! Cake in a Jar, also known as Mason Jar Cakes, offers endless possibilities. They’re fun, portable, and completely customizable. Prepping them in advance allows you to whip up a party spread in minutes, or create adorable individual gifts that are sure to impress. Plus, they’re ideal for picnics, bake sales, or anytime you need a quick and delicious dessert on the go. We made a Red Velvet Cake in a Jar, but you can get creative and mix your own flavors!
Ready to get creative? Here’s a breakdown of what makes this recipe so amazing:
- Simple Ingredients: This recipe uses everyday staples, making it budget-friendly and easy to put together.
- Layered Perfection: The combination of fluffy cake and creamy frosting in every bite is pure bliss.
- Endless Customization: Feel free to add chocolate chips, chopped nuts, or a drizzle of raspberry syrup for an extra flavor boost. Decorate the jars with ribbons or labels.
- Make ahead: These desserts can be made ahead of time and are perfect for birthday parties, baby and wedding showers, or outdoor events such as picnics at the park or beach.
Don’t miss our other Red Velvet Recipes:
If you love Red Velvet Desserts, don’t miss my new favorite cupcake: Red Velvet Cupcakes with Homemade Whipped Cream Cheese Frosting. You’d think they would be heavy and super sweet, but they’re not! In fact, they are light and airy and so delicious, they will become your new favorite cupcake too!
If you love Red Velvet Desserts, don’t miss our Red Velvet White Chocolate Chip Cake Mix Cookies. These super easy cookies only have 4 ingredients! The family will be begging for more!
Homemade Red Velvet Valentine’s Day Cupcakes: From the homemade cupcake batter and frosting to the scrumptious Reese’s mini cupcake on top. Your taste buds are in for a sweet delight with this yummy Valentine’s Day Cupcake!
Red Velvet Cupcakes: Want to impress your spouse, kids, or significant other this Valentine’s Day or any day? Make these beautiful Red Velvet Cupcakes! They may take a little time, but it’s totally worth it!
Cake in a Jar Ingredients:
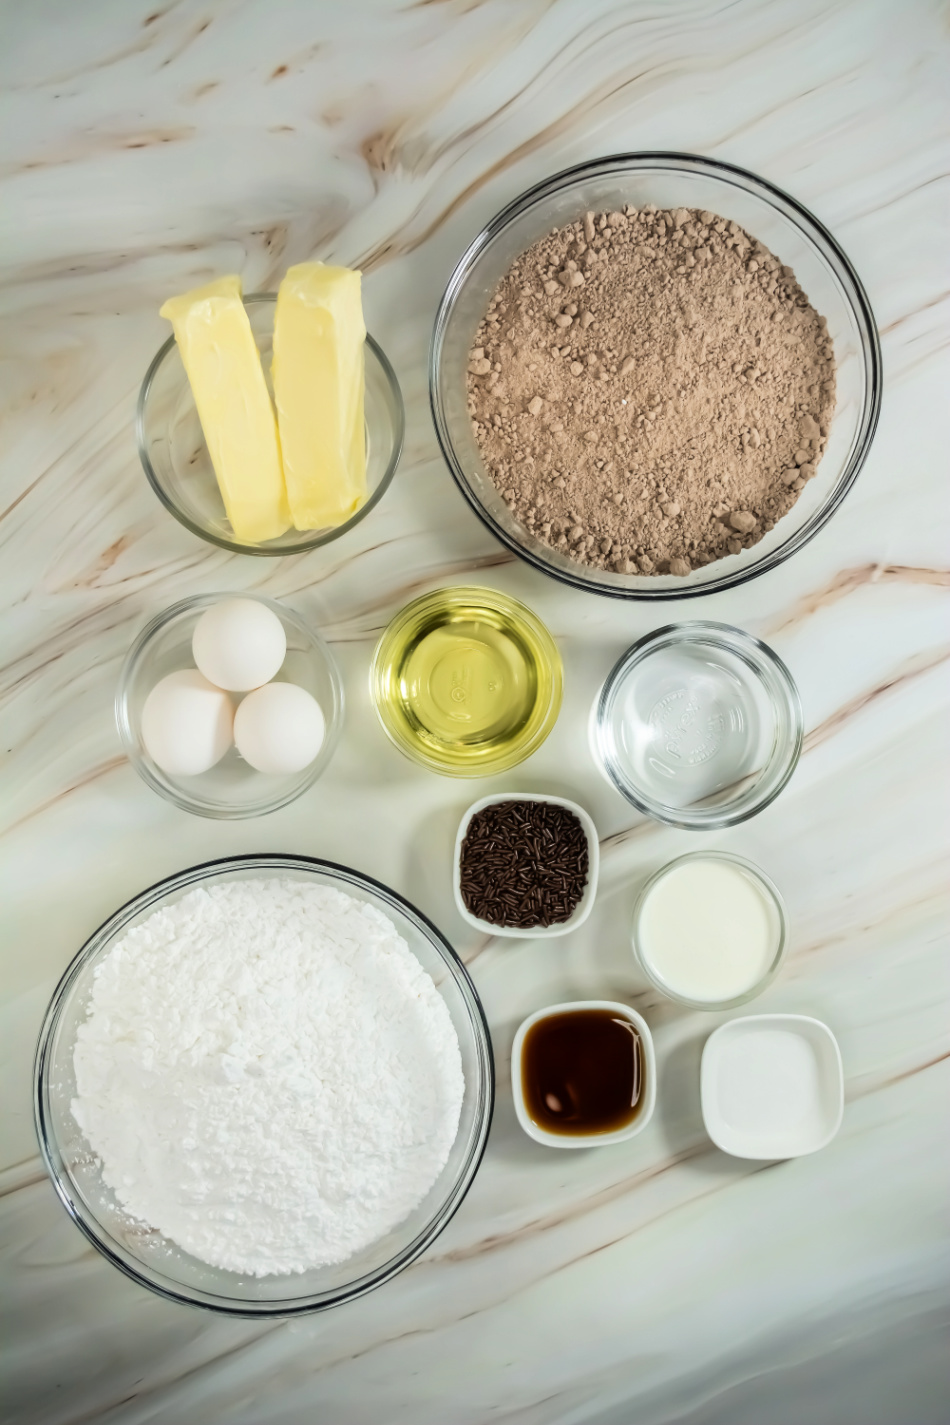
For the cake –
- Red Velvet box cake mix or use our Red Velvet Cake Recipe
- 1 c water
- 3 eggs
- ½ c oil
For the frosting –
- 1 c unsalted butter, softened
- 2 oz cream cheese (optional)
- 4 c powdered sugar
- 1 t salt
- 1 t vanilla
- 2 T heavy cream
- Sprinkles to decorate
Supplies needed:
- 8 oz containers/jars
- Jelly Roll Pans
Cake in a Jar Directions:
For the Cake:
Preheat the oven to 350 degrees. Line two jelly roll pans with sides about 11×17 in size with foil or parchment. Spray with a light layer of non-stick spray and set aside.
In the bowl of a stand mixer, combine the red velvet cake mix, water, eggs and oil.
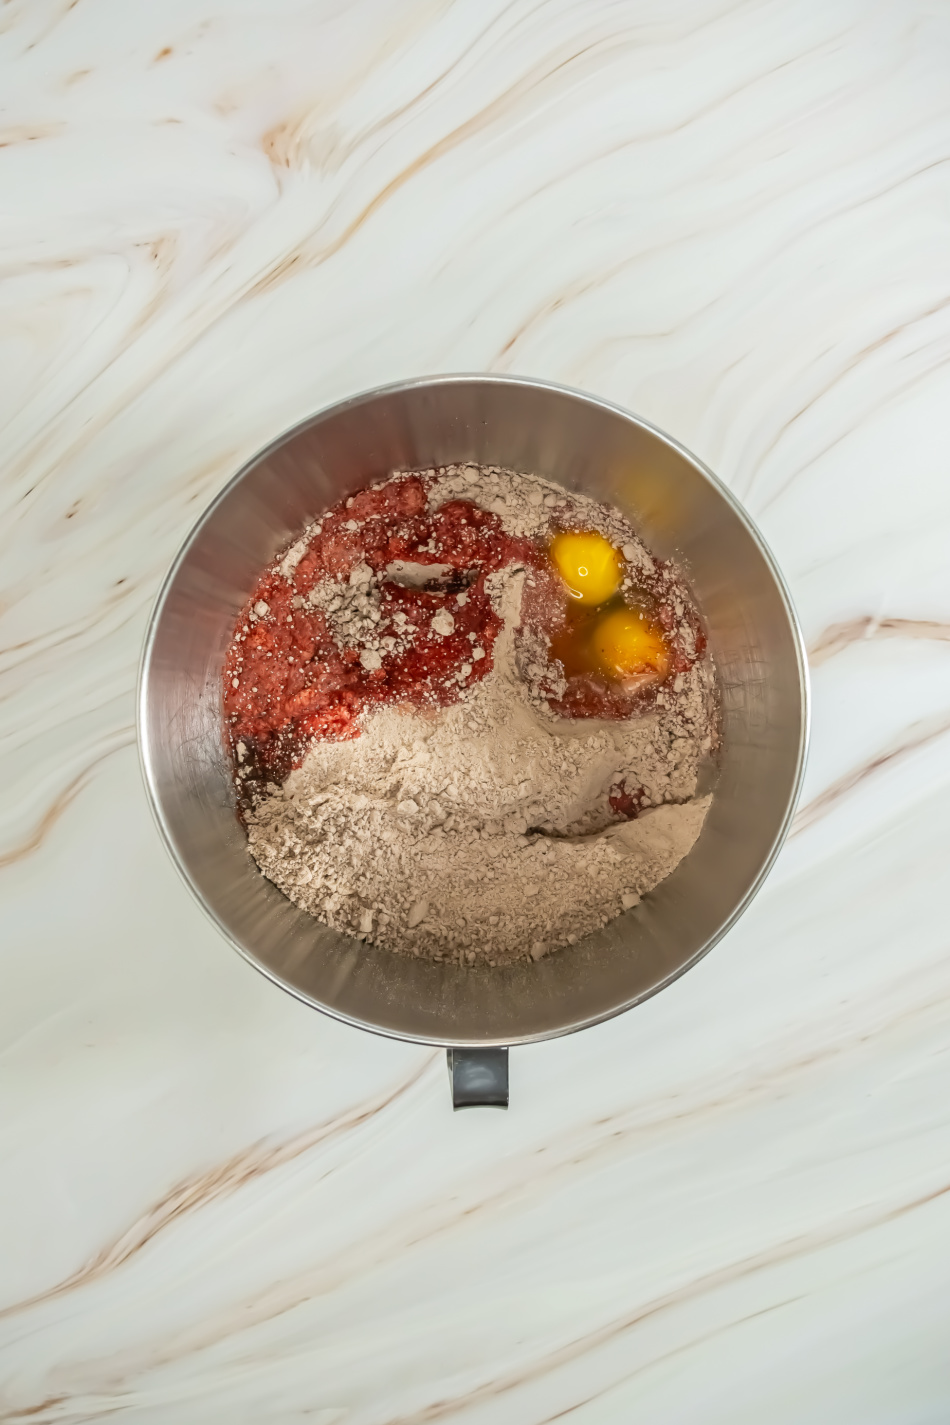
Mix until thoroughly combined – stopping the machine and scraping the sides often.
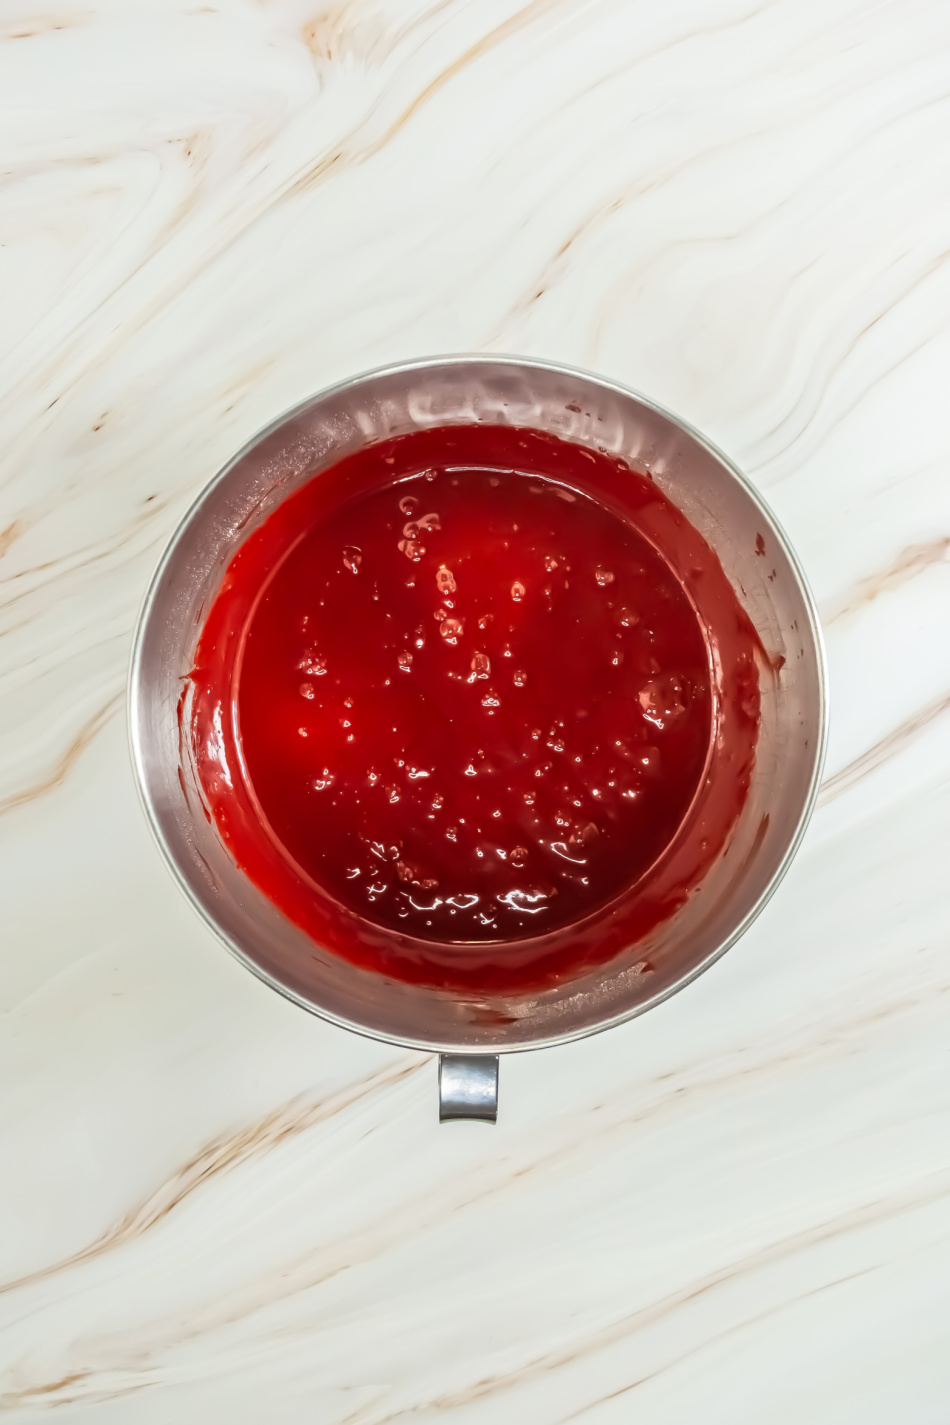
Pour approximately half of the batter into each of the prepared baking sheets. Use a spatula to help spread the batter into the corners and as even as possible.
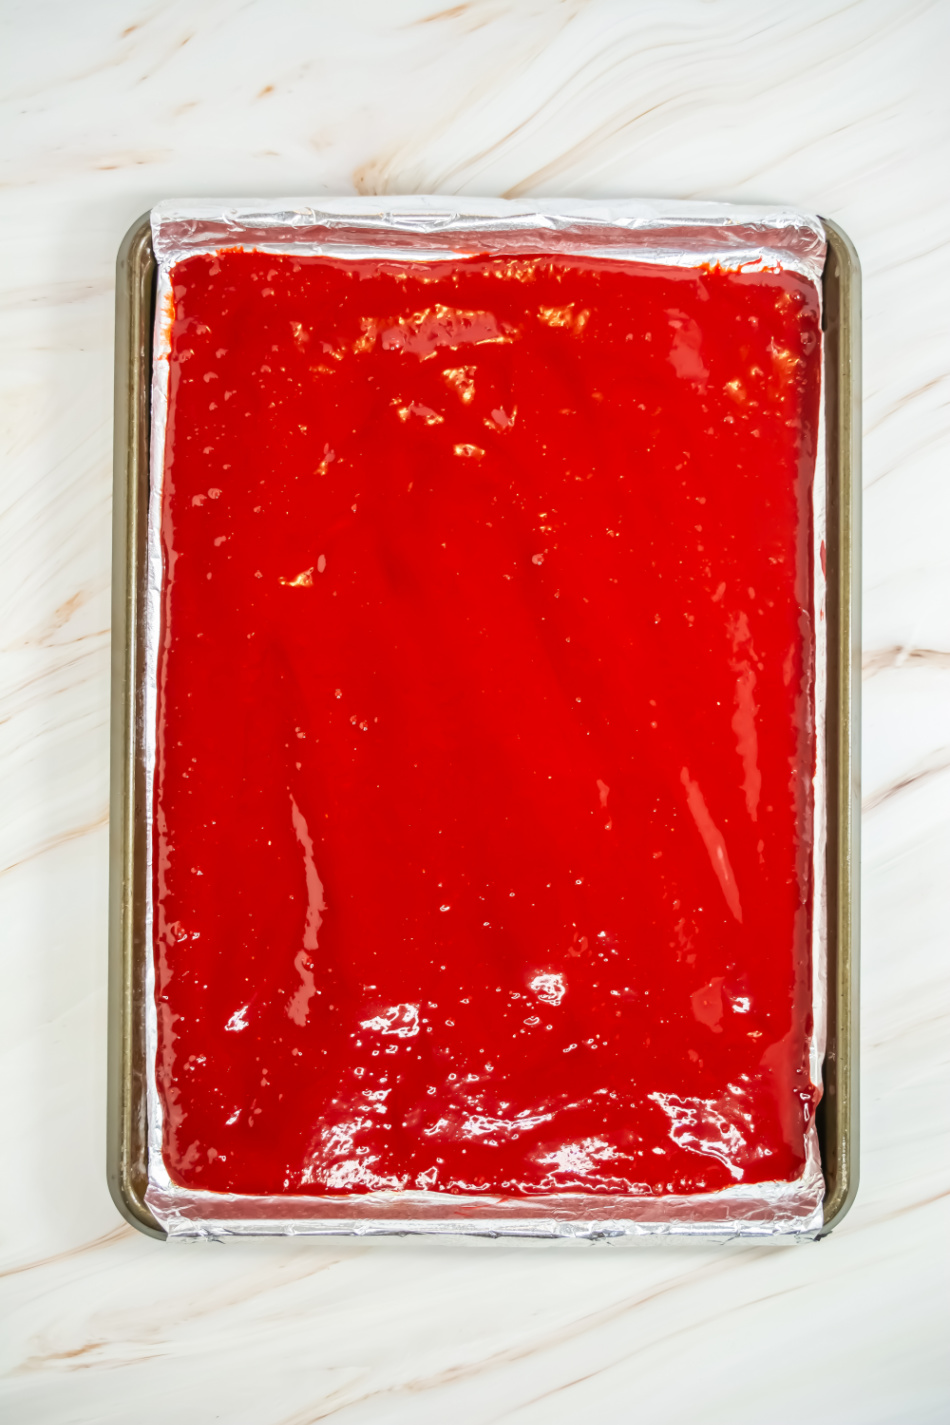
Bake in the preheated oven for 10 minutes. The edges should be set and the center no longer glossy. Remove from the oven and allow to cool completely.
For the frosting:
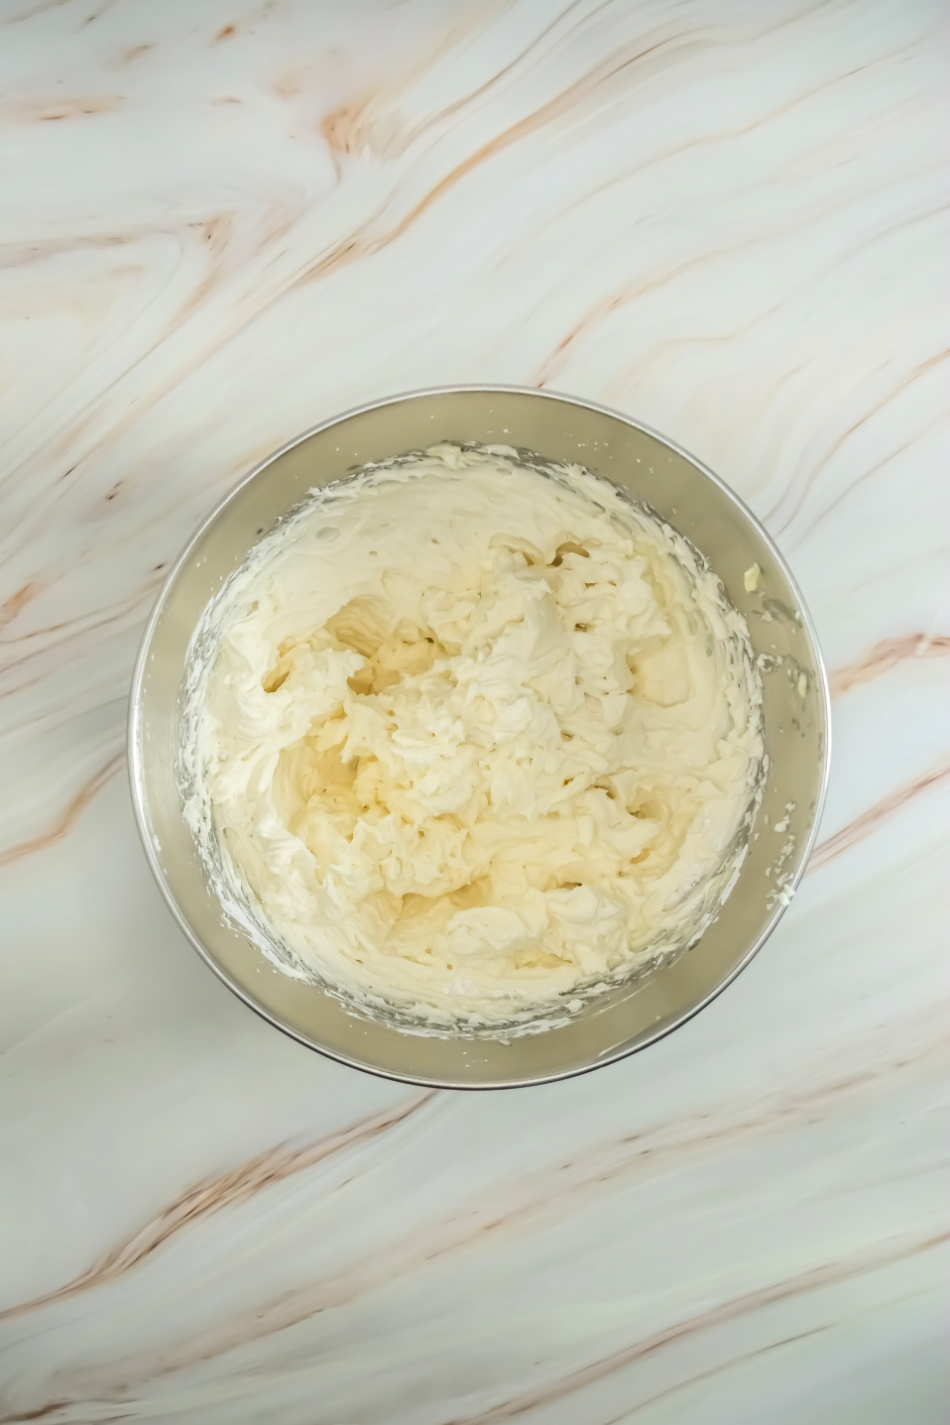
In the bowl of a stand mixer, combine the softened butter, cream cheese (if using), powdered sugar, salt, vanilla and heavy cream. Mix on low speed until combined.
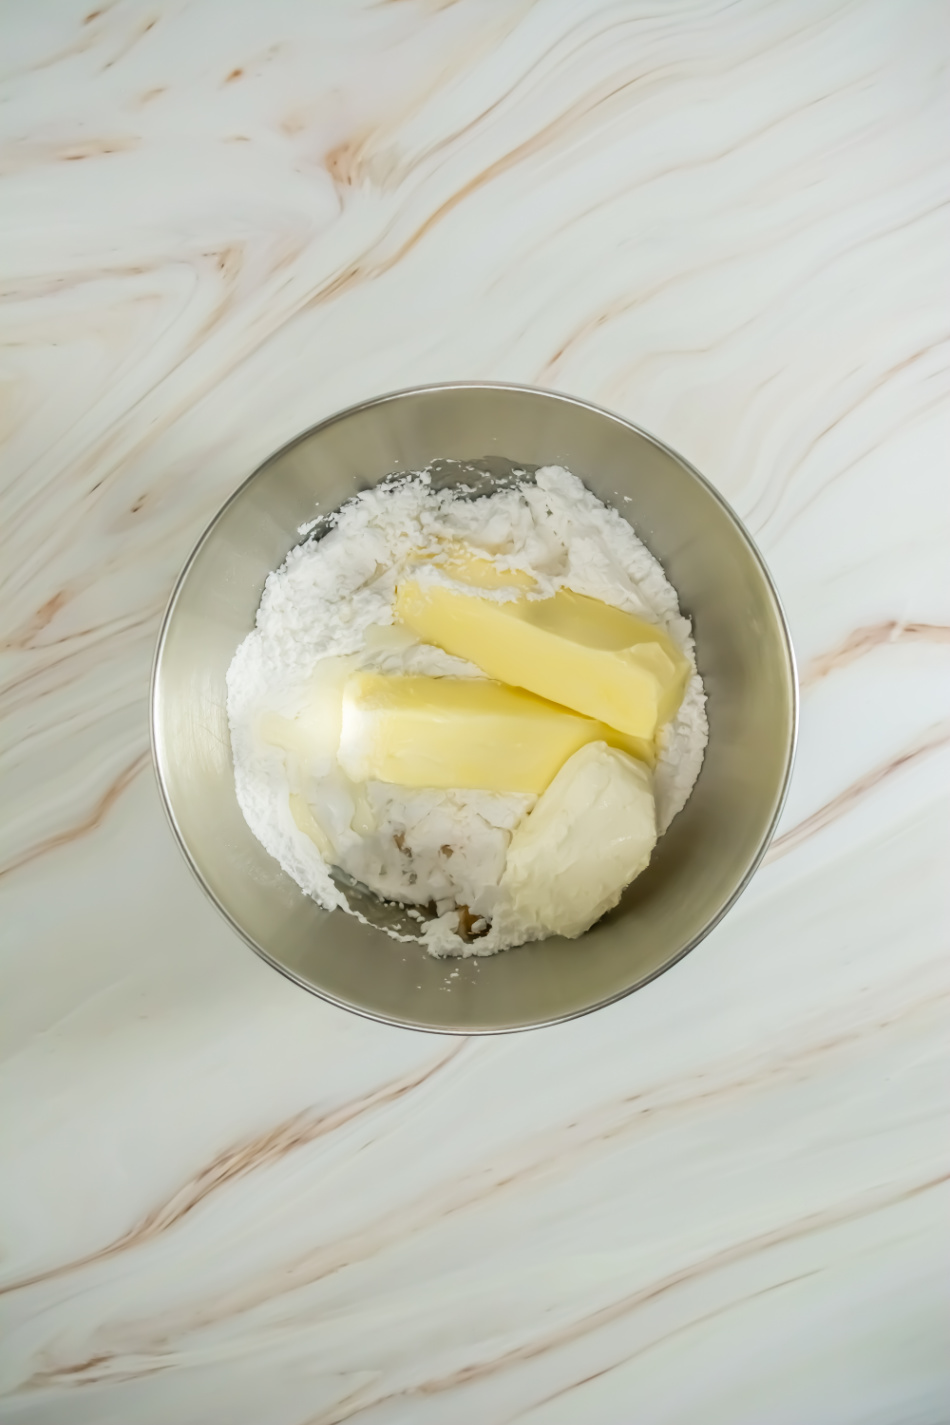
Bump up the speed to medium and mix until the frosting is smooth and fluffy looking. Scrape down the sides often and mix until cohesive.
Transfer the frosting to a piping bag fitted with a large star tip.
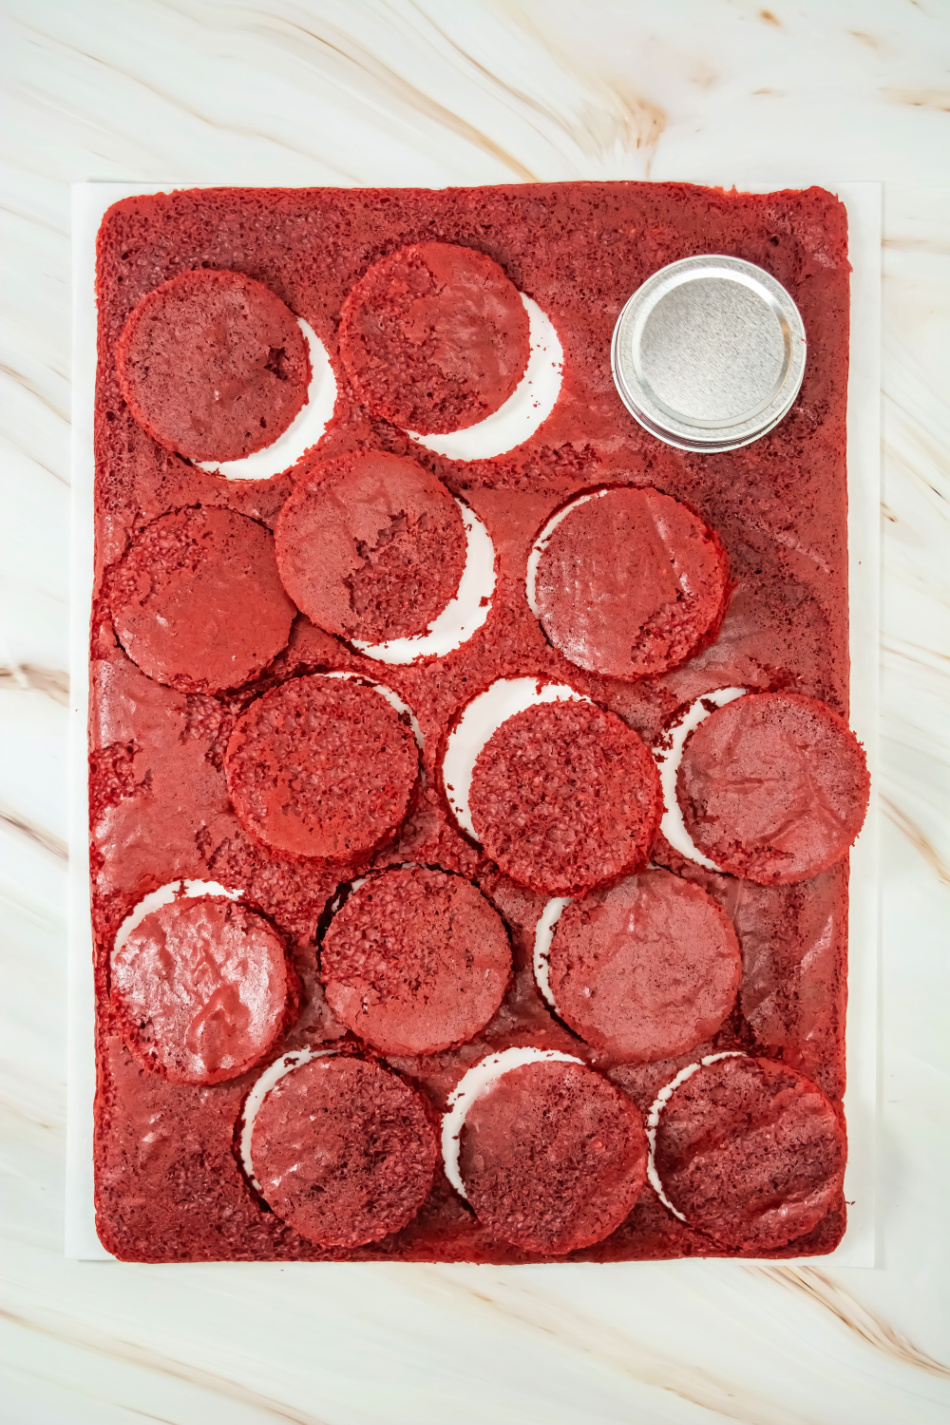
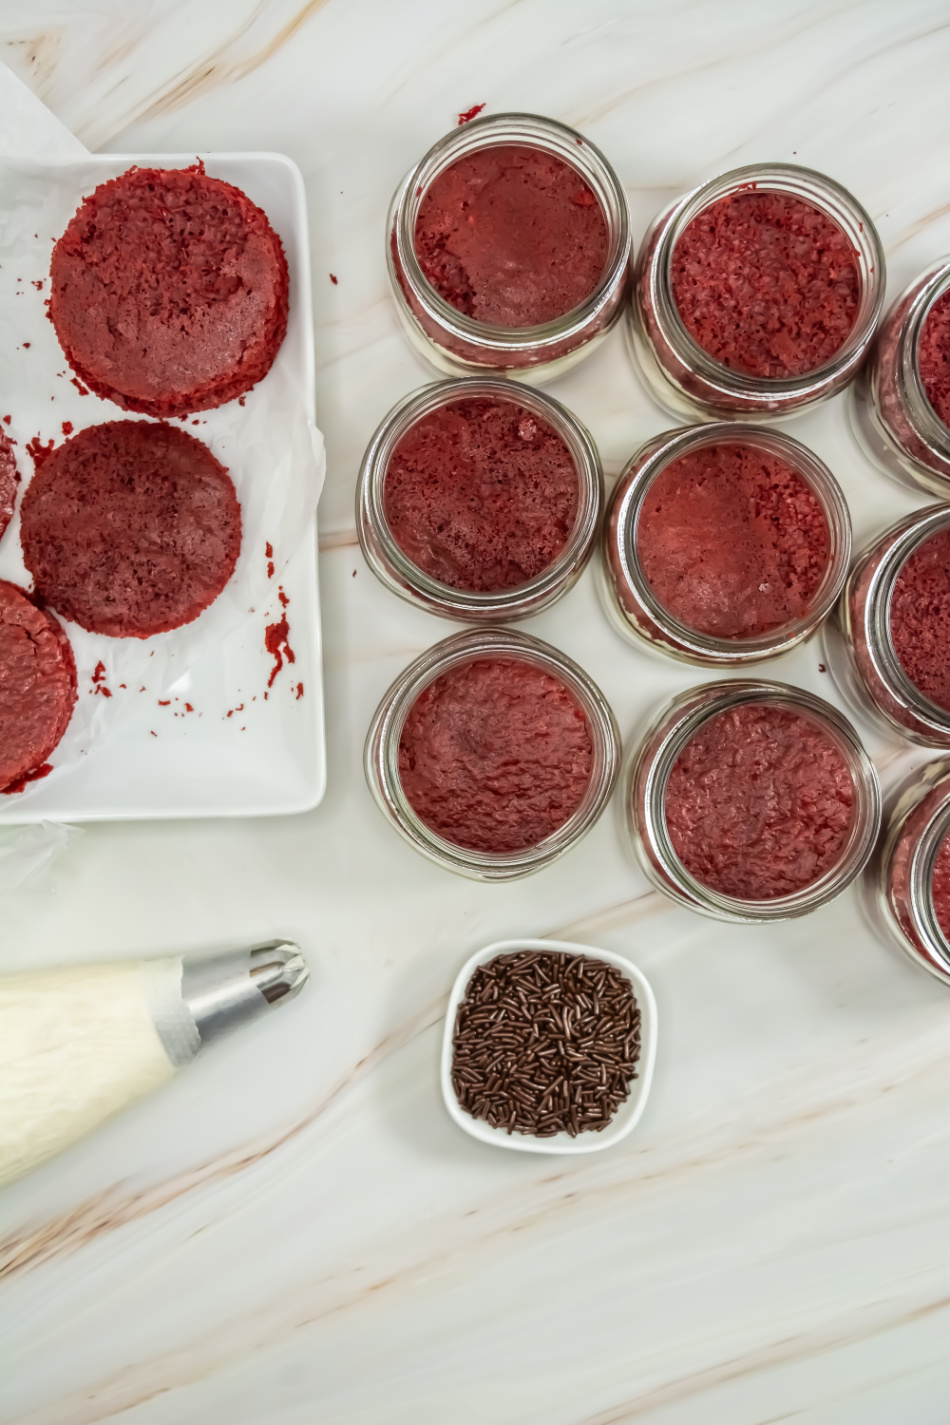
Once the cake is cool, use the lid of your container to cut out the rounds of cake. Try to space them close together to get as many as possible. You should end up with approximately 30-36 rounds, depending on the size of your container lid and the size of your pan. Set them aside.
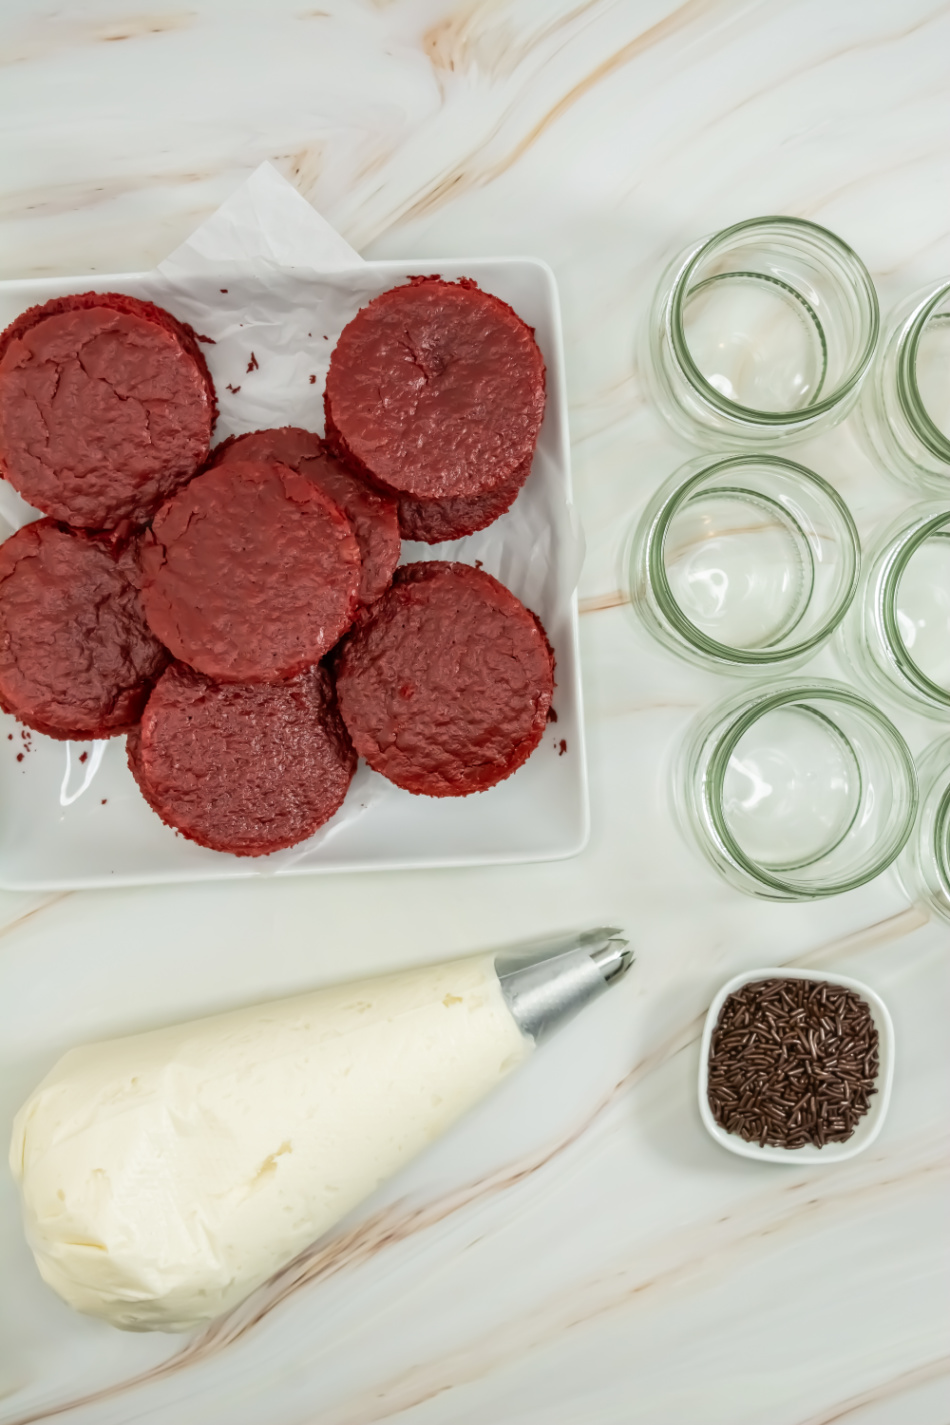
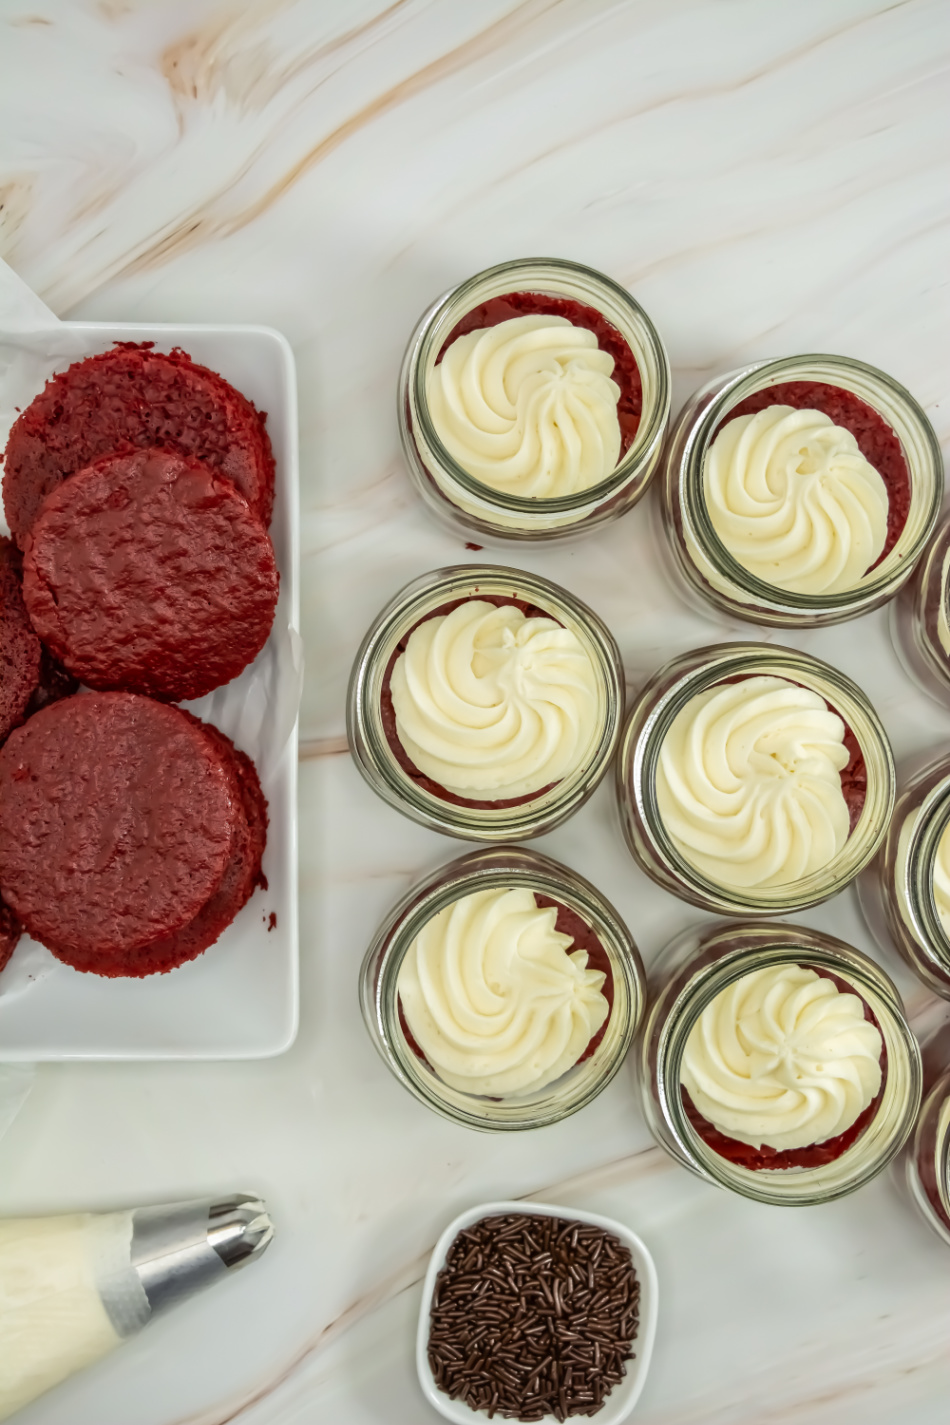
Prepare your workspace with the bagged frosting, cake rounds, sprinkles and the containers with the lids off.
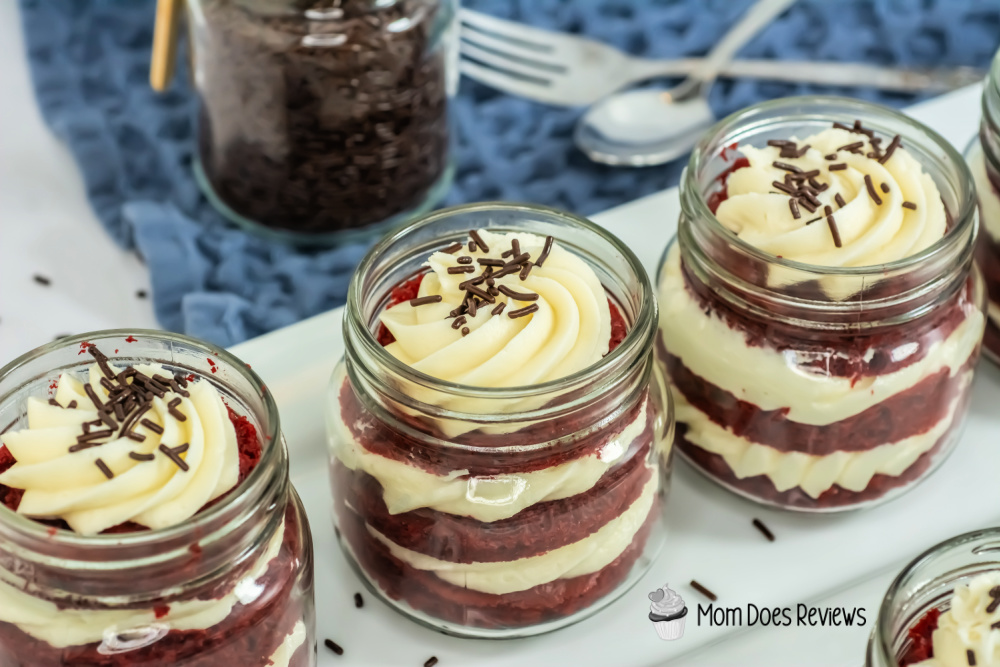
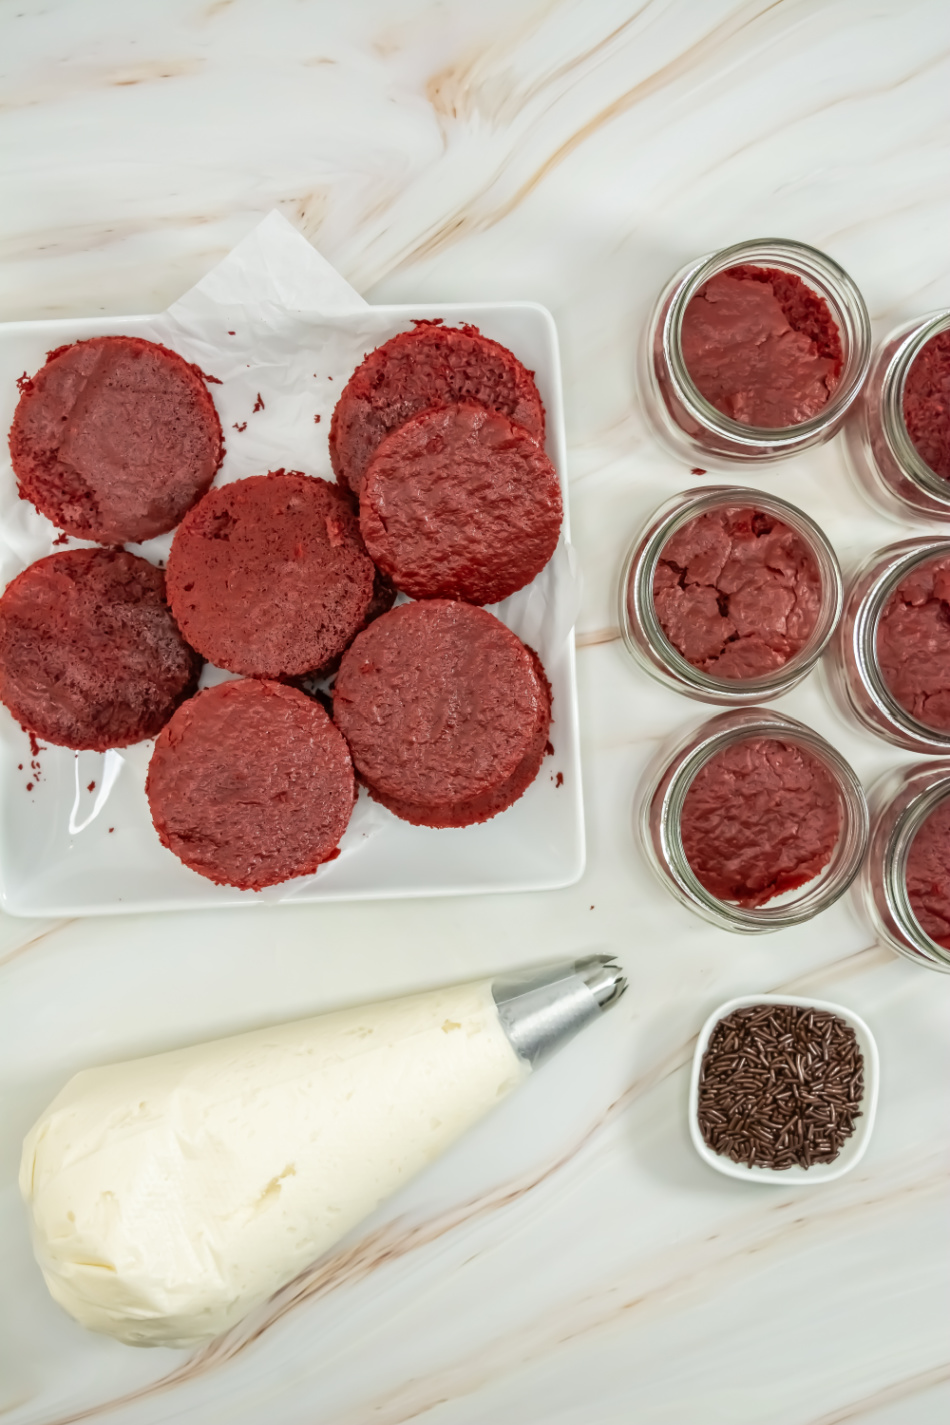
Carefully place one round of cake into the bottom of each jar. You may need to fold in half to fit through the opening but we know it will fit once inside because we used the lid to cut it just right.
Follow up with a small dollop of frosting.
Repeat with another layer of cake and dollop of frosting.
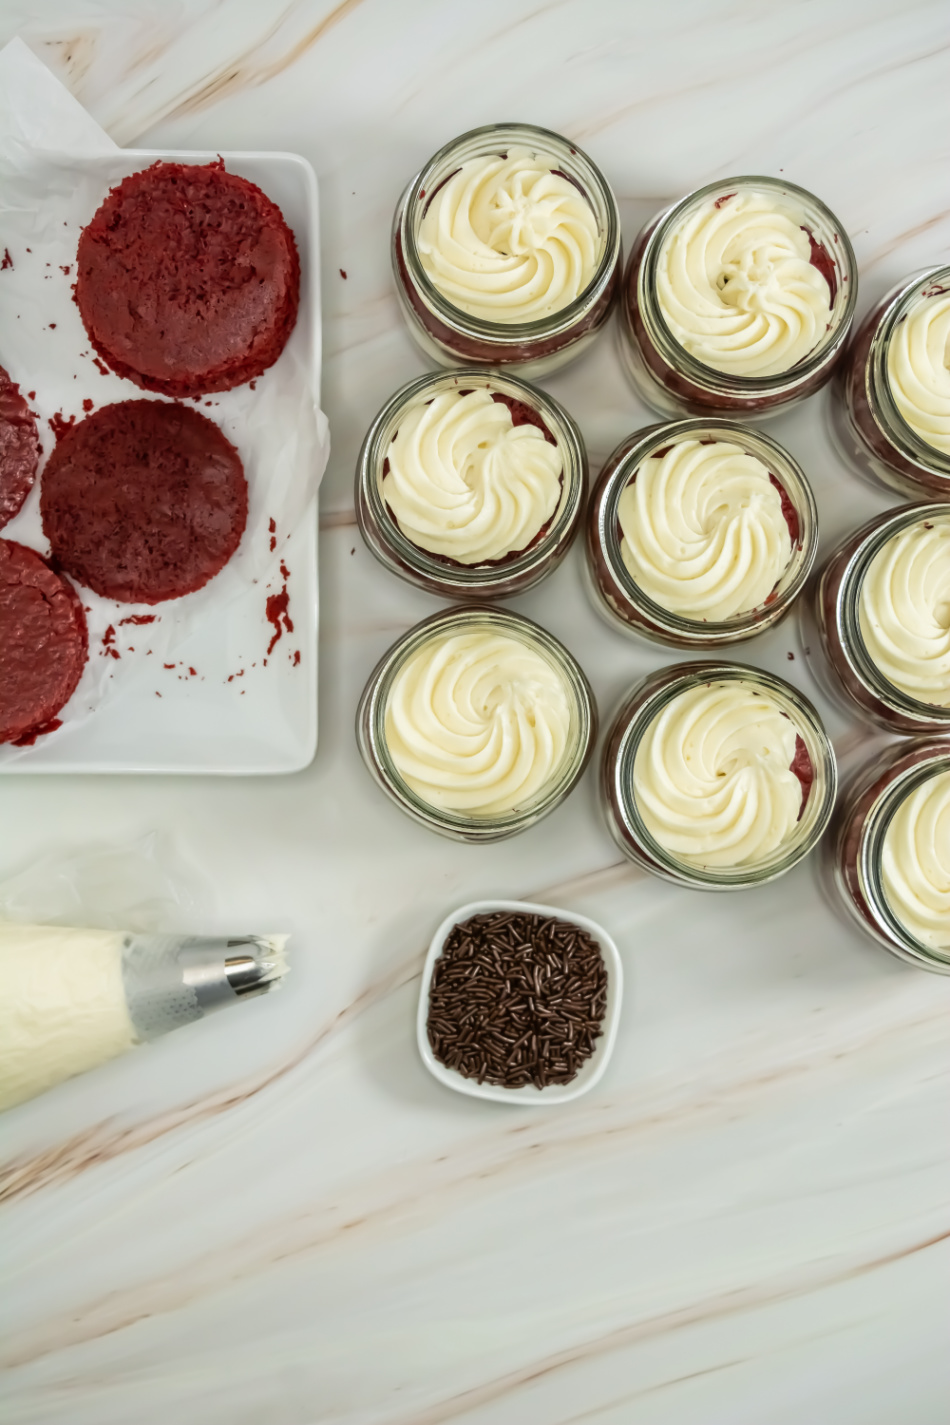
Repeat with another layer of cake and a dollop of frosting, this time decorate with the sprinkles.
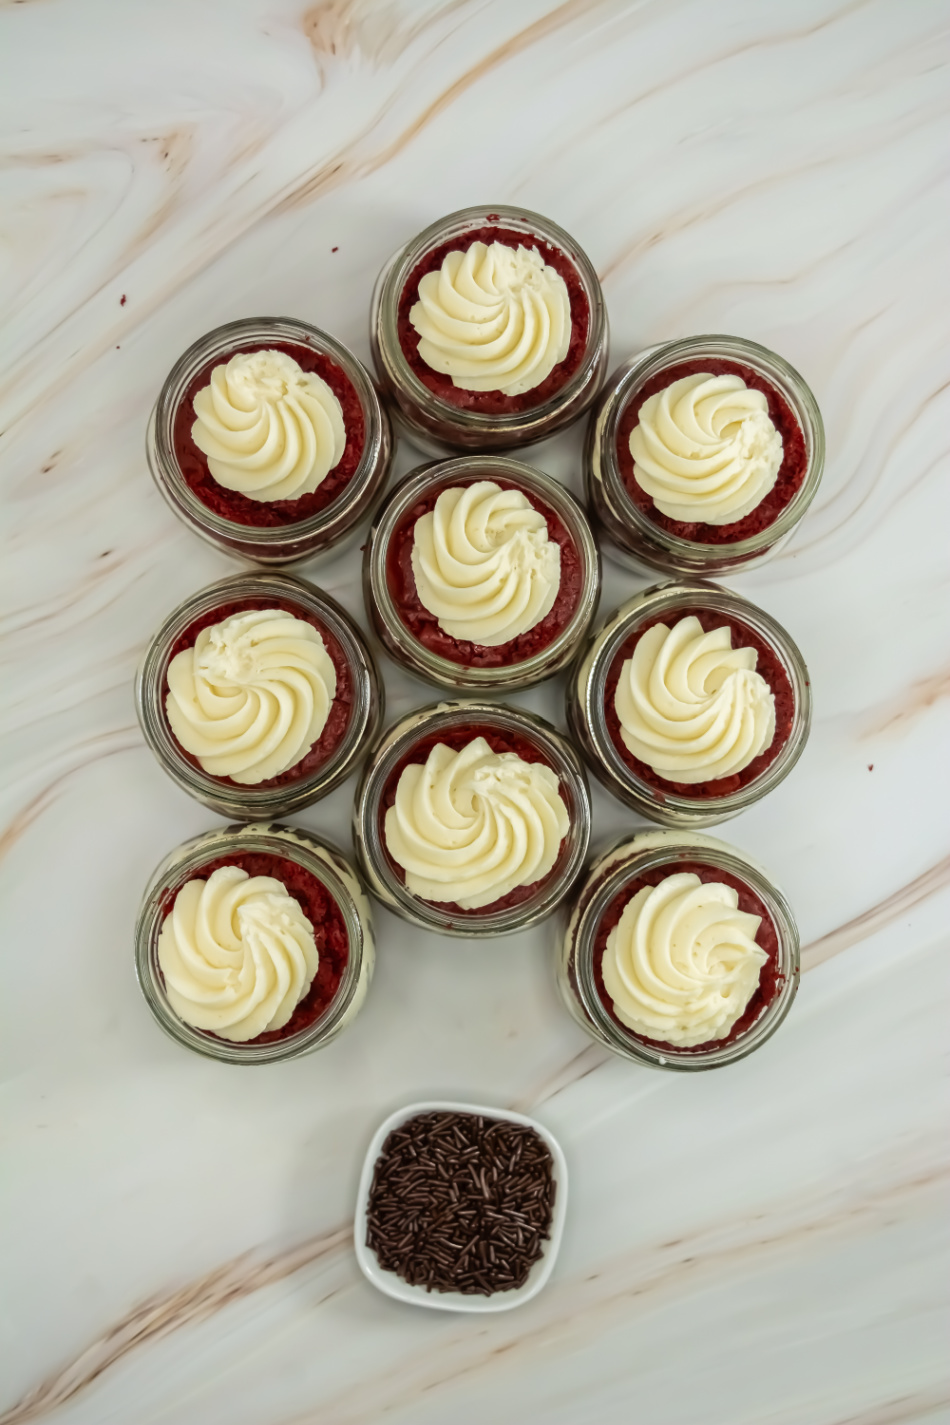
Close the lid for storage. Attach a ribbon or twine and a serving spoon for a nice gift presentation.

Delicious, neat and easy to serve—Red Velvet Cake in a Jar is one of the most fun ways to enjoy a layered cake! So ditch the cake pan and embrace the cuteness and convenience of Red Velvet Cake in a Jar. It’s the perfect way to enjoy a delicious and portable dessert anytime the craving strikes!
- Can I use store-bought frosting? Absolutely! To save time, feel free to use your favorite store-bought cream cheese frosting.
- How long do they last? Stored in the refrigerator, these cake jars can last up to 5 days. They can be frozen for 3 months.
- Gift-giving tip: Decorate the jar with a festive ribbon or tag for a personalized touch!
Print the Recipe:

Red Velvet Cake in a Jar
Red Velvet Cake in a Jar- it's like a parfait of cake and homemade cream cheese frosting! Cake in a Jar or Mason Jar Cakes are a fun, portable, and customizable dessert, perfect for gifts, parties, and holidays!
Ingredients
- For the cake -
- Red Velvet box cake mix
- 1 c water
- 3 eggs
- ½ c oil
- For the frosting -
- 1 c unsalted butter, softened
- 2 oz cream cheese (optional)
- 4 c powdered sugar
- 1 t salt
- 1 t vanilla
- 2 T heavy cream
- Sprinkles to decorate
Instructions
- Preheat the oven to 350 degrees. Line two jelly roll pans with sides about 11x17 in size with foil or parchment. Spray with a light layer of non-stick spray and set aside.
- In the bowl of a stand mixer, combine the red velvet cake mix, water, eggs and oil. Mix until thoroughly combined - stopping the machine and scraping the sides often.
- Pour approximately half of the batter into each of the prepared baking sheets. Use a spatula to help spread the batter into the corners and as even as possible.
- Bake in the preheated oven for 10 minutes. The edges should be set and the center no longer glossy. Remove from the oven and allow to cool completely.
- For the frosting, combine the softened butter, cream cheese (if using), powdered sugar, salt, vanilla, and heavy cream in the bowl of a stand mixer. Mix on low speed until combined.
- Bump up the speed to medium and mix until the frosting looks smooth and fluffy. Scrape down the sides often and mix until cohesive.
- Transfer the frosting to a piping bag fitted with a large star tip.
- Once the cake is cool, use the lid of your container to cut out the rounds of cake. Try to space them close together to get as many as possible. You should end up with approximately 30-36 rounds, depending on the size of your container lid and the size of your pan. Set them aside.
- Prepare your workspace with the bagged frosting, cake rounds, sprinkles and the containers with the lids off.
- Carefully place one round of cake into the bottom of each jar. You may need to fold in half to fit through the opening but we know it will fit once inside because we used the lid to cut it just right.
- Follow up with a small dollop of frosting.
- Repeat with another layer of cake and dollop of frosting.
- Repeat with another layer of cake and a dollop of frosting, this time decorate with the sprinkles.
- Close the lid for storage. Attach a ribbon or twine and a serving spoon for a nice gift presentation.
Notes
Storage: Cake jars can be stored in the fridge for up to one week or frozen for 3 months.
Pin it for Later!
