
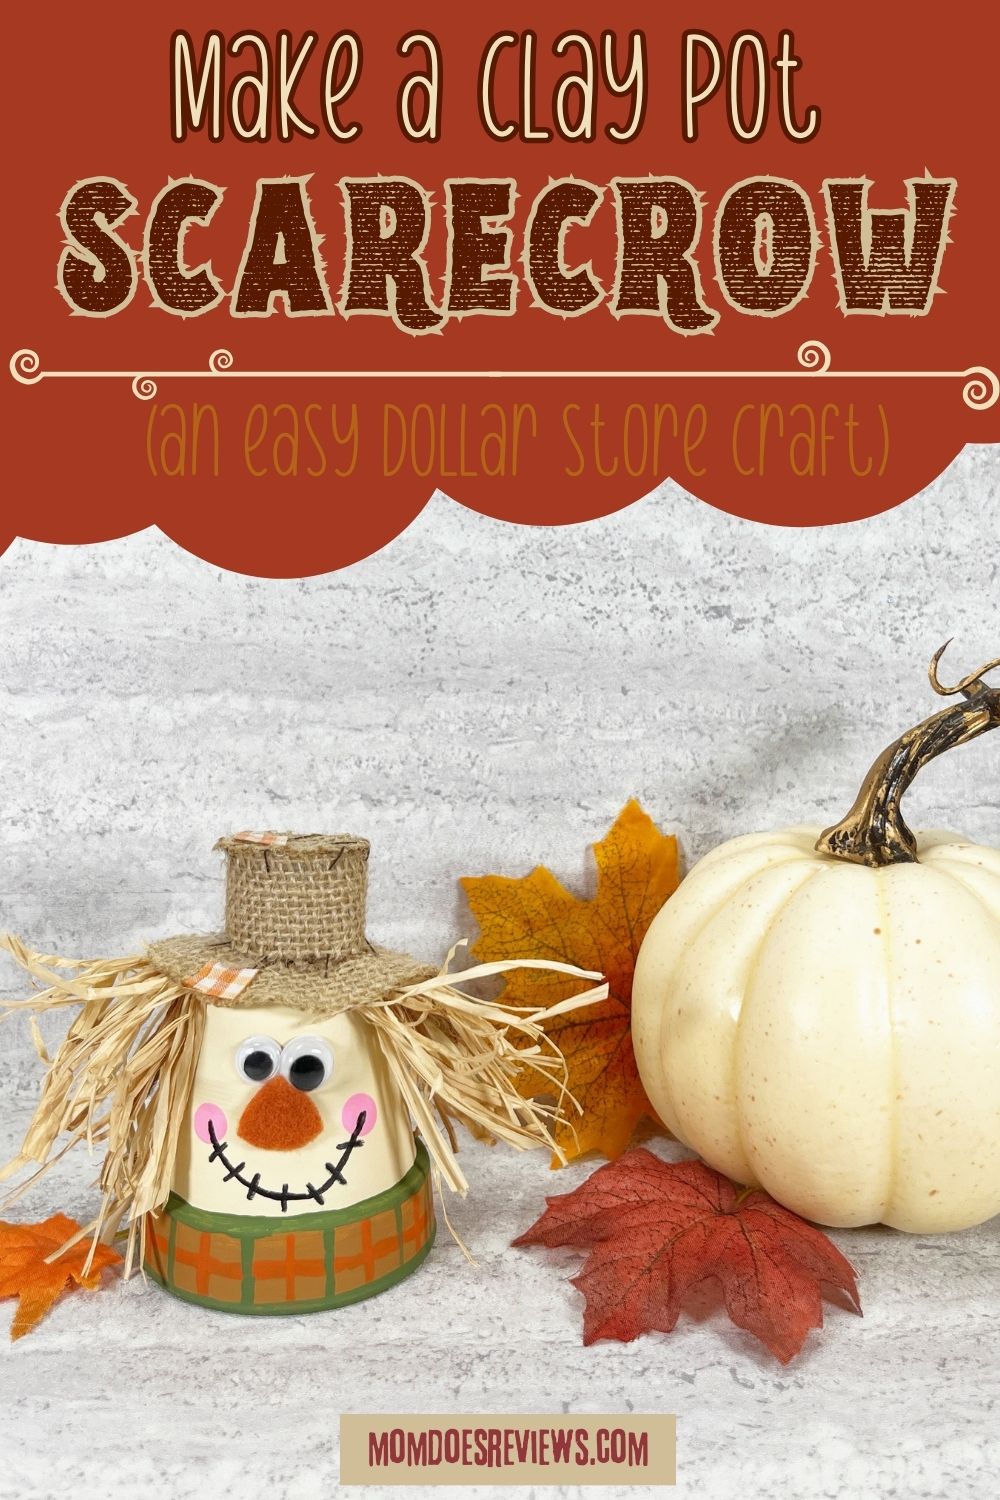
Turn a simple Dollar Store clay pot and mini hat with paint and wiggle eyes into the most adorable Scarecrow craft, perfect for Autumn! Are you ready to dive into a seriously adorable and ridiculously fun DIY project? You’ll love this craft: a simple Dollar Store clay pot and a teeny mini hat team up with a splash of paint and some quirky wiggle eyes, and ta-da! You’ve got yourself the cutest Clay Pot Scarecrow craft that’s practically begging for a spot in your autumn decor lineup.
Let’s talk about the sheer joy of this craft. First off, it’s like a double dose of creativity and cuteness. Grab a plain clay pot from your local Dollar Store – you know, the kind that’s just waiting for its moment to shine.
Add a mini hat that’s so small it’s practically screaming for attention. Now, let the magic begin. Pick your favorite autumn hues of paint – oranges, yellows, browns – and give that pot a whole new life. A fresh coat of paint turns it into the body of your scarecrow, and it’s instantly ready to rock the fall vibes.
But wait, there’s more! The real charm kicks in when you introduce those wiggle eyes. Seriously, whoever invented these wobbly wonders deserves a round of applause. Glue on a pair, and suddenly, your clay pot is alive!
It’s like your scarecrow has a personality, and you can almost see it wink at you. Go ahead, give it a little wave – I promise it won’t wave back, but it’ll definitely bring a smile to your face.
This scarecrow craft isn’t just an autumn decoration; it’s a testament to the pure joy of getting crafty and making something uniquely, well, you. Happy crafting! 🍂🎨
So gather your supplies, clear a little space on your crafting table, and let your inner artist run wild.

More fun Crafts for Fall:
You will love making this cute Dollar Store Clothespin Pumpkin Wreath Craft! It is super easy to make following the step-by-step instructions, takes about 30 minutes, and just as the name implies, is inexpensive to make as the supplies come from the Dollar store!
Transform a trio of Dollar Store neon orange foam pumpkins into colorful and whimsical Halloween decorations with some simple art supplies! Keep the kids busy this season with this fun Dollar Store Pumpkin Craft!
The kids will love this fun Dollar Store Clothespin Pumpkin Pie Craft! Using simple supplies from the Dollar Store, you can create these quick and easy slices of Clothespin Pumpkin Pie in just about 30 minutes. Check out how cute these Pumpkin Pie Slices are.
Clay Pot Scarecrow Craft Materials:
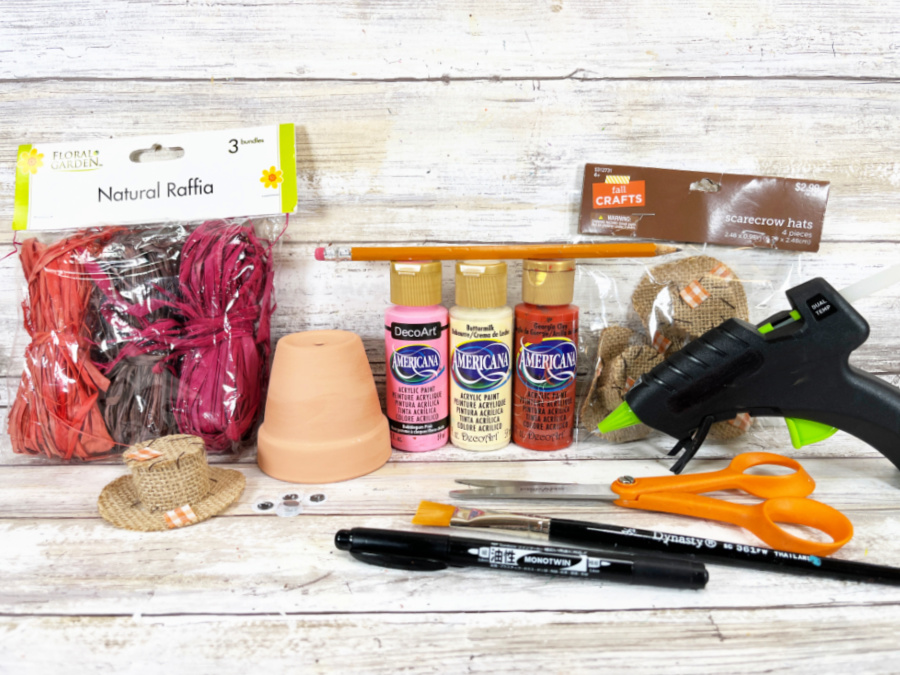
- Clay Pot, 2.5” – Dollar Store
- Mini Burlap Hat – Dollar Store
- Wiggle Eyes – Dollar Store
- Natural Raffia – Dollar Store
- Natural Jute Twine – Dollar Store
- Craft Felt – Pumpkin Spice
- Craft Paint – Off White, Tan, Orange, Green, Pink
- Glue Gun and Glue Sticks – Dollar Store
- Paintbrush – flat and detail
- Scissors
- Pencil with new Eraser
- Permanent Marker, Black
- PATTERN CLAY POT SCARECROW
Clay Pot Scarecrow Craft Instructions:
STEP ONE
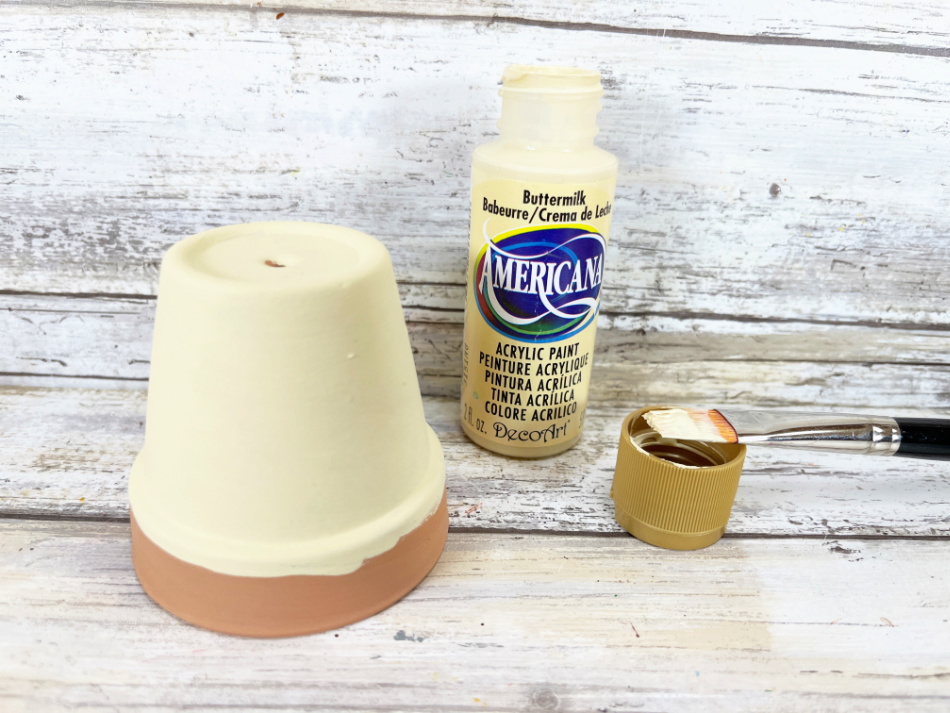
Gather all supplies. Remove the paper tag from the clay pot. Basecoat the base of the clay pot with off-white acrylic craft paint. Let the paint dry and apply a second coat, if necessary.
STEP TWO
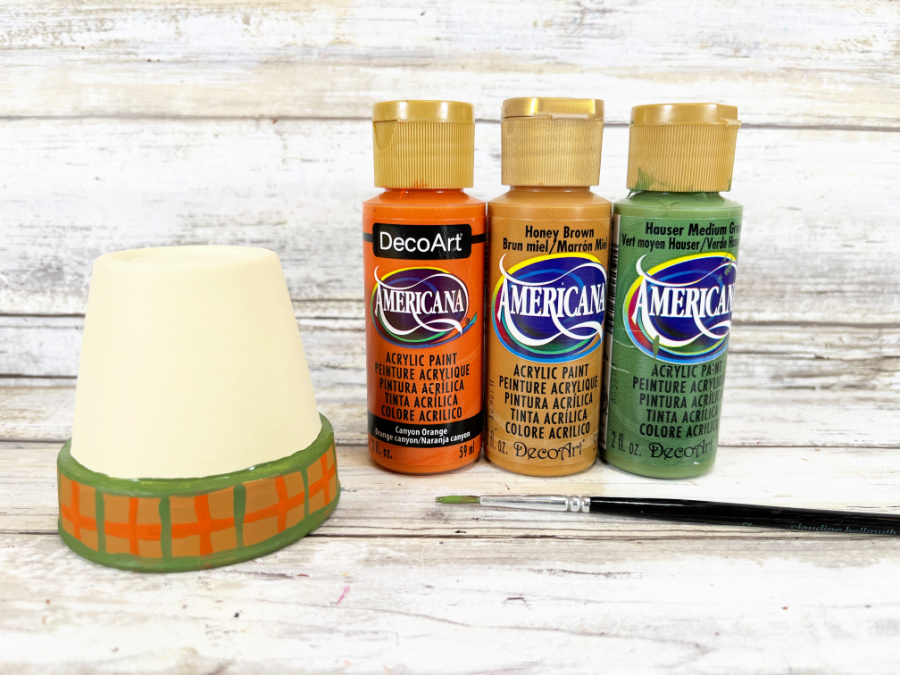
Basecoat the rim of the clay pot with tan acrylic craft paint. Let the paint dry. Using a detail paintbrush, add a horizontal stripe with orange acrylic craft paint, then add orange vertical stripes. Let the paint dry. Add horizontal stripes with green acrylic craft paint, then add green vertical stripes. Let the paint dry.
STEP THREE
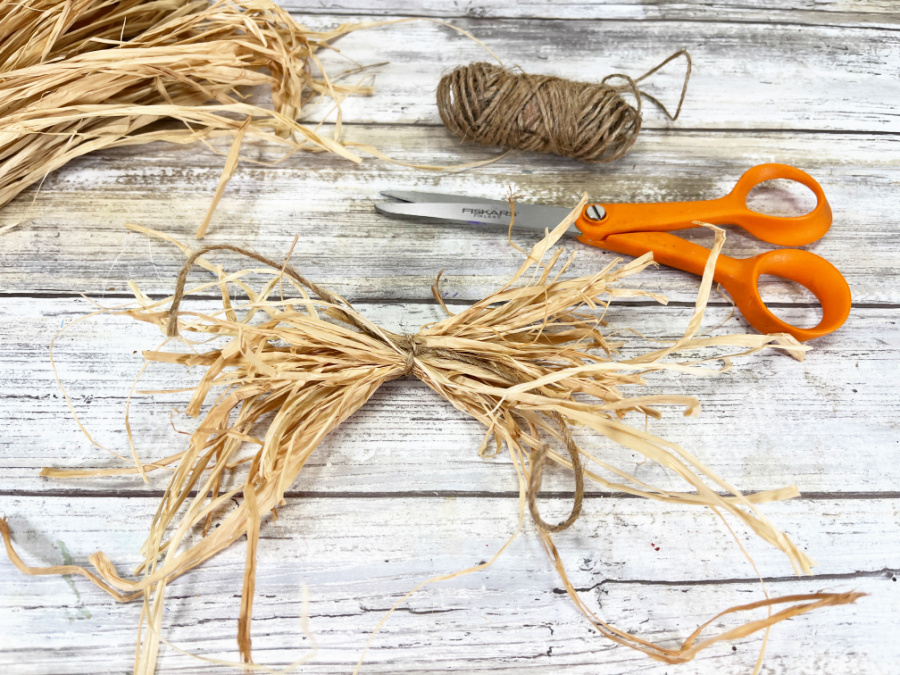
Cut a six-inch section of raffia from the bundle and tie it in the center with a piece of natural jute twine. Securing with a knot.
STEP FOUR
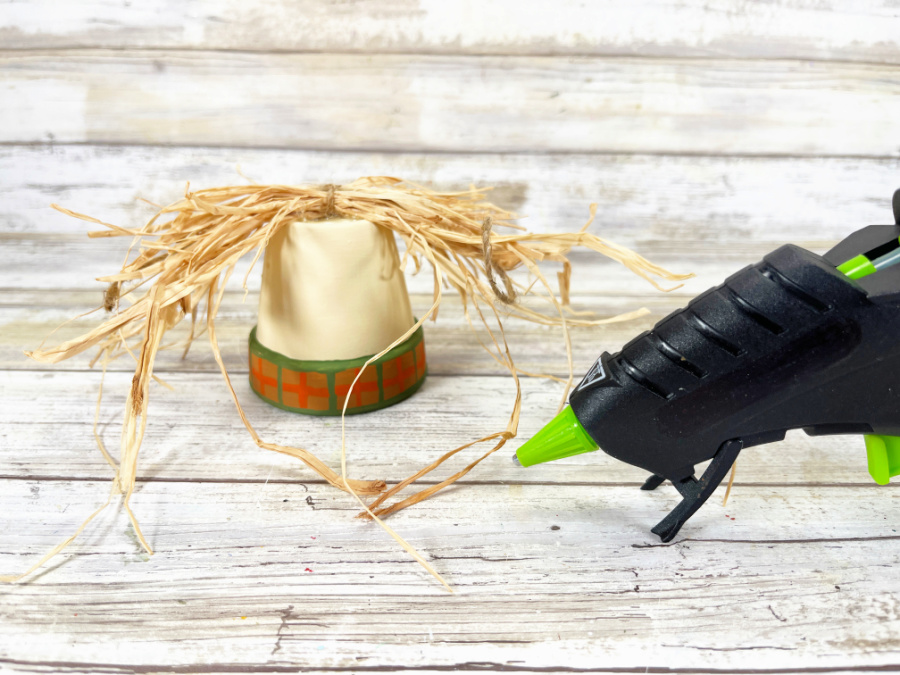
Attach the raffia bundle to the top of the clay pot with a glue gun and glue sticks.

Add additional glue to the sides of the clay pot so the scarecrow’s hair lays flat. Trim any long ends of raffia with scissors.
STEP FIVE

Attach a mini burlap hat on top of the raffia with a glue gun and glue sticks. You can use liquid craft glue for this project, but you will have to wait for it to dry.
STEP SIX
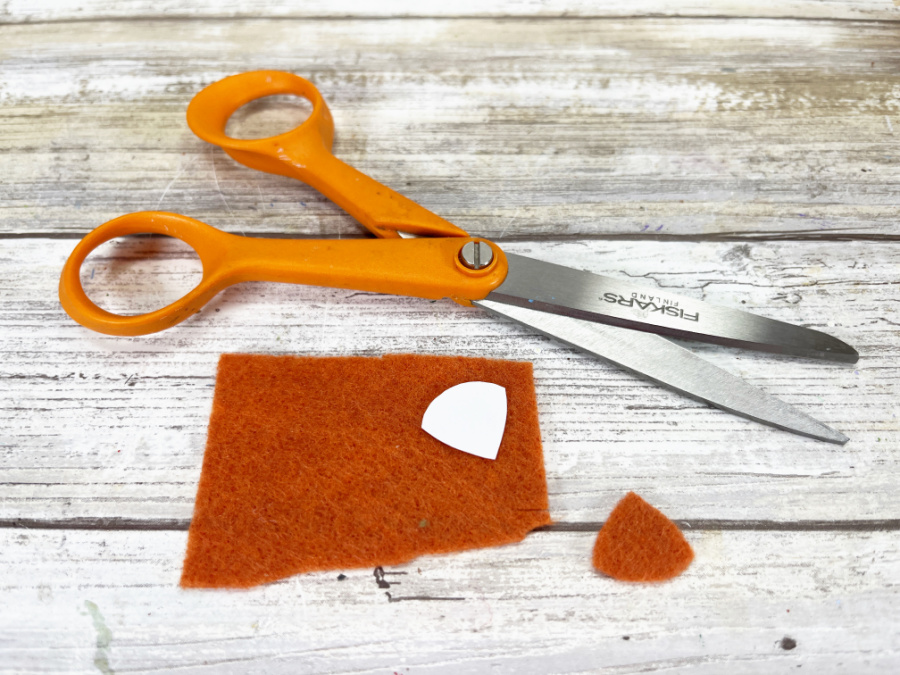
Download, print, and cut out the scarecrow nose pattern. Trace the nose onto pumpkin spice craft felt with a black marker. Cut out the nose with scissors. You could also use craft foam or colored cardstock instead of felt.
STEP SEVEN
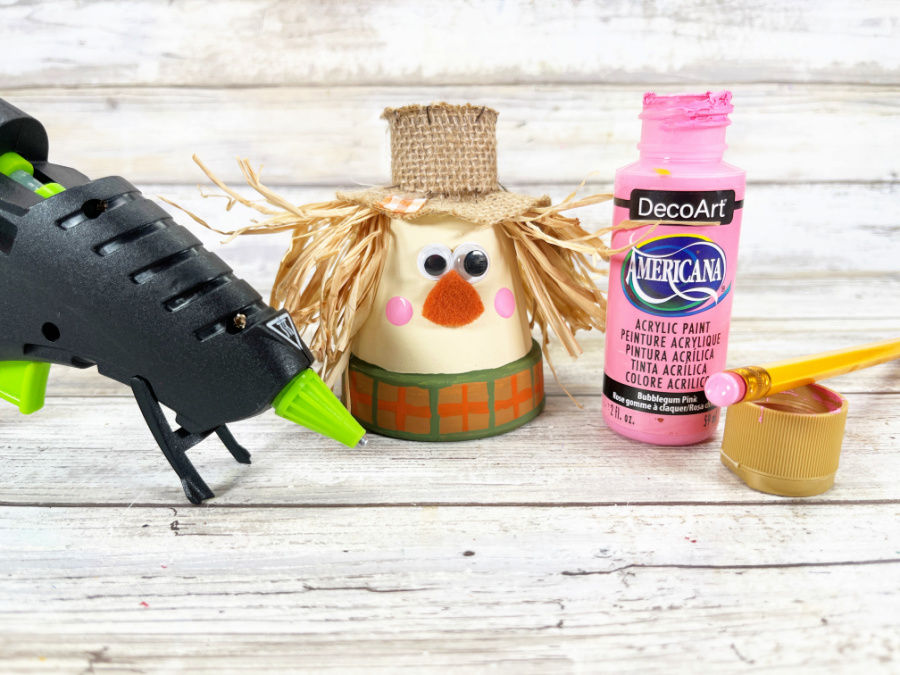
Add a face to the scarecrow by attaching two wiggle eyes with a glue gun and glue sticks. Glue the felt nose directly under the wiggling eyes. Add cheeks by dipping a new pencil eraser in pink acrylic craft paint and dotting it on either side of the face.
STEP EIGHT
Draw a smiling mouth from cheek to cheek with a permanent black marker, then add random stitches.
Use your imagination!
And here’s the cherry on top – this clay pot scarecrow craft isn’t just a blast for us grown-ups; it’s a ticket to imagination town for the kiddos, too! Imagine the giggles and wide-eyed wonder as they dip their paintbrushes into those vibrant fall colors.
The process of turning a plain clay pot into a charming scarecrow is a fantastic lesson in creativity and resourcefulness. It’s like a mini art adventure right at the kitchen table. And those wiggle eyes? Oh boy, kids go crazy for them! Watching those eyes dance and wobble as they glue them onto their scarecrow – it’s like they’re witnessing a little burst of magic right before their eyes.
Plus, letting them choose the colors, decide on the facial expressions, and maybe even fashion a funky hat is like giving them a license to create their very own fall friend. So, this craft transforms humble materials into an autumn delight and wraps it all up in a neat package of entertainment and skill-building for the young crafters in your life.
Print the Tutorial:

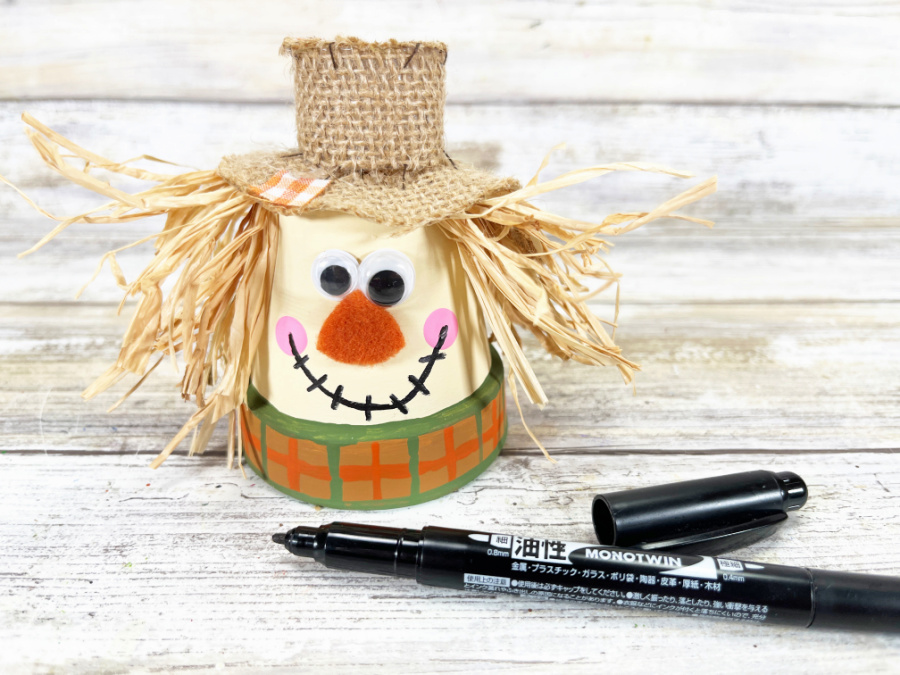
Dollar Store Clay Pot Scarecrow Craft
A simple Dollar Store clay pot and mini hat transform with paint and wiggle eyes into the most adorable Scarecrow craft perfect for Autumn!
Materials
- Clay Pot, 2.5” – Dollar Store
- Mini Burlap Hat – Dollar Store
- Wiggle Eyes – Dollar Store
- Natural Raffia – Dollar Store
- Natural Jute Twine – Dollar Store
- Craft Felt – Pumpkin Spice
- Craft Paint – Off White, Tan, Orange, Green, Pink
Tools
- Glue Gun and Glue Sticks – Dollar Store
- Paintbrush – flat and detail
- Scissors
- Pencil with new Eraser
- Permanent Marker, Black
- PATTERN CLAY POT SCARECROW
Instructions
STEP ONE
Gather all supplies. Remove the paper tag from the clay pot. Basecoat the base of the clay pot with off-white acrylic craft paint. Let the paint dry and apply a second coat, if necessary.
STEP TWO
Basecoat the rim of the clay pot with tan acrylic craft paint. Let the paint dry. Using a detail paintbrush, add a horizontal stripe with orange acrylic craft paint, then add orange vertical stripes. Let the paint dry. Add horizontal stripes with green acrylic craft paint, then add green vertical stripes. Let the paint dry.
STEP THREE
Cut a six-inch section of raffia from the bundle and tie it in the center with a piece of natural jute twine. Securing with a knot.
STEP FOUR
Attach the raffia bundle to the top of the clay pot with a glue gun and glue sticks. Add additional glue to the sides of the clay pot so the scarecrow’s hair lays flat. Trim any long ends of raffia with scissors.
STEP FIVE
Attach a mini burlap hat on top of the raffia with a glue gun and glue sticks. You can use liquid craft glue for this project, but you will have to wait for it to dry.
STEP SIX
Download, print, and cut out the scarecrow nose pattern. Trace the nose onto pumpkin spice craft felt with a black marker. Cut out the nose with scissors. You could also use craft foam or colored cardstock instead of felt.
STEP SEVEN
Add a face to the scarecrow by attaching two wiggle eyes with a glue gun and glue sticks. Glue the felt nose directly under the wiggling eyes. Add cheeks by dipping a new pencil eraser in pink acrylic craft paint and dotting it on either side of the face.
STEP EIGHT
Draw a smiling mouth from cheek to cheek with a permanent black marker, then add random stitches.
Pin for Later!
