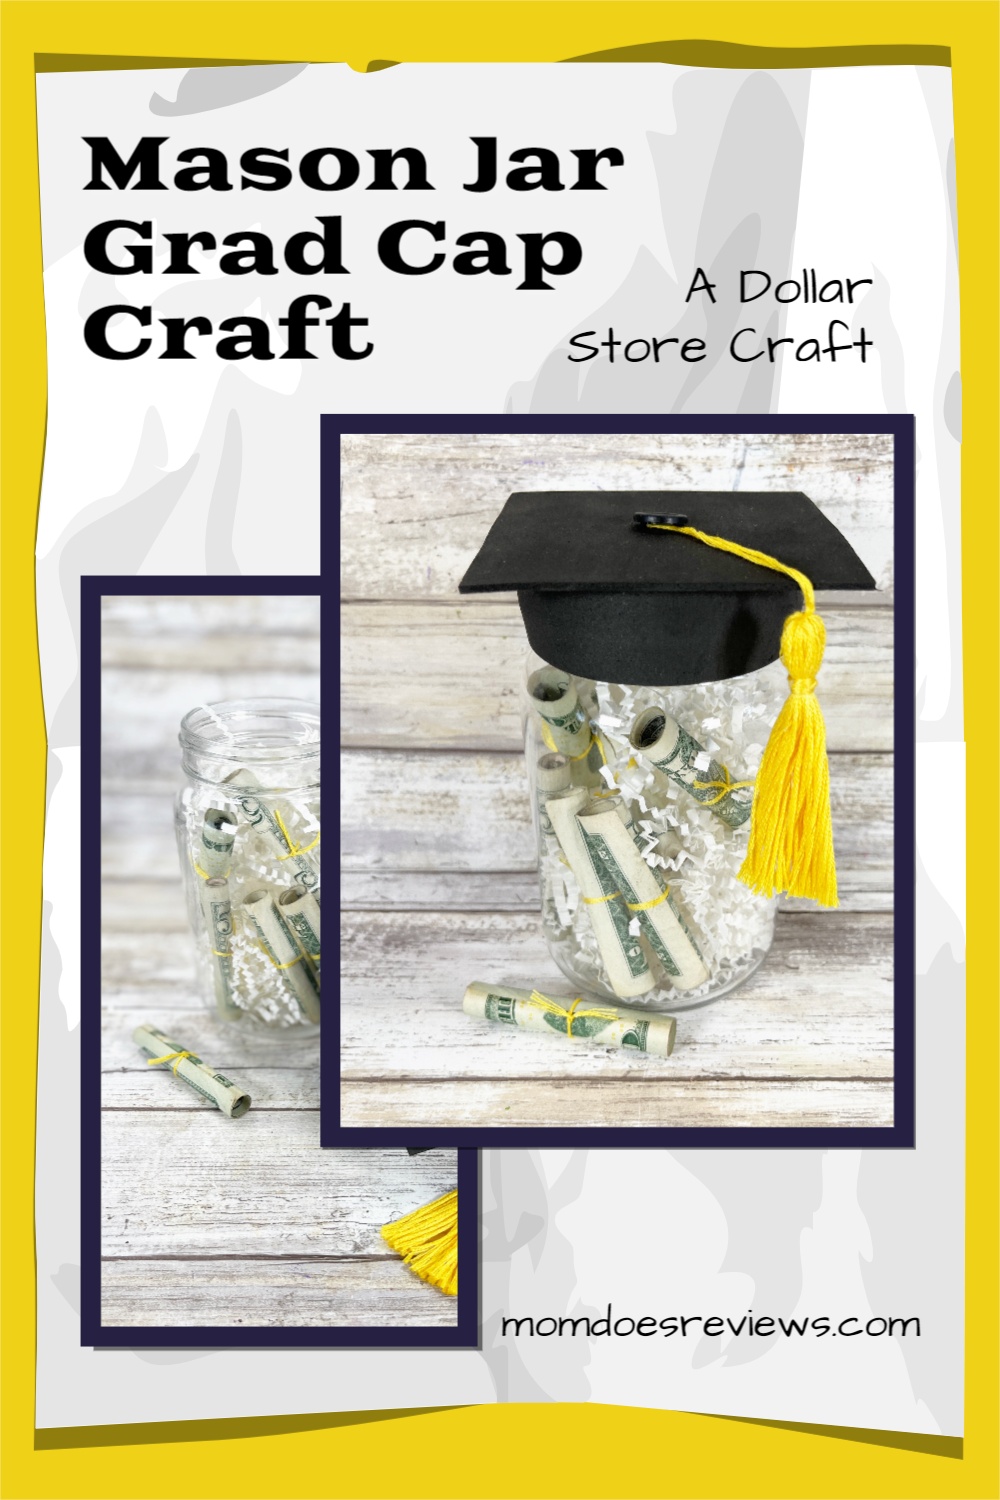
Using simple supplies from the Dollar Store, create this quick and easy Mason Jar Grad Cap craft in just 30 minutes. Not only can it be a keepsake, but it is filled with money and we all know that money is a grad’s favorite gift! Keep reading to find out how to make your own Dollar Store Mason Jar Grad Cap Craft.

Need more ideas for DIY Grad Gifts?
- \Want to give your grad a gift that screams ‘adulting’ louder than their newfound independence? Get creative and hide a few crisp dollar bills in a ‘DIY Money Bouquet’—the perfect blend of practicality and plant envy!
- Who says money can’t grow on trees? Surprise your graduate with a ‘DIY Money Tree,’ where every leaf is a crisp dollar bill. It’s like Mother Nature saying, ‘Congratulations, now go buy your own snacks!’
- Worried your grad will blow their cash faster than you can say ‘diploma’? Give them a ‘DIY Money Jar’—a carefully crafted masterpiece where every coin and bill is tightly sealed, guarded by a pack of ferocious tape dispensers. Financial responsibility just got adorable!
- Skip the traditional card and create a ‘DIY Money Maze’ for your grad. Just imagine the look on their face as they navigate through the complex labyrinth of folded bills, screaming, ‘I earned it… but I also worked for it!
- Level up your gift game with a ‘DIY Money Puzzle Box.’ It’s the ultimate test of your grad’s intelligence and fine motor skills as they strive to unlock the treasure trove of cash. Who needs a diploma when you can solve a puzzle and pay your student loans in one go?
Materials your need for a Mason Jar Grad Cap Craft:
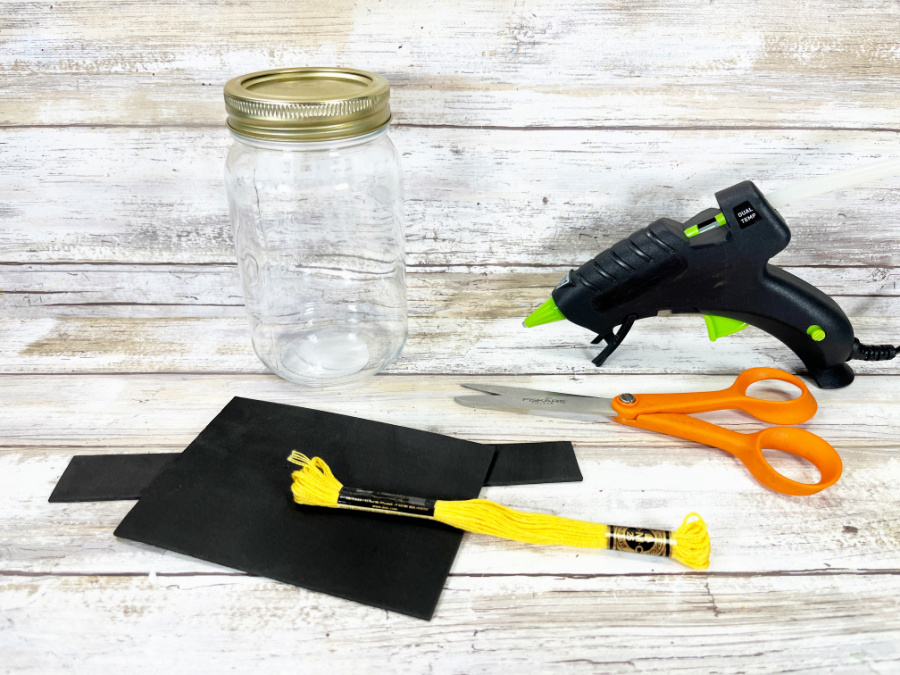
- Mason Jar, Pint – Dollar Store
- Craft Foam, Black – Dollar Store
- Embroidery Floss Skein – Yellow
- Button, Black – Dollar Store
- Glue Gun and Glue Sticks – Dollar Store
- Scissors
- Ruler
- Pencil
- Paper Shred, White – Dollar Store
- Pattern to cut out shapes
Graduation is a time to celebrate one’s academic accomplishments. For many people, it is also a time to celebrate their transition into the next phase of their lives. The majority of families and graduates often plan a party to help recognize this momentous occasion.
If you are planning a graduation party, there are a few things you will need to do in order to make sure the party goes off without a hitch. Read the article to find out more!

Mason Jar Grad Cap Craft Instructions:
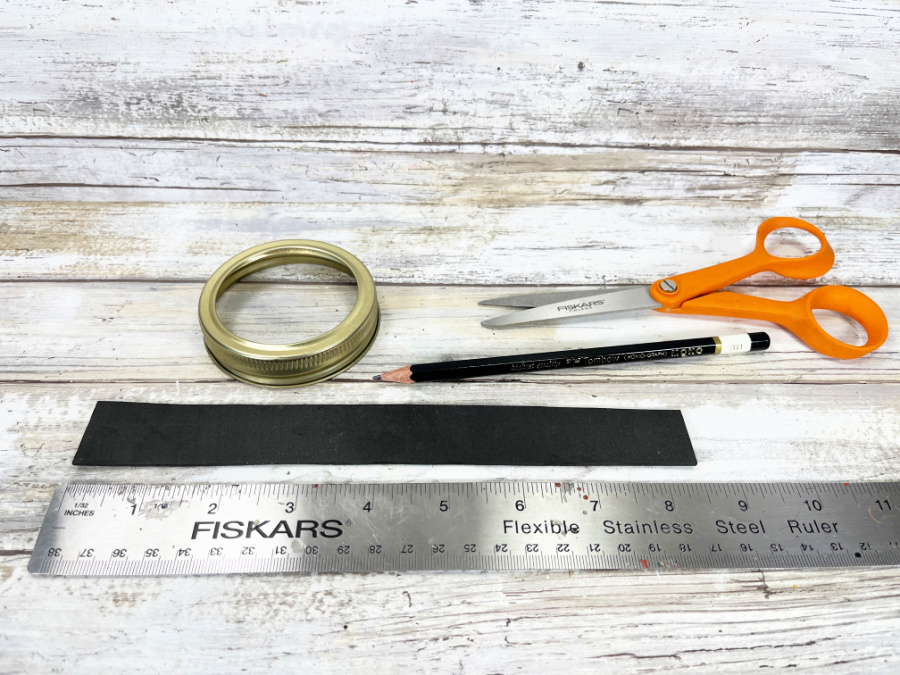
STEP ONE
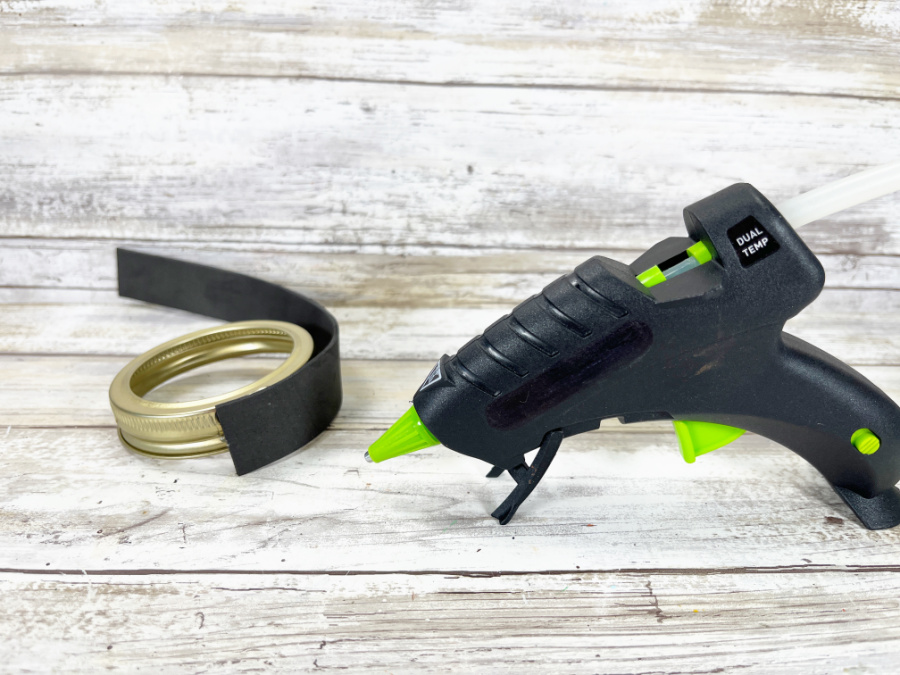
Gather all supplies. Remove the labels and packaging from the supplies. Using a ruler and scissors, measure a rectangle of black craft foam .75 inches wide by 9 inches long. Cut out with scissors.
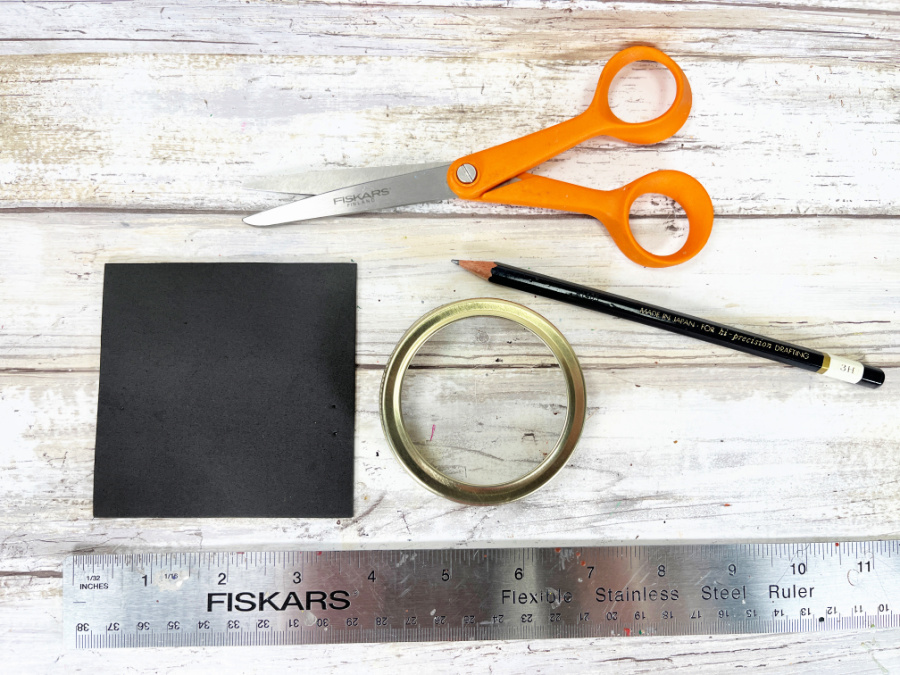
STEP TWO
Measure a square of black craft foam that is 3.75 inches by 3.75 inches. Cut out the black craft foam square with scissors.
STEP THREE
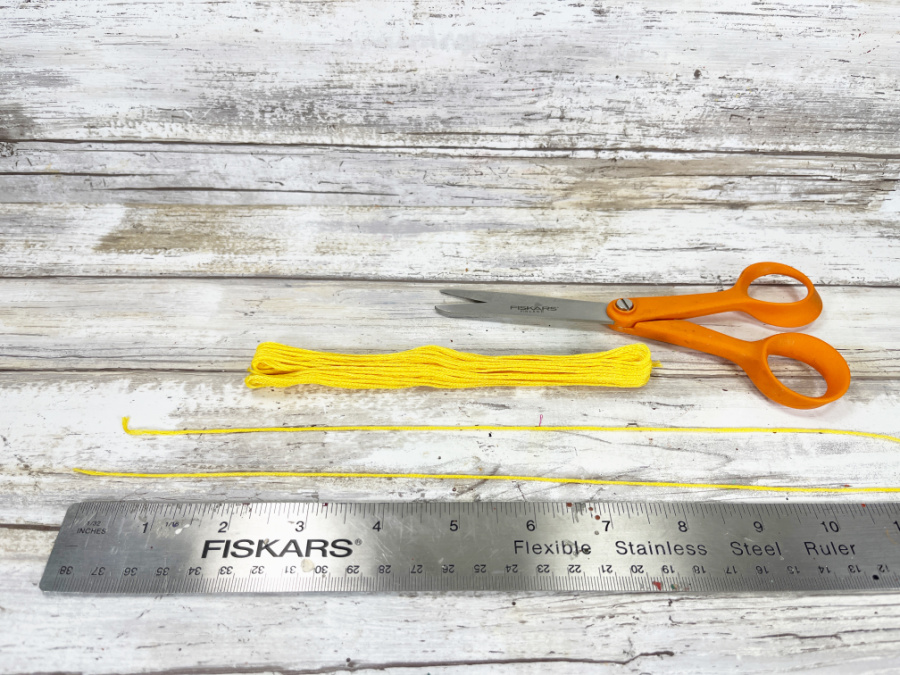
Remove the labels from the embroidery floss skein, then measure and cut four lengths that are 12 inches each. Open the middle of the skein of floss. Tie and knot one of the embroidery floss lengths through and around each of the loops at the ends of the skein.
STEP FOUR
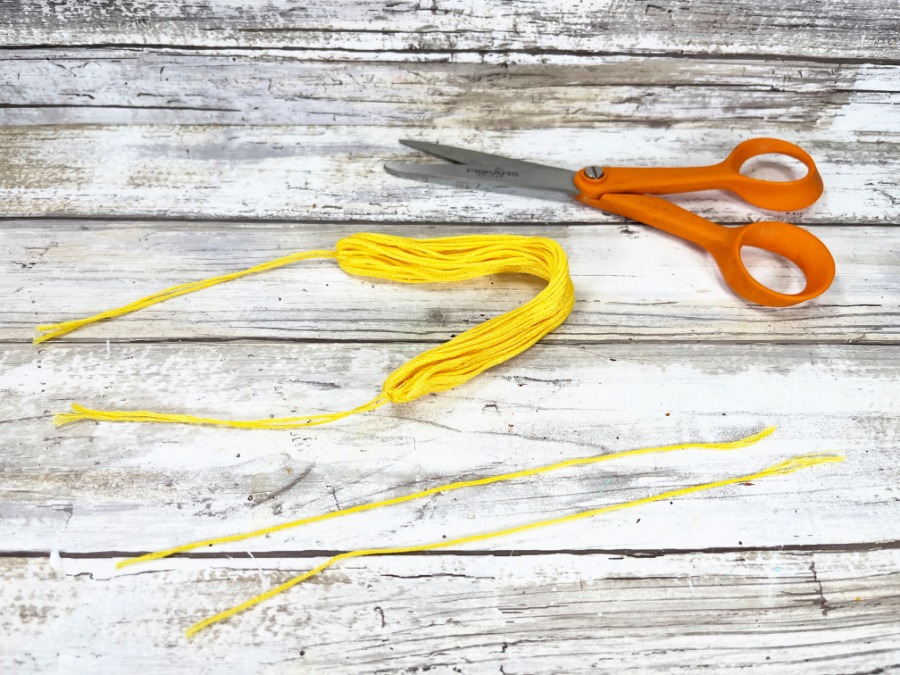
Approximately .75 inches down from the top knot, tie one length of embroidery floss around the skein, securing with a knot. Wrap each end around the skein three times. Wrap one to the left and one to the right. Secure again with a knot. Repeat on the opposite end of the skein.

STEP FIVE
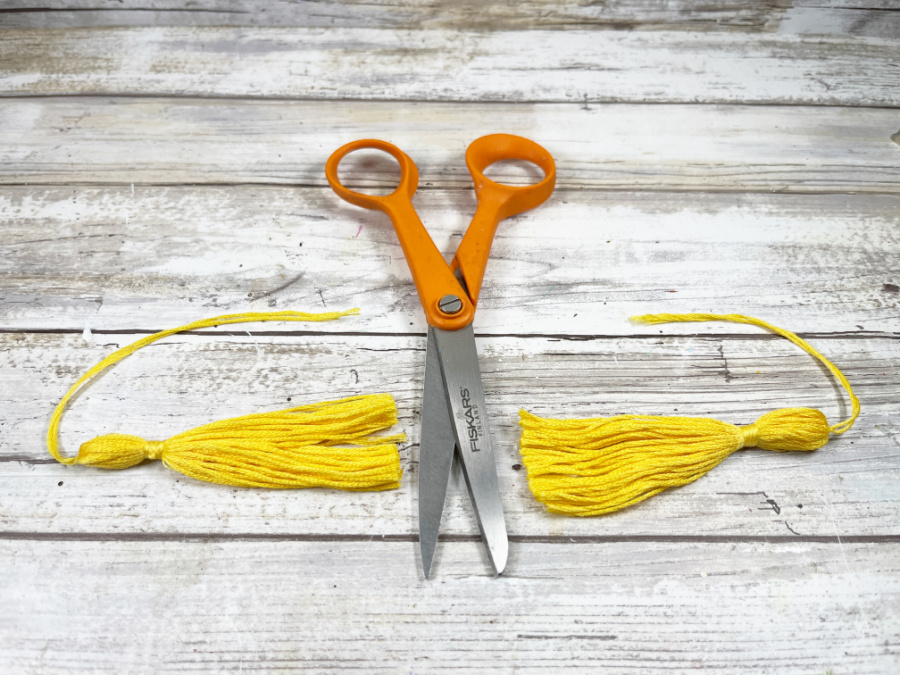
Trim the long ends of the wrapped embroidery floss with scissors. Measure and cut the skein of embroidery floss in half at the three-inch mark with scissors. Secure the knots with a small dot of glue from the glue gun.
STEP SIX
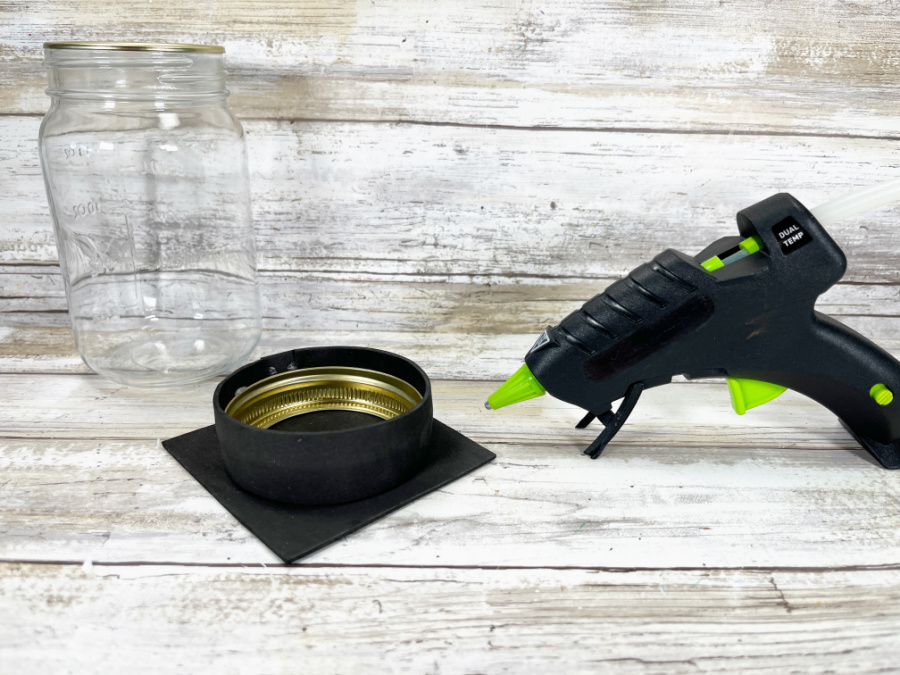
Attach the craft foam rectangle to the edge of the mason jar lid with a glue gun and glue sticks.
Glue the craft foam square to the mason jar lid.
TIP: You can use liquid craft glue for this project, but you will have to wait for it to dry.
STEP SEVEN
Screw the lid onto the mason jar, and lay the tassel out on top of the grad cap.
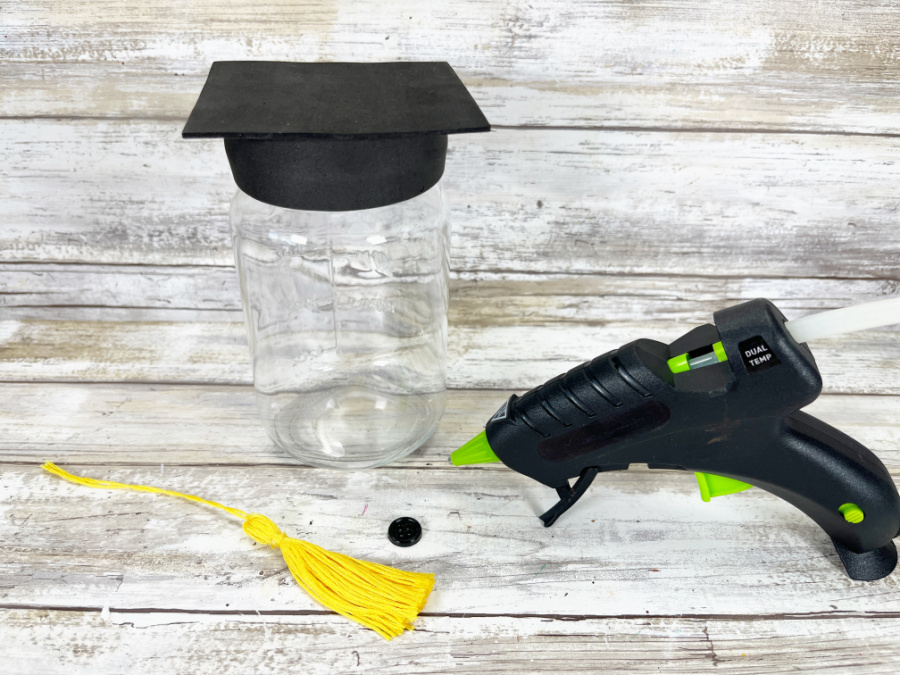
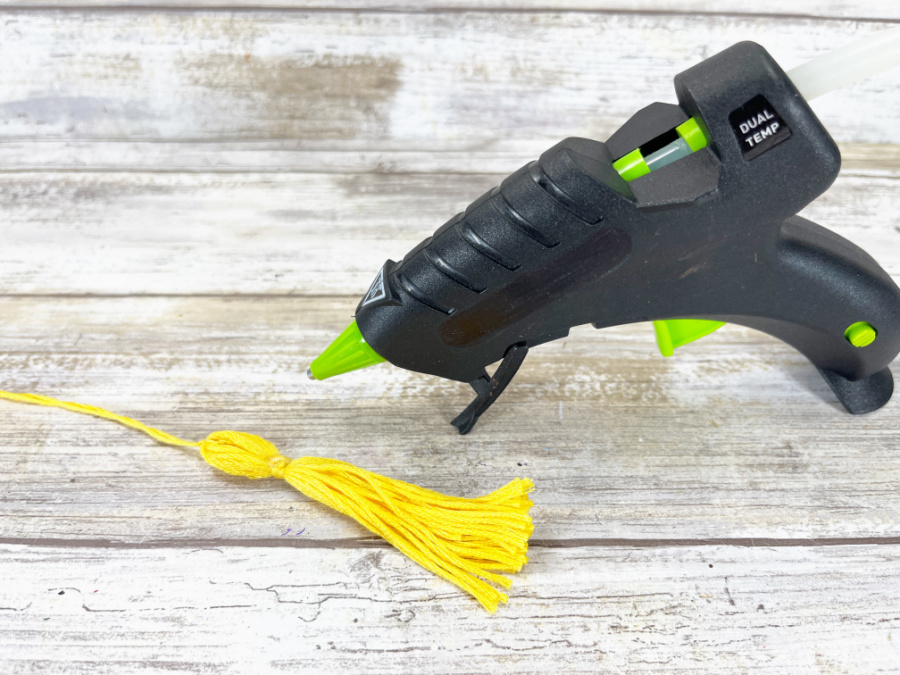
Trim the tassel hanger with scissors and attach to the center of the grad cap top with a glue gun and glue sticks. To finish, glue the button on top of the tassel hanger to cover the cut end.
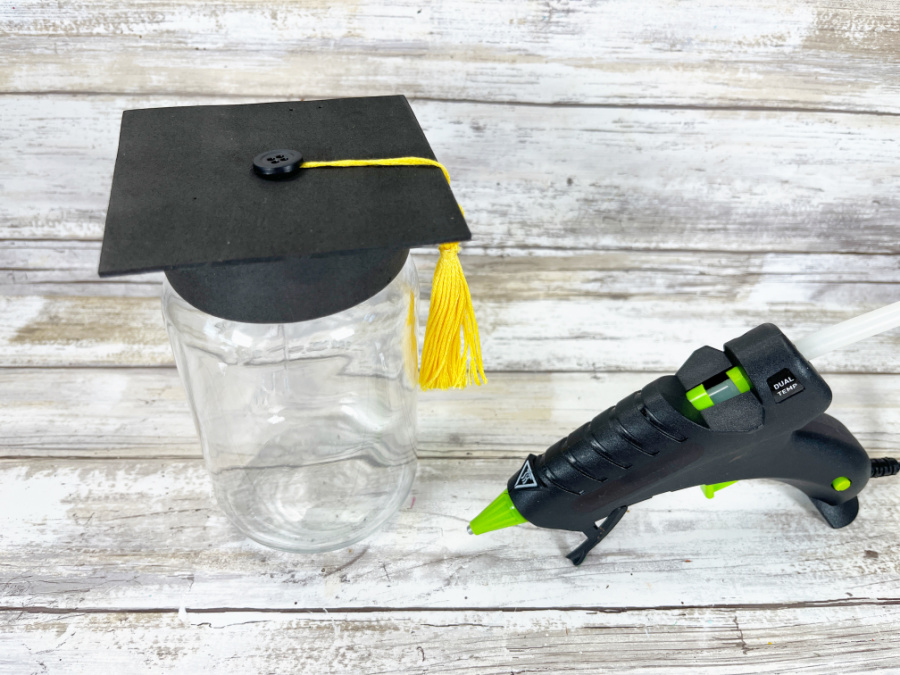
Fill the Mason Jar Grad Cap with paper shred, and make tiny diplomas by rolling paper money and securing with lengths of embroidery floss. It’s the perfect graduation gift!

Print the Tutorial:

Make a Dollar Store Mason Jar Grad Cap Craft!
Using simple supplies from the Dollar Store, create this quick and easy Mason Jar Grad Cap in just 30 minutes.
Materials
- Mason Jar, Pint – Dollar Store
- Craft Foam, Black – Dollar Store
- Embroidery Floss Skein - Yellow
- Button, Black – Dollar Store
- Paper Shred, White – Dollar Store
Tools
- Glue Gun and Glue Sticks – Dollar Store
- Scissors
- Ruler
- Pencil
Instructions
STEP ONE
Gather all supplies. Remove the labels and packaging from the supplies. Using a ruler and scissors, measure a rectangle of black craft foam .75 inches wide by 9 inches long. Cut out with scissors.
STEP TWO
Measure a square of black craft foam that is 3.75 inches by 3.75 inches. Cut out the black craft foam square with scissors.
STEP THREE
Remove the labels from the embroidery floss skein, then measure and cut four lengths that are 12 inches each. Open the middle of the skein of floss. Tie and knot one of the embroidery floss lengths through and around each of the loops at the ends of the skein.
STEP FOUR
Approximately .75 inches down from the top knot, tie one length of embroidery floss around the skein, securing with a knot. Wrap each end around the skein three times. Wrap one to the left and one to the right. Secure again with a knot. Repeat on the opposite end of the skein.
STEP FIVE
Trim the long ends of the wrapped embroidery floss with scissors. Measure and cut the skein of embroidery floss in half at the three-inch mark with scissors. Secure the knots with a small dot of glue from the glue gun.
STEP SIX
Attach the craft foam rectangle to the edge of the mason jar lid with a glue gun and glue sticks. Glue the craft foam square to the mason jar lid.
TIP: You can use liquid craft glue for this project, but you will have to wait for it to dry.
STEP SEVEN
Screw the lid onto the mason jar, and lay the tassel out on top of the grad cap. Trim the tassel hanger with scissors and attach to the center of the grad cap top with a glue gun and glue sticks. To finish, glue the button on top of the tassel hanger to cover the cut end.
Pin for Later!