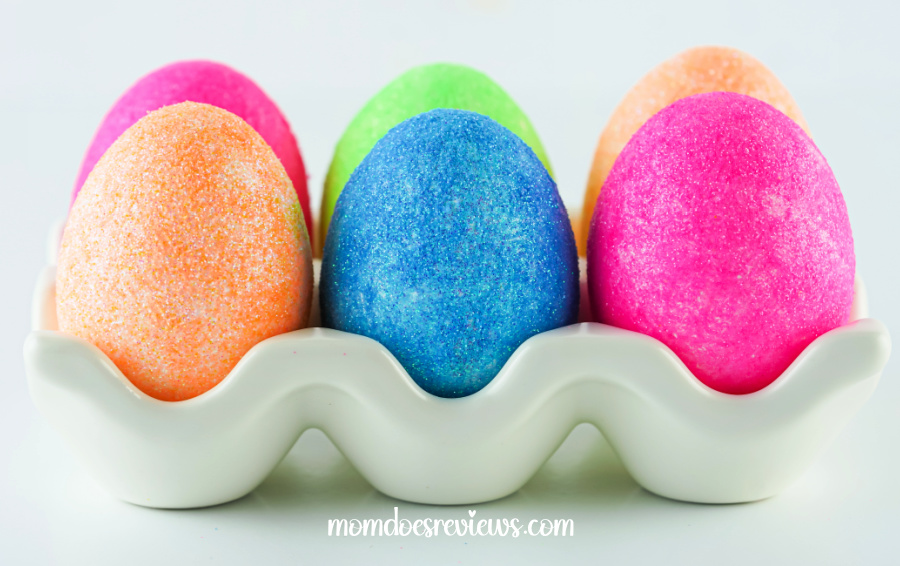
Welcome to the wonderful world of Gorgeous Glitter Easter Eggs! With Easter just around the corner, it’s the perfect time to get creative and add a little sparkle to your holiday decor. Everything is better with glitter!
Whether you’re looking to add some pizzazz to your Easter egg hunt or simply want to make some beautiful decorations for your home, glitter eggs are a fun and easy project that the whole family can enjoy. Not only are they simple to make, but they also add a touch of magic to any Easter celebration.
So grab your glitter and let’s get cracking!
Don’t miss our other decorated Easter Eggs!
Easter is almost here and we all know the kids love their Easter eggs! So, what could be more fun than dying the eggs in a fun unique way? These Tissue Paper Dyed Easter Eggs are easy to do and they are absolutely beautiful!
Must-Try Easter Egg Decorating Ideas
Decorating Easter Eggs is always a fun time. This year, instead of the same old boring dye why not step it up a notch with these Must-Try Easter Egg Decorating Ideas? These unique and creative ideas will spur your creative side and leave you with a basket of gorgeous unique eggs!
Items Needed for Glitter Easter Eggs:
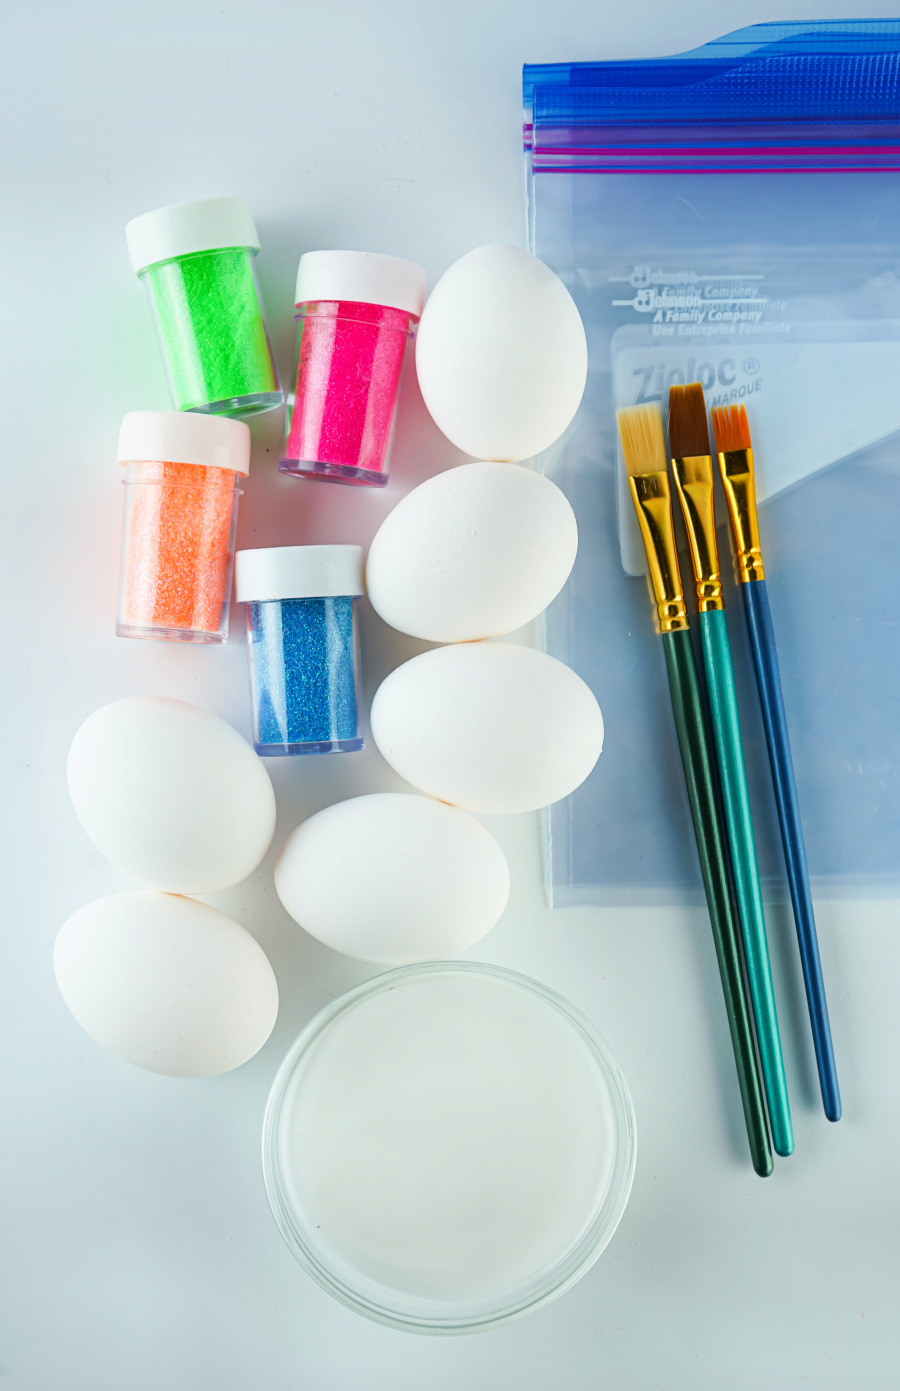
- Hard Boiled Eggs
- Fine Glitter
- Elmer’s Glue
- Paint Brush
- Quart Baggies
- Hairspray (optional)
Glitter Easter Egg Directions:
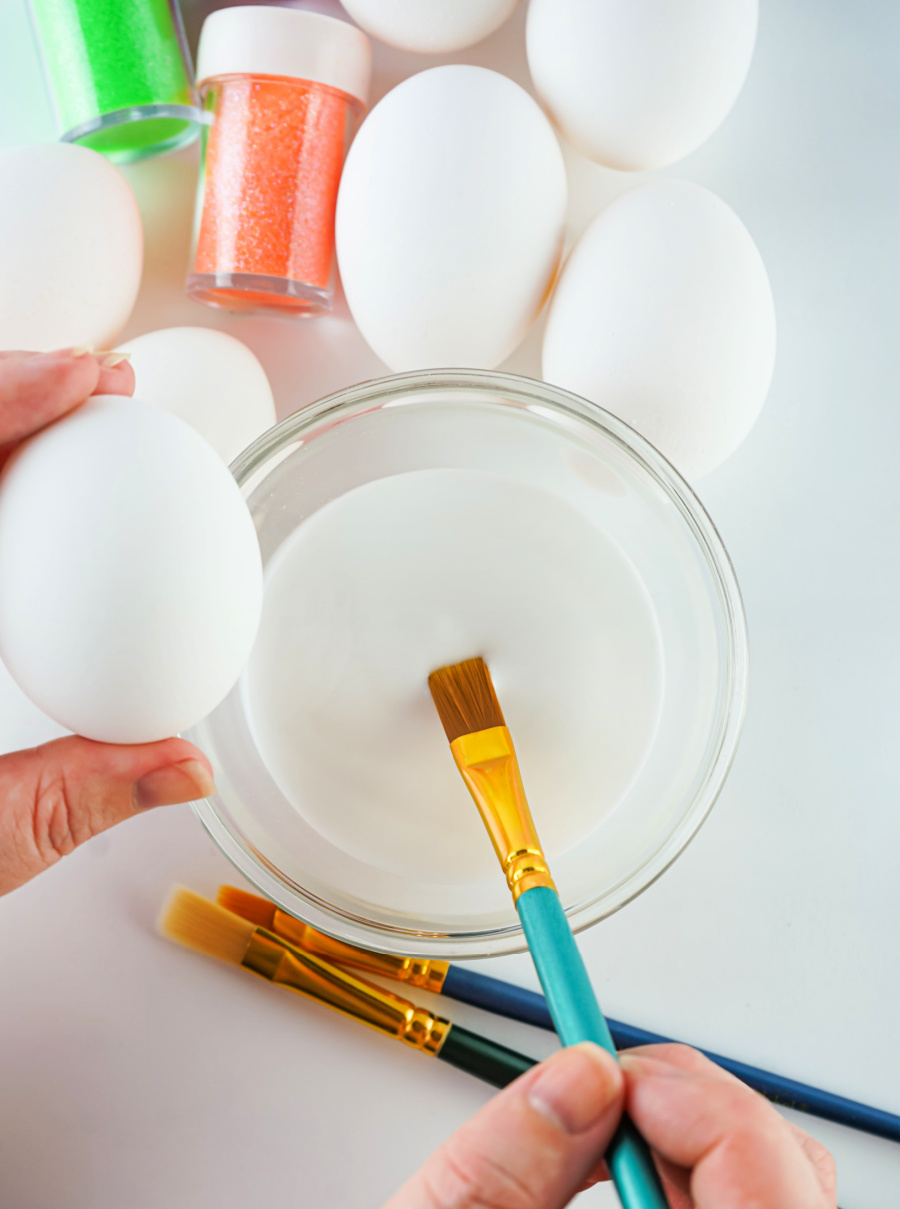
Place a bit of Elmer’s glue or white craft glue in a small bowl.
Make sure your boiled eggs are nice and dry.
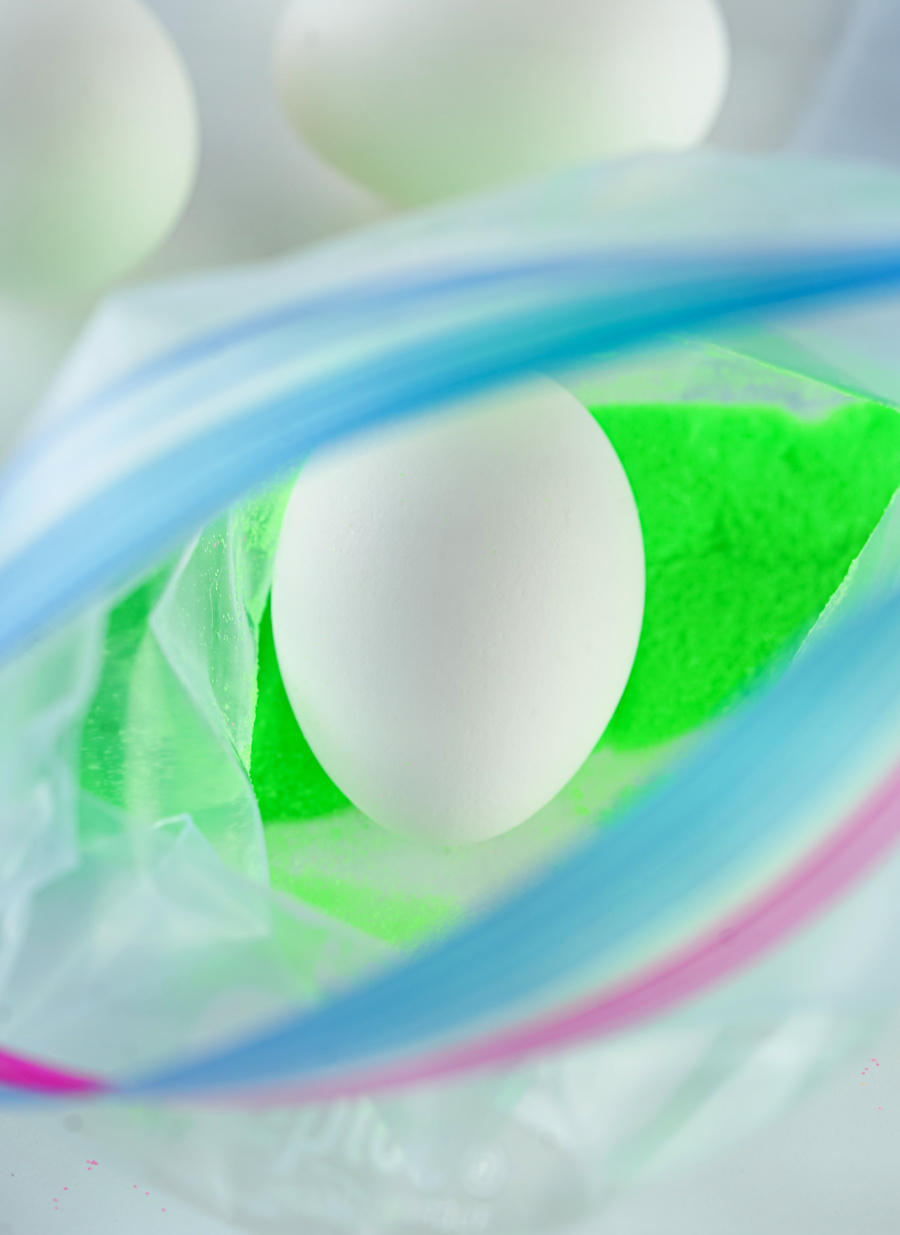
Add some of each color of glitter to a quart baggie. Do not mix the colors. I added only a couple of tablespoons, but filling the bag up a bit more, if possible, would definitely be better.
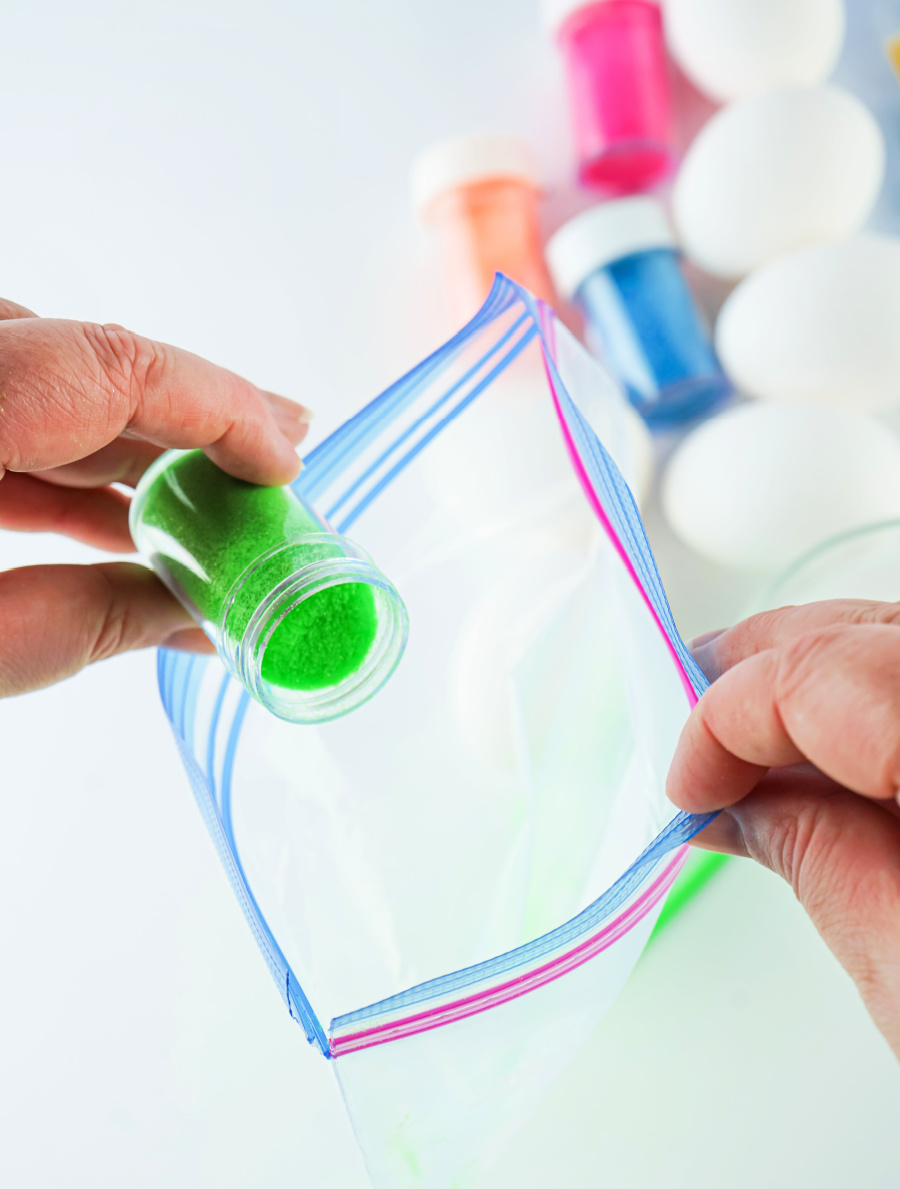
Use the paint brushes to coat one egg at a time in glue. Make sure you don’t miss a spot!
Gently drop the coated egg in the bag of the glitter of your choice and gently roll it around in the glitter, being careful not to scrape it against the sides of the bag too much.
Once the egg is nice and coated, leave it in the bag and lay it flat for about 2 minutes.
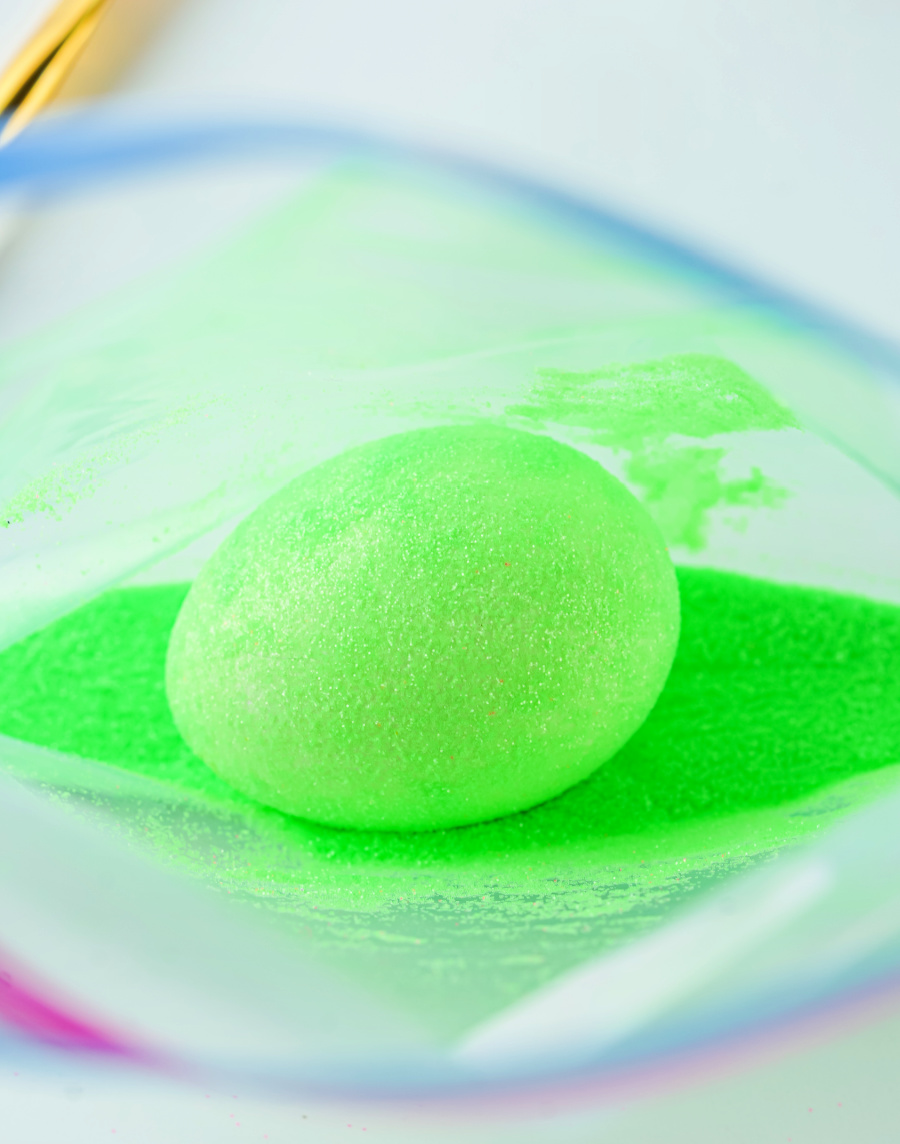
Gently remove the egg from the bag. If there are any spots that didn’t get coated, gently apply glue in just those spots and place it back in the back and repeat the process.
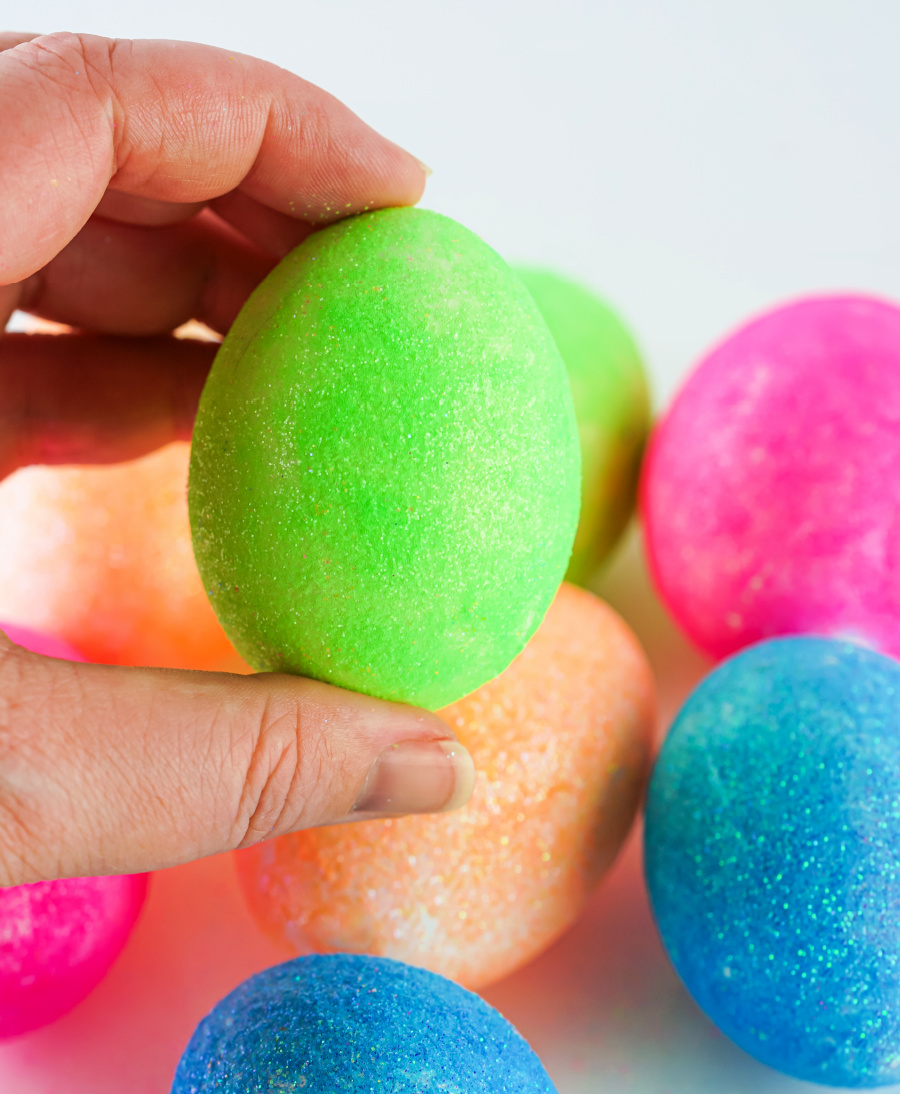
Once coated to your liking, spray the egg with hairspray, if you’re using it and gently sit it down without scraping the sides and let it dry for about 8 minutes. The hairspray helps the glitter not to shed near as much. Enjoy your glitter eggs!
Tips you want to know:
- Technically, you could still eat these eggs, although if you ingest too much of the glitter, it could technically make your poop sparkly. This will excite your kids- maybe not you. LOL
- Use cheap hairspray to cut way down on the glitter shedding.
- Coating the glitter with another layer of glue didn’t work to hold it in place, it just made it a thick gloppy mess. I wouldn’t do it.
- I attempted just shaking the glitter over the eggs and it was a messy disaster and the coating wasn’t near as smooth. The baggie saves a ton of mess and the coating is so pretty.
- I preferred the fine glitter, but slightly chunkier glitter could work. If it’s too large, the coverage won’t be as good.
- You don’t want a super thick and goopy amount of glue. Just a basic thin layer is best.
- This works for any type of egg, including brown or farm-fresh eggs. It even works on duck eggs – they are just bigger so you need more glitter.
Print the Tutorial:

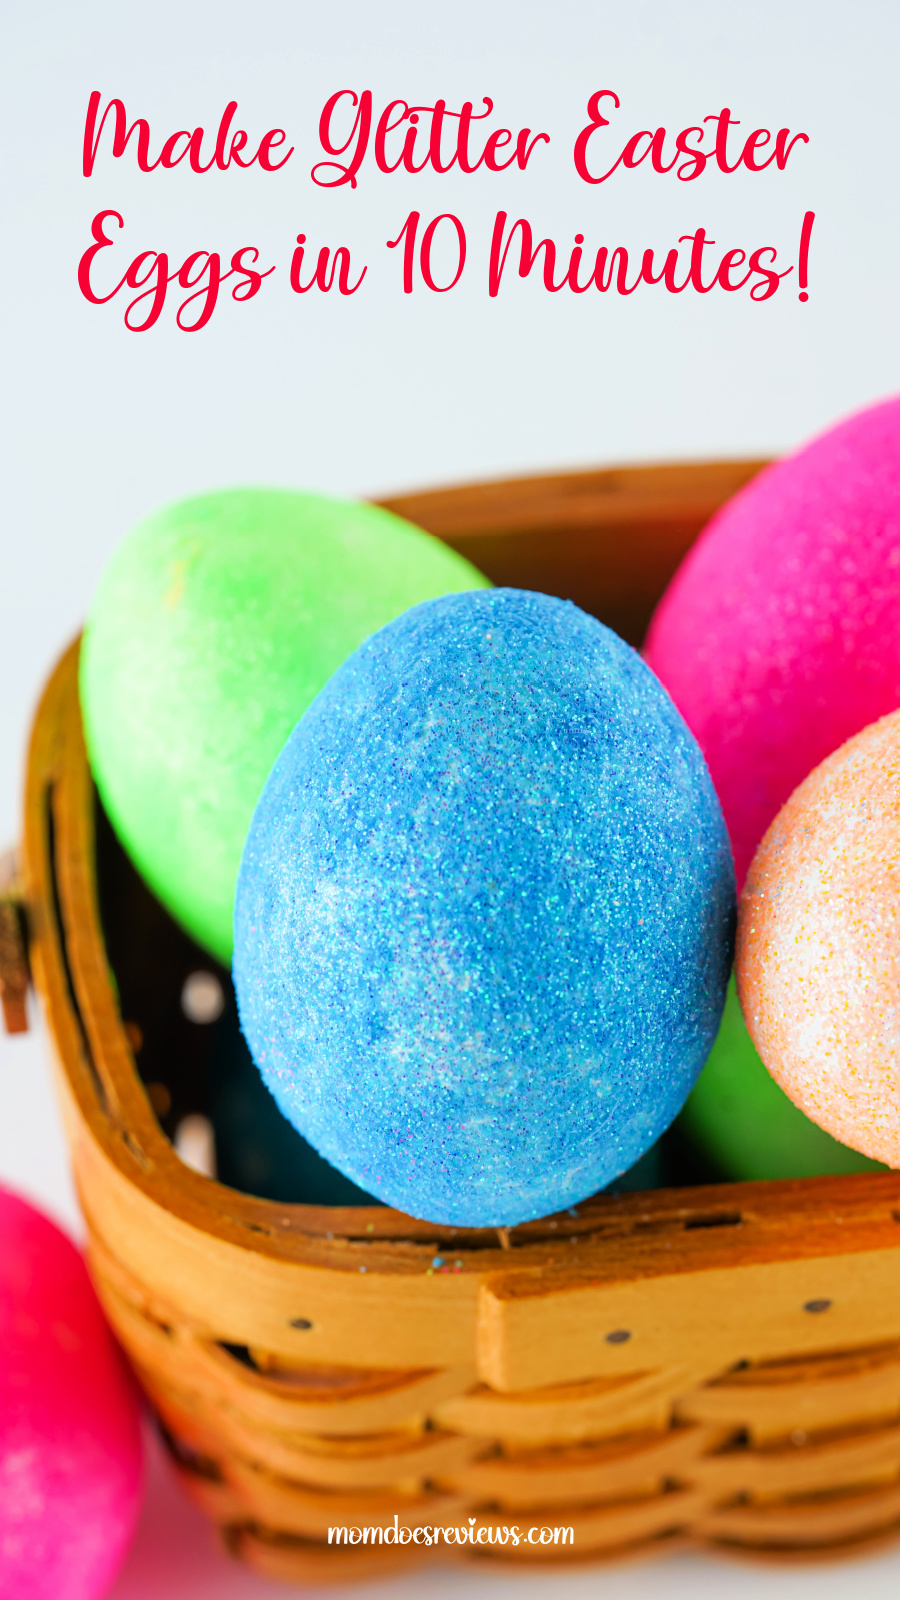
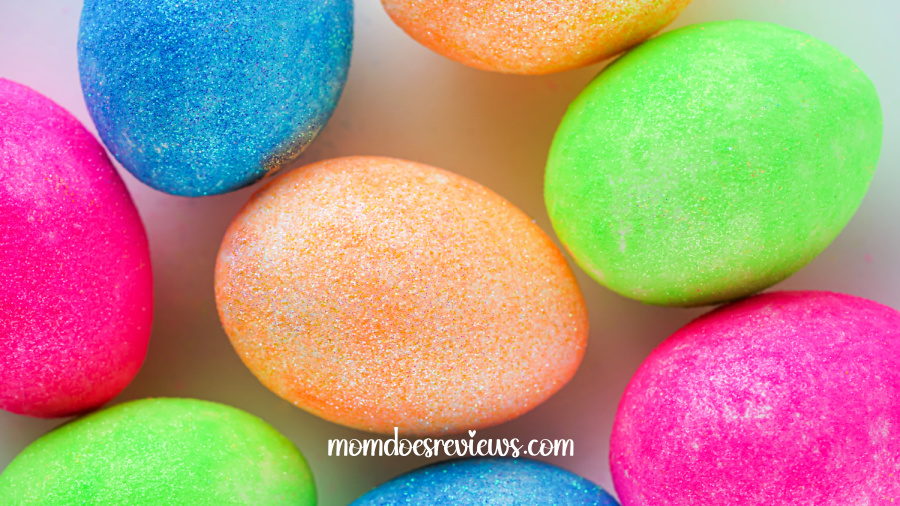
Make Glitter Easter Eggs in 10 Minute!
This year, instead of traditional egg dying, make these Glitter Easter Eggs! Still slightly messy, but skip all the dye, without skipping all the fun! Sparky and delightful spring fun.
Materials
- ● Boiled Eggs
- ● Fine Glitter
- ● Elmer’s Glue
- ● Paint Brush
- ● Quart Baggies
- ● Hairspray (optional)
Instructions
Place a bit of Elmer’s glue or white craft glue in a small bowl.
Make sure your boiled eggs are nice and dry.
Add some of each color of glitter to a quart baggie. Do not mix the colors. I added only a couple tablespoons, but filling the bag up a bit more, if possible, would definitely be better.
Use the paint brushes to coat one egg at a time in glue. Make sure you don’t miss a spot!
Gently drop the coated egg in the bag of glitter of your choosing and gently roll it around in the glitter, being careful to not scrape it against the sides of the bag too much.
Once the egg is nice and coated, leave it in the bag and lay it flat for about 2 minutes.
Gently remove the egg from the bag. If there are any spots that didn’t get coated, gently apply glue in just those spots and place it back in the back and repeat the process.
Once coated to your liking, spray the egg with hairspray, if you’re using it and gently sit it down without scraping the sides and let it dry for about 8 minutes. The hairspray helps the glitter to not shed near as much. Enjoy your glitter eggs!
Pin for Later!