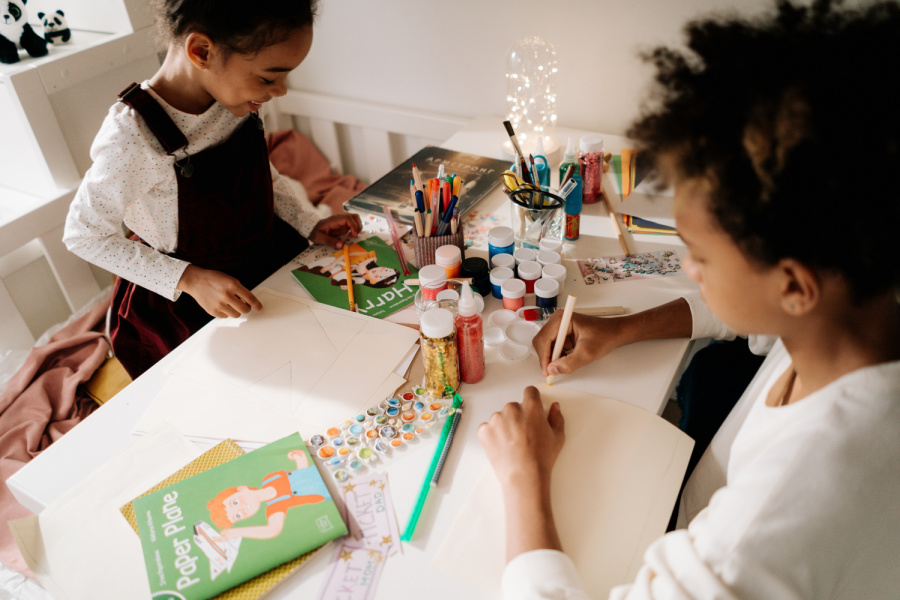
Letting children express their creativity is a vital part of upbringing. There are plenty of creative activities for school-age children that you can try with your kid to teach them valuable skills, but in this article, we will focus on one: creating a calendar.
Planning is one of the most important skills you can teach your children. Yes, teaching four-to-ten-year-old kids anything is better when done in a playful form. But how do you combine something as rigid as time management with good old fun?
The answer is – calendar! Or, to be more specific, a colorful and personal calendar that you make together with your child.
Engaging in creativity with your children is its own reward, it is all about having a good time in the process. However, if you want to achieve decent results, it is better to have a game plan.
In this guide, we’ll show how to make a print-ready digital and hand-made calendar. Whichever you’ll choose, make sure you all will enjoy it!
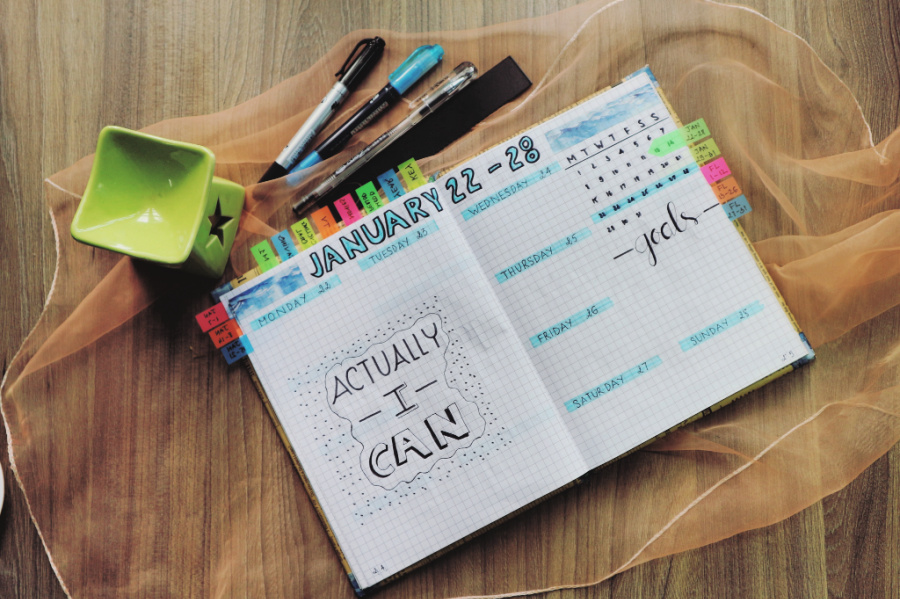
How to Make the DIY Calendar
Working with paper and scissors is a great way to develop fine motor skills, which, in turn, is immensely beneficial for children in general. Not to mention a great opportunity to let the imagination loose. The number of ideas for a hand-made calendar you can find is nigh-infinite, but let’s go over one of them.
What You Need
- Photos
- Colored cardboard
- Decorative cord or string
- Hole puncher
- Two-sided tape or glue
- Ruler
- Scissors
What You Do
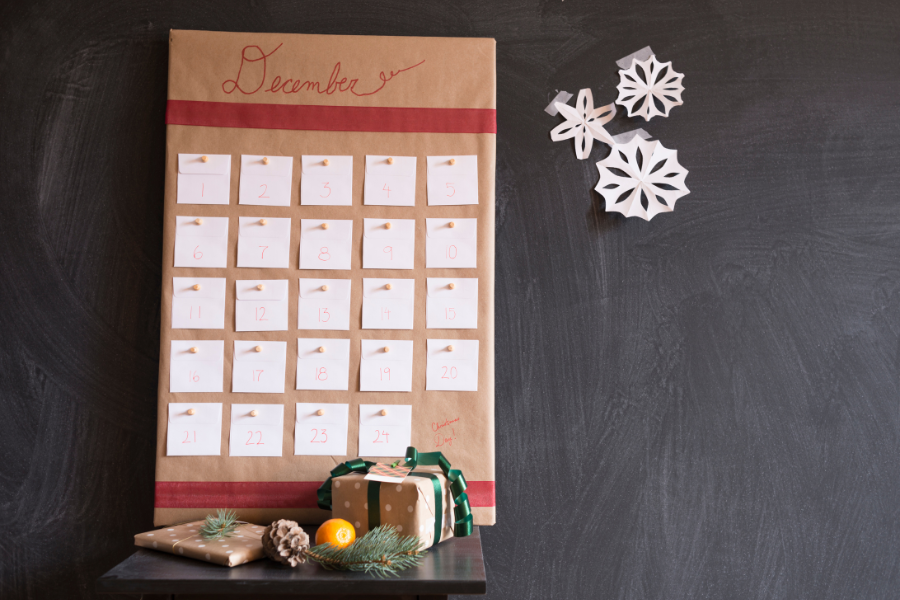
Firstly, cut your card to fit the photos while leaving an inch-wide border. Cut out twenty-five pieces of card, plus two pieces for covers. Keep in mind that scissors are no toy – it is better if you do all the cutting.
Now use tape or glue to stick photos to twelve card pieces. Then print or draw calendar grinds on another twelve cards. Write some notes, important dates, or events – that’s what a calendar is for!
Finally, you can assemble the whole thing. Use the hole puncher to punch holes in the bottom parts of cards with photos and the top parts of cards with dates. Don’t forget the covers. Arrange the pages in proper order and tie them together with the string. Done!
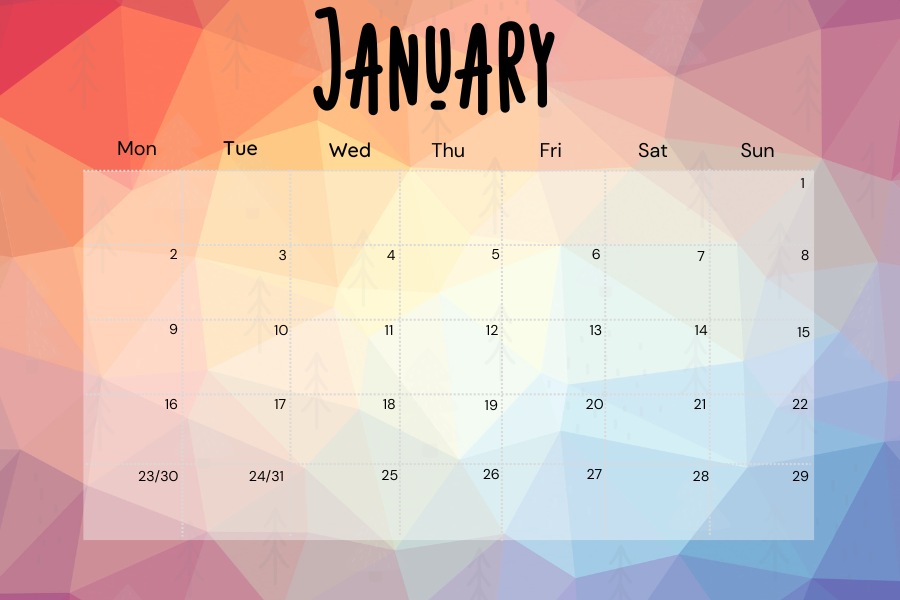
How to Make a Print-Ready Digital Calendar
For better or worse, in this day and age, almost everyone ought to have some computer skills. Using gadgets for your leisure is one thing, but operating more complex programs is a skill you have to hone. Thankfully, designing a digital calendar can help with it and have other benefits.
First of all, you need a proper tool to begin the work. You can try this calendar collage maker, for example. With it, you may construct a calendar in any language.
All you have to do is upload your photos and images, and you’ll have a personalized photo collage planner with your own school schedule, holidays, and any notes in a few minutes. Let’s see how to use this app:
Get a Template
Install and run the program. On the next screen, choose the calendar type: weekly or monthly, wall or table, spiral-bound or booklet, and more. Then select a fitting template, set the year and starting month of your calendar, and adjust other parameters.
Get Creative
Open the Photos tab to add more images to the template. You can either click Add Collage and make a classic grid collage for your calendar or click Add Photo to make a jumbled collage with pictures of varying shapes and sizes. Once the graphic is in place, you can embellish images with masks and frames.
Get It Printed
If you have a printer at your disposal, you can put your work on paper right away. Click the Print button, and select your printer model, the number of copies, and the type of paper. If you wish to share your collage calendar design online or set it as your desktop wallpaper, just save it instead.
Parenting and teaching go hand in hand. Making a calendar together is just a drop in the ocean of ways to share the experience. You can learn a lot more from this list of the best tips for teaching at home, but the bottom line is that those little interactions become a foundation of great parenting in the end.