Want to add a unique twist to the popular tie-dye design? Try “reverse tie-dying”! This technique involves adding bleach to a darker-colored t-shirt (or any piece of clothing of your choice to lighten portions of the garment. The best part? Chances are, you already have most of the supplies you’ll need!

Photo by Benigno Hoyuela on Unsplash
Materials Needed:
- Cotton T-shirt
- Rubber gloves
- Drop cloth
- Rubber bands
- Squeeze or spray bottle
- Bleach
Step One: Find a Shirt
First things first: pick out your t-shirt! A black t-shirt will create the most dramatic contrast with the bleach, but any dark color will do. It’s also best to use a plain t-shirt so that the bleach doesn’t interfere with any existing designs or embellishments.
Keep in mind that the material of your shirt will affect the final outcome, as well. Cotton is your best choice since it easily absorbs moisture and will allow the bleach to seep into the fabric for maximum contrast. Other materials that work well with reverse tie-dye bleaching techniques include natural fabrics like denim and canvas, or semi-synthetics like rayon or viscose.
If you do plan to reverse tie-dye rayon or viscose, do a patch test on the fabric first as these two fabrics are often lighter and more delicate than sturdy cotton. Your best bet would be to dilute your bleach, using a solution of one part bleach to either four or five parts water.
Pro Tip: Try to avoid using bleach on polyester shirts, as this material doesn’t absorb moisture as well as cotton and won’t produce the same effect.
Step Two: Head Outside
Because bleach gives off strong fumes, be sure to set up your workstation in a well-ventilated area. Outside is best, but if bad weather is keeping you inside, set up your supplies in a large room and open a window or turn on a fan (or both!).
Step Three: Get Set Up
If you’re working outside, lay down a drop cloth (nothing fancy needed here — some old towels or even a few heavy-duty garbage bags will do!). This will help to protect your t-shirt from dirt if you’re working outside. If you’re working indoors, make sure you lay down enough sheets to absorb any spills and avoid bleach damaging or staining your flooring.
Step Four: Decide on a Design
Now for the fun part! You can use different techniques to twist or fold your garment and fasten your rubber bands to create a design. The areas of the garment that are exposed to the bleach will become lightened. Fortunately, you don’t have to get too fancy with your rubber band placement. Simply bunching up the fabric and placing rubber bands randomly will create a unique design!
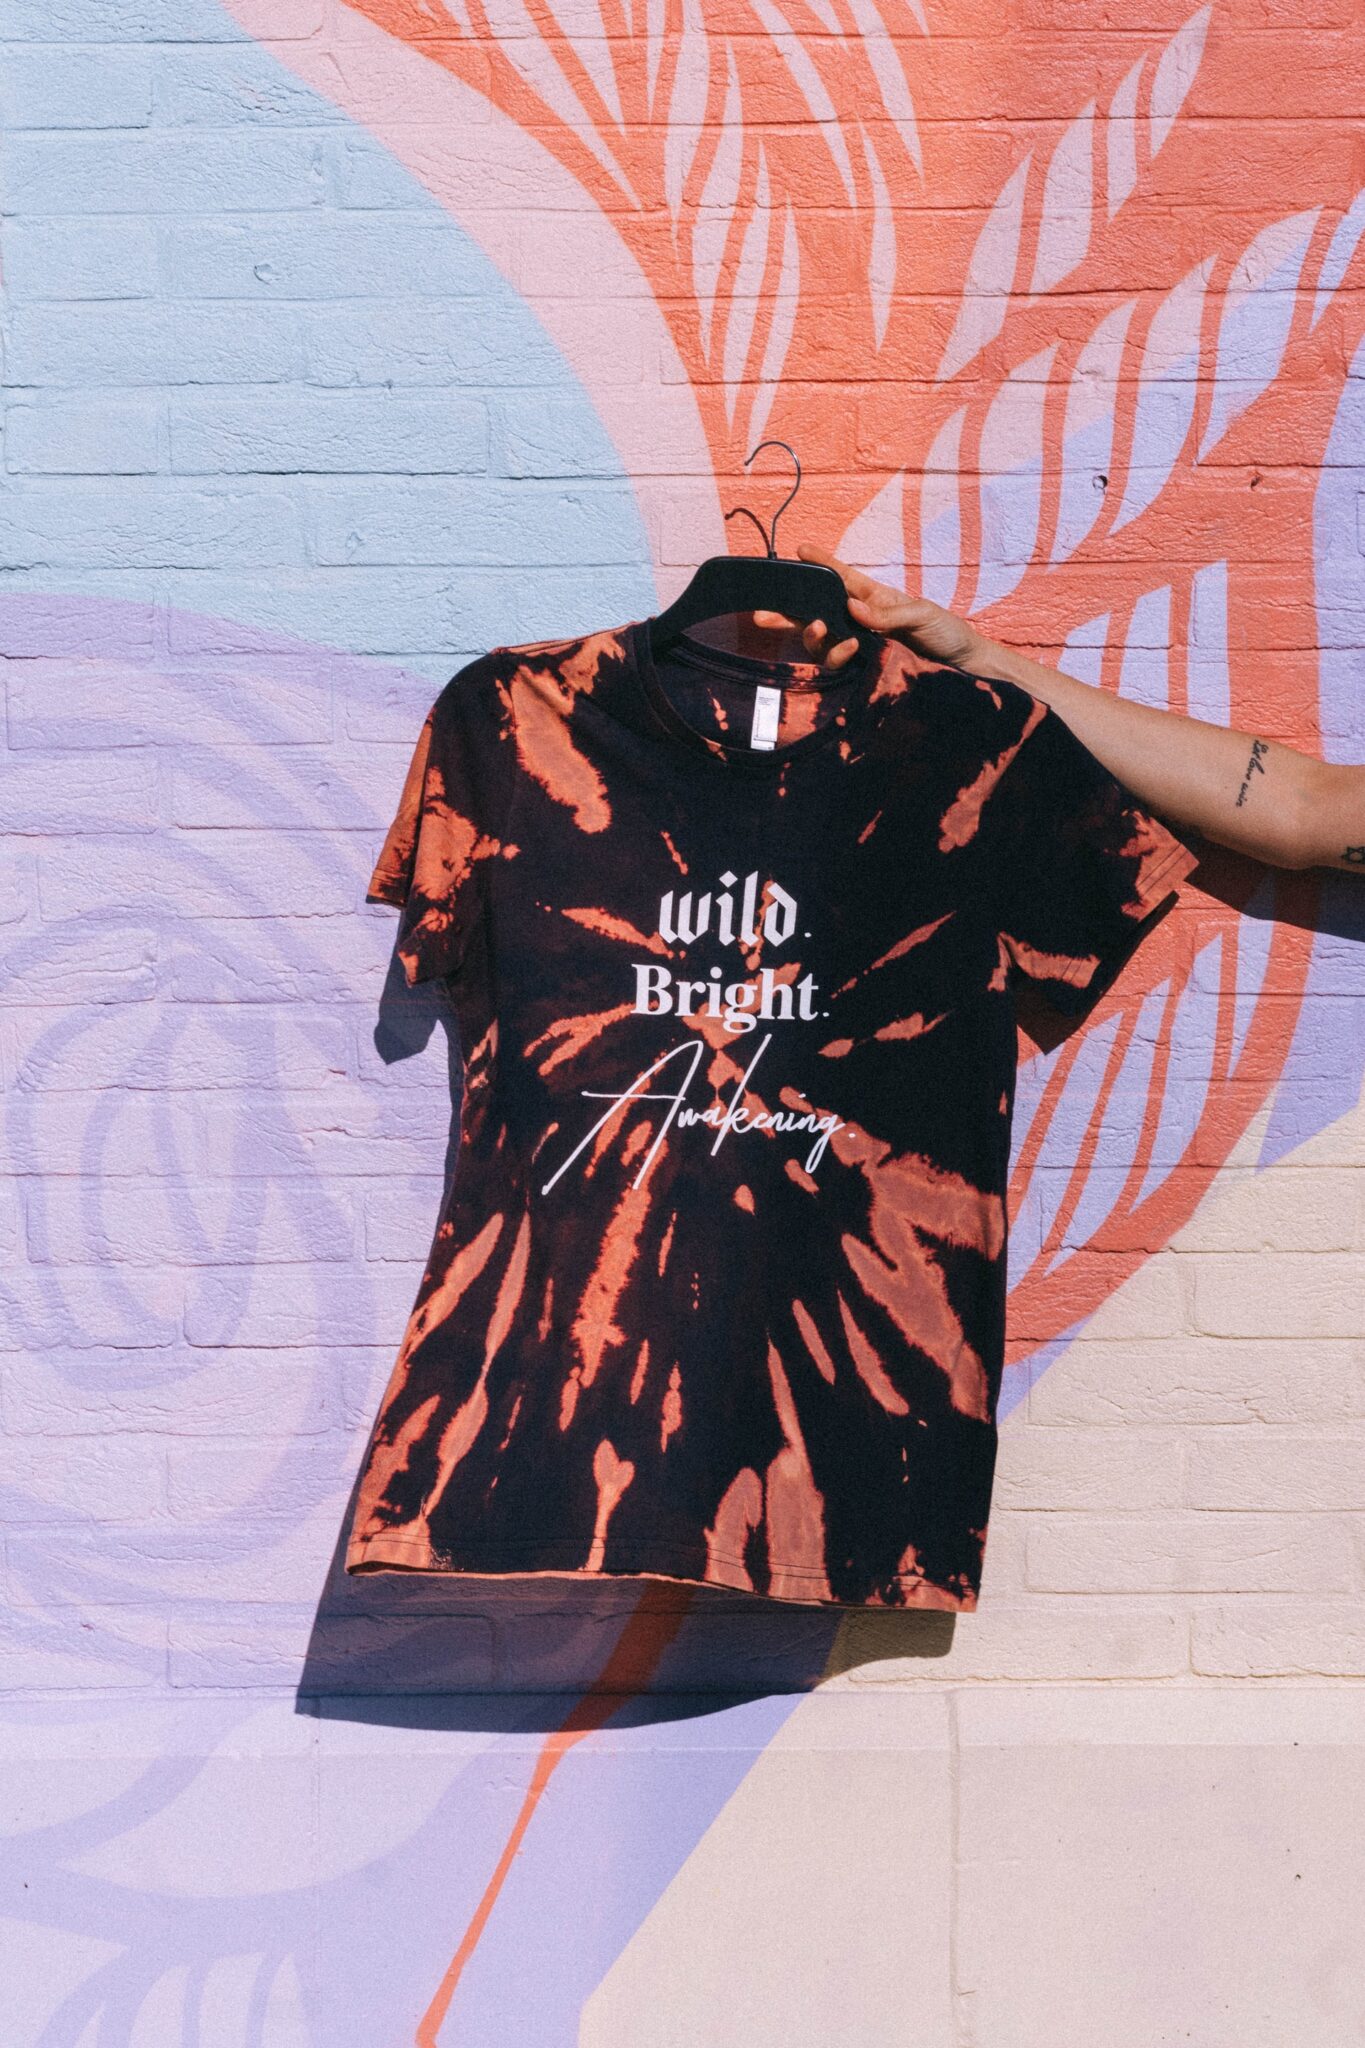
Photo by Toa Heftiba on Unsplash
If you prefer to stick to a tried-and-true pattern, however, here are some ideas:
Spiral
You can create this classic ‘70s spiral design by twirling the garment into a rope and coiling it into a snail-shell shape. Then, fasten the t-shirt in place with rubber bands or string. It doesn’t matter how many rubber bands you use as long as the fabric stays in place. For a distinct contrast between light and dark, you’ll want to use more rubber bands to make sure the coil is fastened tightly.
The Knot Method
This design is so easy that it leaves hardly any room for error. To create this look, lay the garment flat and simply grab a section (of any size that you choose) and make a knot. Tie a rubber band around the section to keep it secure. Add as many knots as you like!
Shibori Technique
Fold your shirt in half (think: hot dog fold), and then fold it in half again. Next, fold a corner of the shirt into a triangle as if you were folding a flag. Then, flip the shirt over and fold the corner over again. Repeat this step down the length of the shirt.
Once the shirt is in the shape of one thick pie slice, secure it with rubber bands. Instead of applying bleach directly to the fabric, soak the shirt in bleach for roughly 30 minutes.
Step 5: Apply the Bleach
First, put on a pair of rubber gloves to protect your hands from any harsh chemicals. Next, fill a spray or squeeze bottle with equal parts bleach and water. (You can do this by filling up your bottle halfway with bleach and then filling the remaining half of the bottle with water. Reminder: If you’re bleaching viscose or rayon, you’ll want to have a higher ratio of water to bleach, using four or five parts water to one part bleach.)
A spray bottle is best for easier and more precise application of the bleach, but any empty plastic squeeze or spray bottle will work. If you don’t have a spare bottle, you can grab one from a cleaning supply or craft store.
Remember to apply bleach to both the front and the back of your t-shirt. You can create a more dramatic contrast by adding a lot of bleach to the cloth.
Pro-tip: Starting with an already damp t-shirt will help the bleach soak into the fabric better, and applying bleach to a dry shirt will create a crisper contrast between light and dark.
Step 6: Wait It Out
Once you’ve applied the bleach, set a timer for 8-10 minutes. Don’t leave the bleach on for longer than 10 minutes, as this could damage your fabric.
Step 7: Wash the Bleach Out
Now, remove the rubber bands and wash the garment immediately. If you’re washing it in a washing machine, be sure to use a mild detergent. Once the garment is washed and dried, it’s ready to wear!
You can repeat this process with any dark-colored garment of your choosing: socks, sweatshirts, canvas bags…the sky’s the limit!