
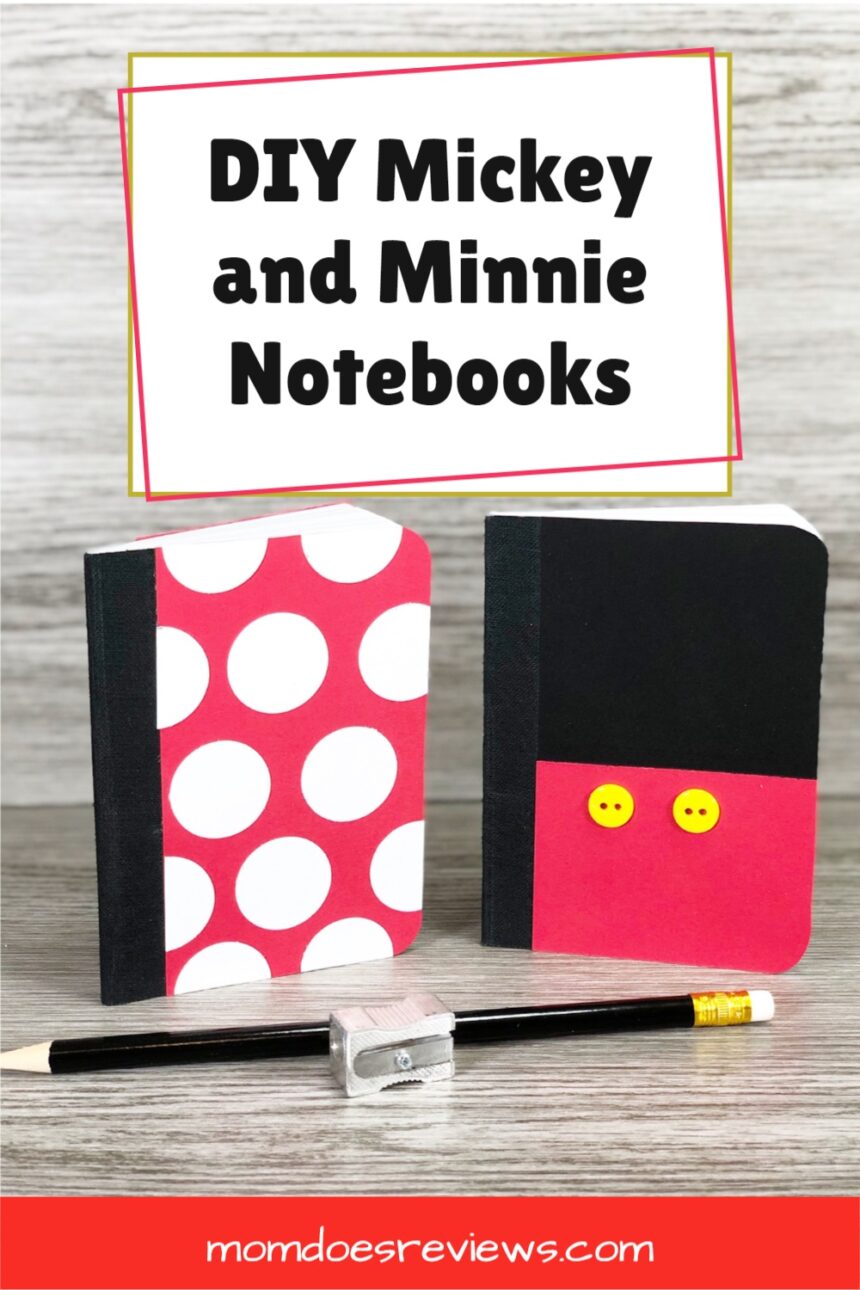
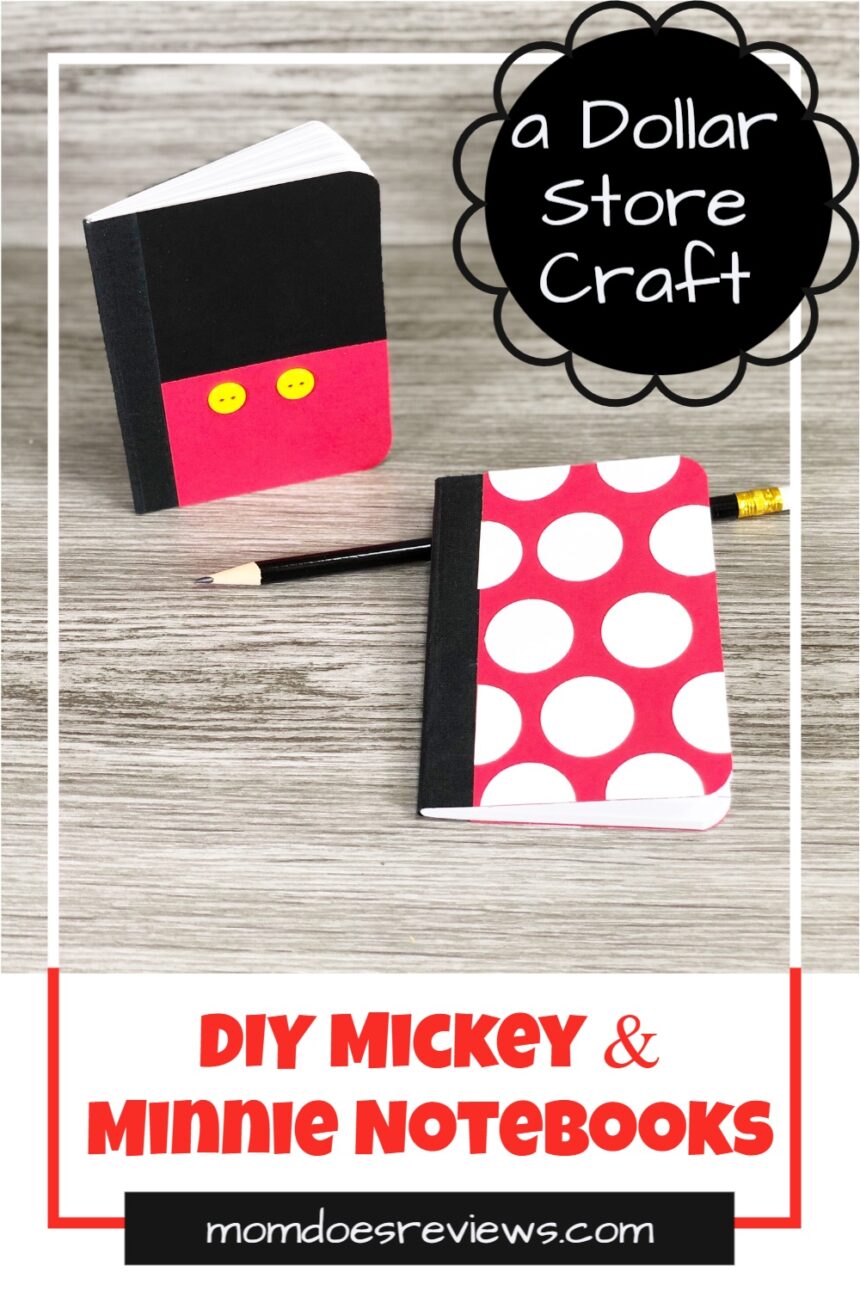
Hate boring notebooks? Make a Dollar Store DIY notebook!
If you love all things Disney, you’ll love these cute DIY Notebooks! A few simple supplies from the Dollar Store transform a notebook into a cute-as-can-be miniature Mickey and Minnie Mouse inspired notebooks.
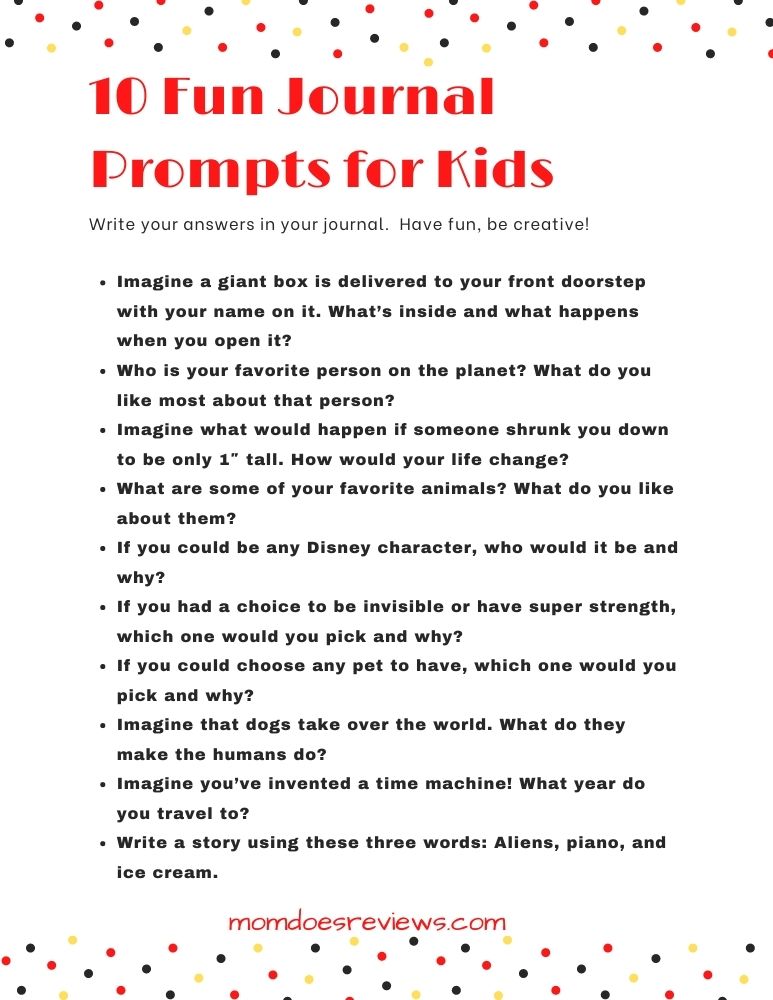
Kids will love making the DIY Notebooks and maybe will want to start a journal of their very own. Writing down things that happen and how you feel about them gives you another look at what’s going on in your life.
Here are some fun journal prompts for your DIY Notebook:
Here is another DIY notebook you’ll love:
Check out this easy and fun Holographic Unicorn Notebook Craft! All your friends will want one!
Don’t miss our new Minnie Mouse Hot Chocolate Bombs and Mickey Dipped Oreos!
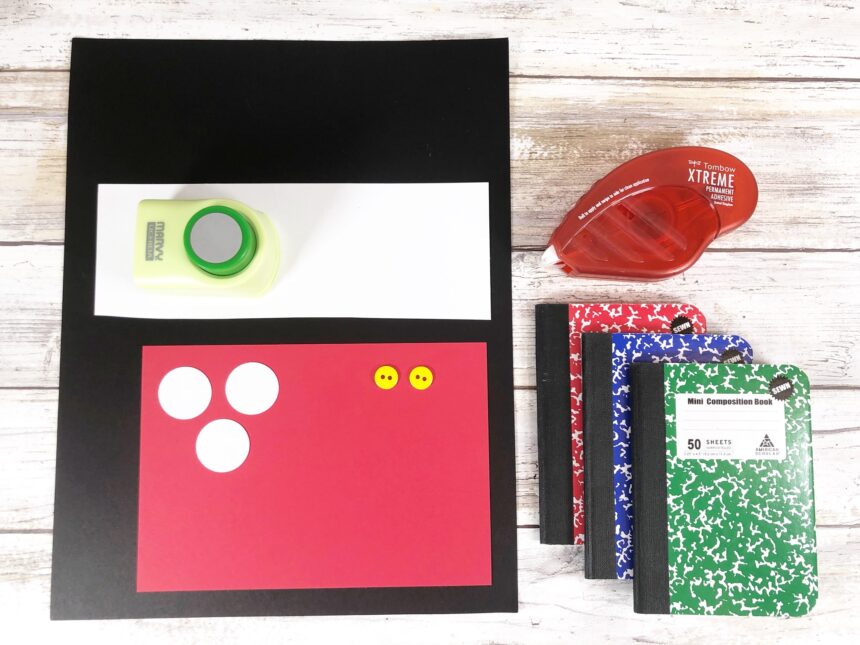
Supplies Needed to make Mickey and Minnie Notebooks:
- Mini Composition Notebooks, Pack of Three– Dollar Store
- Card Stock, Red, White, Black – Dollar Store
- Buttons, Yellow, Two
- Circle Punch – ¾” Round
- Adhesive Runner
- Liquid Glue with a fine tip applicator
- Scissors
- Pencil
- Ruler

Instructions to make the notebooks:
STEP ONE
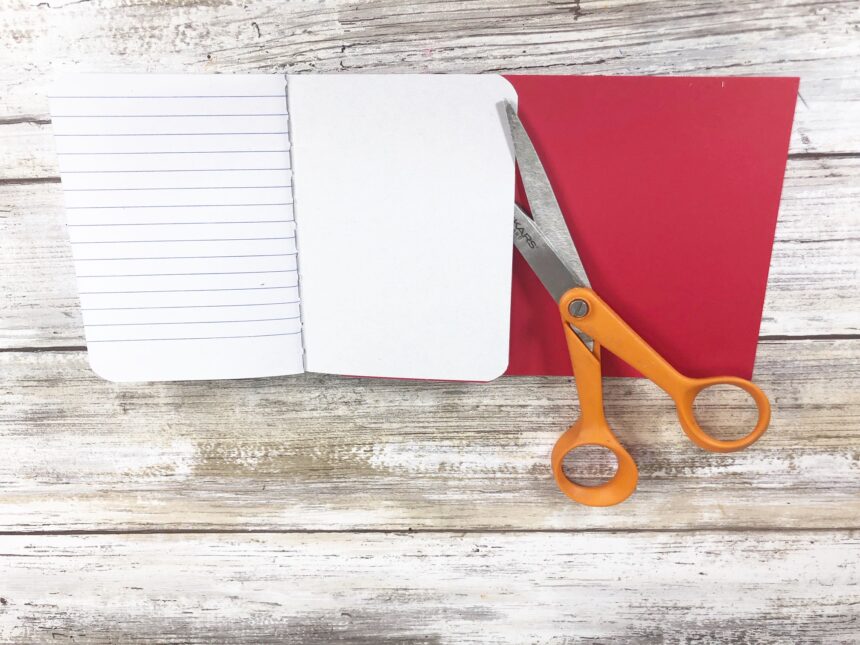
Gather all supplies. To create the Minnie notebook, apply adhesive runner to the front cover of the mini notebook.
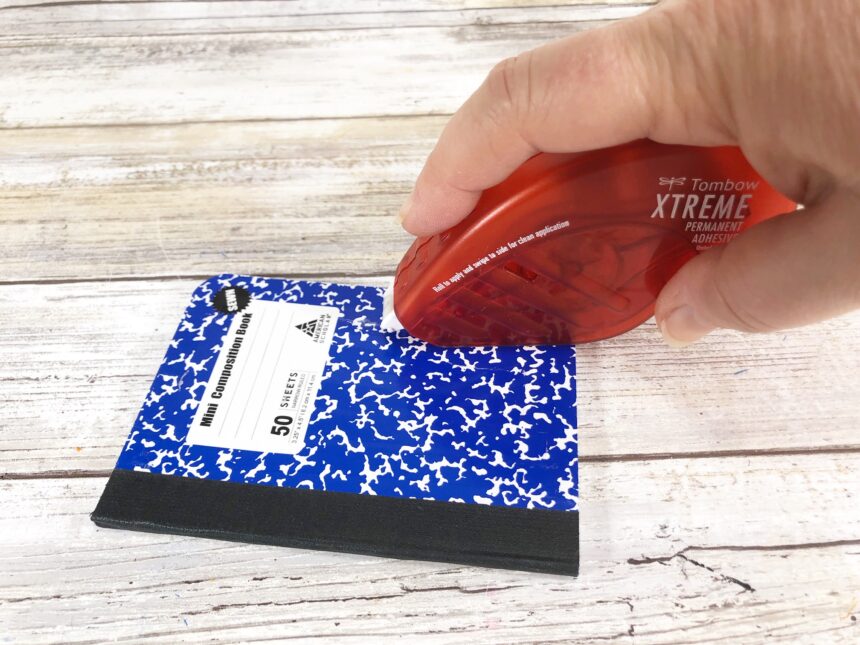
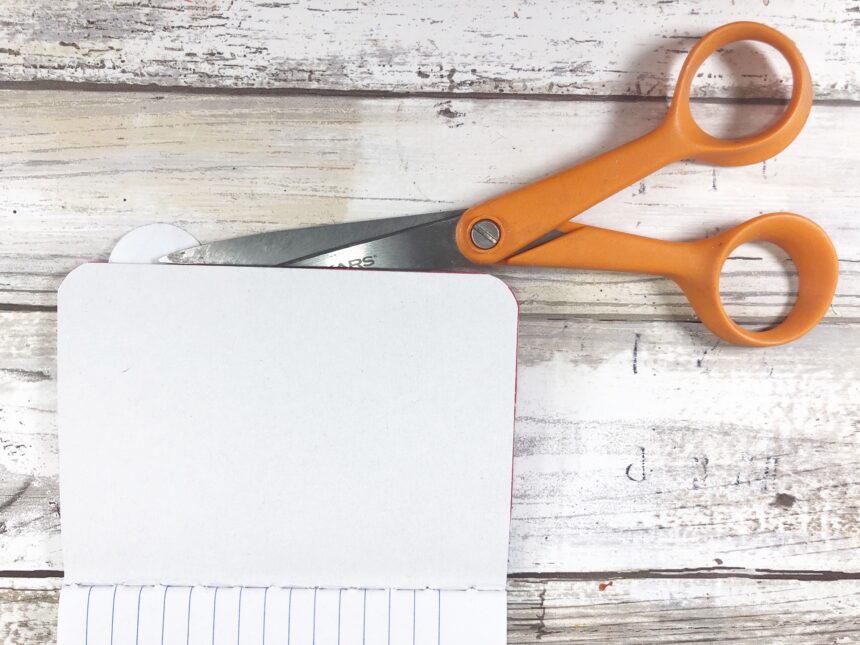
Attach red cardstock and then trim any excess with scissors. Repeat for the back cover.
STEP TWO
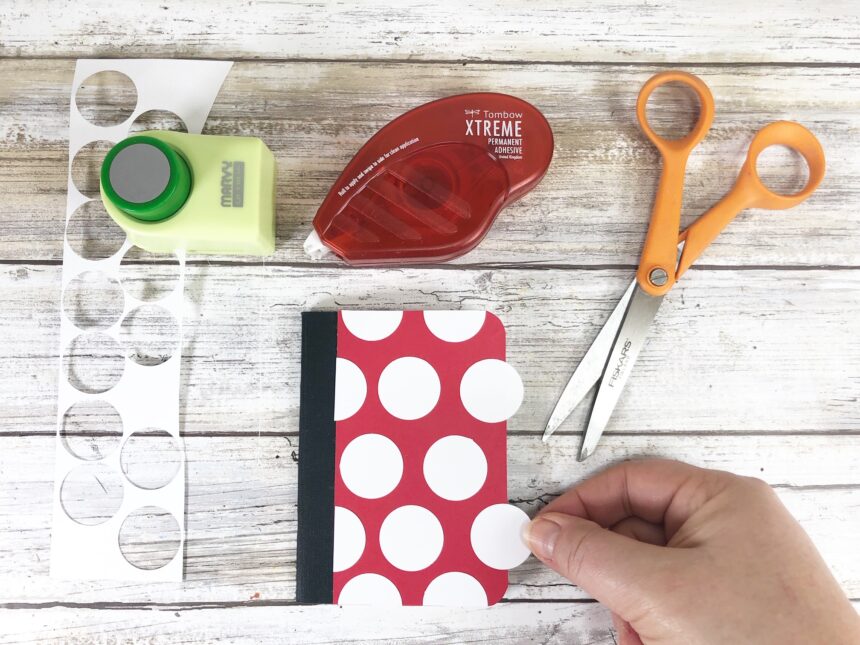
Punch 24 circles from white cardstock, apply adhesive runner to the circles and attach to the front and back covers. Trim any excess with scissors.
STEP THREE
These mini notebooks are 4.5” tall, so to create the Mickey notebook measure and cut a rectangle of black cardstock 2.5” wide and red cardstock 2” wide.
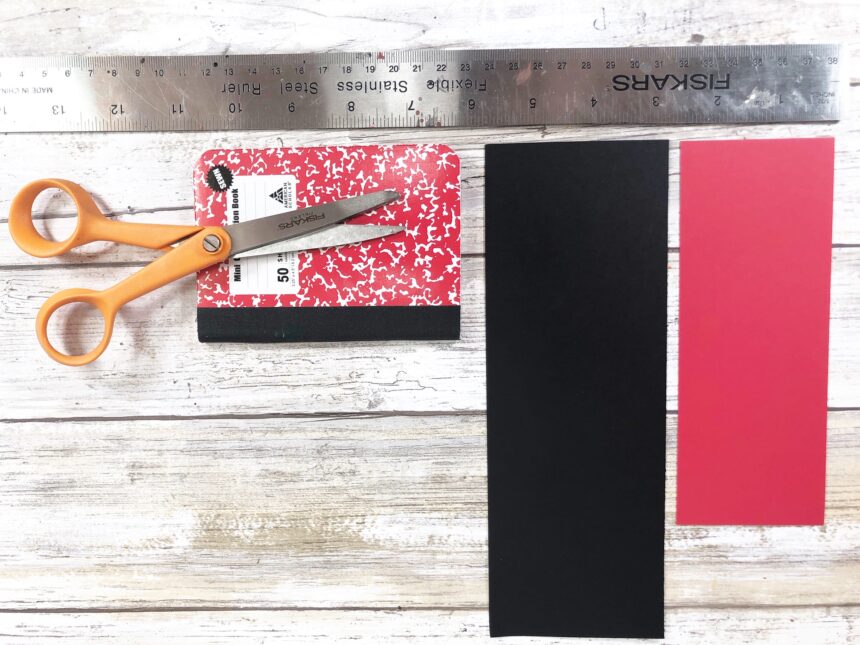
Apply adhesive runner to the front cover of the mini notebook. Attach the red and the black cardstock, then trim any excess with scissors. Repeat for the back cover.
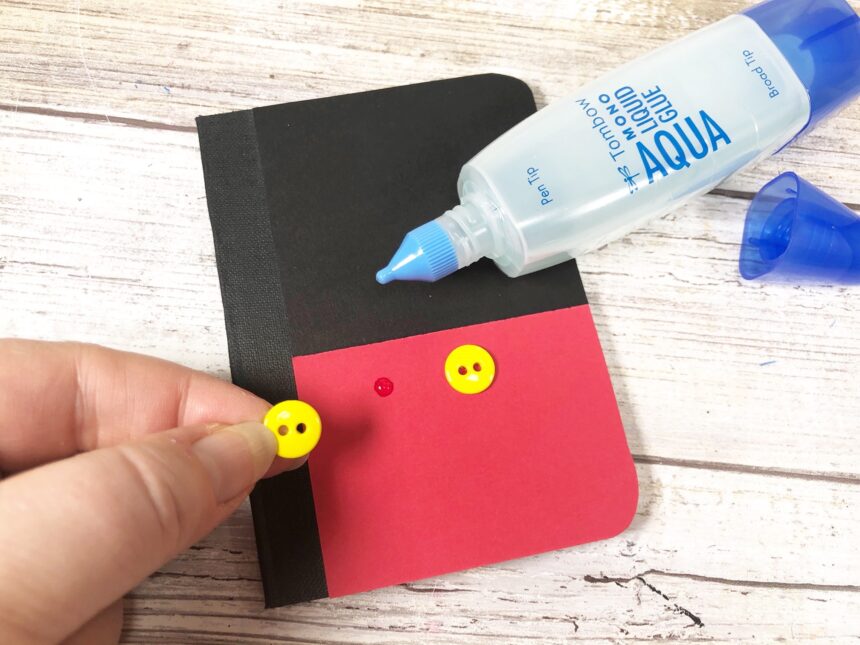
STEP FOUR
Adhere the two yellow buttons to the front cover of the Mickey notebook with liquid glue and the fine applicator tip. Set aside to dry.
Get the kiddos involved and create a fun family craft time. To create larger versions, use full size composition books and a bigger circle punch.
Print the Tutorial:

DIY Mickey and Minnie Notebooks- Easy Dollar Store Craft
A few simple supplies from the Dollar Store, you can transform a plain notebook into a cute as can be miniature Mickey and Minnie Mouse inspired notebooks.
Materials
- Mini Composition Notebooks, Pack of Three– Dollar Store
- Card Stock, Red, White, Black – Dollar Store
- Buttons, Yellow, Two
Tools
- Circle Punch – ¾” Round
- Adhesive Runner
- Liquid Glue with a fine tip applicator
- Scissors
- Pencil
- Ruler
Instructions
STEP ONE
Gather all supplies. To create the Minnie notebook, apply adhesive runner to the front cover of the mini notebook.
Attach red cardstock and then trim any excess with scissors. Repeat for the back cover.
STEP TWO
Punch 24 circles from white cardstock, apply adhesive runner to the circles and attach to the front and back covers. Trim any excess with scissors.
STEP THREE
These mini notebooks are 4.5” tall, so to create the Mickey notebook measure and cut a rectangle of black cardstock 2.5” wide and red cardstock 2” wide.
Apply adhesive runner to the front cover of the mini notebook. Attach the red and the black cardstock, then trim any excess with scissors. Repeat for the back cover.
STEP FOUR
Adhere the two yellow buttons to the front cover of the Mickey notebook with liquid glue and the fine applicator tip. Set aside to dry.
Notes
To create larger versions, use full size composition books and a bigger circle punch.
Pin for Later!
Have fun making these DIY notebooks and let me know how the come out!