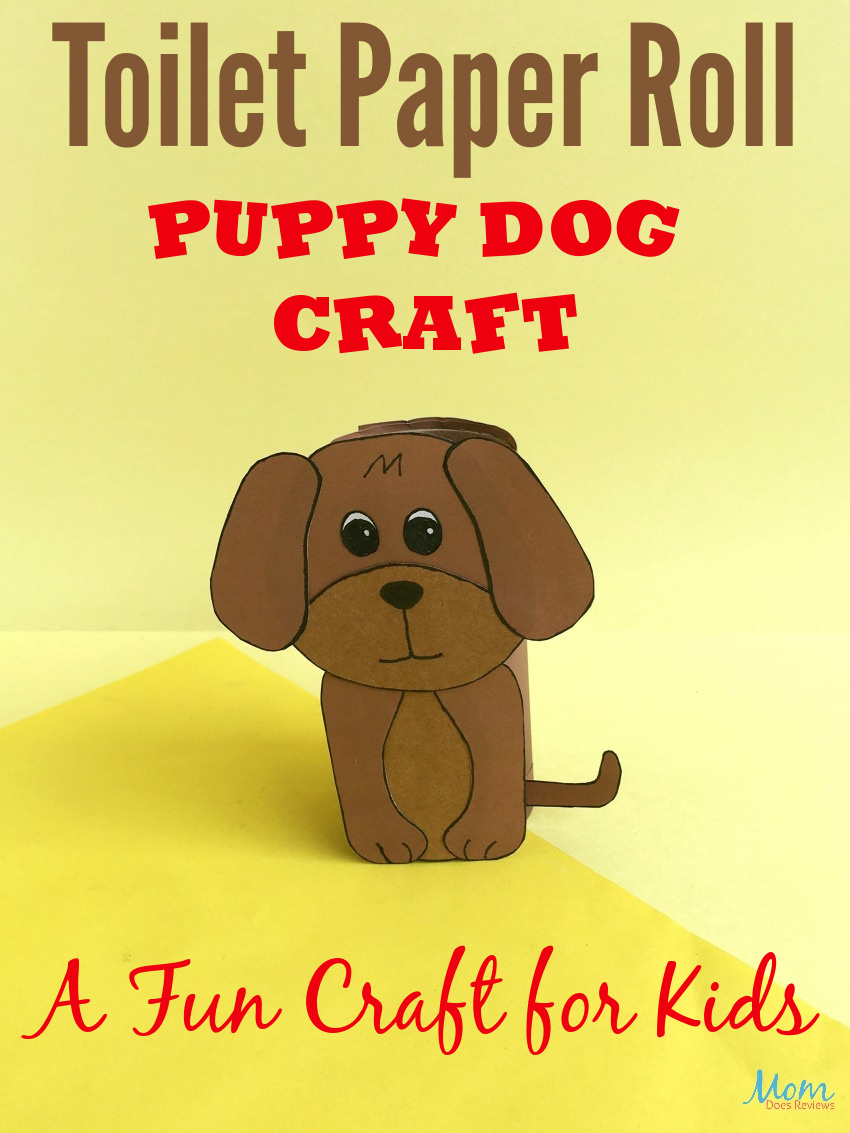
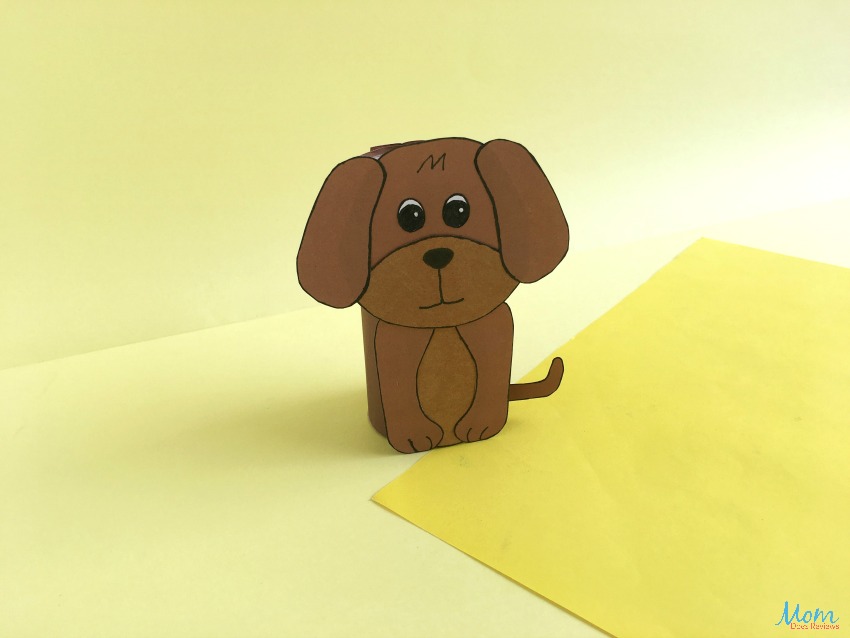
The kiddos will LOVE this fun and cute Toilet Paper Roll Dog Craft! It is not only super cute but also super easy to make! Just print out the template and then follow the easy step-by-step instructions.
This Toilet Paper Roll Dog Craft is so adorable! And, did I mention easy?! The kids will squeal in delight when presented a chance to make their very own paper puppy dog!
This fun craft uses simple supplies and comes with a printable template and step-by-step instructions. So, go ahead and surprise the kids and wait for their beaming smiles!
And, if you love easy to do toilet paper roll crafts, be sure and check out our cute Butterfly, Bee, or our cute Minion craft! All of them are easy to make and oh so cute!
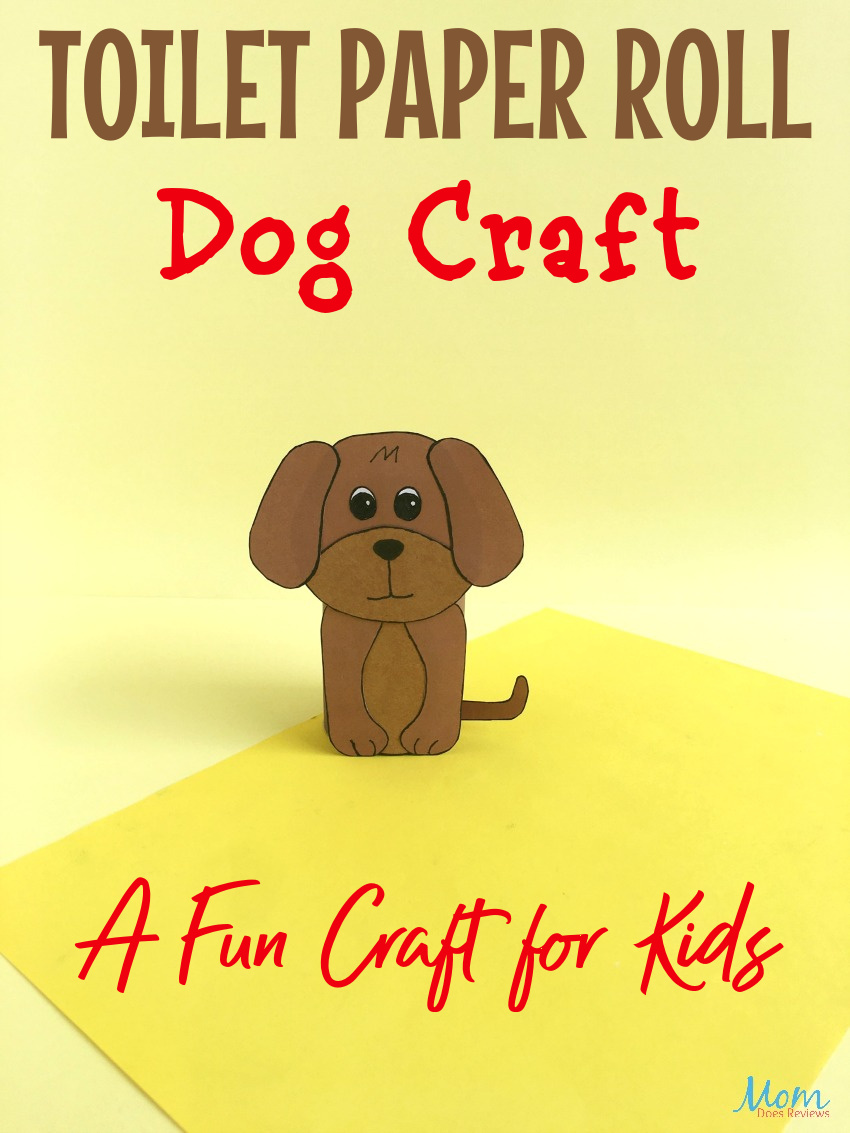
Toilet Paper Roll Dog Craft | A Fun Craft for Kids
Supplies Needed:
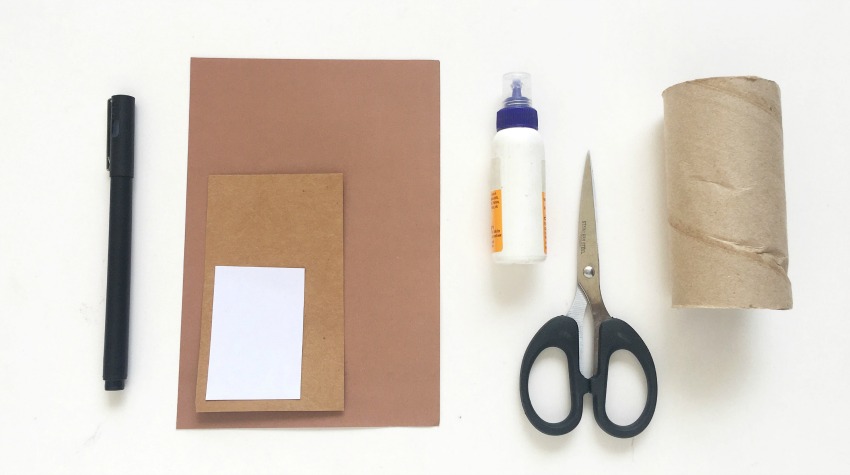
Colorful cardstock craft paper
Tissue Paper Roll
Colorful craft paper
Colorful marker pens
Pencil
Glue
Ruler
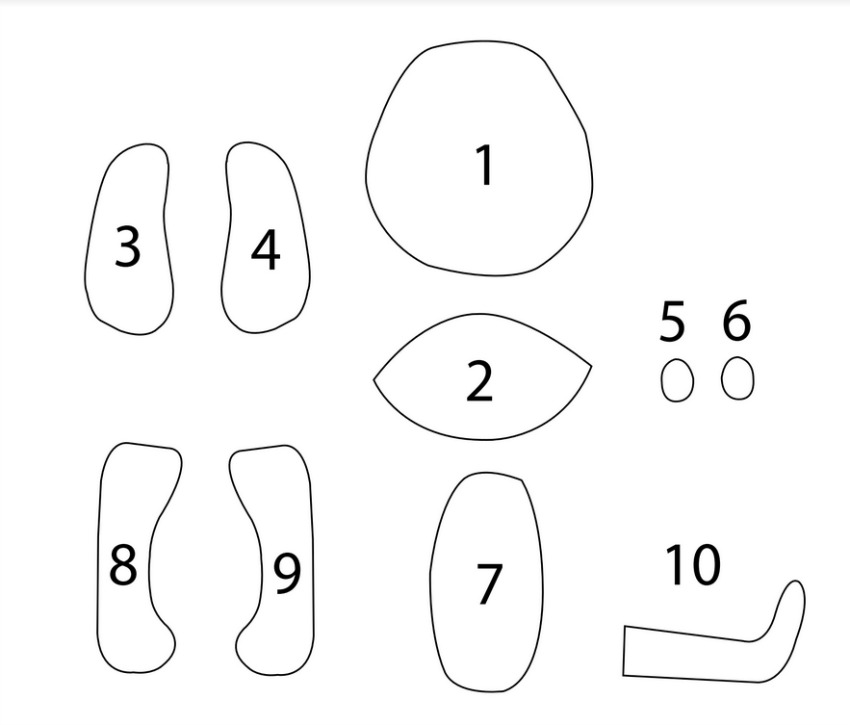
Print the template HERE or by clicking the image above!
How to make this fun Toilet Paper Roll Dog craft:

Step 1:
After you have printed the PDF template, choose what color you want your puppy to be. Let’s use a few shades of brown to make the puppy. Use the templates to cut out the pieces for the puppy.
Outline the pieces using marker pens.
Step 2:
To make this easy, let’s use the numbers on the template to join the pieces together.
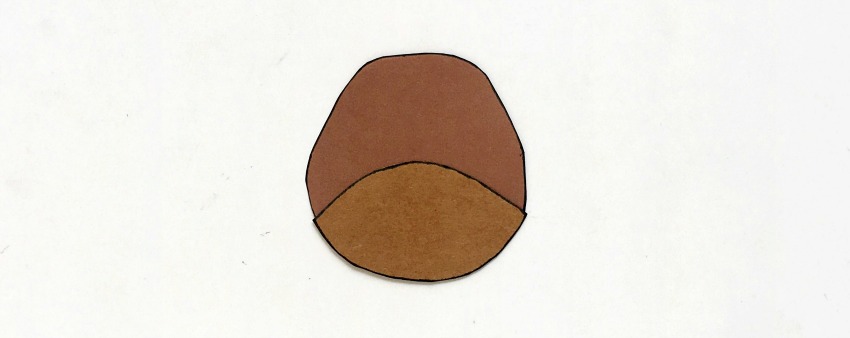
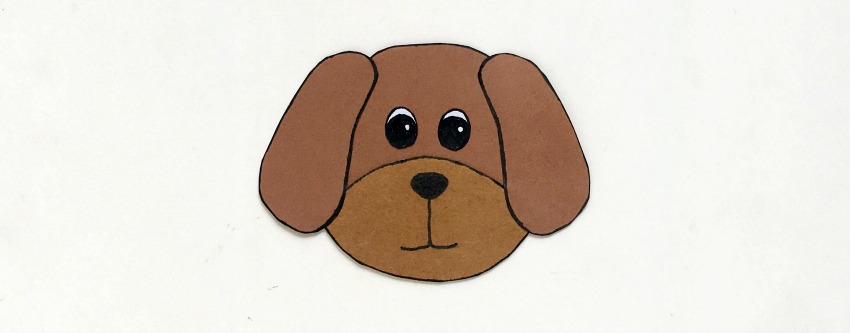
Piece number 1 is the puppy’s head and Piece Number: 2 is the mouth.
Glue piece number 2 on the bottom side of the number 1.
Allow the glue to dry.
Step 3:
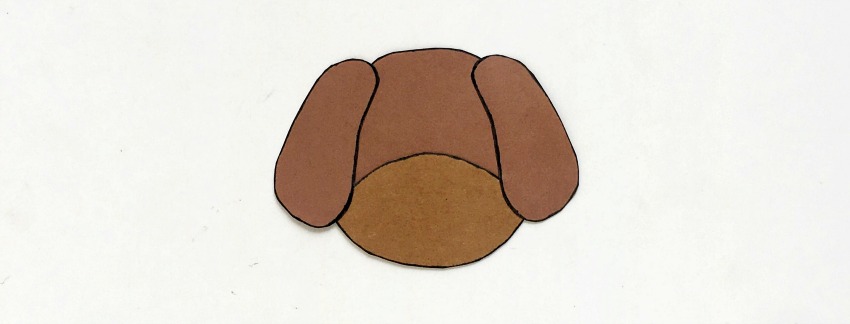
Piece number 3 and 4 are the ears for the puppy. Glue number 3 on the left side of the puppy’s head and glue piece number 4 on the right side of the puppy’s head.
Step 4:
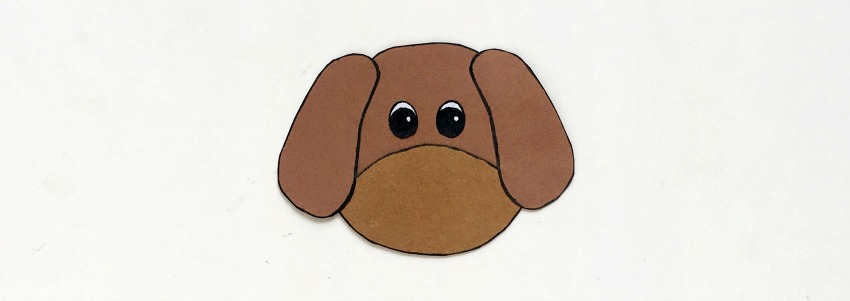
Take numbers 5 and 6 and glue them on the top side of the puppy’s head these are the eyes for the puppy.
Step 5:
Then use the marker pens to draw the puppy’s nose and mouth.

Step 6:
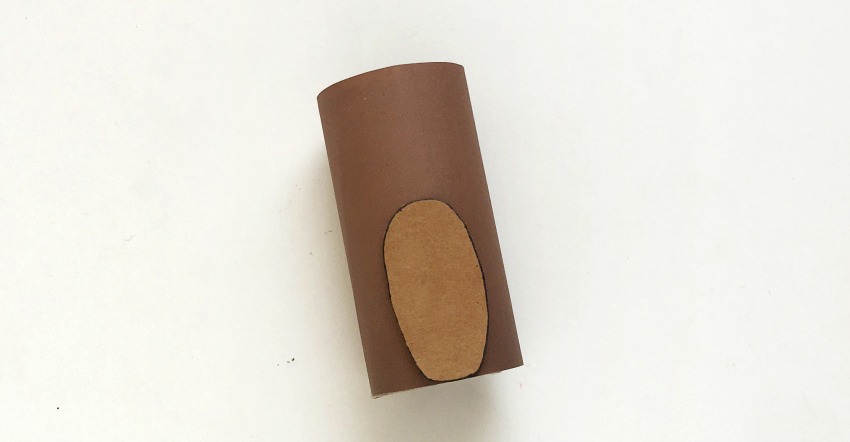
Now, take the tissue paper roll, and wrap it with brown craft paper.
Make sure the paper is the same height and circumference as the tissue paper roll.
Step 7:
Take piece number 7 and glue it on the bottom part of the tissue paper roll.
Step 8:
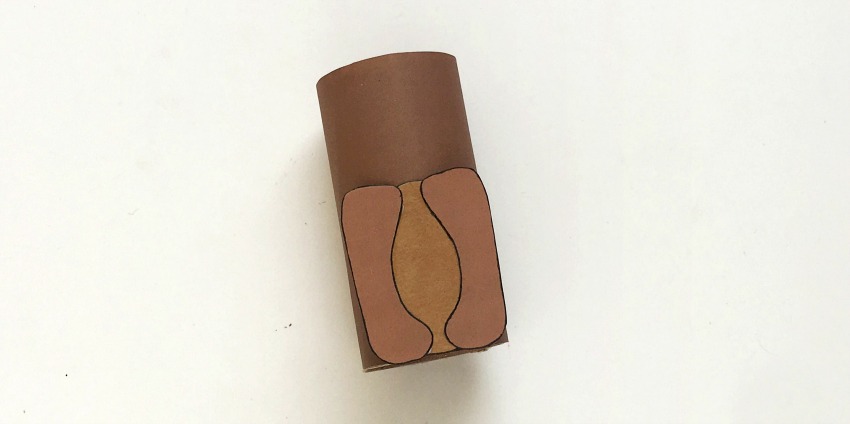
Then, take piece number 8 and 9, these are the feet of the puppy.
Glue piece number 8 on the left side and piece number 9 on the right.
Step 9:
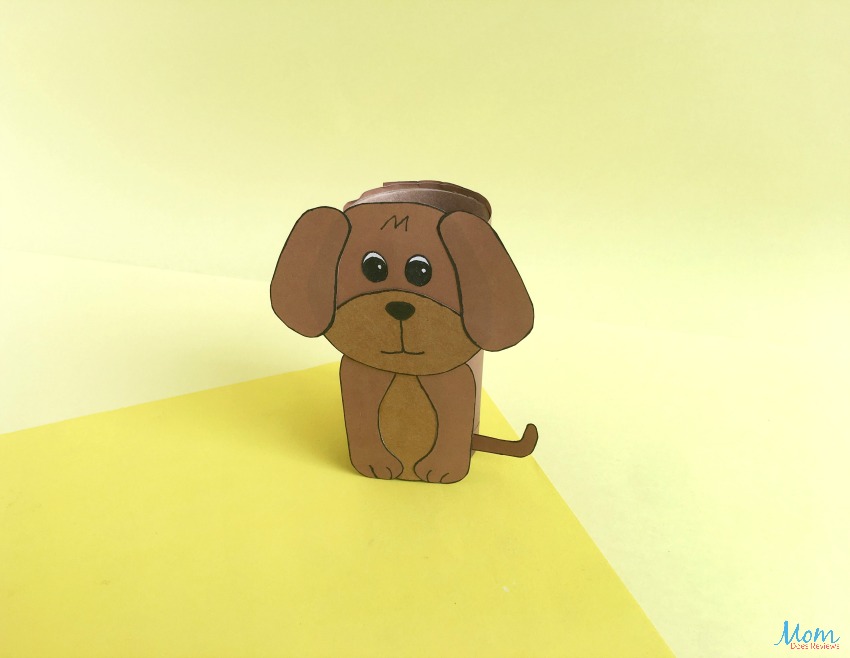
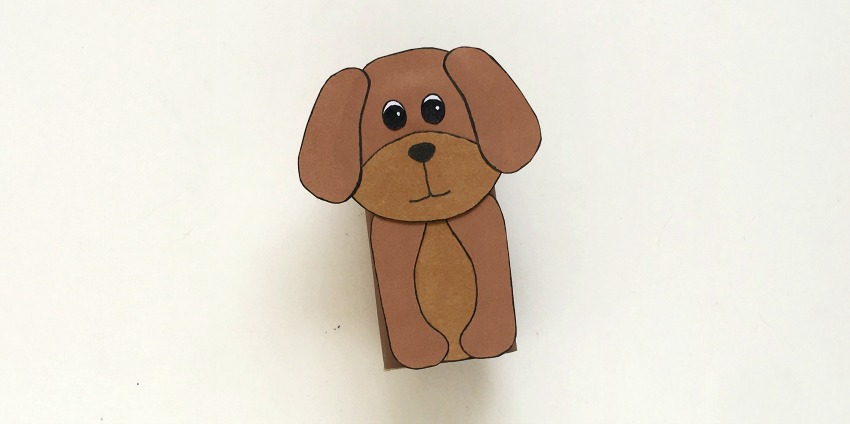
Almost finished, now take the puppy’s head and glue it on the top of the tissue paper roll.
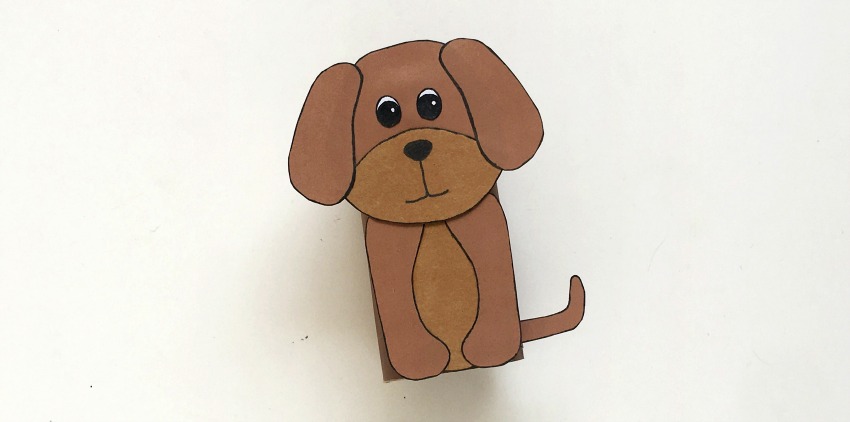
Step 10:
Now finish it by gluing the tail (piece number 10) on the side of the tissue paper roll.
Print this fun Toilet Paper Roll Dog craft!

Toilet Paper Roll Dog Craft
The kiddos will LOVE this fun and cute Toilet Paper Roll Dog Craft! It is not only super cute but also super easy to make! Just print out the template and then follow the easy step-by-step instructions.
Materials
- Colorful cardstock craft paper
- Tissue Paper Roll
- Colorful craft paper
- Colorful marker pens
- Pencil
- Glue
- Ruler
Instructions
Step 1:
After you have printed the PDF template, choose what color you want your puppy to be. Let’s use a few shades of brown to make the puppy. Use the templates to cut out the pieces for the puppy.
Outline the pieces using marker pens.
Step 2:
To make this easy, let’s use the numbers on the template to join the pieces together.
Piece number 1 is the puppy’s head and Piece Number: 2 is the mouth.
Glue piece number 2 on the bottom side of the number 1.
Allow the glue to dry.
Step 3:
Piece number 3 and 4 are the ears for the puppy. Glue number 3 on the left side of the puppy’s head and glue piece number 4 on the right side of the puppy’s head.
Step 4:
Take numbers 5 and 6 and glue them on the top side of the puppy’s head these are the eyes for the puppy.
Step 5:
Then use the marker pens to draw the puppy’s nose and mouth.
Step 6:
Now, take the tissue paper roll, and wrap it with brown craft paper.
Make sure the paper is the same height and circumference as the tissue paper roll.
Step 7:
Take piece number 7 and glue it on the bottom part of the tissue paper roll.
Step 8:
Then, take piece number 8 and 9, these are the feet of the puppy.
Glue piece number 8 on the left side and piece number 9 on the right.
Step 9:
Almost finished, now take the puppy’s head and glue it on the top of the tissue paper roll.
Step 10:
Now finish it by gluing the tail (piece number 10) on the side of the tissue paper roll.
Pin it for later!