
Nothing is more relaxing than a hot bath with a fizzing bath bomb!
These beautiful bath bombs are great for your skin because of the essential oils. You can choose different oils – it’s your choice.
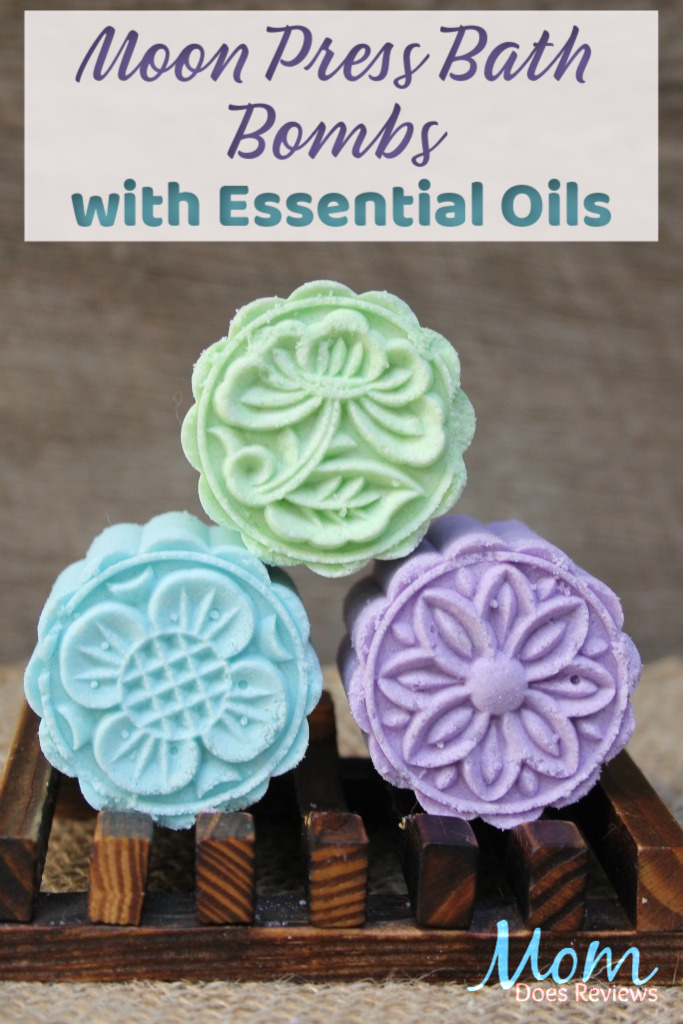
Make some Bath Bombs and have a relaxing bath!
Supplies:
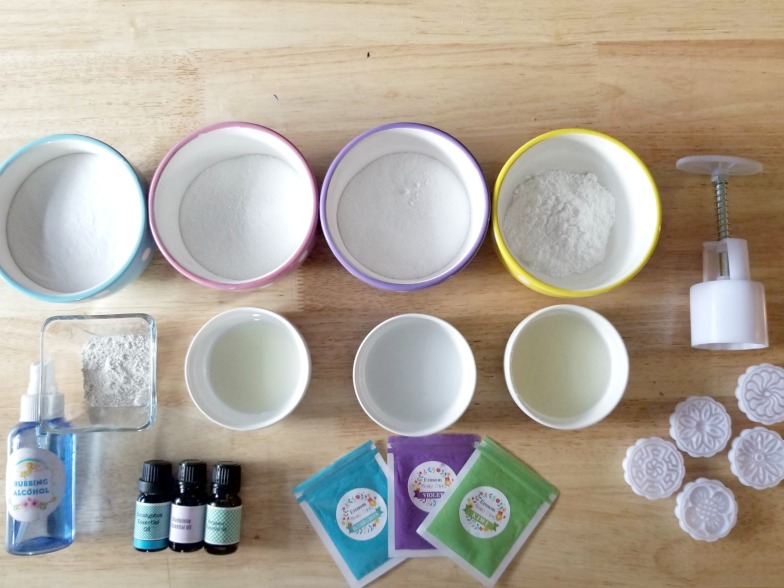
- 1 cup baking soda
- 1/2 cup citric acid (It’s better to buy in bulk on Amazon)
- 1/2 cup SLSA (Sodium Laurel Sulfoacetate) (Find it on Amazon)
- 1/4 cup cream of tartar
- *1 tablespoon kaolin clay (You can buy it here on Amazon)
- 2 tablespoons coconut oil
- 2 tablespoons rubbing alcohol
- **1 teaspoon polysorbate 80 (You can buy it here on Amazon)
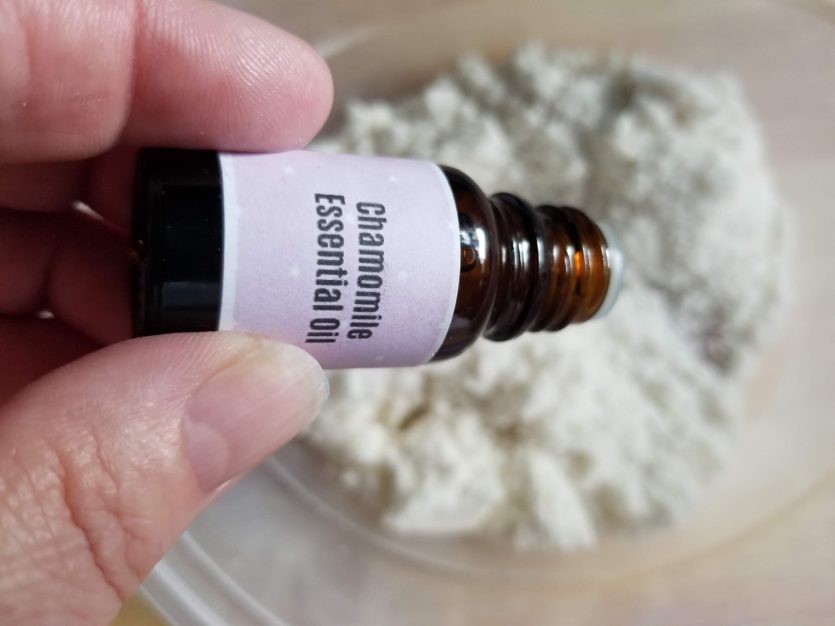
- Chamomile essential oil
- Bergamot essential oil
- Eucalyptus essential oil
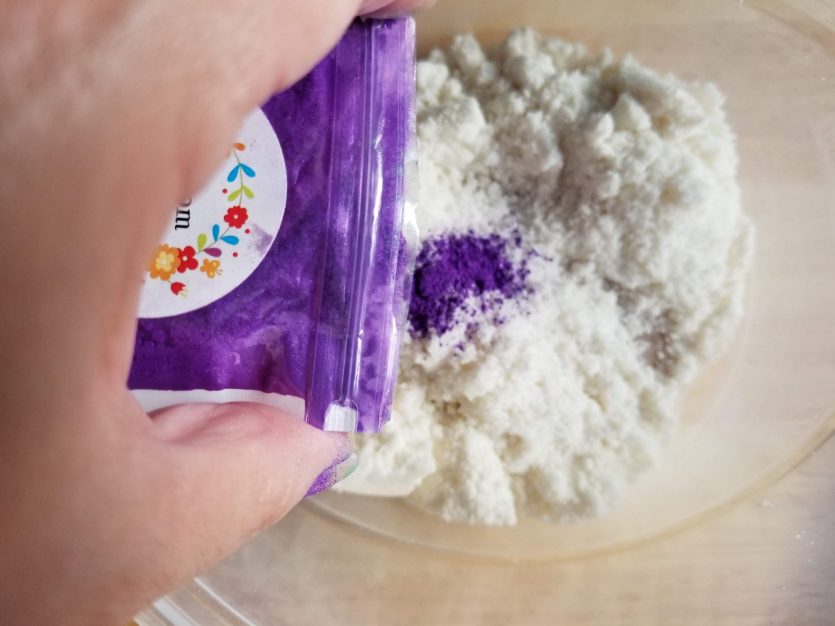
- Mica coloring ( We used purple, green and blue from this set on Amazon)
- Spray bottle of rubbing alcohol
- 1 large mixing bowl
- 3 smaller mixing bowls
- ***Moon Press mold (I got mine on Amazon)
- Parchment or wax paper
- Baking sheet, large tray or plate
Directions:
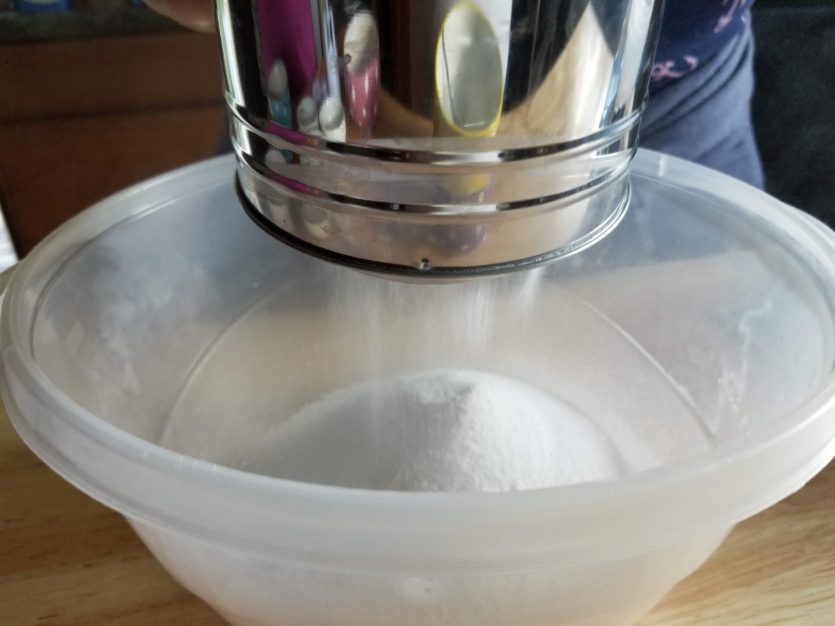
Steps 1-6: In a large mixing bowl, add baking soda, citric acid, SLSA, cream of tartar and *kaolin clay. (Kaolin clay is used to harden the bath bombs and give them more stabilization. You can still make your bath bombs if you don’t have this ingredient) Using a sifter or mesh strainer, remove any hard pieces of the dry ingredients.
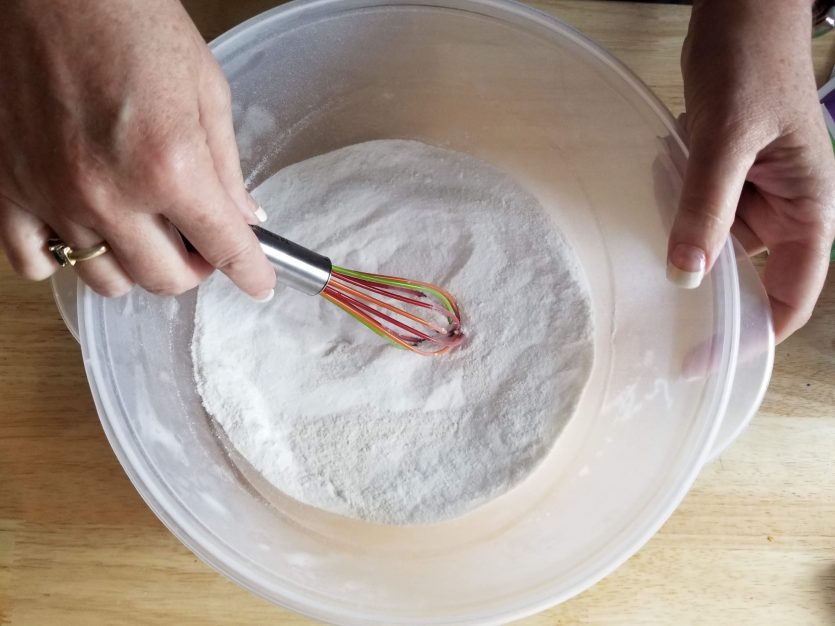
Step 7: Using your hands or whisk, break down any lumps remaining in the dry mixture.
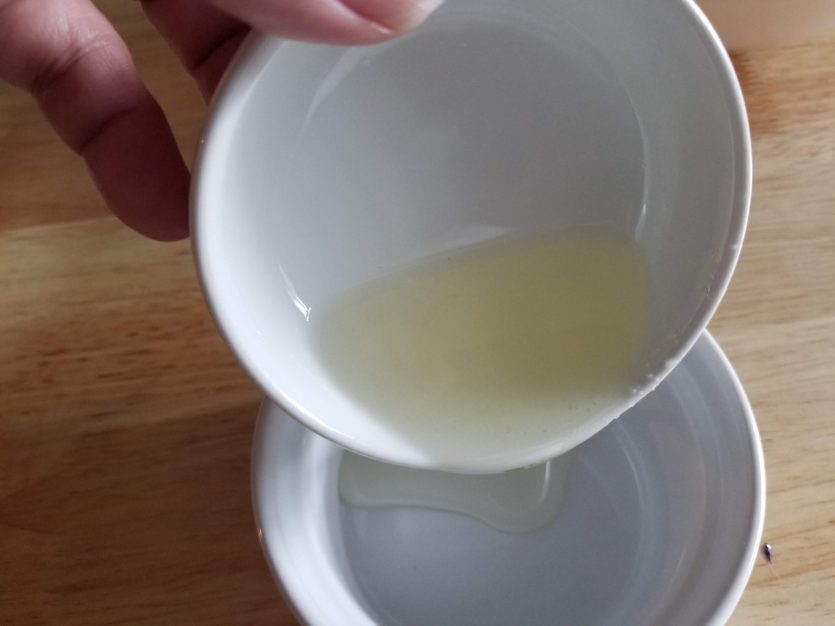
Step 8-11: In a small bowl, add the coconut oil, rubbing alcohol and **polysorbate 80. Whisk liquid ingredients together. (Polysorbate 80 makes your bath bombs bubble up in the water. You can still make your bath bombs if you don’t have this ingredient.)
Steps 12: Slowly add in the liquid ingredients to the dry ingredients. Add about 1 tablespoon at a time.
Step 13: Whisk together well and repeat until liquid mixture is incorporated into dry mixture. I use my hands to make sure it is incorporated well. This is entirely optional ?
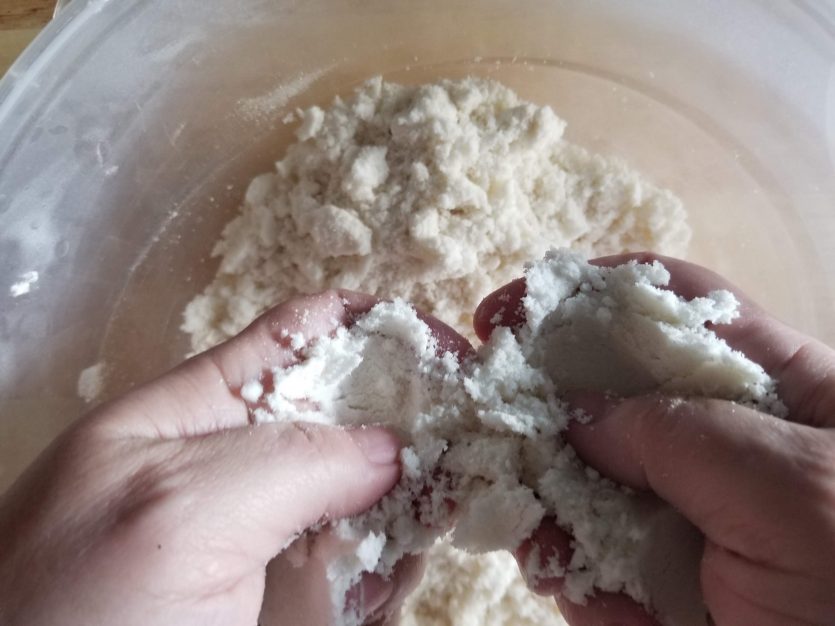
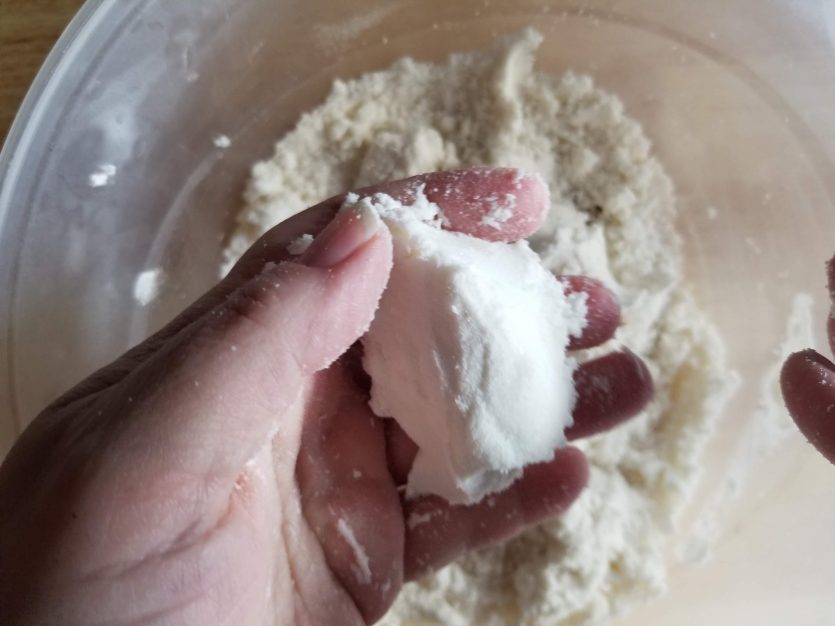
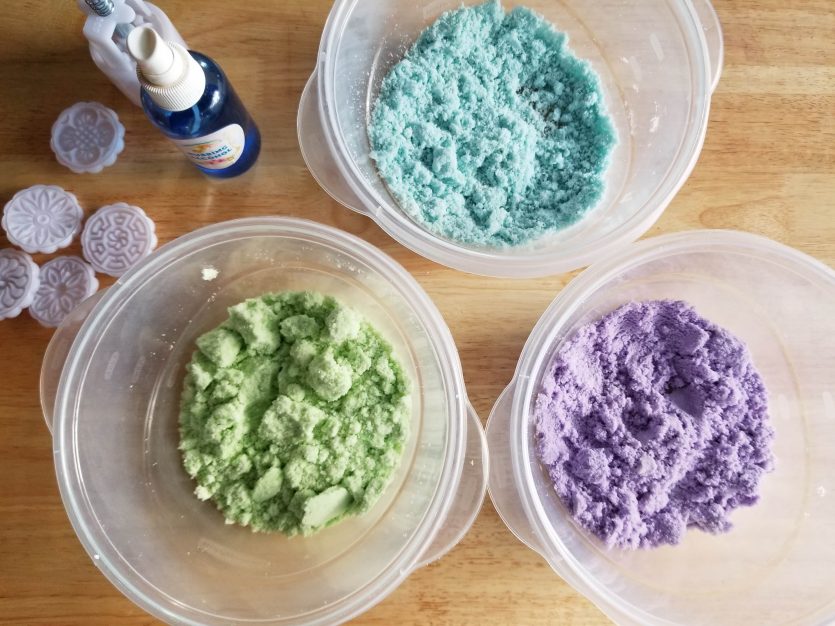
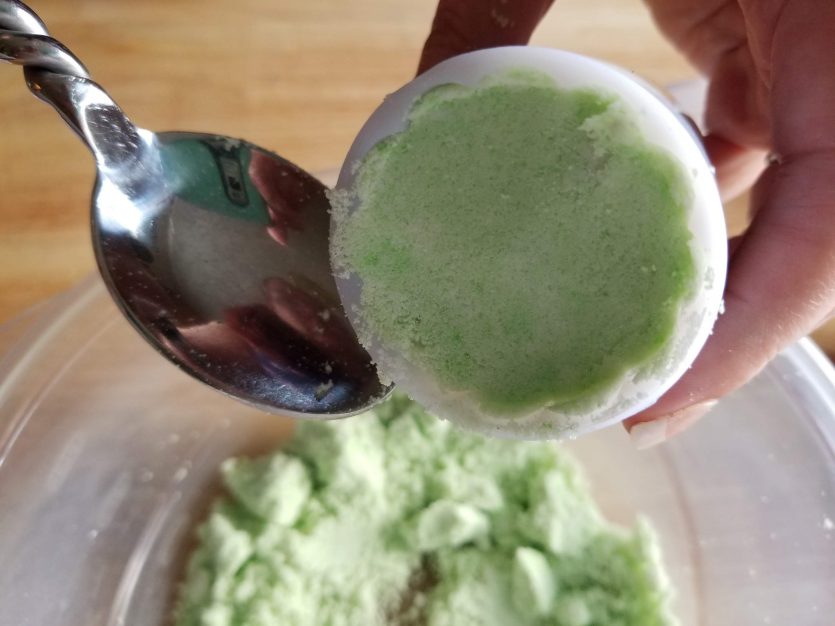
Steps 14-15: You will know when the mixture is perfect when you can press the mixture together in your hands and it stays together (see photo Step 14.) Separate the mixture evenly into three bowls.
Step 16: Add essential oil to each bowl
Step 17: Add coloring to each bowl
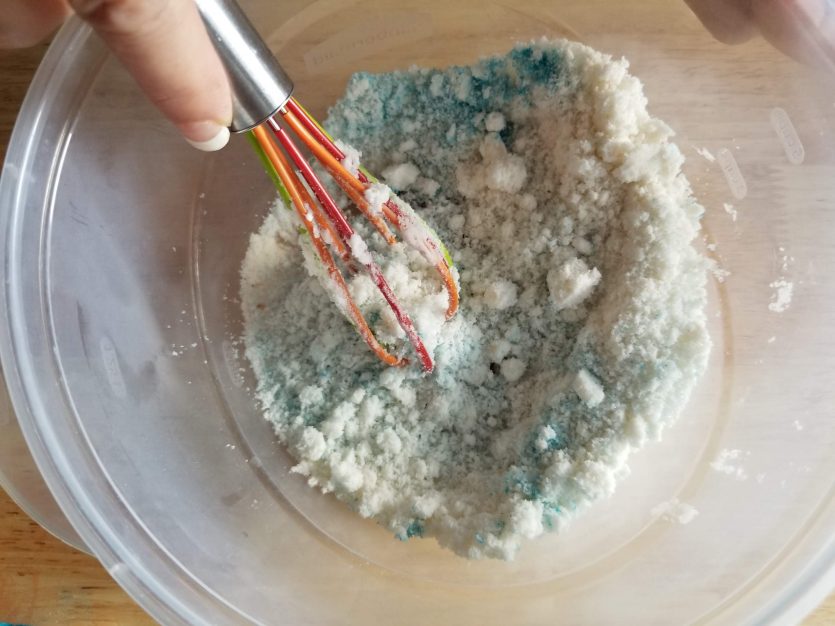
Step 18: Using a whisk or your hands, blend coloring thoroughly into mixture until the color you want is achieved.
Step 19: Get your three bowls together and keep your bottle of rubbing alcohol handy. You will need this if your mixture begins to dry out.
Step 20: Add first color into your Moon Press. If you don’t have a moon press, you can use a traditional bath bomb or silicone mold. Pack in very well. Press firmly with a spoon.
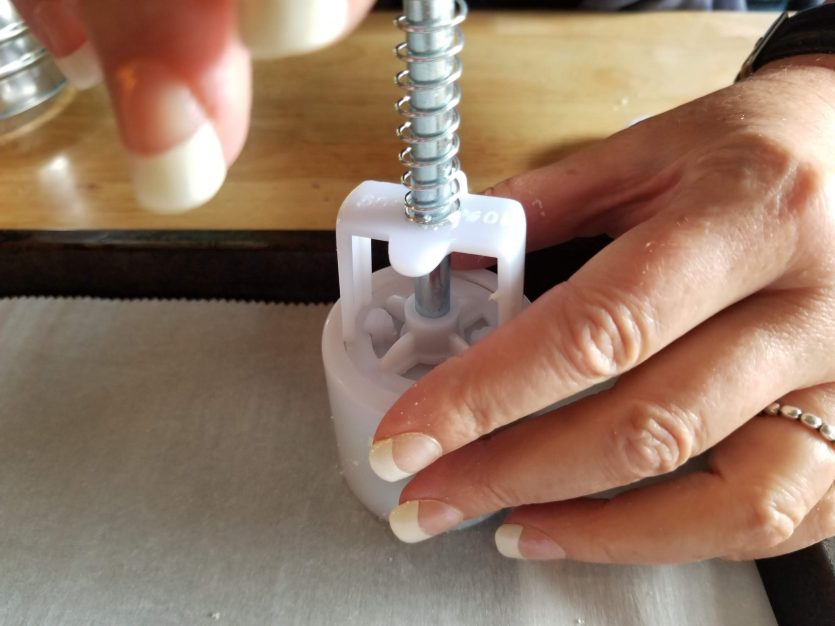
Step 21: Place moon press as shown in photo. Press down firmly once or twice to further pack in the mixture.

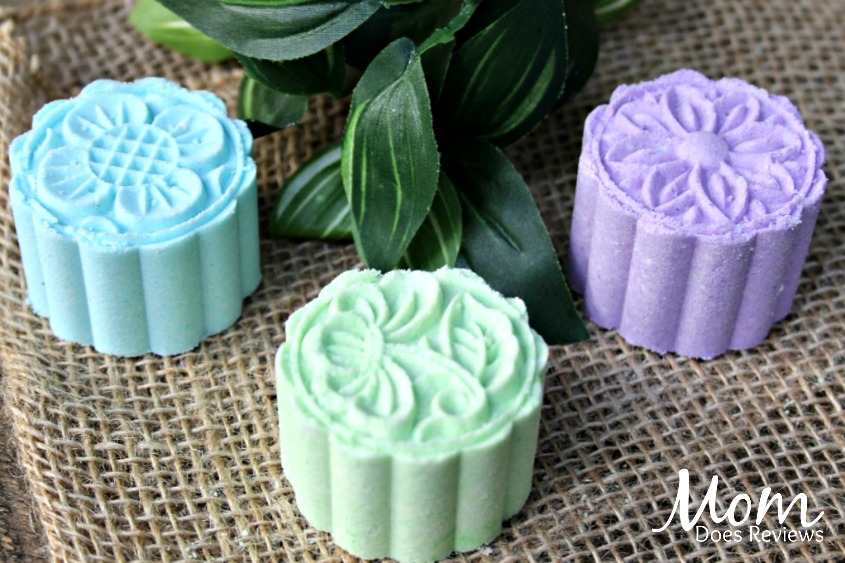
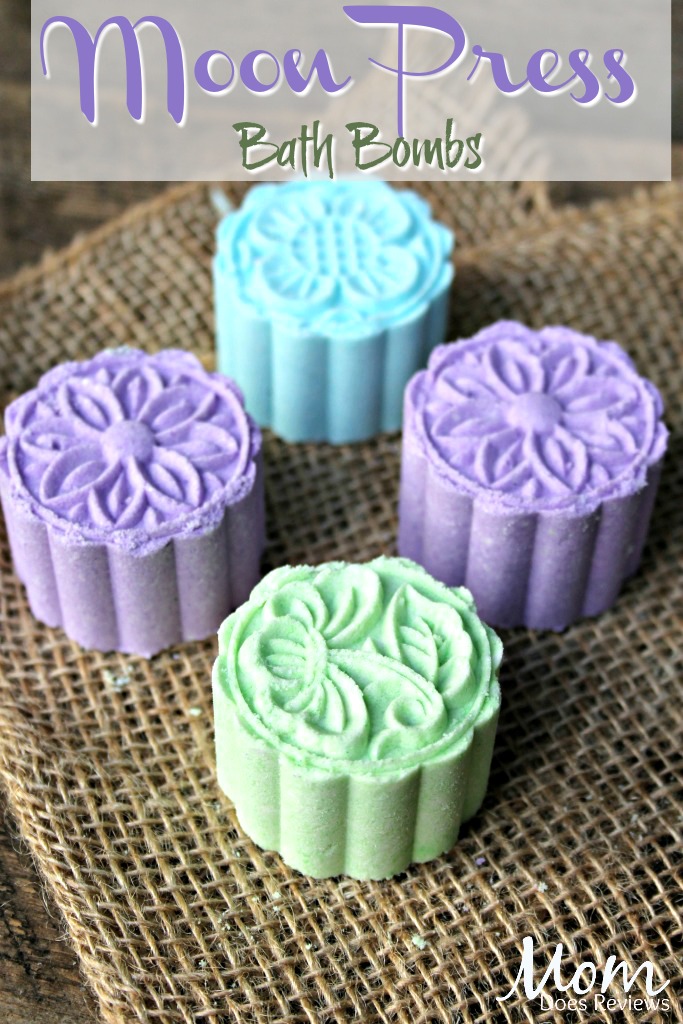
Step 22: Hold your moon press about 1/2 inch above the tray or plate (as shown in photo) and carefully push down on handle of the press. While pressing on the handle, slowly lift the press up and release the bath bomb. Please note, if you aren’t happy with how the bomb came out, you can put back into the mixture and try again. We had to practice a few times before we got the hang of it!
Step 23: As you make your bath bombs, your mixture will begin to dry out. If this occurs, just spritz the mixture with the rubbing alcohol a few times and repeat steps 13-15.
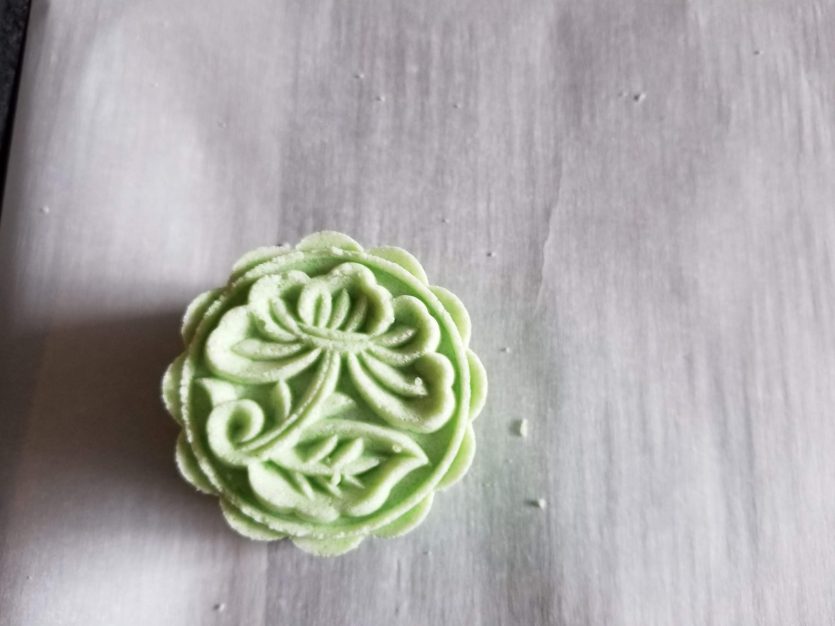
Allow your bath bombs to dry overnight on the tray or plate. Drop one in your bath water and enjoy!
