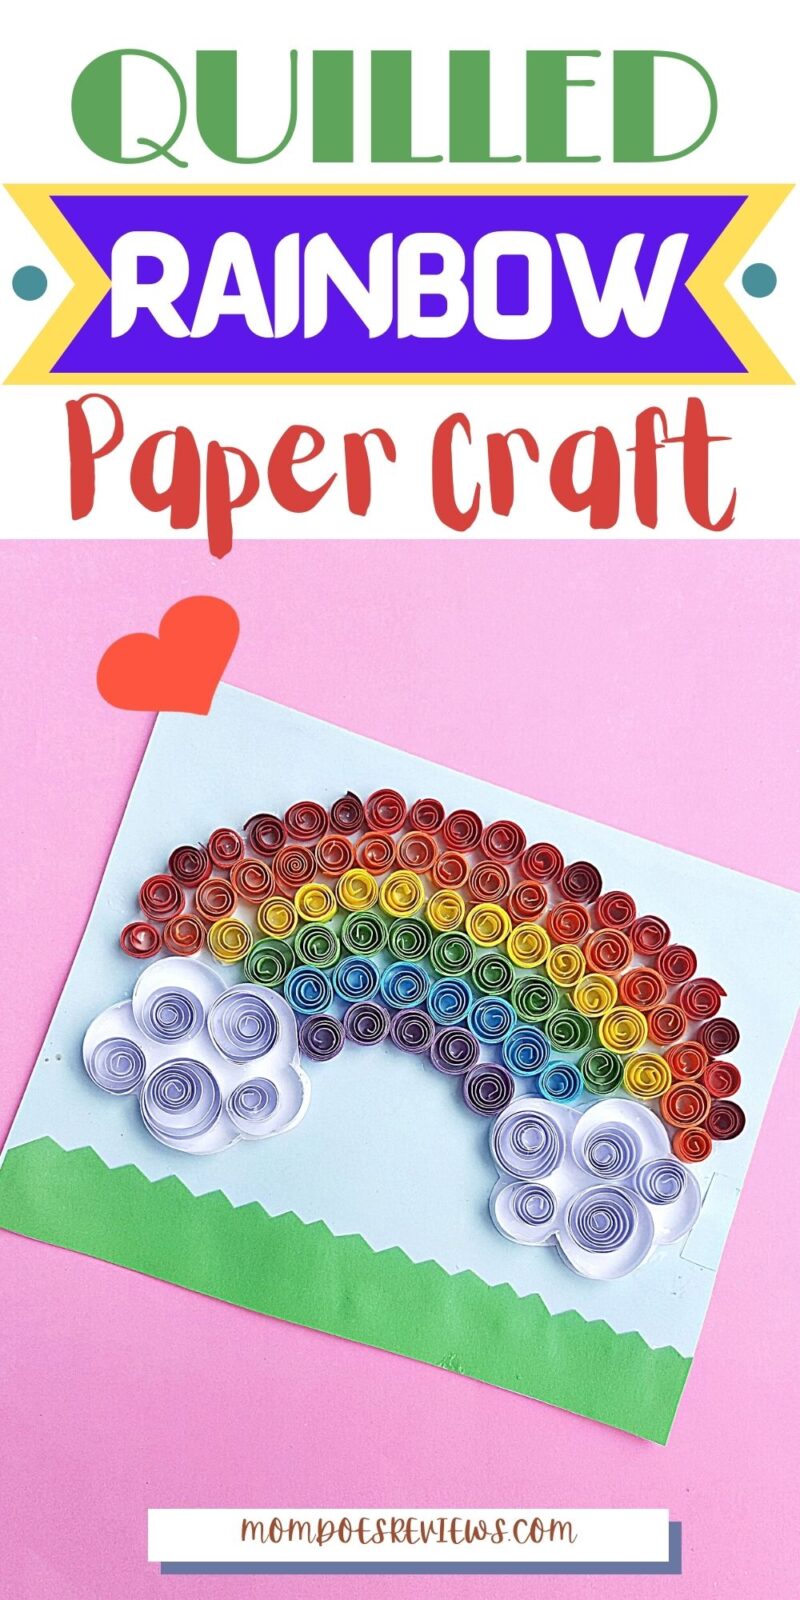
Have you tried any Paper Quilling Projects?
Check out the tutorial below. It’s much easier than you think! Your kids will love making fun things with paper! It’s a great activity to brighten a rainy or snowy day!
List of Supplies:
- Quilling paper strips
- White stationary paper
- Craft glue
- Slotted quilling tool
- Scissors
Instructions:
Step (1)
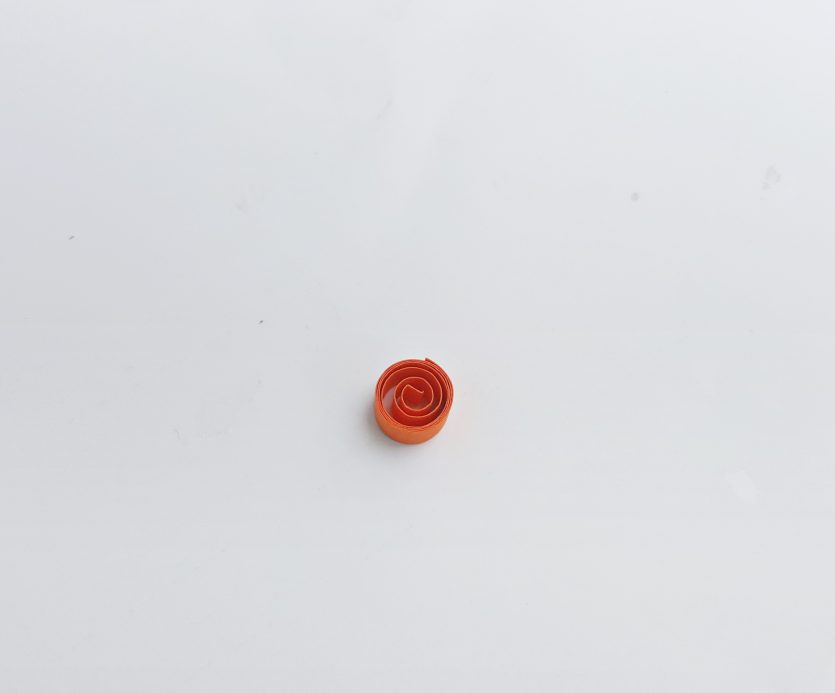
This project required only loose coil shape. Select the colors for the rainbow and the cloud. Take a 6 inch quilling strip and use the slotted quilling tool to coil the entire strip.
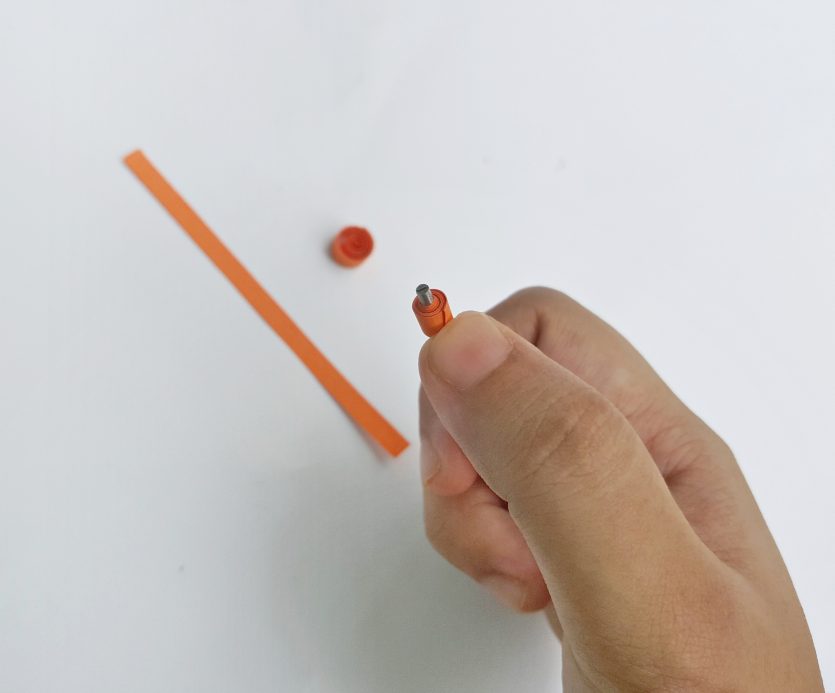
Step (2)
Take the coiled strip out of the tool and allow the coil to loosen up. You can keep the open end as it is or you can also apply glue to close the open end.
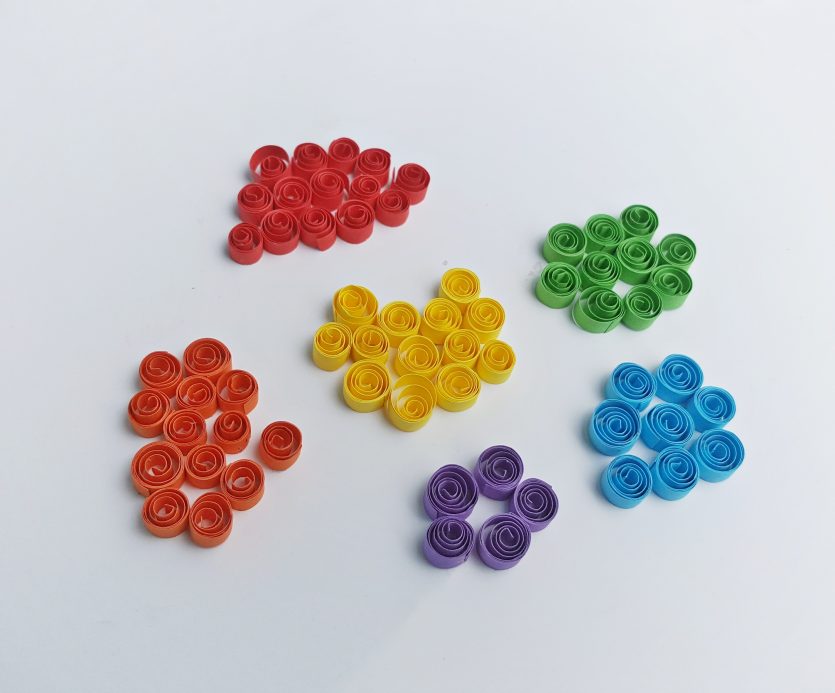
Step (3)
Similarly create a bunch of loose coils; for the rainbow.
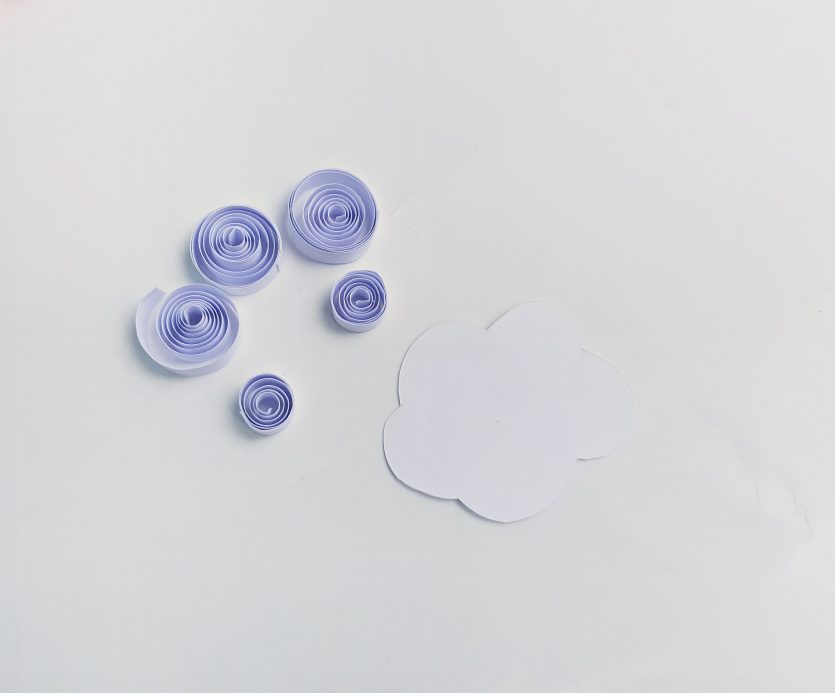
Step (4)
Cut out 2 cloud patterns from white craft paper or stationary paper. Use white quilling strips to create loose coils. Use 6 inches and 12 inches white quilling strips for the cloud patterns. Keep the ends of the coils open.
Step (5)
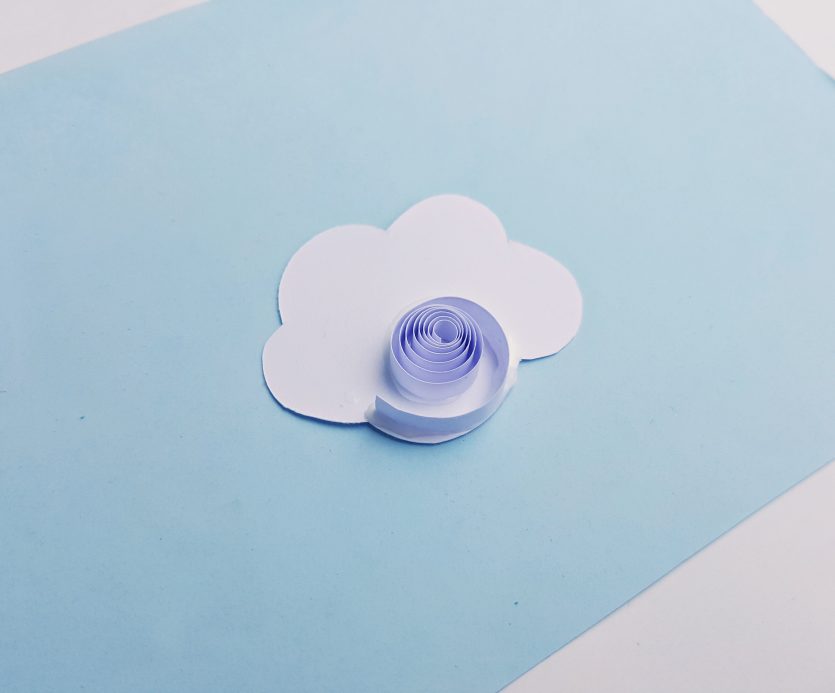
Take a cloud cut out and apply glue along any one of its curved edges; also create a twirl with the glue, inwards.
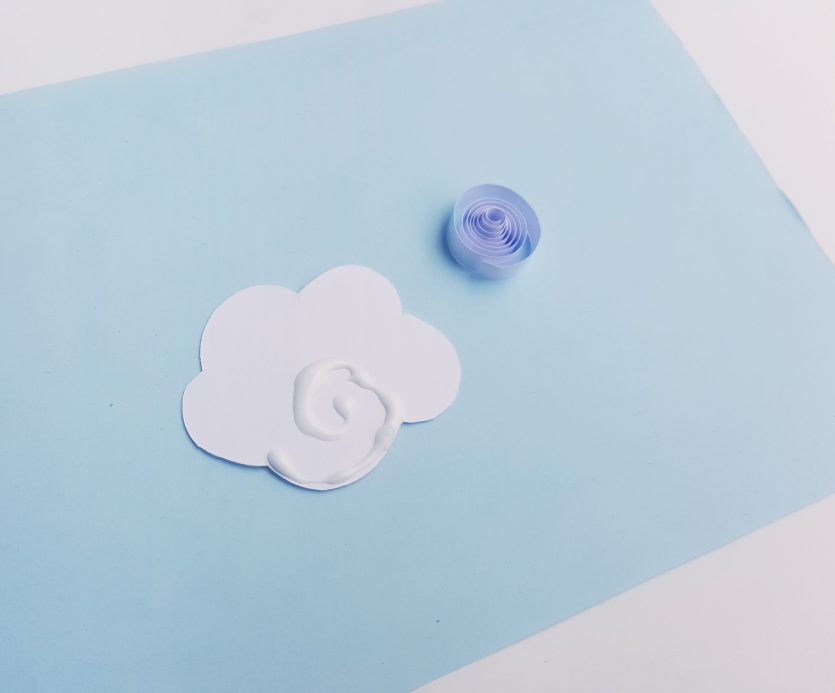
Step (6)
Take a white loose coil and place the coil along the glued part of the cloud; keeping the open end of the coil along the edge of the cloud and the center part of the cloud inwards.
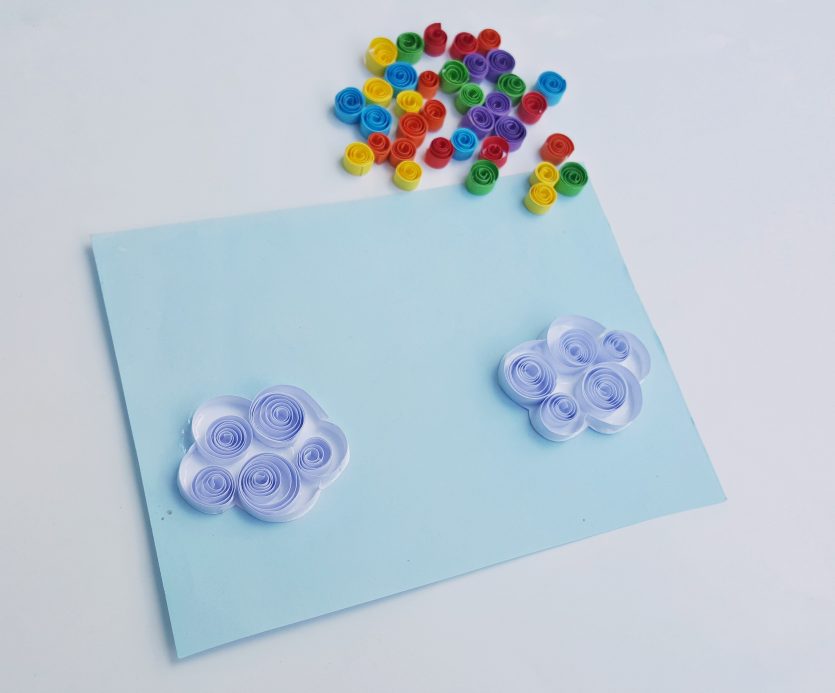
Step (7)
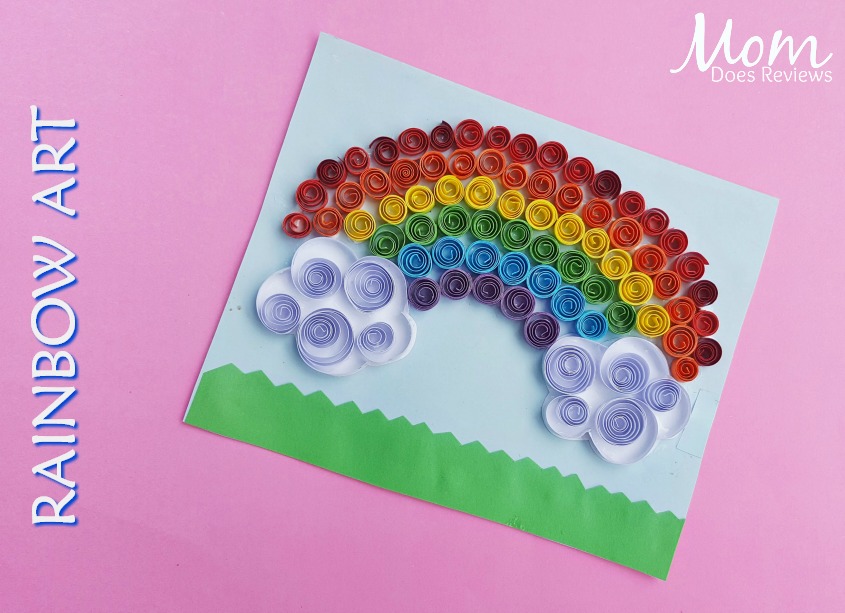
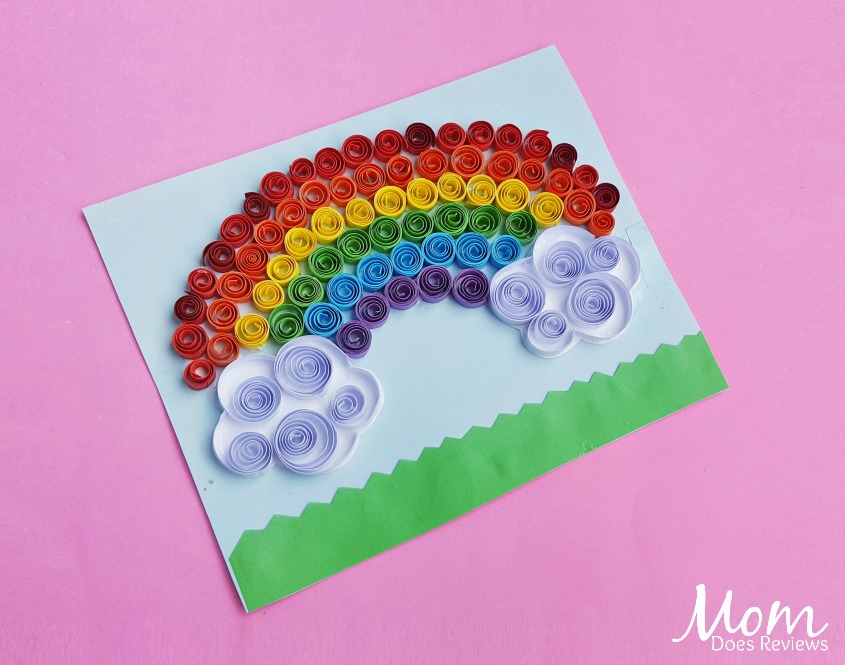
Glue the rest of the white loose coils to fill the cloud cut out. Similarly prepare another cloud pattern. Prepare a piece of blue craft paper and glue the 2 cloud patterns on it; keeping enough space between the clouds for the rainbow pattern.
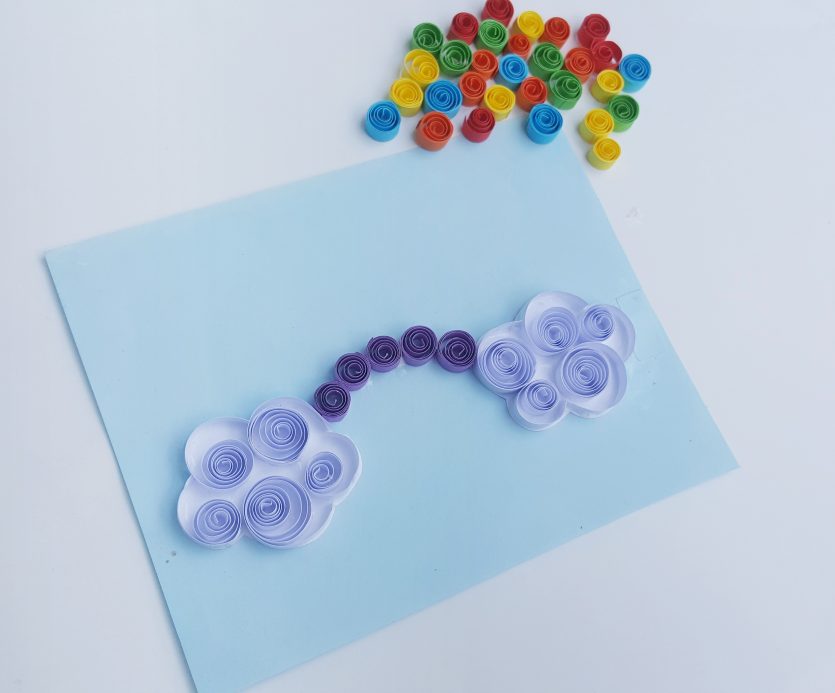
Step (8)
Start with the purple colored loose coils (or red) and simply glue the coils in a curved line from one cloud to the other.
Step (9)
One by one glue the rest of the colors.
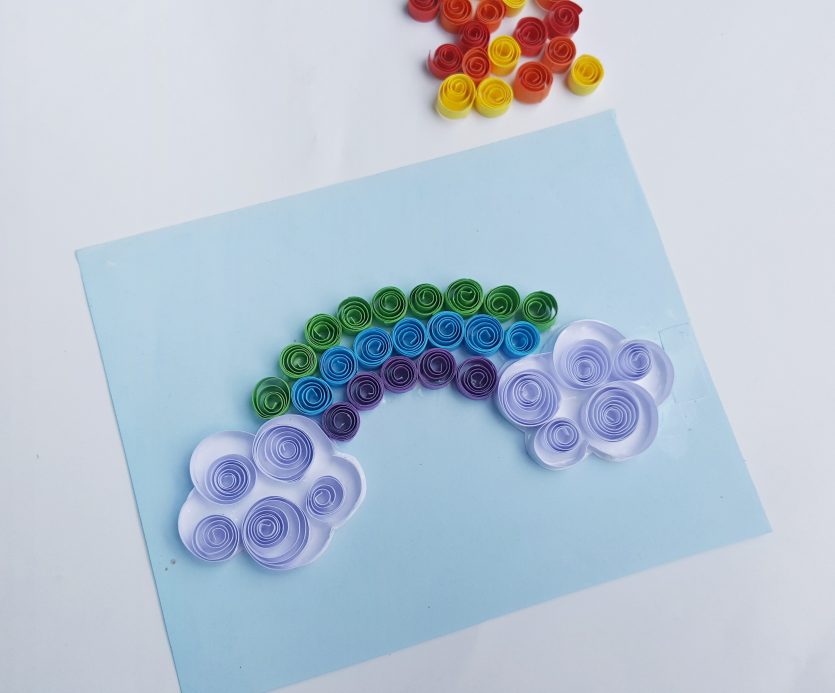
Step (10)
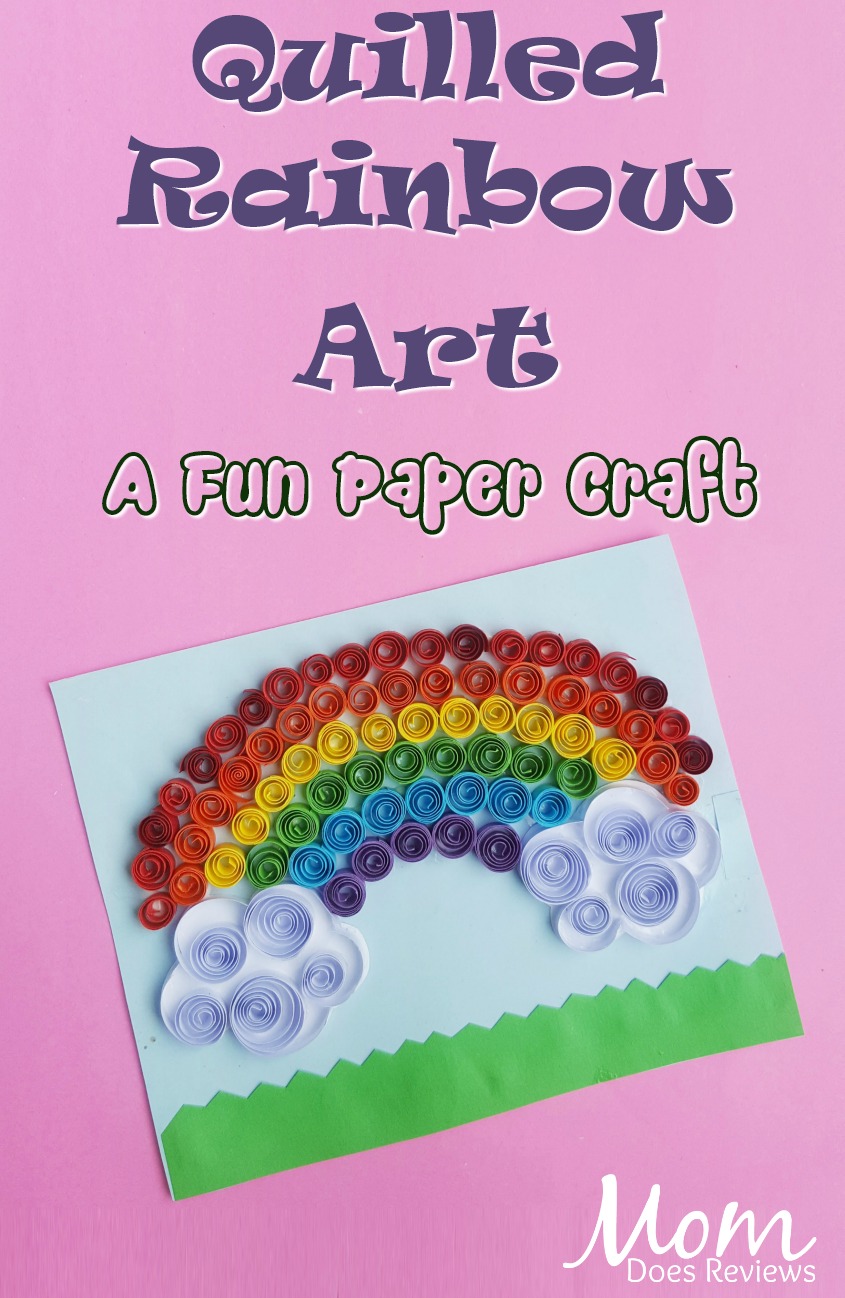
Once you are done creating the rainbow pattern allow the glue to dry. You may add more details if you want to.

Done!
Happy Crafting!
Pin for Later!