
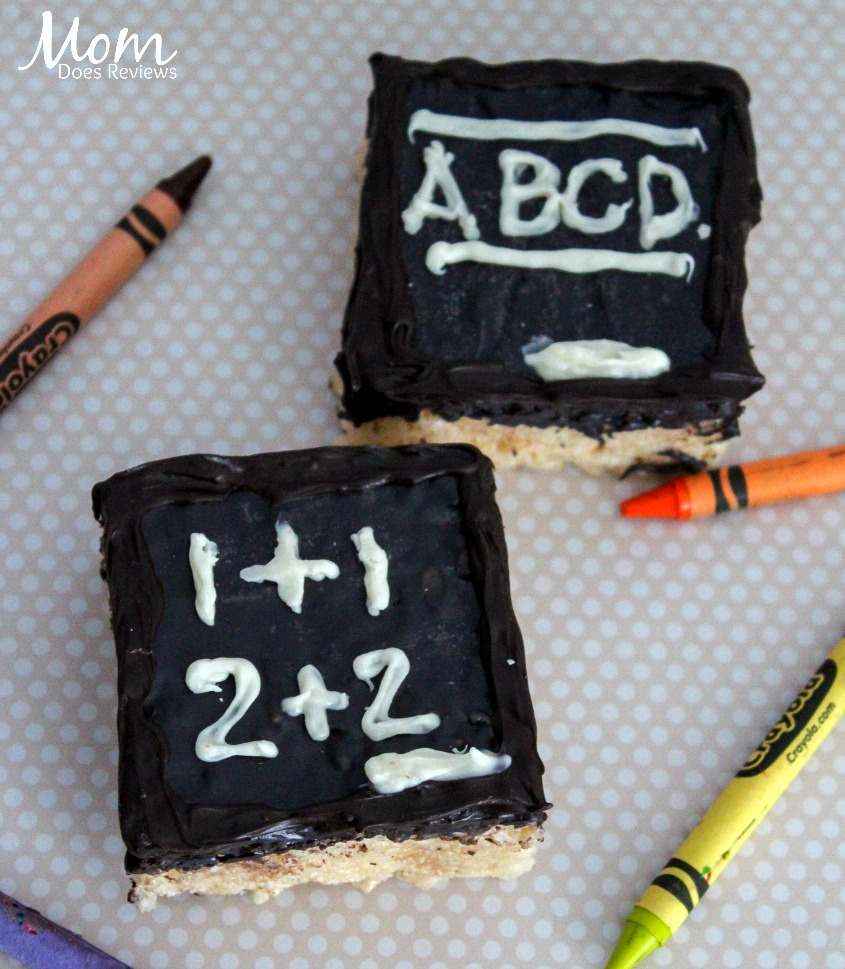
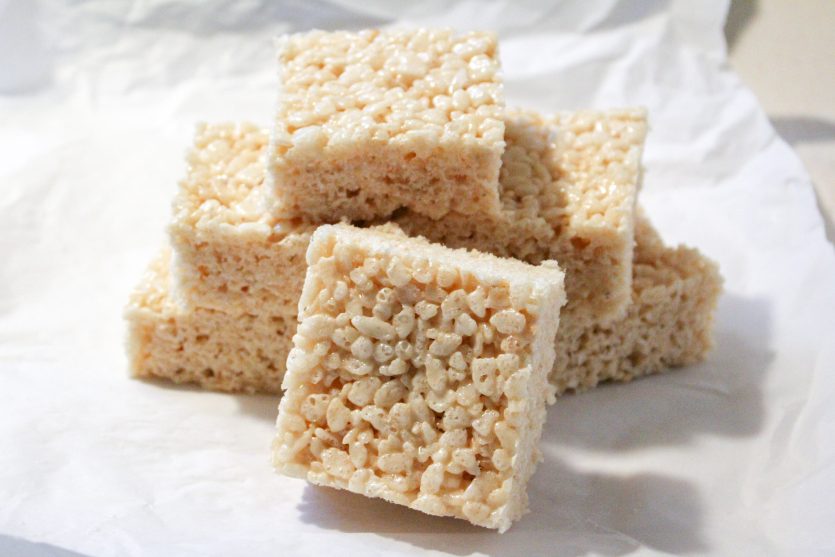
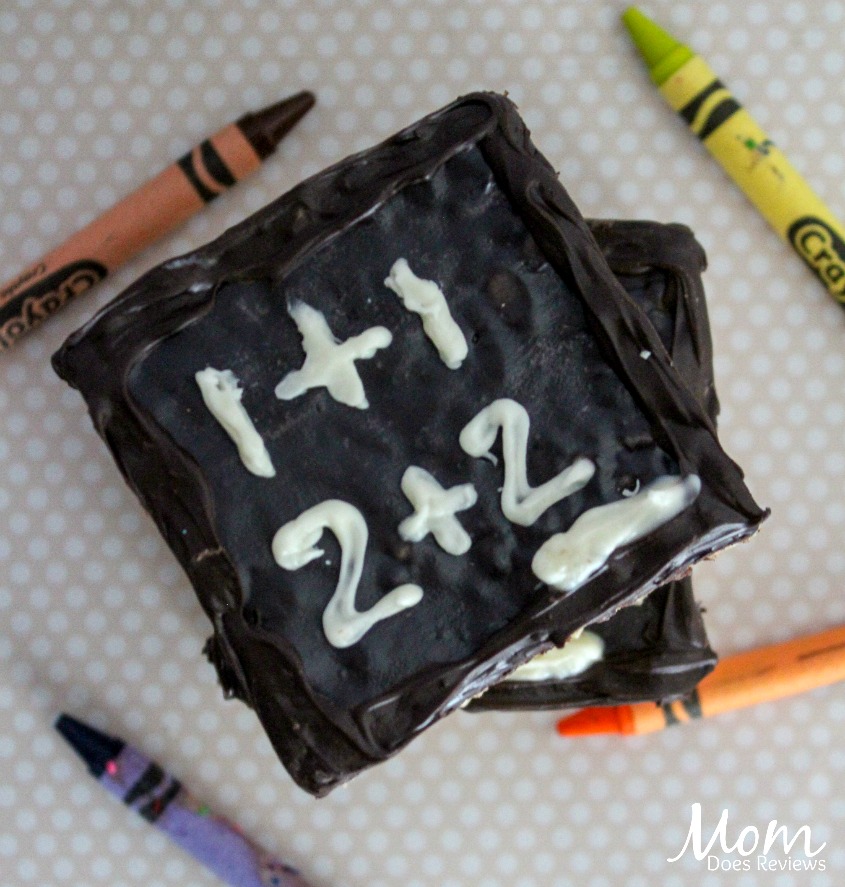
If you’re kids love Rice Krispie Treats, they will love to help you make these fun Chalkboard Treats!
These cute treats are perfect for getting the kids excited about going back to school, bringing to a school party or just for a fun afternoon of decorating. You can write whatever you want on them- customize them to things your kids like or are learning. You can even make some with love notes on them and sneak them into a lunchbox or briefcase!
Be creative and have fun! Be sure to check out our other Back-to-School treats and crafts HERE.
Ingredients:
- 6 TBSP Butter, Unsalted
- 16 oz Miniature Marshmallows, Divided
- 1 TSP Vanilla Extract
- 6 cups Rice Krispies Cereal
- Black Candy Melts
- Brown Candy Melts
- White Candy Melts
- Parchment Paper
- Pastry Bags (Or Ziploc bags)

Instructions:
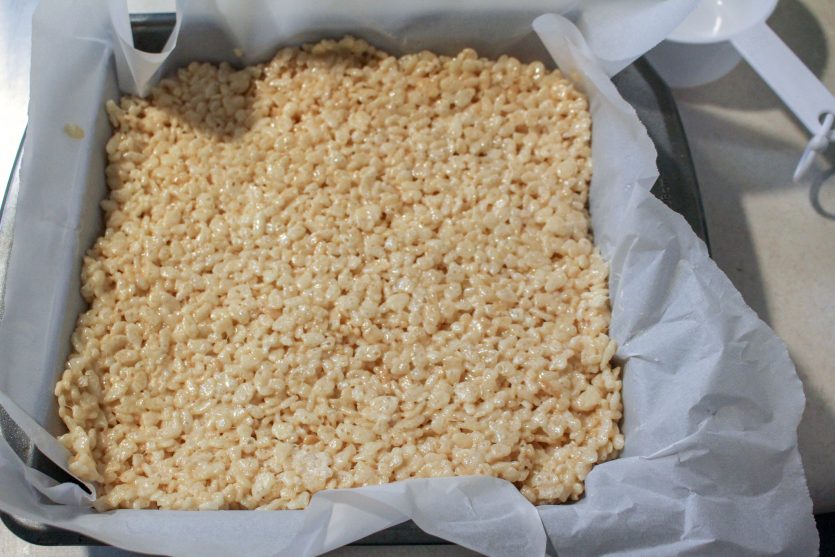
Line an 8×8 or 9×9 pan with parchment paper. Set aside.
In a saucepan, melt the butter.
Add the miniature marshmallows, all except 1 cup.
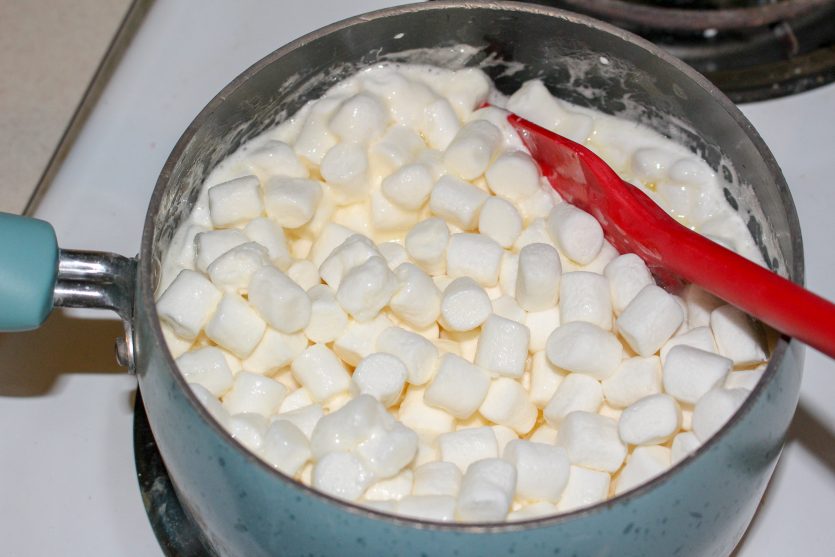
Stir until the marshmallows are melted. Add 1 tsp vanilla and mix.
In a large bowl, pour the melted marshmallows over 6 cups of Rice Krispies.
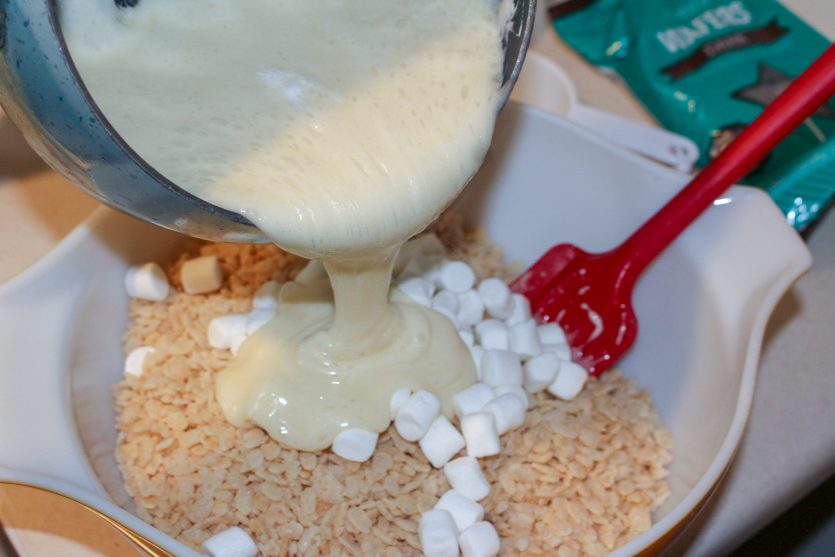
Mix together.
Stir in the last cup of marshmallows and mix together.
Press lightly into the pan. Let sit for about an hour to fully set.
Spread out a piece of parchment paper to work on.
Cut the rice krispie treats into squares.
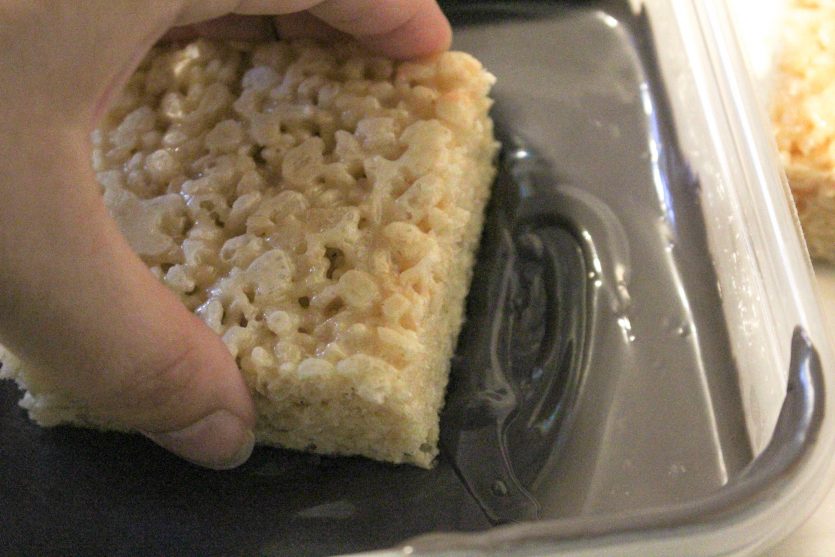
In a small bowl, melt the black candy melts according to the package instructions.
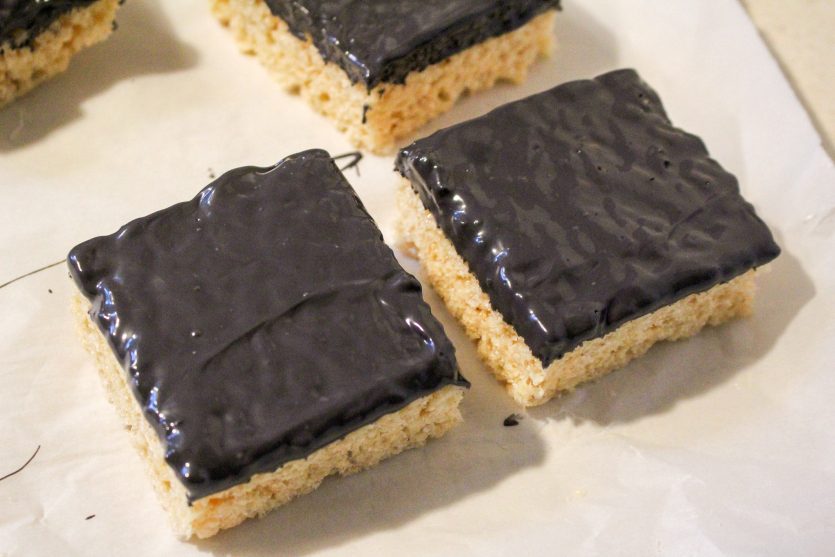
Dip each square into the bowl. Use a spoon if necessary to smooth out the candy melts.
Let set for a few minutes until hardened.
Next, melt the brown candy melts according to package instructions. Transfer to the melts to a pastry bag or a ziploc baggie. You will want a fine tip (or a very small hole cut in the corner of the bag). Pipe the brown around the edges to frame your chalkboard.
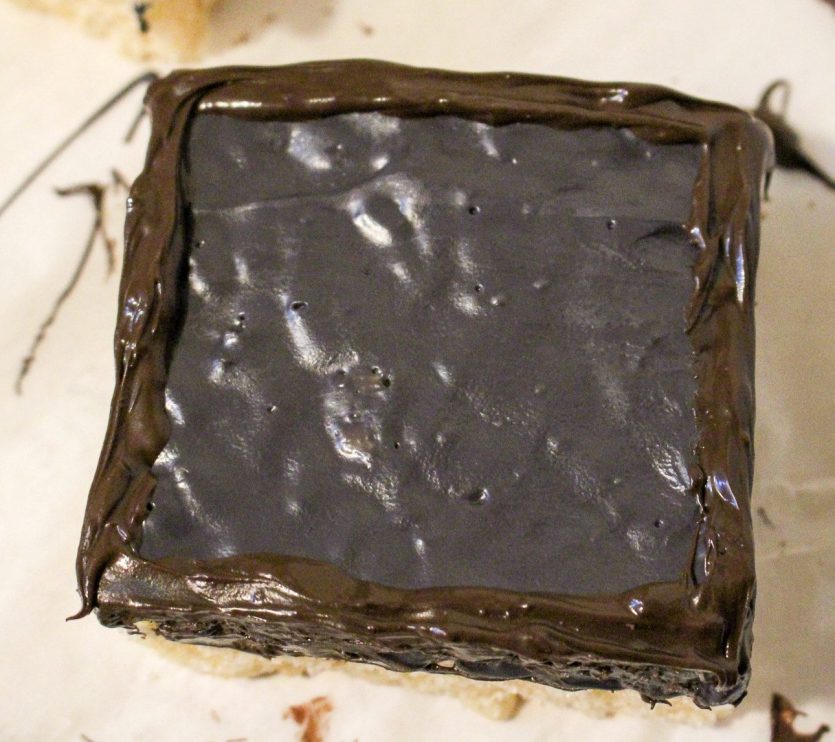
Allow to set until hardened.
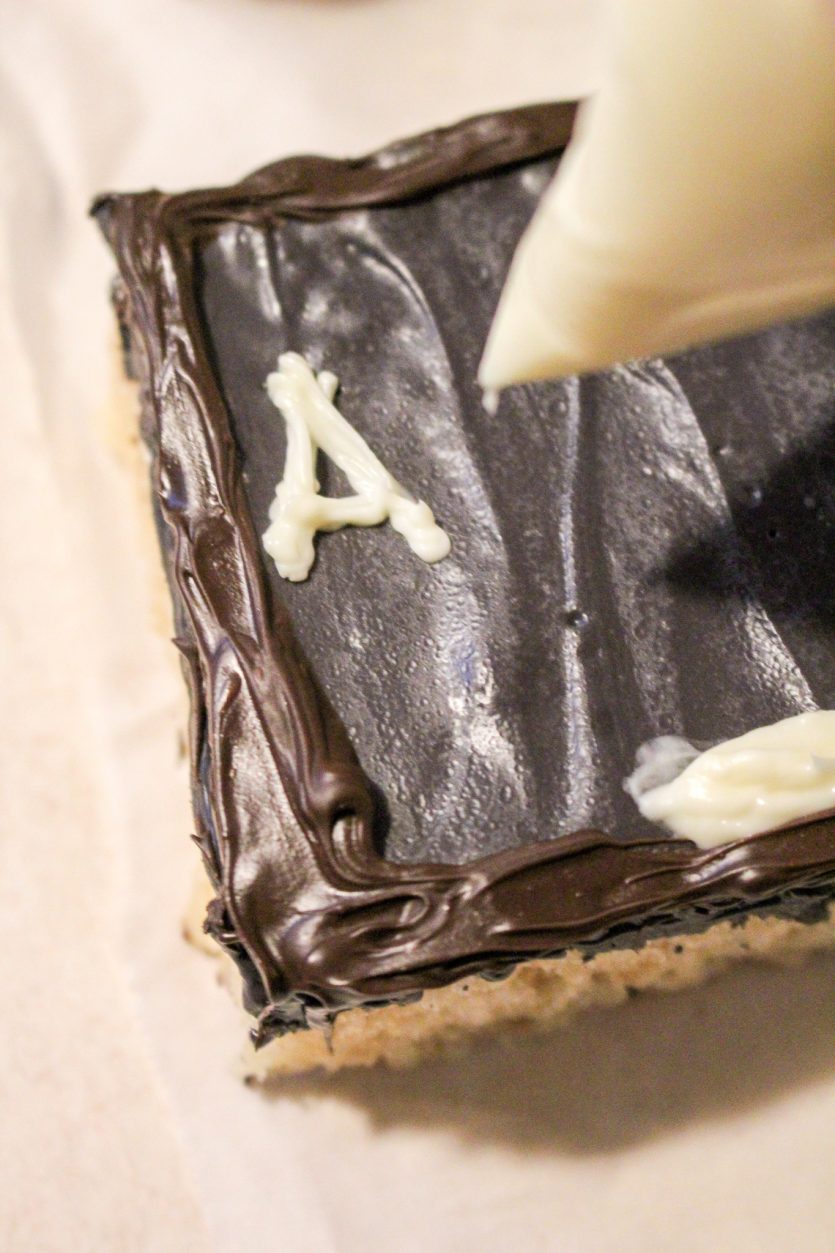
Finally, melt the white candy melts according to package instructions. Transfer also into a pastry bag or ziploc baggie. This will need an extra fine tip or a super small hole cut in the corner of the ziploc baggie.
Use the bag to pipe letters, numbers or a back to school message on the chalkboard. You can even write names or graduation years! Finish with making a piece of chalk resting on the chalkboard frame.
Allow to set for a few minutes and enjoy!
Bonus tip:
If you have extra melts that you want to use, make small ‘blobs’ on parchment paper and allow them to harden. Once hardened, they will pick right up and you can store in an airtight container or baggie. Then, when you need them again, just remelt!