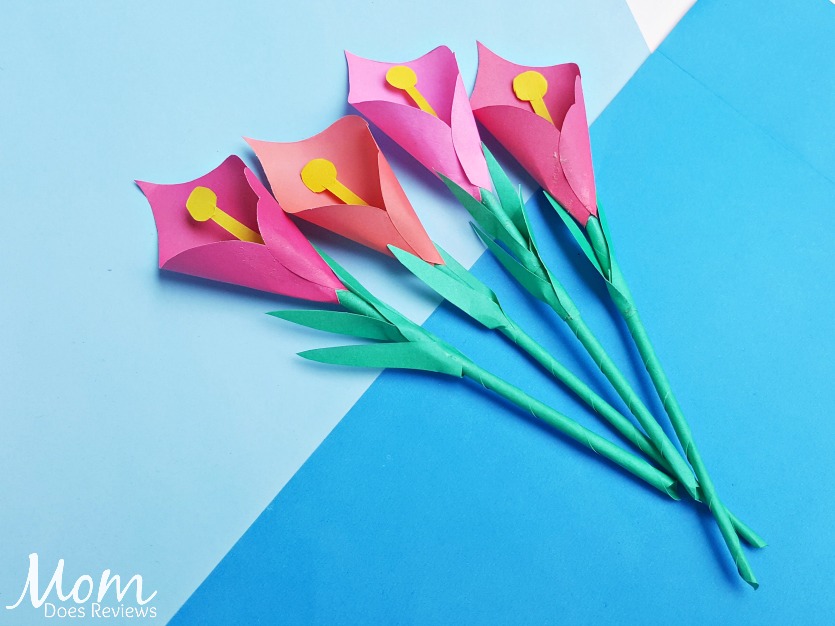
Need a fun Kid’s Paper Craft to do on a rainy day or just because?
This Calla Lily Craft is easy to make. All you have to do is follow the step-by-step instructions below- each step even has a picture!
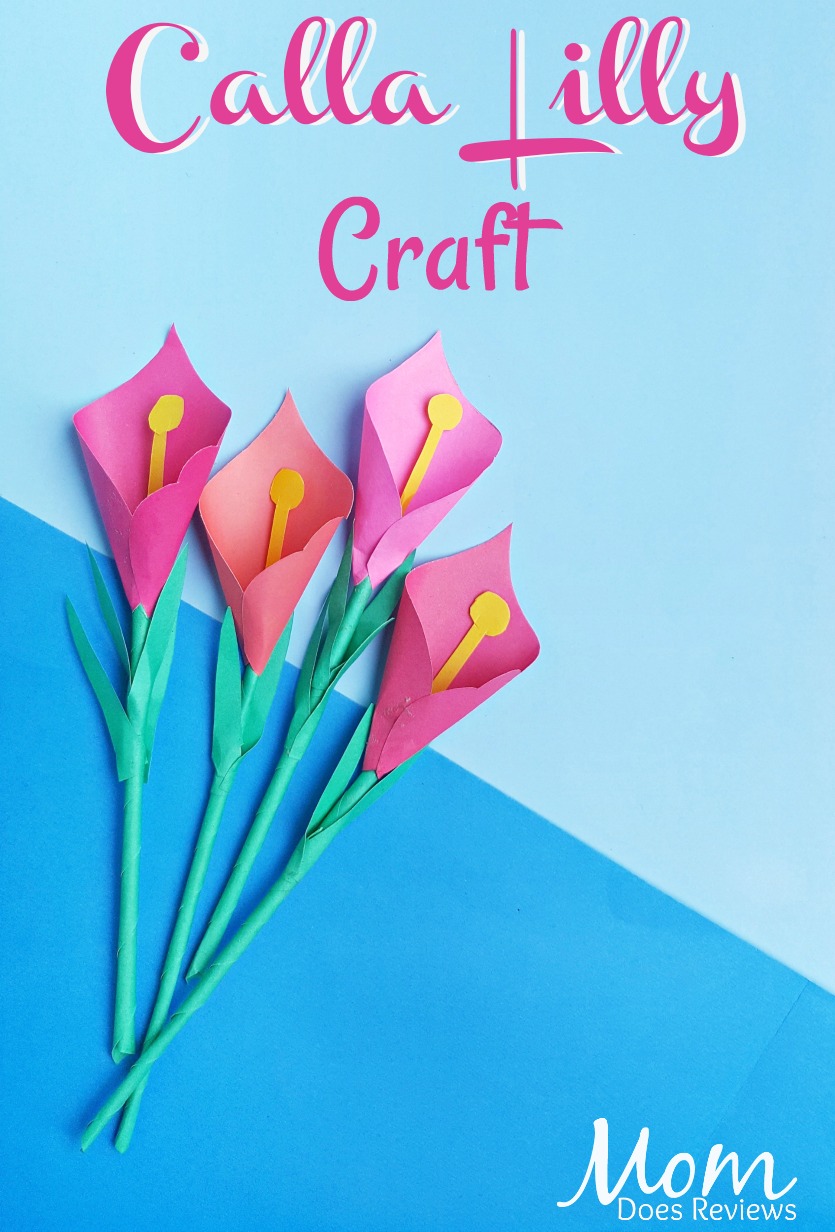
Facts about Calla Lilies:
The calla lily was named after the Greek word for beautiful — calla. It is associated with the Greek goddess Hera. The most common meaning for calla lilies is purity, holiness, and faithfulness. That’s why we see so many around Easter.
White calla lilies also carry the meaning of innocence, while yellow blooms express gratitude. Pink calla lily meaning includes appreciation and admiration. Purple calla lilies signify passion. People give black calla lily blooms when they want to convey the idea of mystery and elegance.
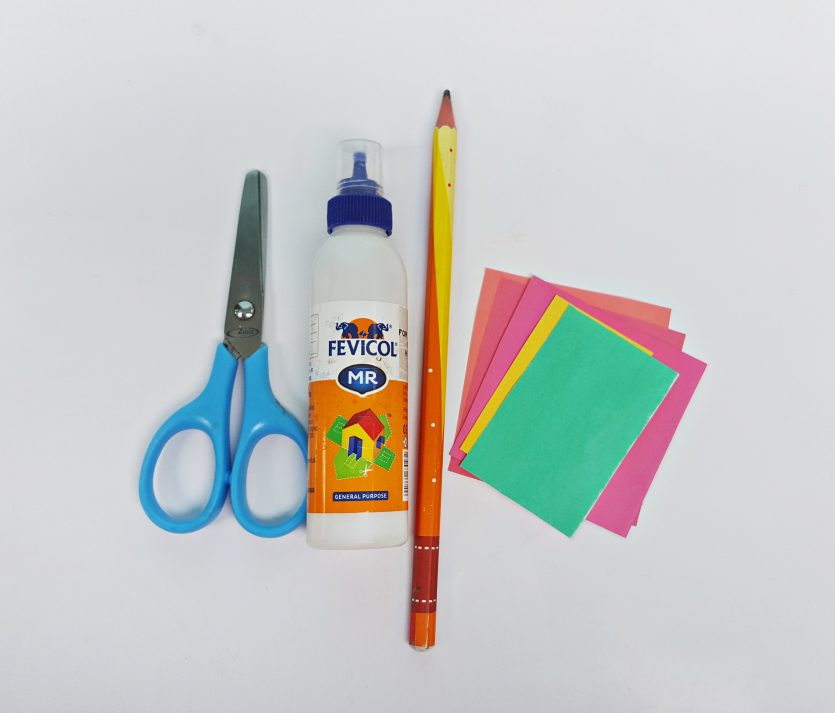
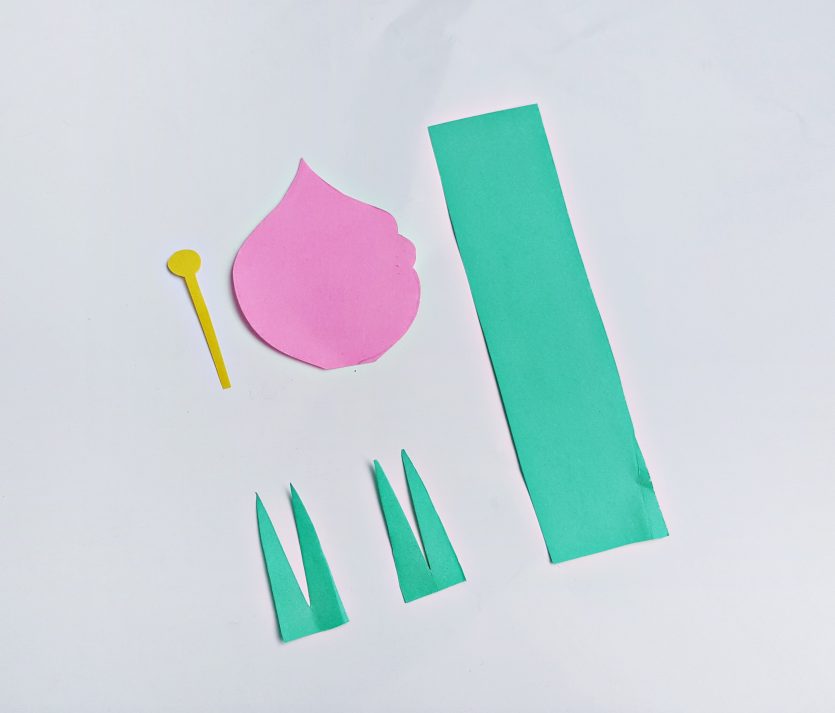
List of Supplies:
- Colored craft papers
- Craft glue
- Scissors
- Pencil
Instructions:
Step (1)
Print and cut out the patterns from the given template. Select colored craft papers for the flowers, leaves and stems. Trace the rectangular pattern and the zigzag patterns on green craft paper; the ‘i’ shaped pattern on a yellow craft paper and the last pattern (flower) on any colored craft paper you chose for the flower. Cut put the traced patterns using scissors.

Step (2)
Take the rectangular cut out paper and roll the paper from an end to create the stem pattern. Apply glue at the end of the rolled paper to secure it.
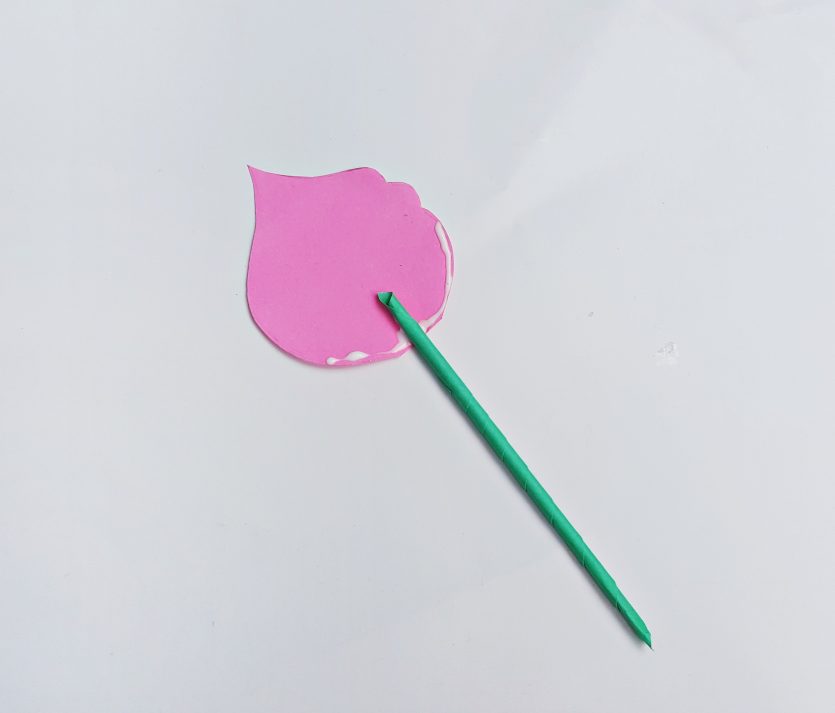
Step (3)
Take the flower cut out paper and apply glue along its bottom curve; place it on a flat surface and then place the stem on the bottom side of the flower pattern; overlapping 1 or 2 cm of the glued area.
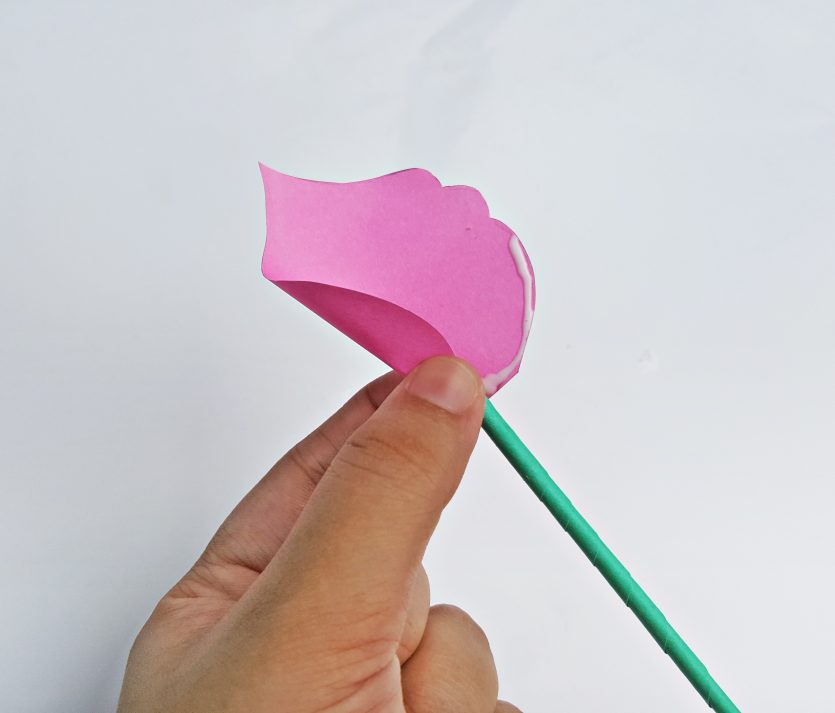
Step (4)
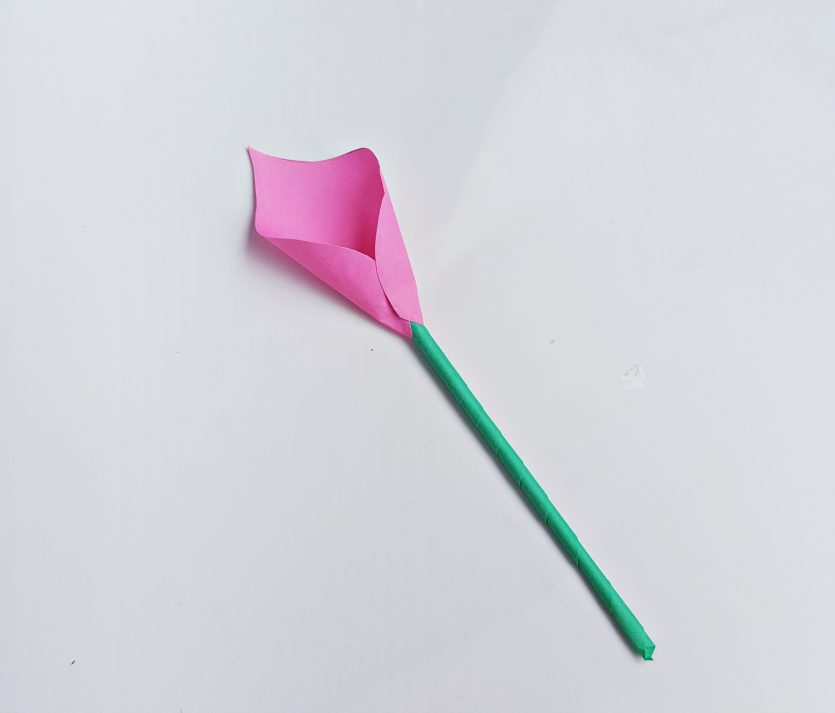
Take both pieces from previous step carefully; without displacing them. Fold up the left side of the flower pattern and attach it with the stem.
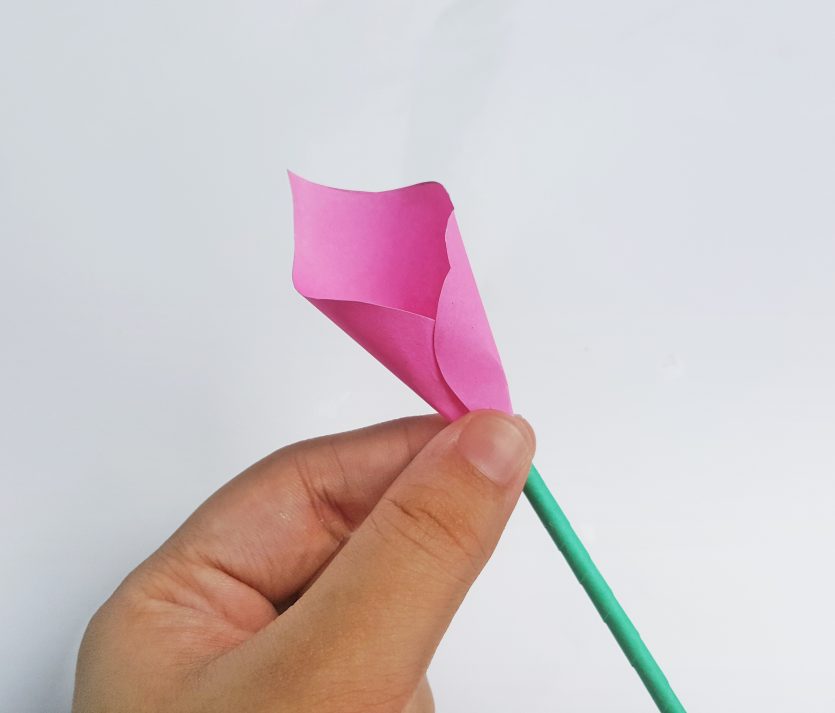
Step (5)
Now, fold up the right side of the flower pattern and attach it with the left side of the flower pattern.
Step (6)
Press the joint parts to make sure that they’re glued nicely.
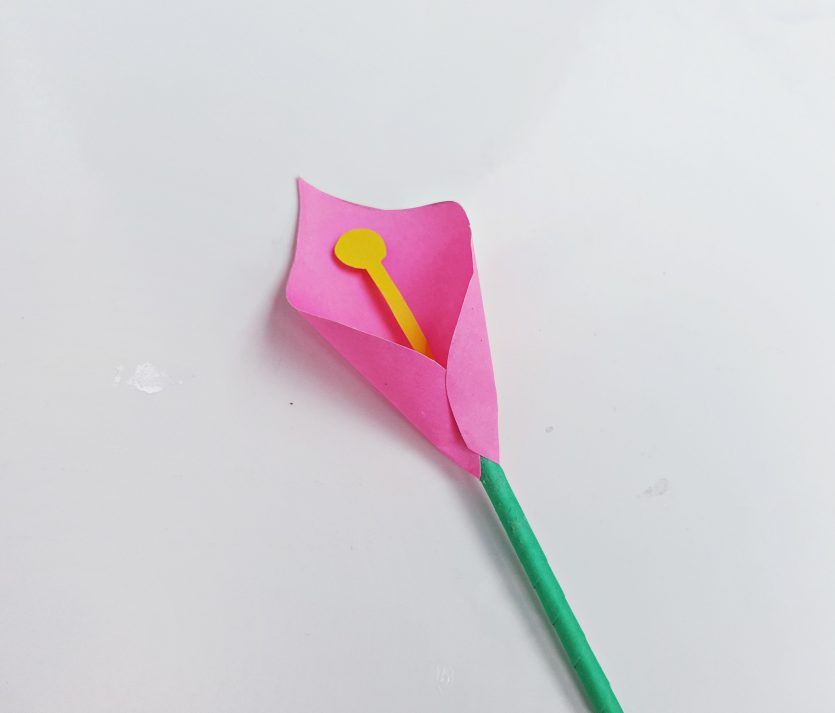
Step (7)
Take the yellow ‘i’ shaped pattern and glue it inside the flower pattern, keeping the round pattern facing up.
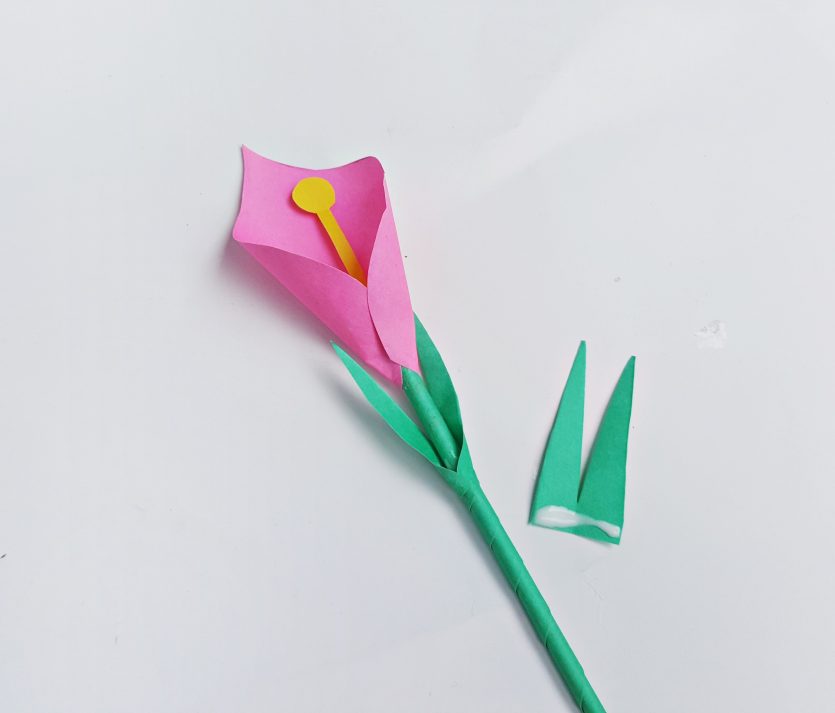
Step (8)
Take the green zigzag cut outs and attach them with the stem, below the flower, using craft glue.
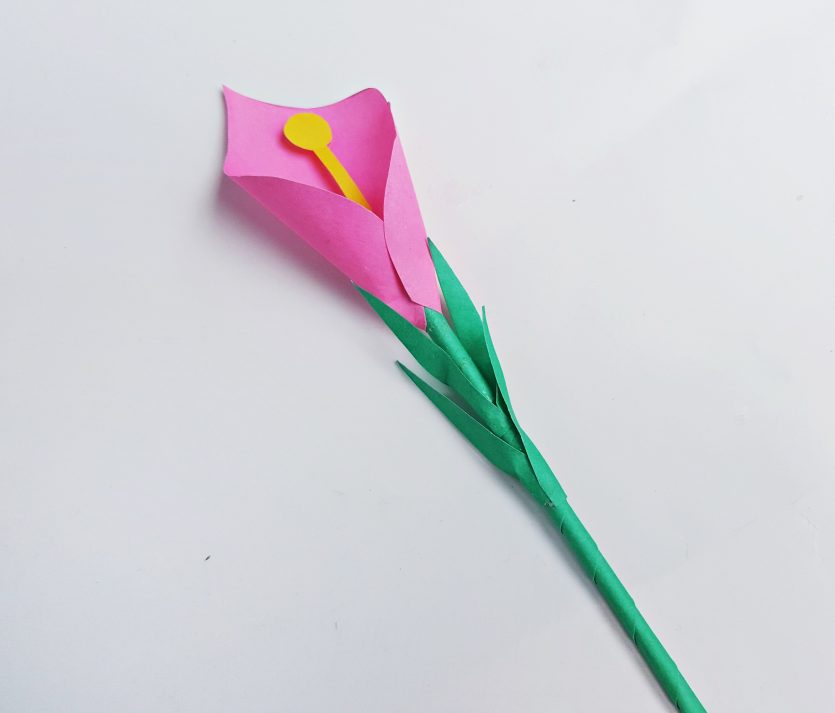
Step (9)
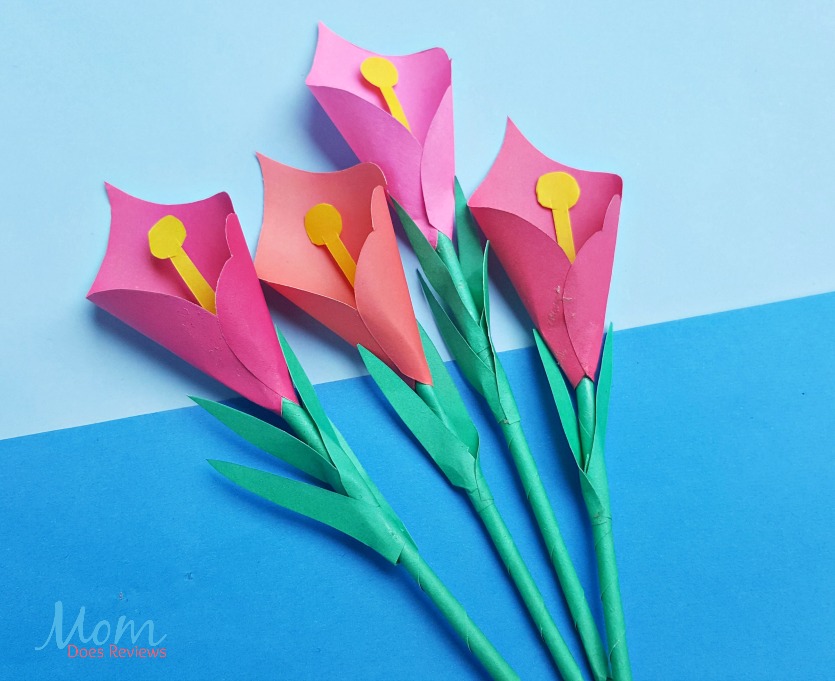
Allow the glue to dry. Done!
Grab more colored craft papers and make more!