This shop has been compensated by Collective Bias, Inc. and its advertiser. All opinions are mine alone. #ActiveFitForMe #CollectiveBias
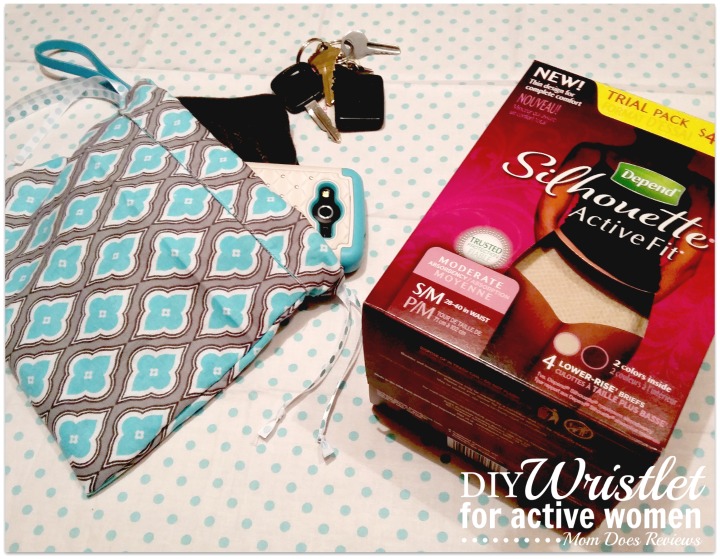
As a busy mom, I often find that I’m carrying around more of my son’s belongings than my own. When I need to go somewhere quick, I have this huge bag weighing me down that is full of everything I don’t need. I decided to simplify with a small wristlet pouch that I can use on its own. This wristlet is slightly larger than my hand but holds everything I need: Phone, keys, wallet, and a Depend® Silhouette® Active Fit*.
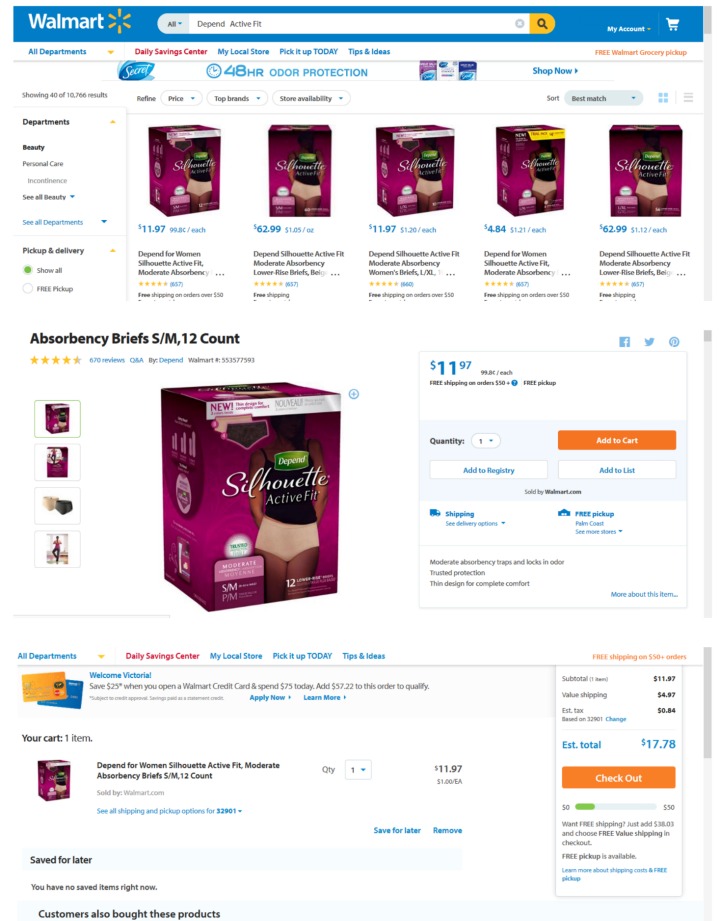
I order my Depend® Silhouette® Active Fit* Briefs for Women online at Walmart.com. The process is easy, I can have them shipped to my home for a discreet purchase, or pick them up in the store when I’m out.
While I was visiting my store for in-store pickup of my Depend® Silhouette® Active Fit*, I was able to grab all of the supplies I needed for my wristlet pouch for less than $3!
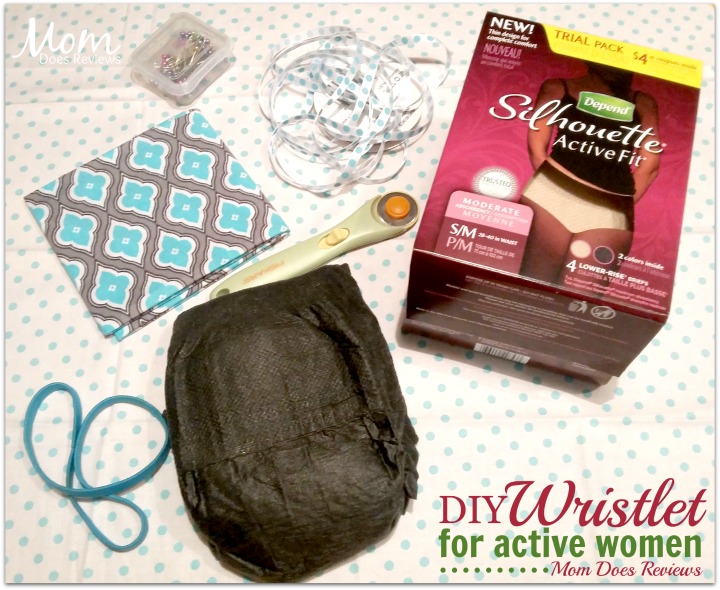
Tools & Supplies:
- Material of Choice ( 1 Fat Quarter)
- Ribbon
- Elastic band
- Thread
- Sewing Machine
- Pins
- Scissors or Fabric Cutter
Prep: If lining your bag isn’t important to you, cut your fat quarter in half vertically and skip down to the wristlet pouch directions.
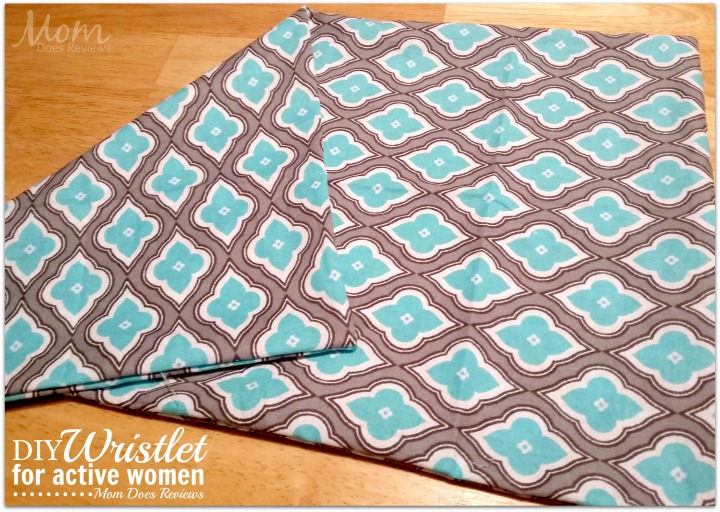
Fold material in half vertically with pattern touching. Sew all three open sides (leaving a small hole to bring fabric right side out when you’re finished.)
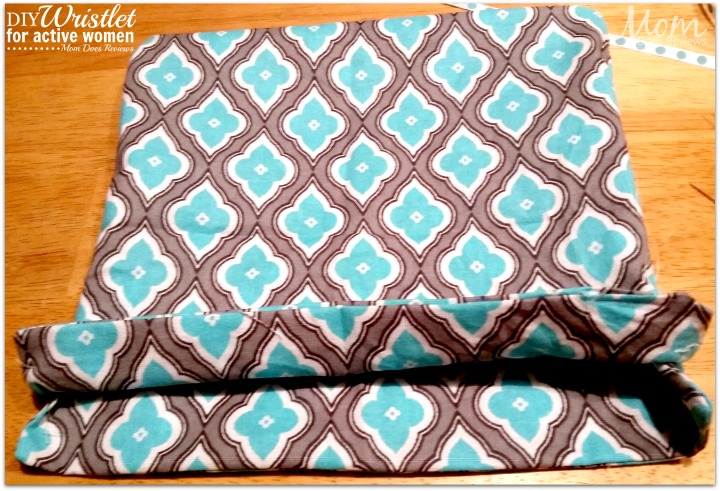
After you have sewn the material, turn it right side out (pattern facing outward). Insert a new (unsharpened) pencil inside the sewn piece and gently poke/slide along the corners to help square them.
When you are finished, you should have something like this:
Directions:
Now you are ready to being making your wristlet pouch. Fold your material in half horizontally, making a square. (Note: If you didn’t line your pouch, make sure your pattern is facing inward).
Smooth from the folded bottom to the top of the bag, and lineup your sides. Mark the drawstring opening (1 inch from the top) with pins so you don’t forget to stop sewing.
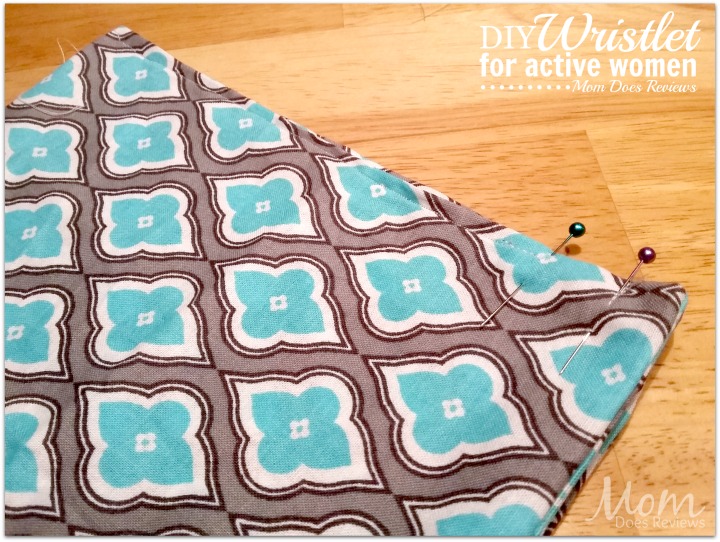
Sew from the bottom of your bag to the top pins. Stop. Repeat on both sides.
Turn your bag right-side out.
Fold down the top drawstring opening and sew horizontally all the way around. Don’t forget to sew on the bag sides leaving it open, and not across the entire bag.
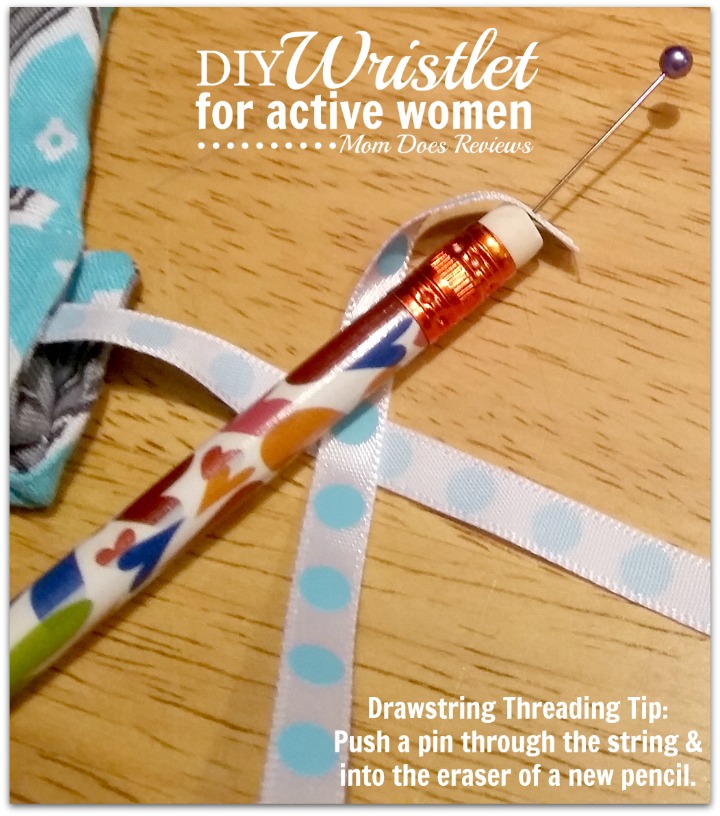
Use your new pencil to help thread the drawstring. Push a pin through the end of your string and as far into the pencil eraser as it can go. Insert the eraser end into your drawstring hole and push all the way through to the other end. Do this for both sides of your bag.
Next, cut your elastic band to your desired length. Insert the ends of the band onto one open end of your drawstring holes. (One side of the bag only.) Sew the elastic onto this end of the bag only while also sewing down the drawstring on this side. The drawstring on this end of the bag will be stationary and not slide.
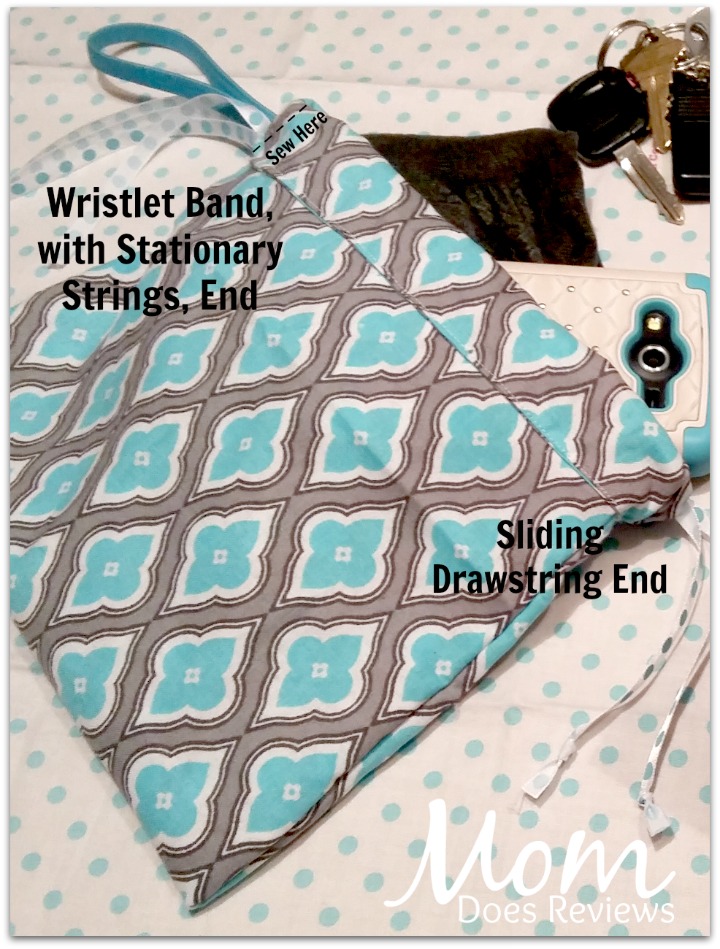
After you have sewn on your wristlet band, your bag is complete. Feel free to add your own embellishments, such as, beads on the ends of your drawstring. If you don’t have beads, tie the string into a knot to help you grip them easier when you’re on the go.
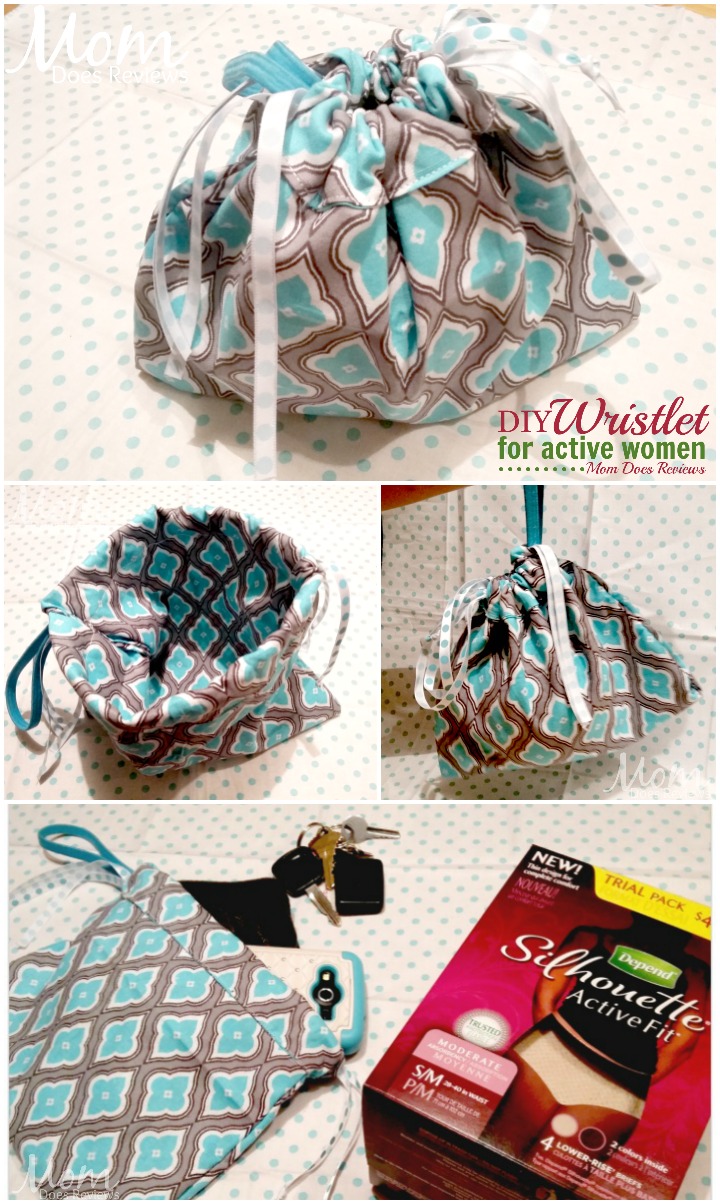
Not sure if you can make your own wristlet pouch? I assure you, you can! If you have ever sewn a throw pillow, even if it was during home economics twenty-five years ago, you can do this! My cute bag has a few imperfections on it and nobody but me has noticed. The same could be said about my urinary incontinence. With Depend® Silhouette® Active Fit*, I know I’m wearing them, but nobody else does. They have a low rise and the two color varieties means I have a brief to compliment any outfit in my wardrobe.
Are you going to make a wristlet pouch?
Show me your pouch in the comments below!