
We all heard it growing up, that making a gift requires love and attention. This year, how about making this for your child’s teacher for Christmas instead of going out and buying something 10 other students have already given?
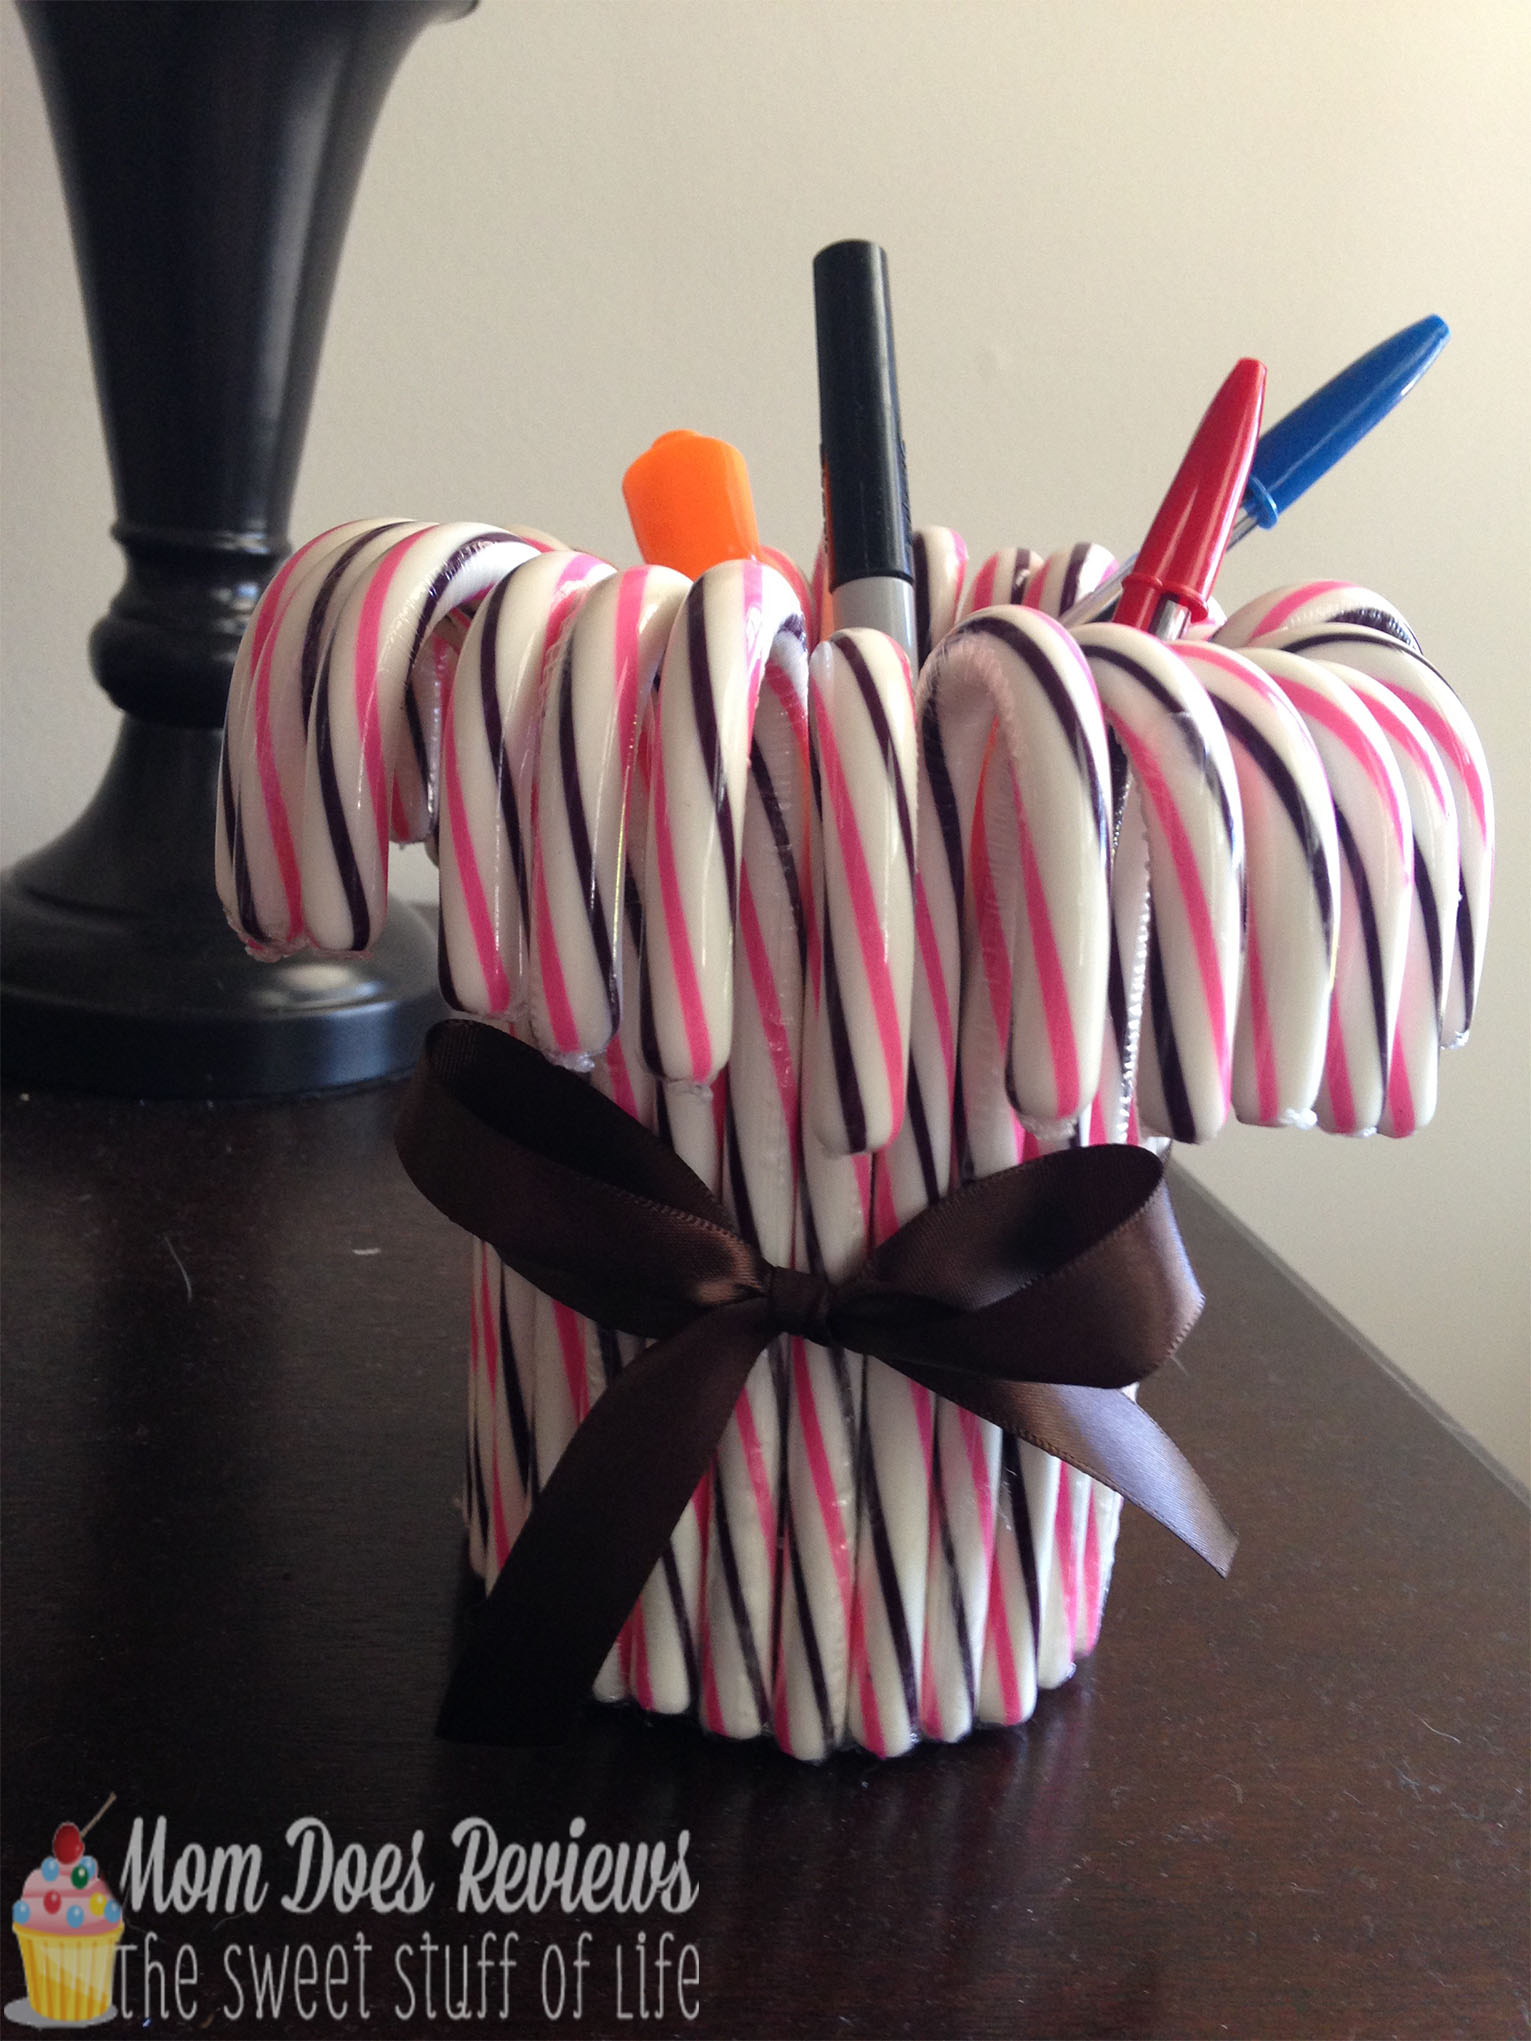
This candy cane cylinder is so easy to make. Call it whatever you like because it has a variety of uses including flower vase, pencil holder, or throw a flameless candle in there and make it shine!

My daughter wanted to get started making gifts for folks on her list. She’s always been the one to urge me to make crafts, but when I saw this, I figured she would love to make it. After it was made, she says she wants one for her room. Guess she liked it!
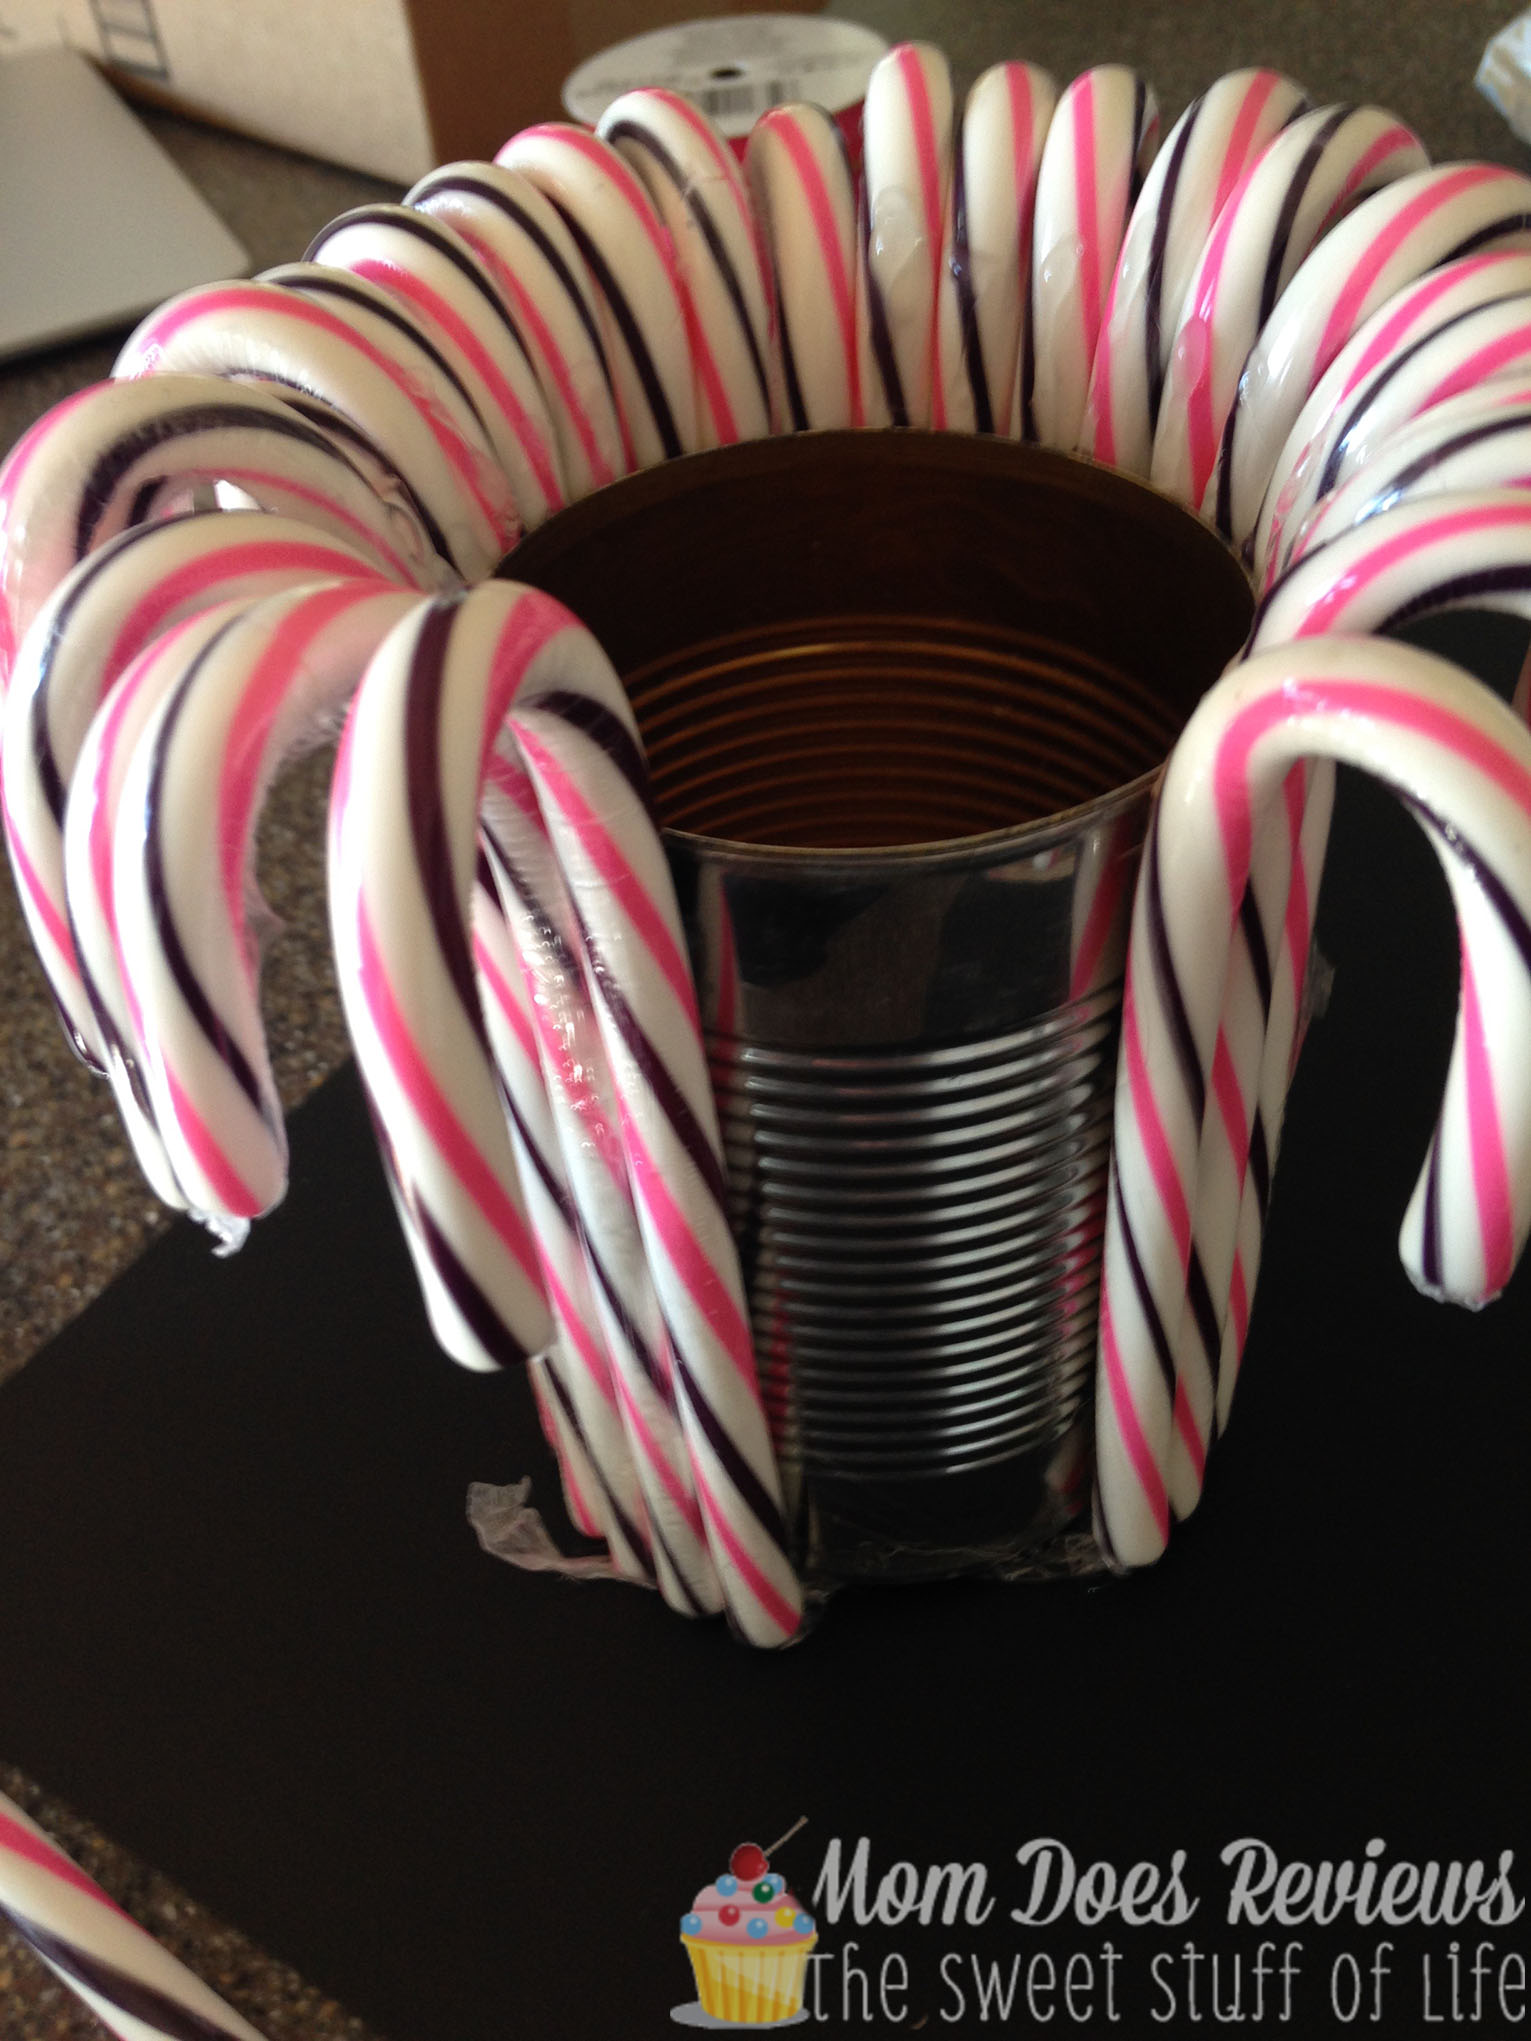
I started out by saving a vegetable can from dinner one night. What easier or cheaper than something that would go in the recycle bin? After it was washed out and the paper was taken off the outside, I took a metal file and filed down the top edges. I didn’t want to have any sharp pieces there to snag a finger to cut anyone. Believe me, that would be painful.

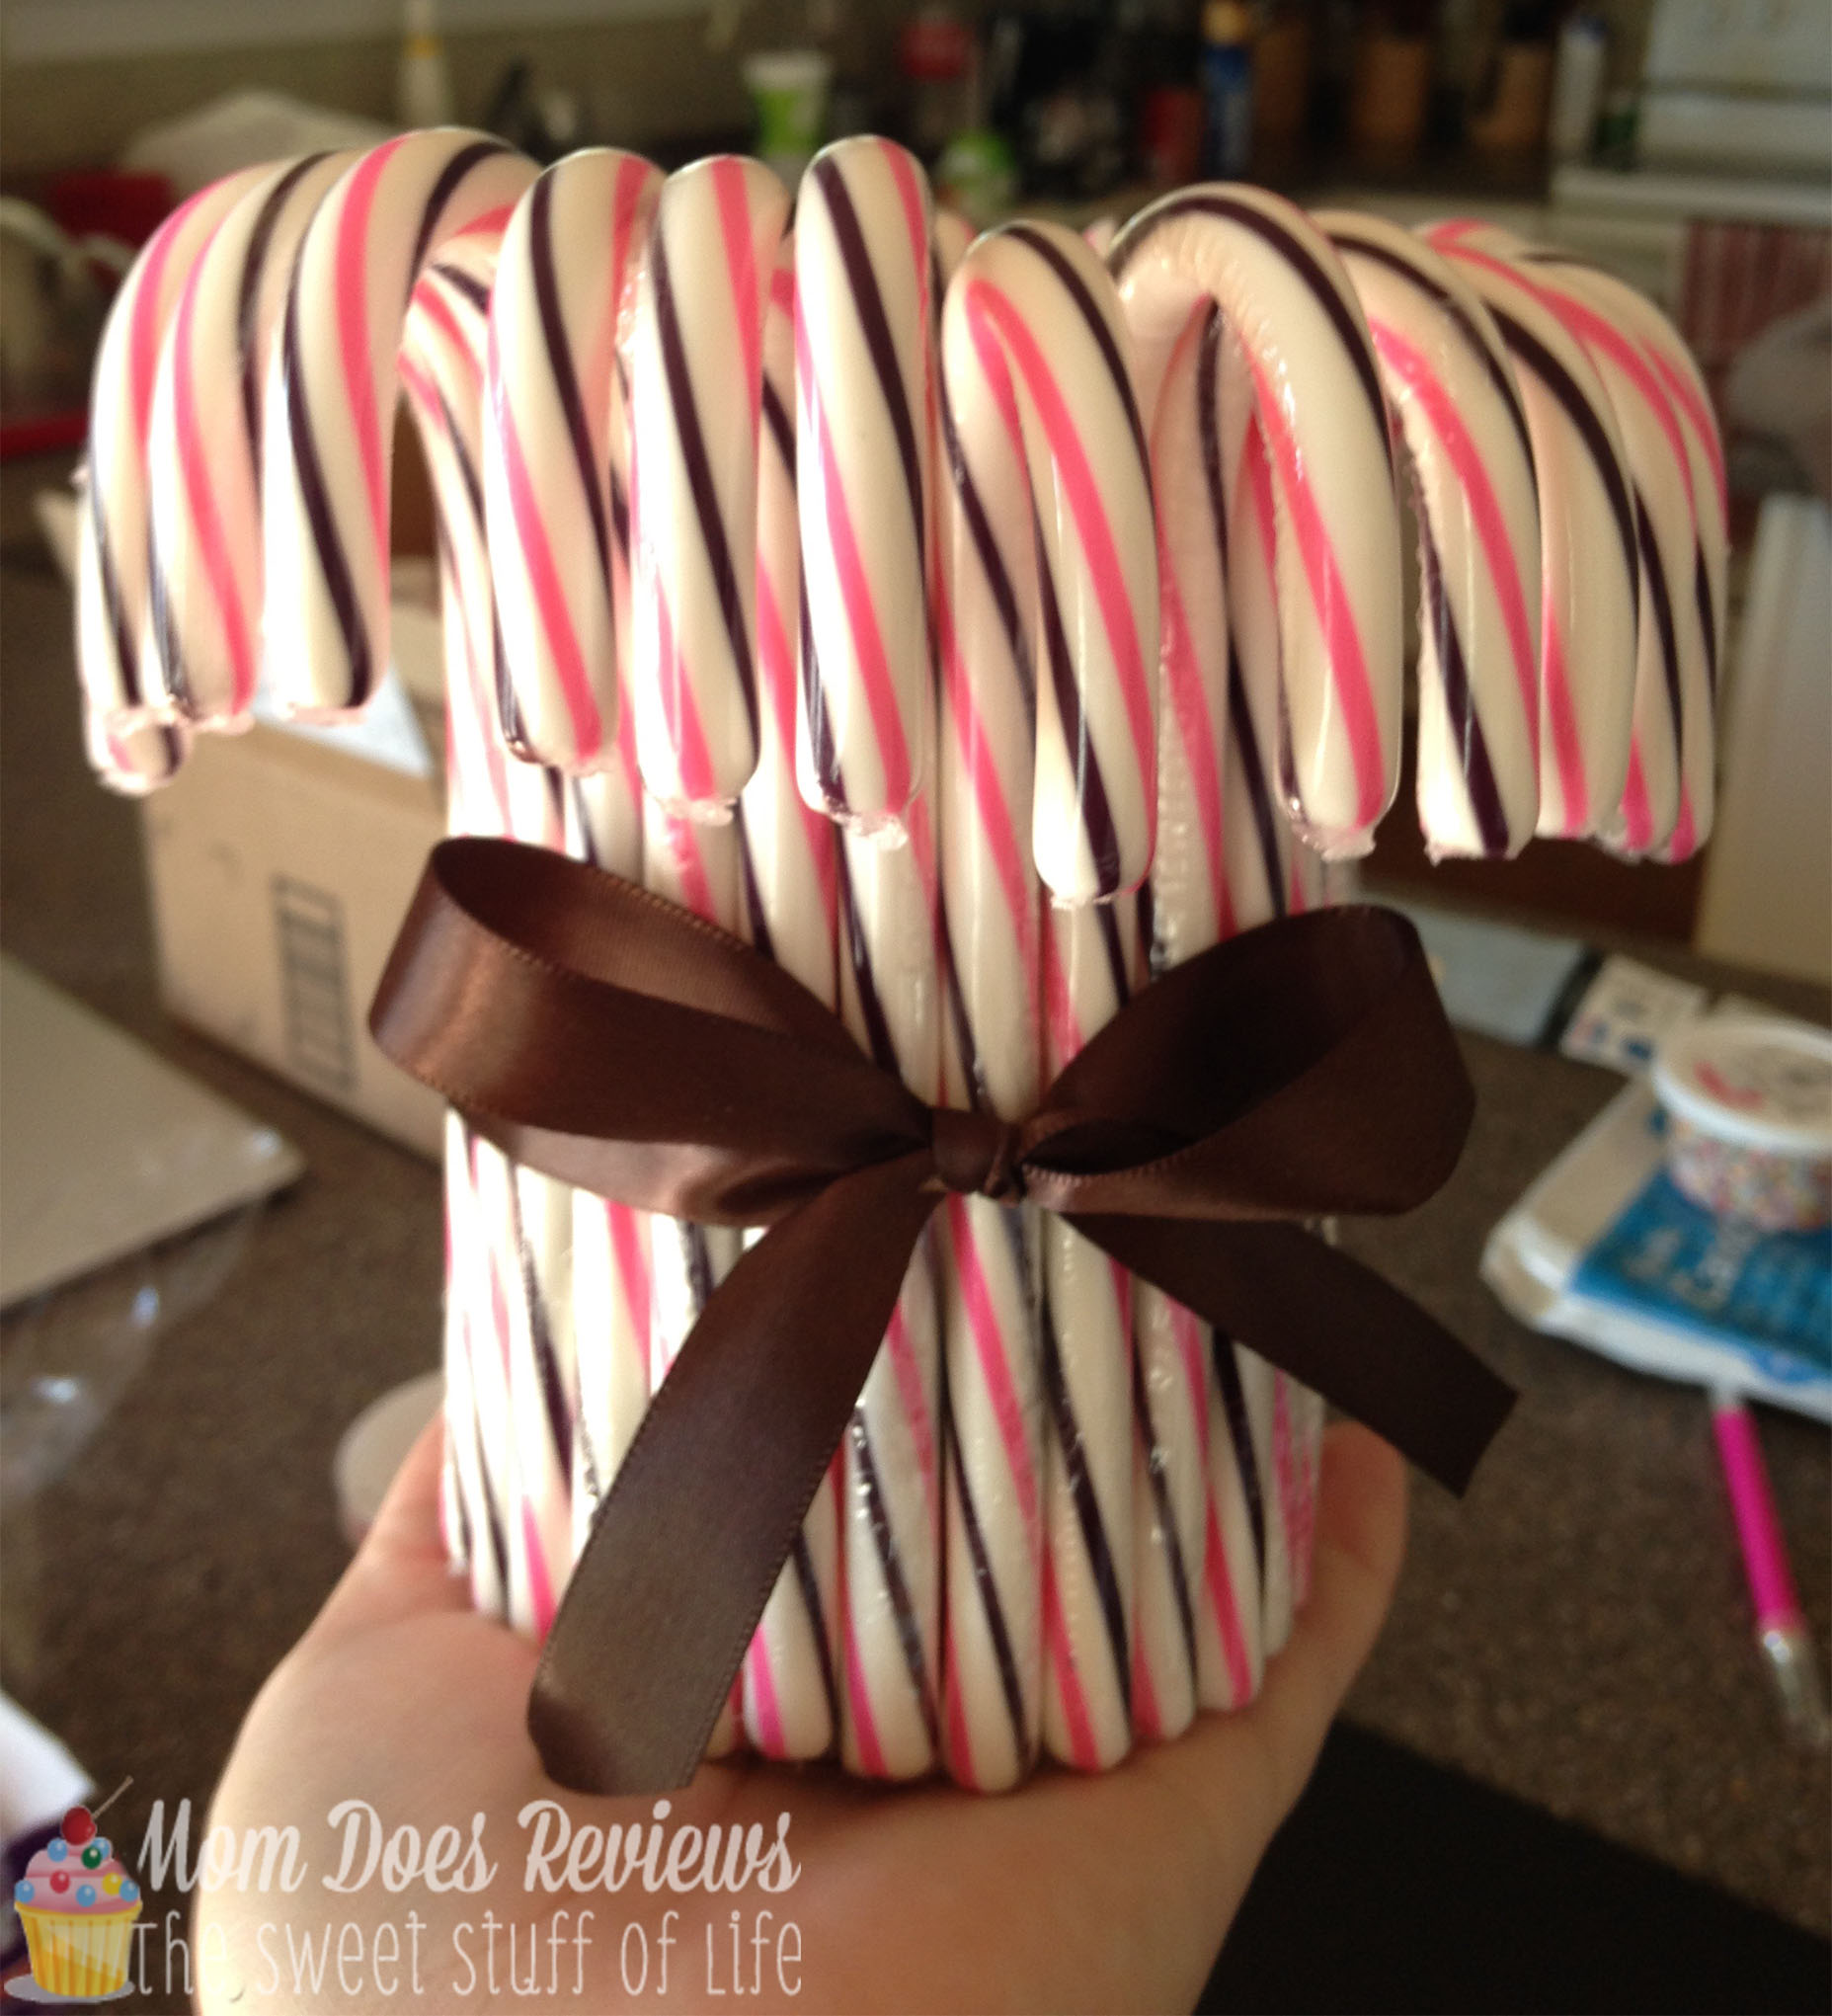
I went with pink, brown and white candy canes (these are raspberry flavored) opposed to traditional red and white, because there are so many varieties in the store! You can use glass candy canes in place of actual CANDY if you’d like. However, I’ve found that the glass version can be less straight and make crafting harder. You will need 3 boxes (12 count) of candy canes, regardless of the flavor.
My daughter is a teenager and knows how to work a glue gun, so she put the hot glue on the candy canes and we stuck them to the can. Here’s my advice for this part: use your counter surface as your guide. Place your can on the counter, after putting the glue on the back of the candy cane (don’t go all the way up on the curve part, or you’ll have too much glue), put the bottom of the candy cane on the counter and press it to the can. You will have the little bits of plastic paper at the bottom of the candy cane, move these out of the way.
NOTE: If you have broken candy canes and since this is a decoration, use that hot glue to glue it back together! No one will know the difference and you won’t have floppy pieces.
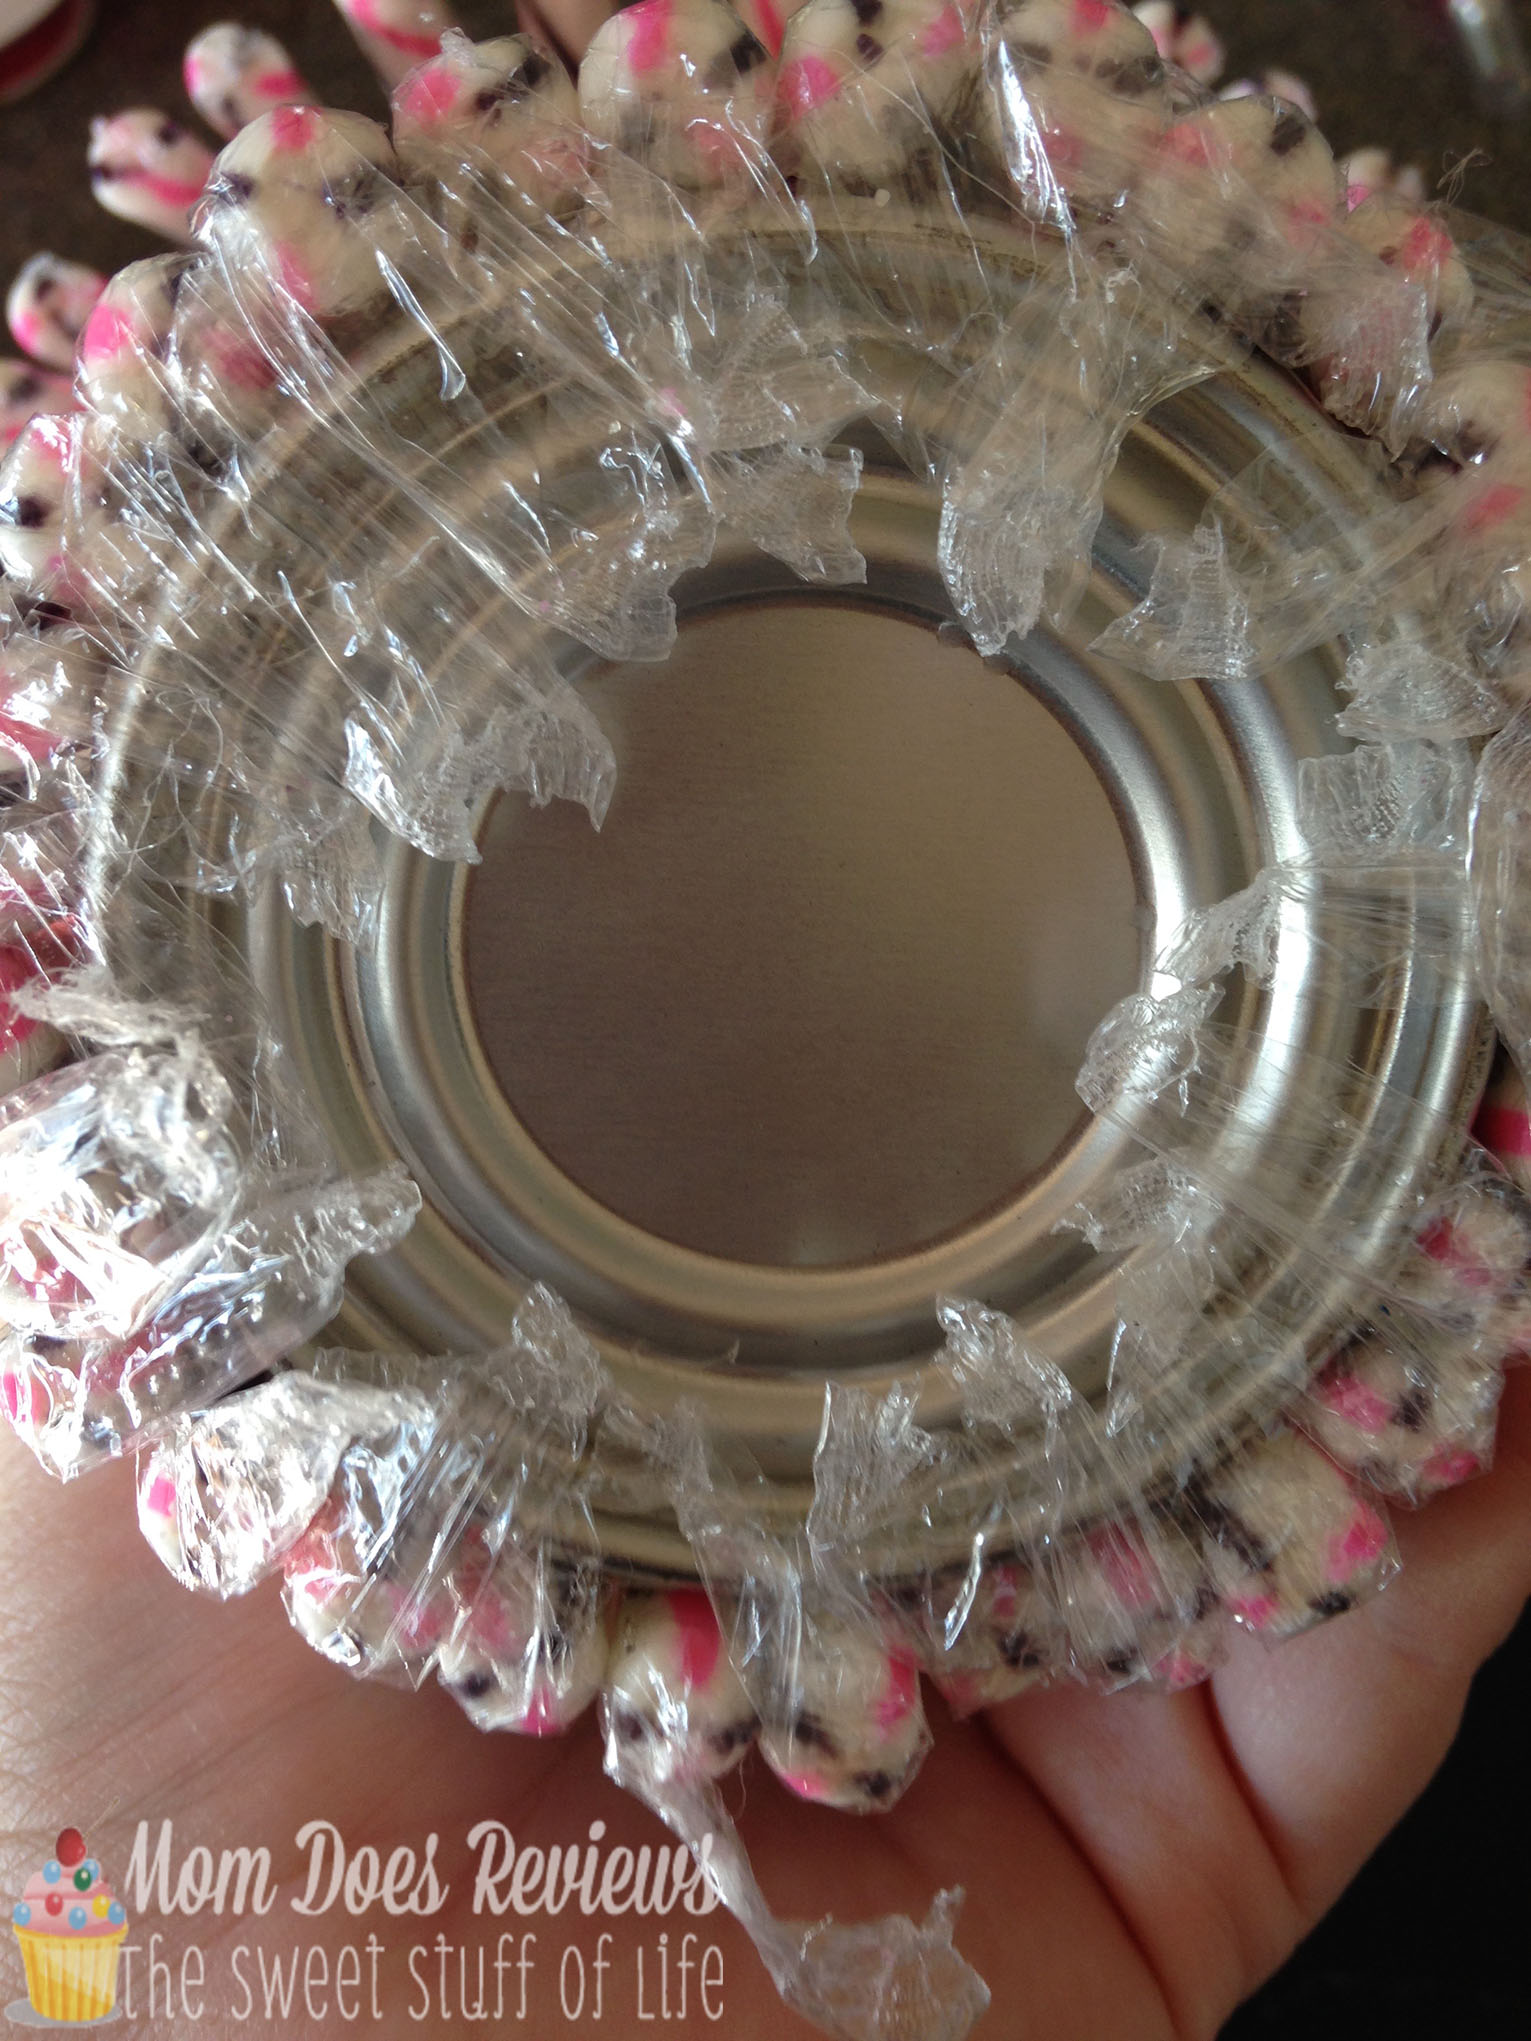
After all the candy canes are glued to the can, turn the holder upside down and hot glue the excess plastic to the underside of the can. This glue will be hot, so use some sort of dowel, wooden skewer, or in my case, I used a plastic knife. This kept my skin attached to my fingers.
Tie a ribbon around the holder and you’re finished! I did glue my ribbon to the candy canes, but only where the bow is so that the bow stays tied.
This Candy Cane Gift is so easy to make and versatile in what you use it for, who wouldn’t love getting one? Knowing that your child put some effort in for their teacher, or you made this gift for a friend, the fact that you took your time to make it, says a lot about how you value the person you are giving it to.
Merry Christmas!
Are you looking for fantastic gift ideas?
Visit Mom Does Reviews’ 2015 Christmas Gift Guide to find
the perfect gift for your friends, family, and loved ones.
