- shares
- Facebook62
- Twitter0
- Pinterest98
- Yummly0
- Mix0
- Email0

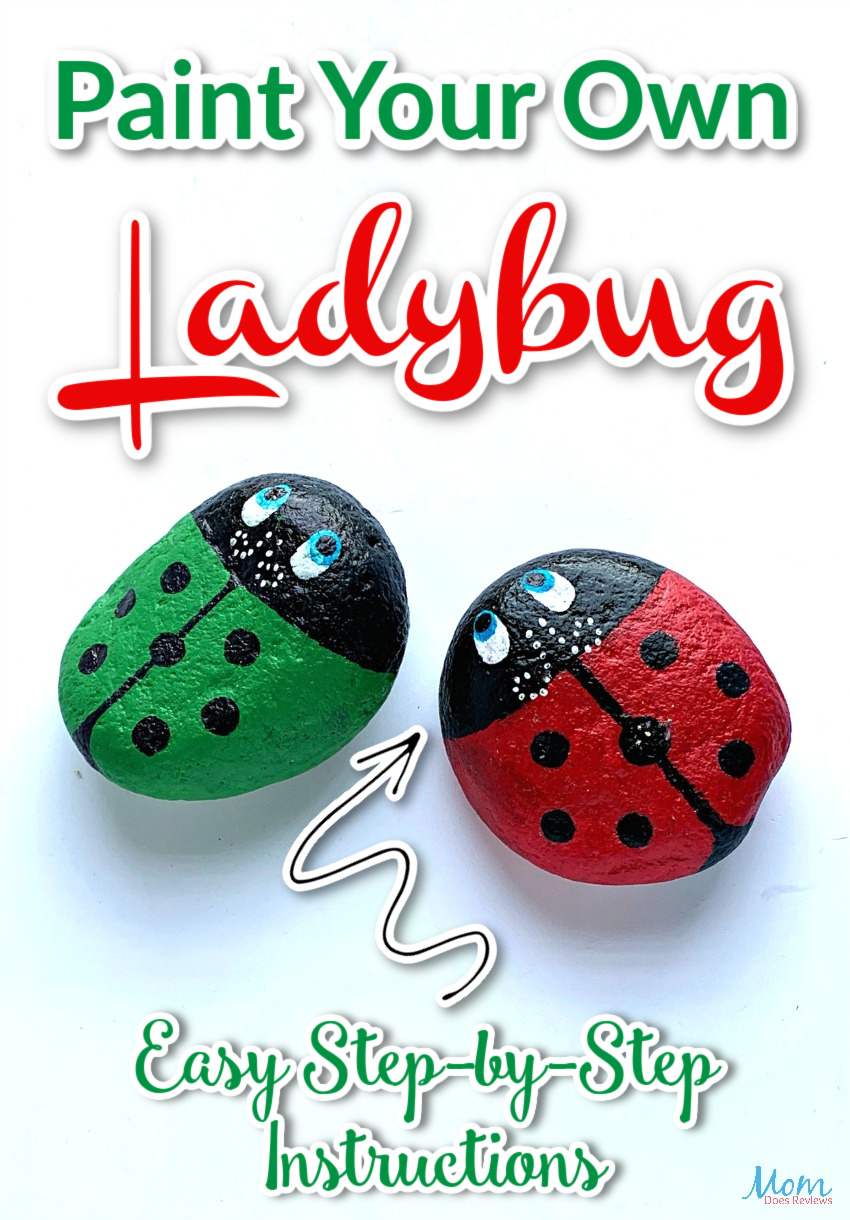
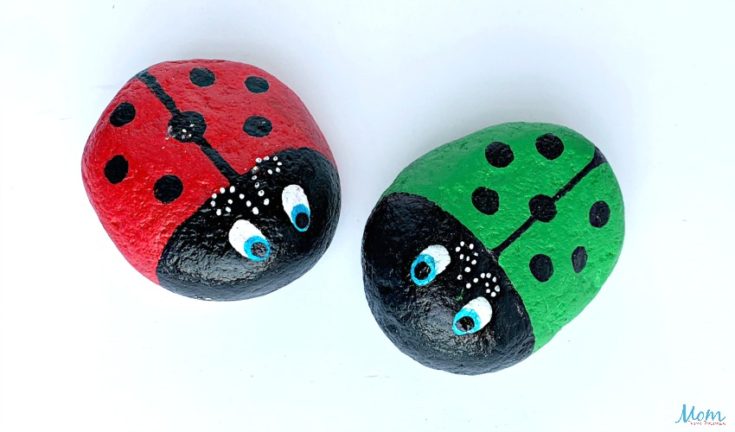
Ladybugs are a favorite for both kids and adults alike! So, it is no wonder this fun Stone Ladybug Coloring Craft is such a hit! And, did I mention adorable? These fun ladybugs only require 4 items and are super easy to make following the easy step-by-step instructions.
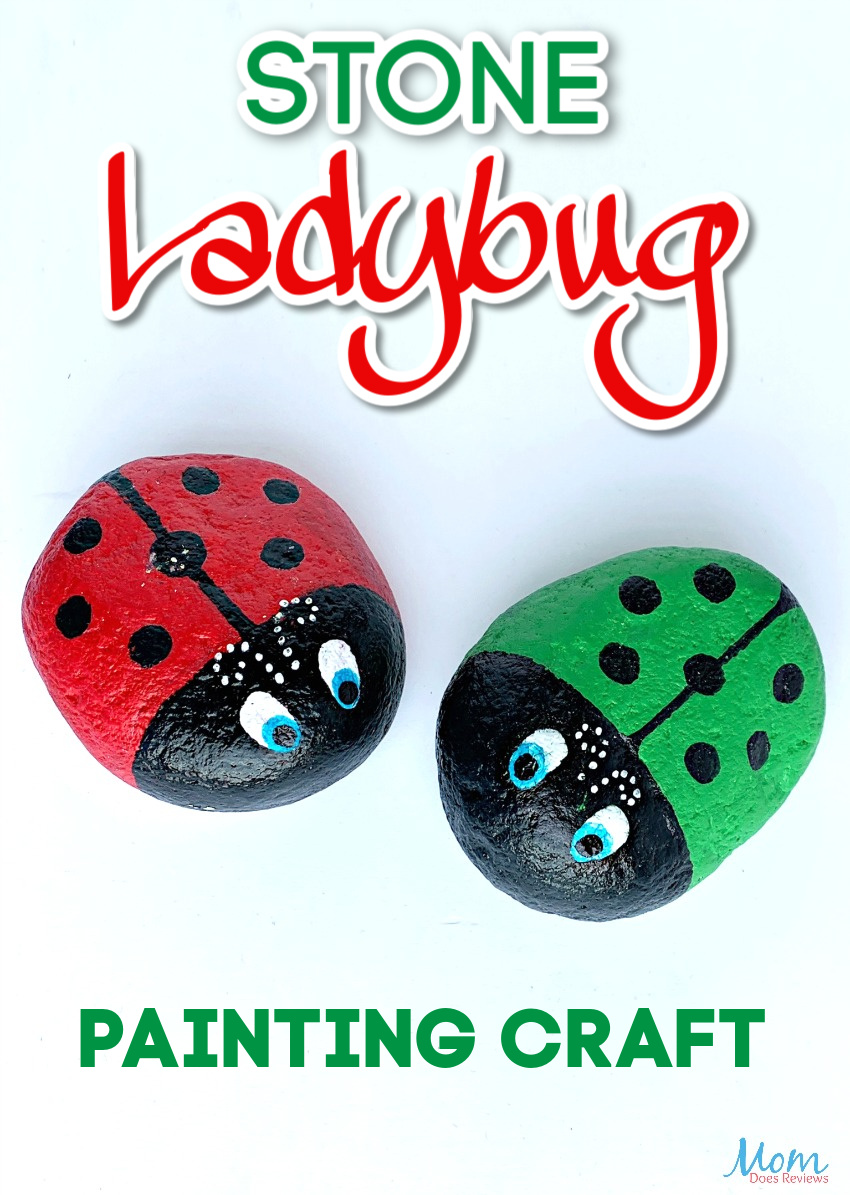
I am truly loving these sweet little ladybugs and the kids are sure to love them too! This is a super fun craft and the Stone Ladybugs are super easy to make! This easy craft only requires 4 items just follow the easy step-by-step instructions below.
Do you love ladybugs as much as we do? And, are you looking for another fun and easy ladybug craft? Be sure and check out our other easy Ladybug Toilet Paper Roll Craft! It is super easy and super adorable too!
Stone Ladybug Coloring Craft for Kids
Supplies Needed:
Medium-sized stones
Acrylic paint
Paint brushes
Marker pens
Instructions for this Stone Ladybug Coloring Craft:
Step 1:
To make these cute stone ladybugs, first, you will need to gather all the listed supplies from above.
Once you have all the supplies you are ready to start.
Take a clean stone according to the size you want your ladybugs to be.

Use white acrylic paint to paint the whole stone into white color
Allow the acrylic paint to dry.
Step 2:
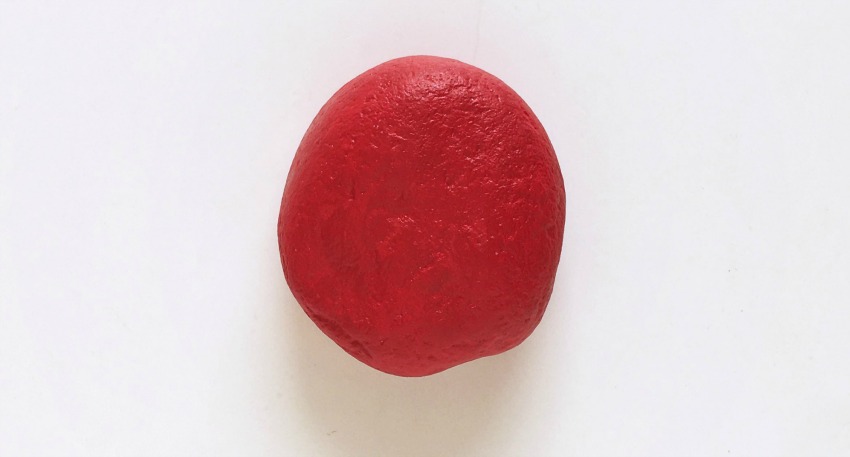
After the white acrylic paint has dried down completely, take red acrylic paint and paint the whole stone into a red color.
Once again, allow the paint to dry down.
Step 3:
Now, take a very thin paintbrush and black acrylic paint.
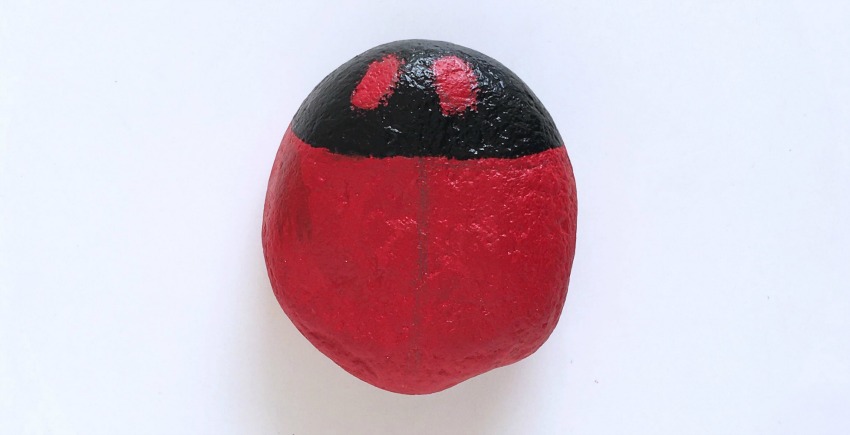
Use the brush to draw the head of the ladybug on the front.
Leave two circular gaps in the middle of the head for the eyes.

Step 4:
Now draw a straight thin line in the middle of the ladybug’s body.
Then use the same brush or a round tip brush to draw the spots of the ladybug on its body.
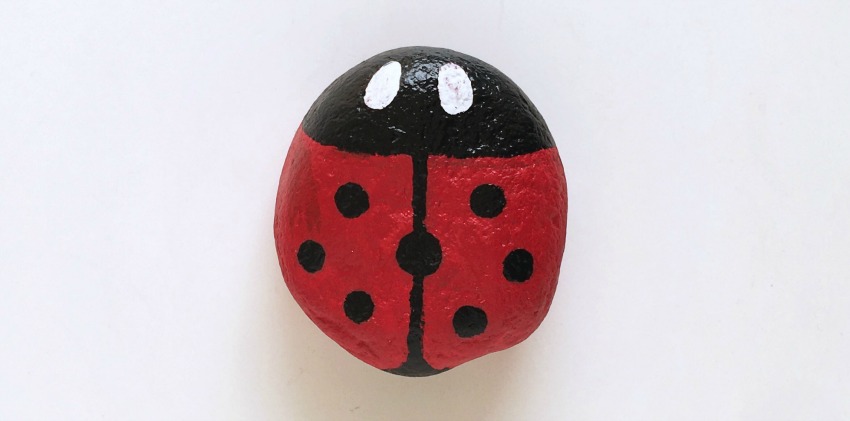
Step 5:
Paint the two eye gaps of the ladybug using white acrylic paint.
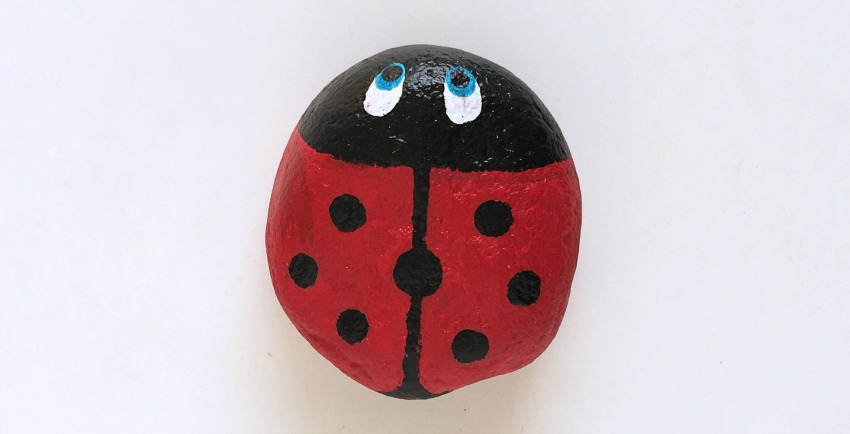
Step 6:
Now take blue and black acrylic paint to draw the eyes pupil and a little detail to the eyes of the ladybug.
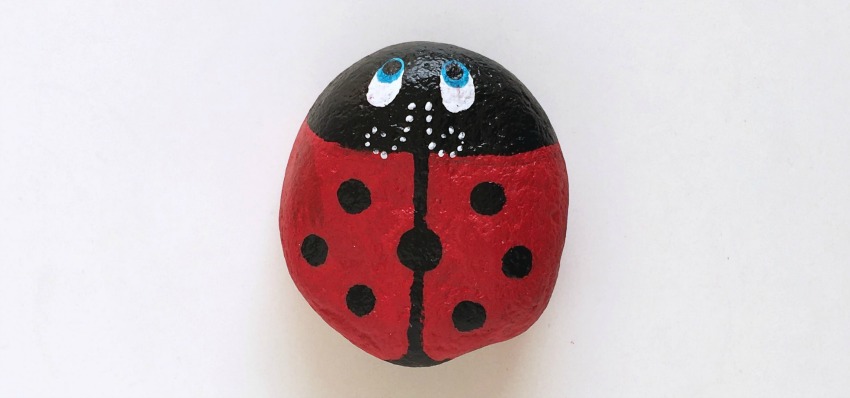
Step 7:
Now, finally, finish it off by using white acrylic paint and a thin brush to draw the white spots (or antenna) of the ladybug.

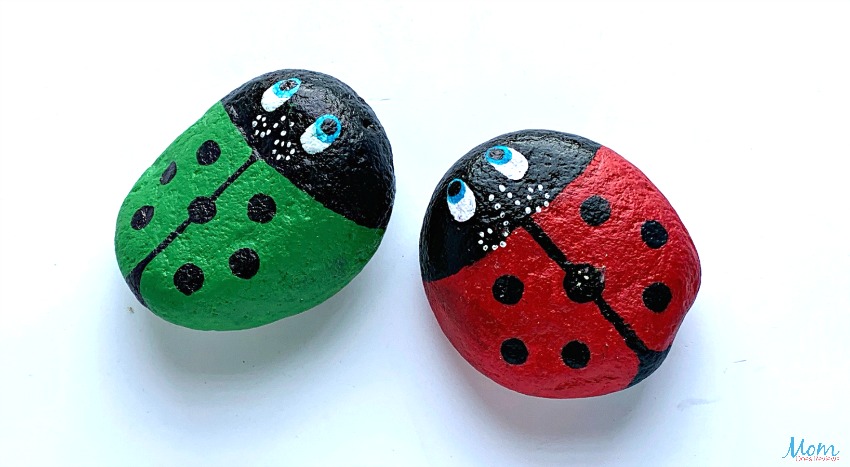
Allow the whole stone to dry down completely.
Print this fun Stone Ladybug Coloring Craft!
Stone Ladybug Coloring Craft for Kids
Ladybugs are a favorite for both kids and adults alike! So, it is no wonder this fun Stone Ladybug Coloring Craft is such a hit! And, did I mention adorable? These fun ladybugs only require 4 items and are super easy to make following the easy step-by-step instructions.
Materials
- Medium-sized stones
- Acrylic paint
- Paint brushes
- Marker pens
Instructions
Step 1:
To make these cute stone ladybugs, first, you will need to gather all the listed supplies from above.
Once you have all the supplies you are ready to start.
Take a clean stone according to the size you want your ladybugs to be.
Use white acrylic paint to paint the whole stone into white color
Allow the acrylic paint to dry.
Step 2:
After the white acrylic paint has dried down completely, take red acrylic paint and paint the whole stone into a red color.
Once again, allow the paint to dry down.
Step 3:
Now, take a very thin paintbrush and black acrylic paint.
Use the brush to draw the head of the ladybug on the front.
Leave two circular gaps in the middle of the head for the eyes.
Step 4:
Now draw a straight thin line in the middle of the ladybug’s body.
Then use the same brush or a round tip brush to draw the spots of the ladybug on its body.
Step 5:
Paint the two eye gaps of the ladybug using white acrylic paint.
Step 6:
Now take blue and black acrylic paint to draw the eyes pupil and a little detail to the eyes of the ladybug.
Step 7:
Now, finally, finish it off by using white acrylic paint and a thin brush to draw the white spots (or antenna) of the ladybug.
Allow the whole stone to dry down completely.
Pin it for later!