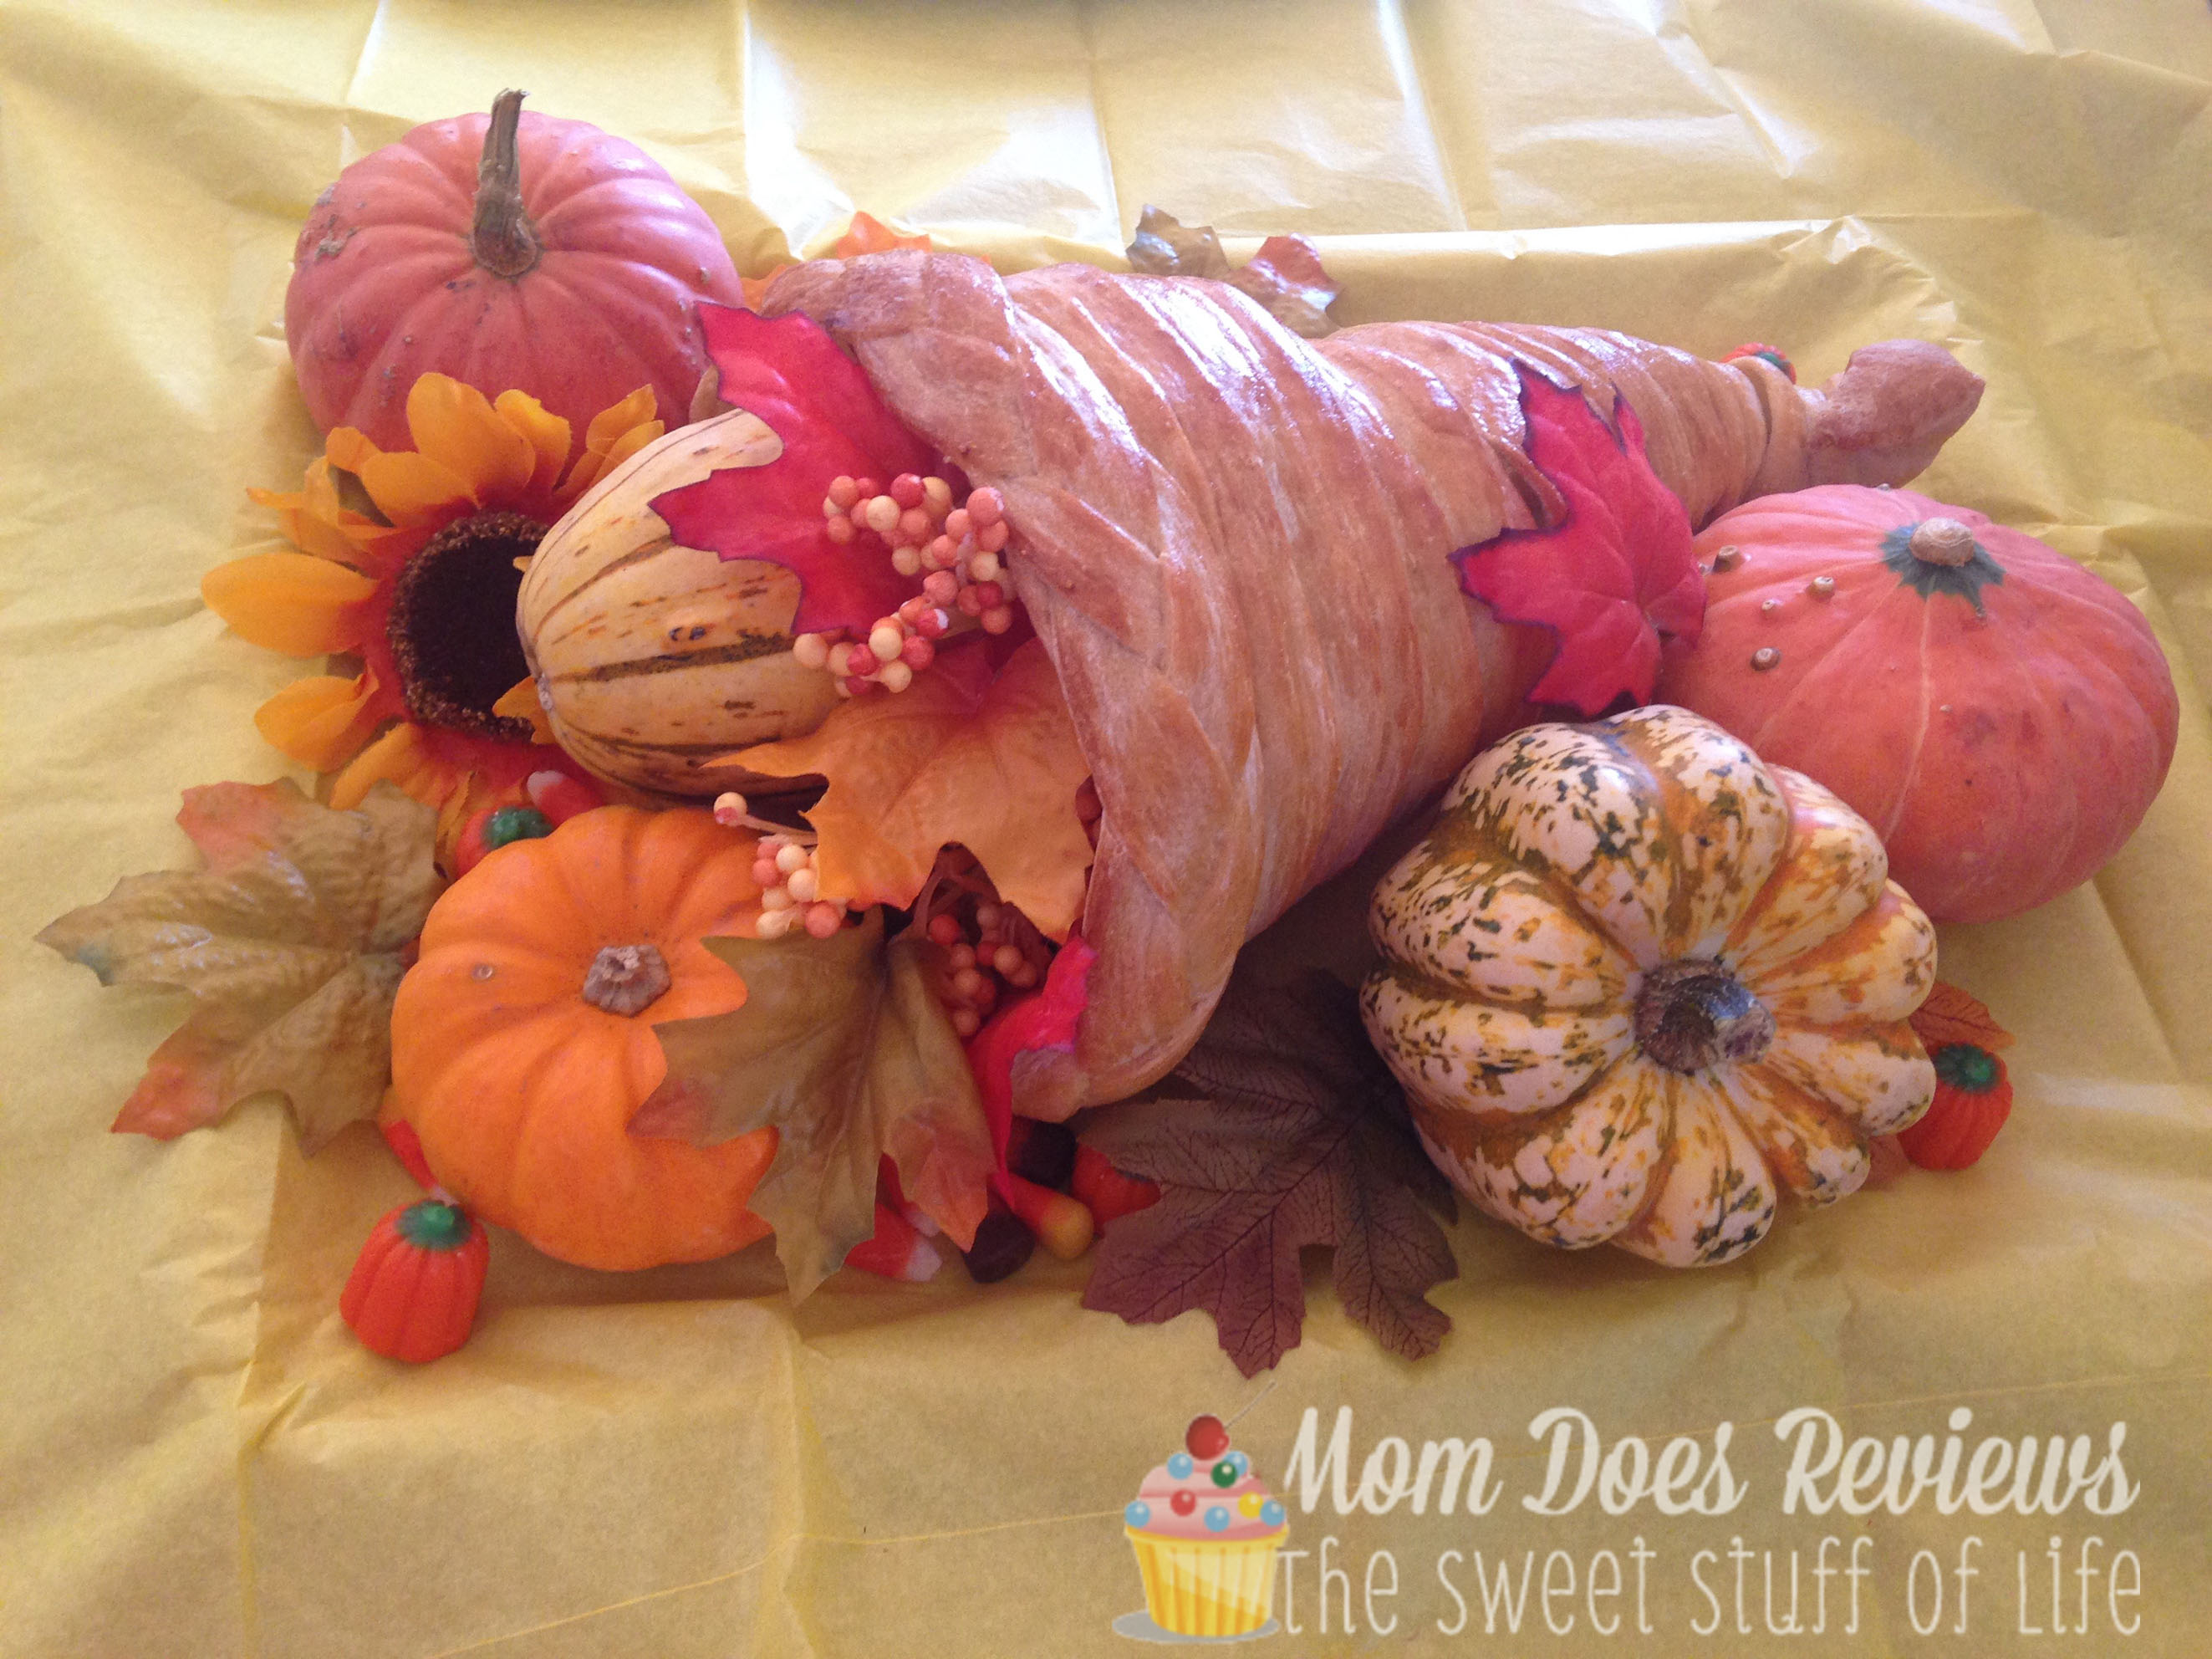
I’m always wanting to make my Thanksgiving table stand out, so when I found this idea for a centerpiece, an edible cornucopia, I figured, I should try to make it.
This is an easy (and inexpensive) way to put style, fun and tradition in your plans for this Thanksgiving. I’ve seen a lot of ways to make this centerpiece, however, I’ve got an easier way, since I’ve made it myself.
To start, you need a mold. I’ve seen people use pre-made cone-shaped objects, water bottles, and molds. I used plain old computer paper to make my own mold. Why would I go out and buy something that I can make myself?
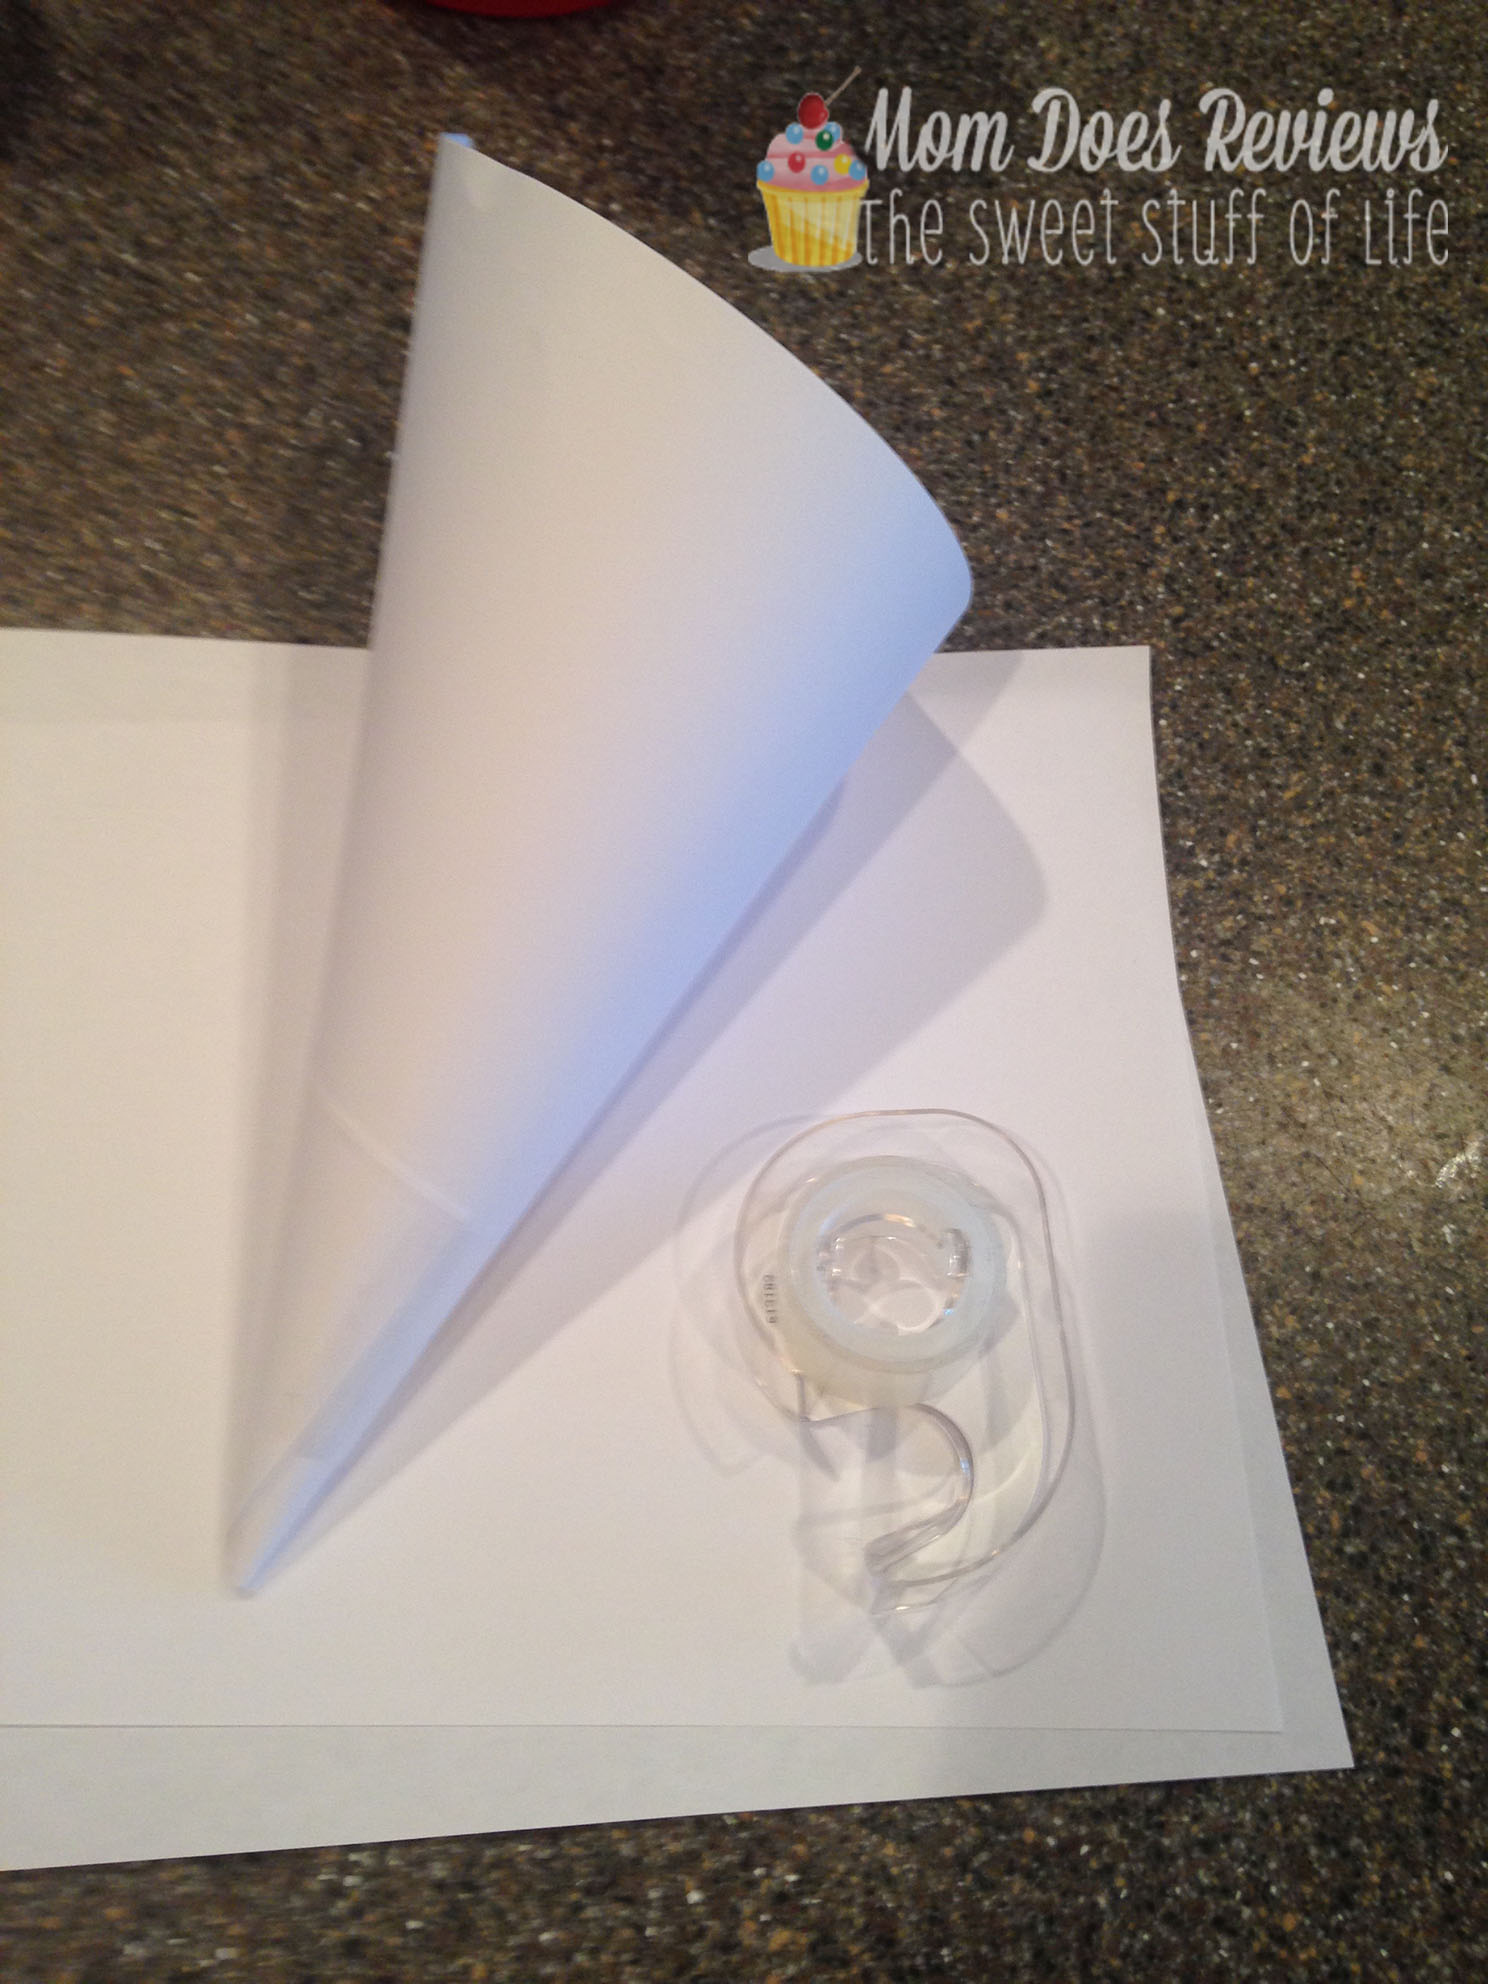
I took the paper and rolled it into a cone-shape. I used clear tape to secure it and then wrapped it in aluminum foil. You can use the heavy duty stuff or the lighter version. I used a combination of the two because I ran out of one.
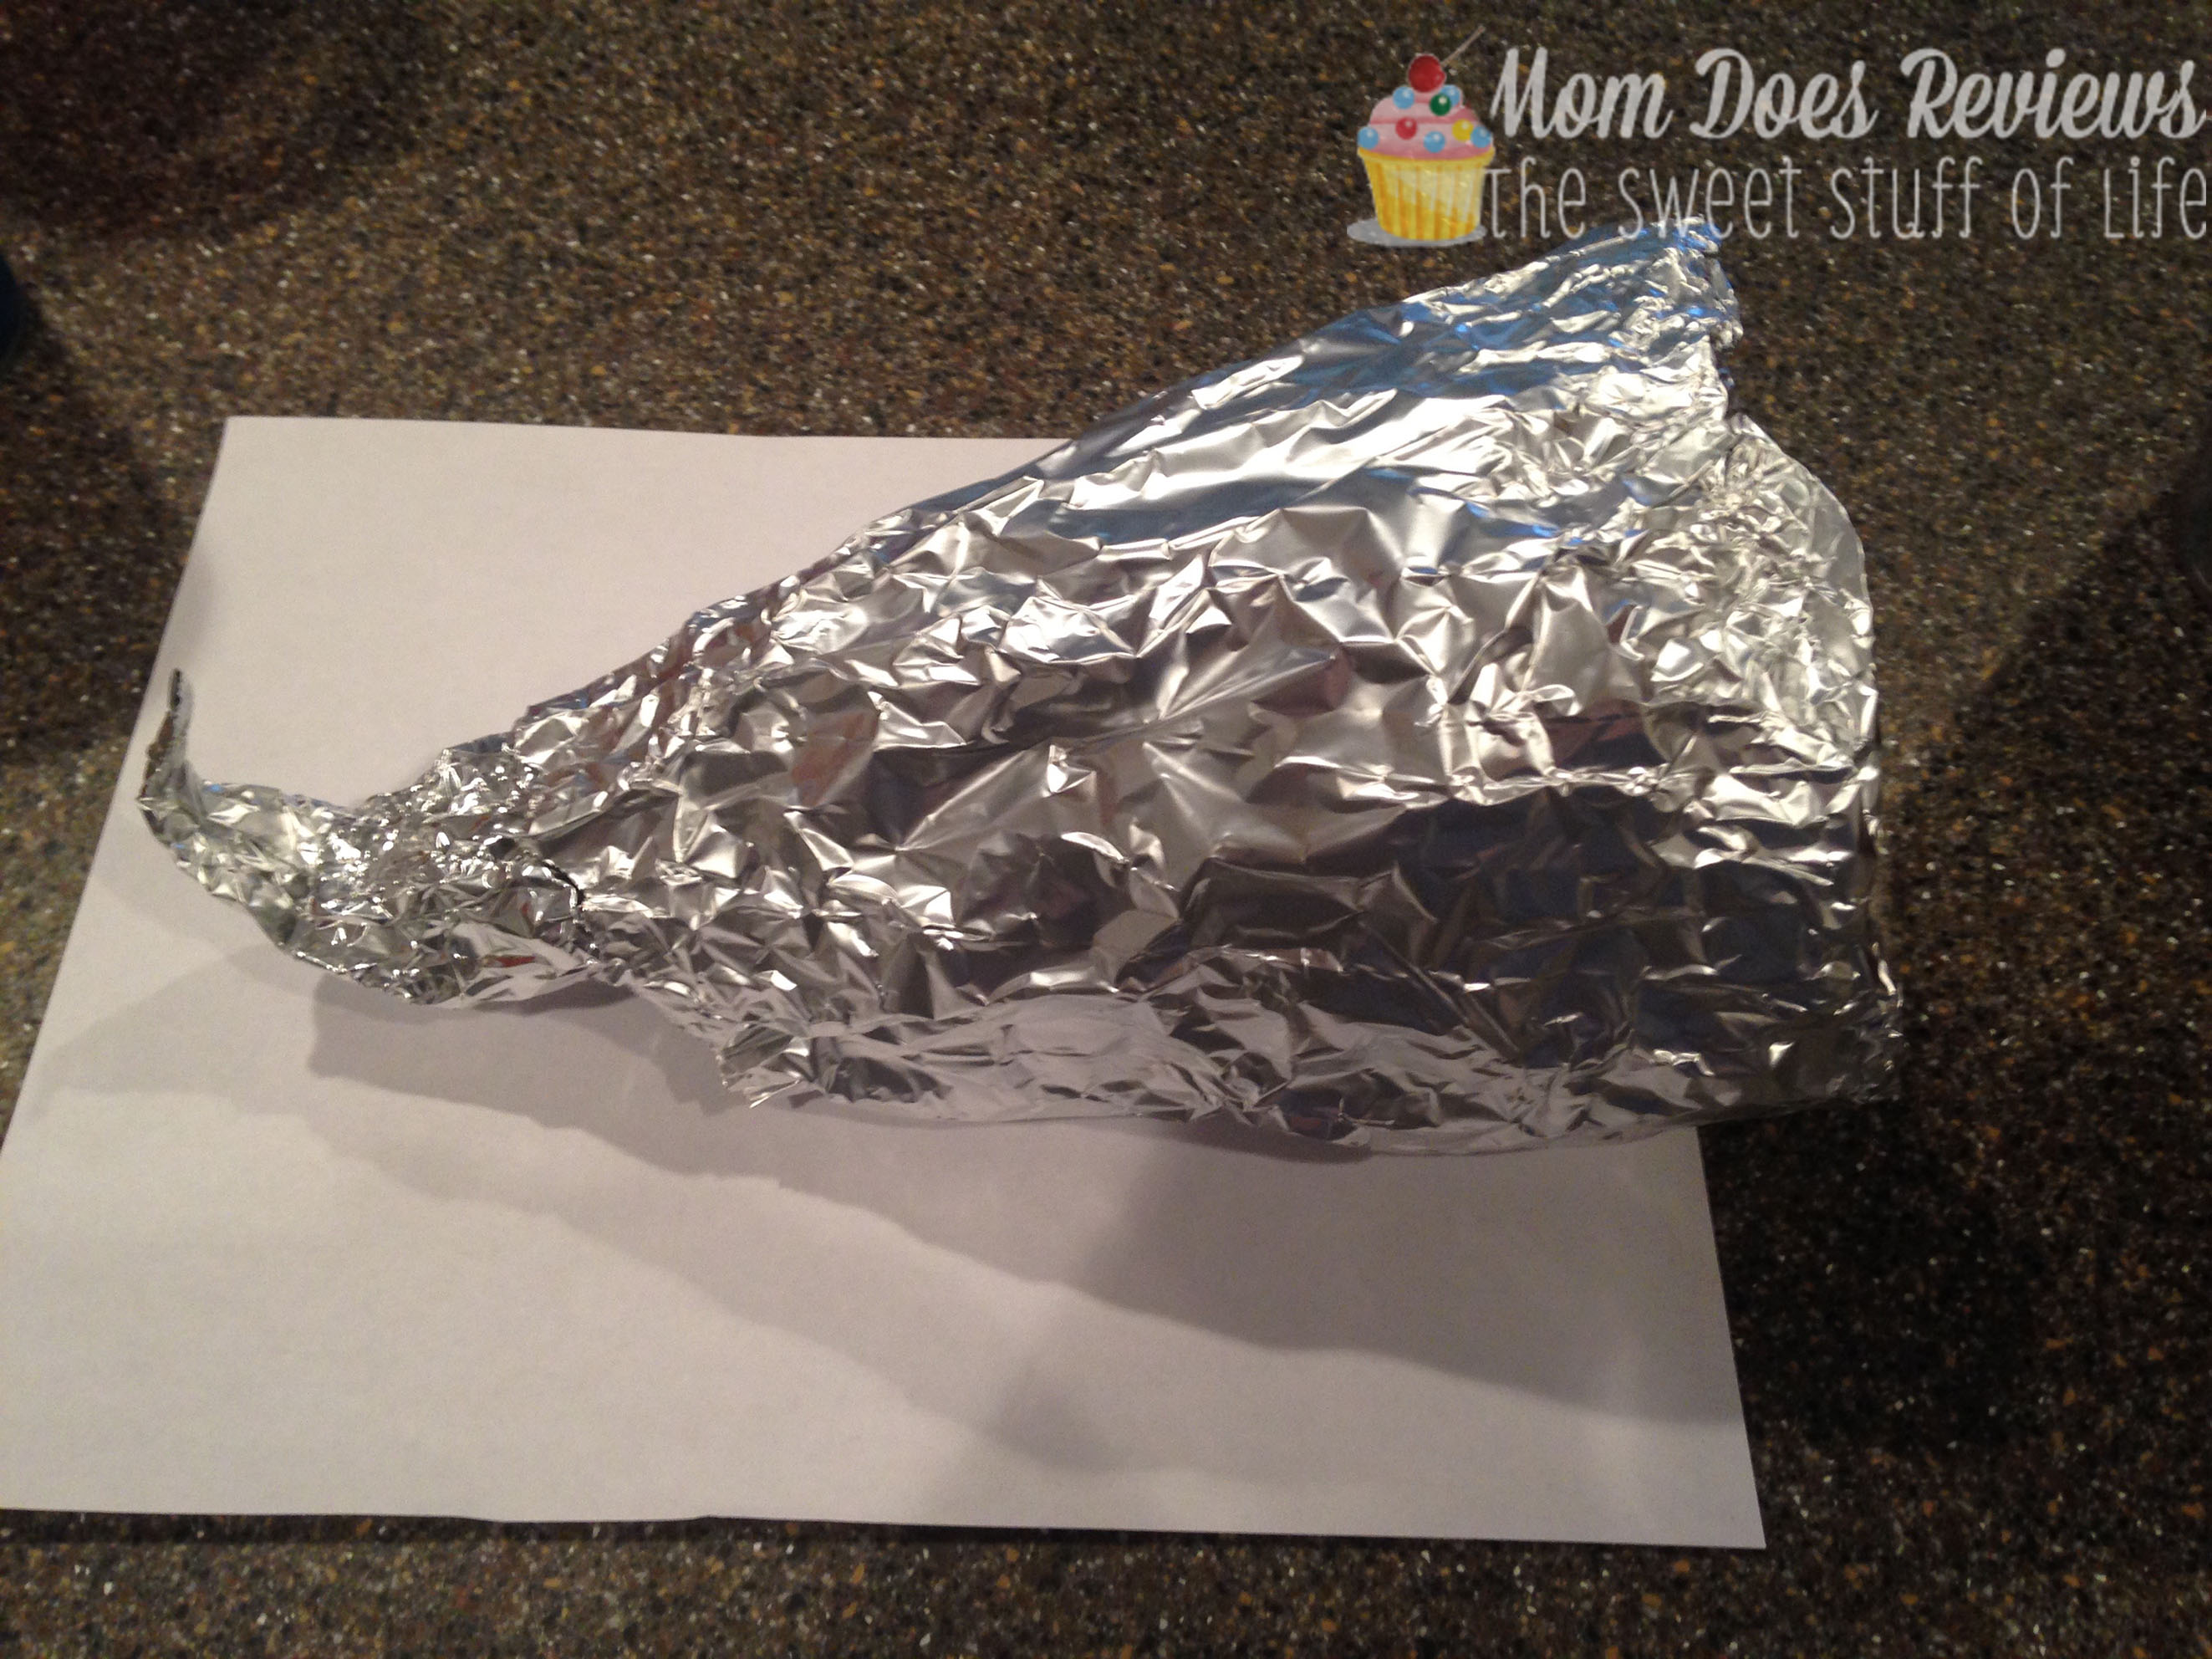
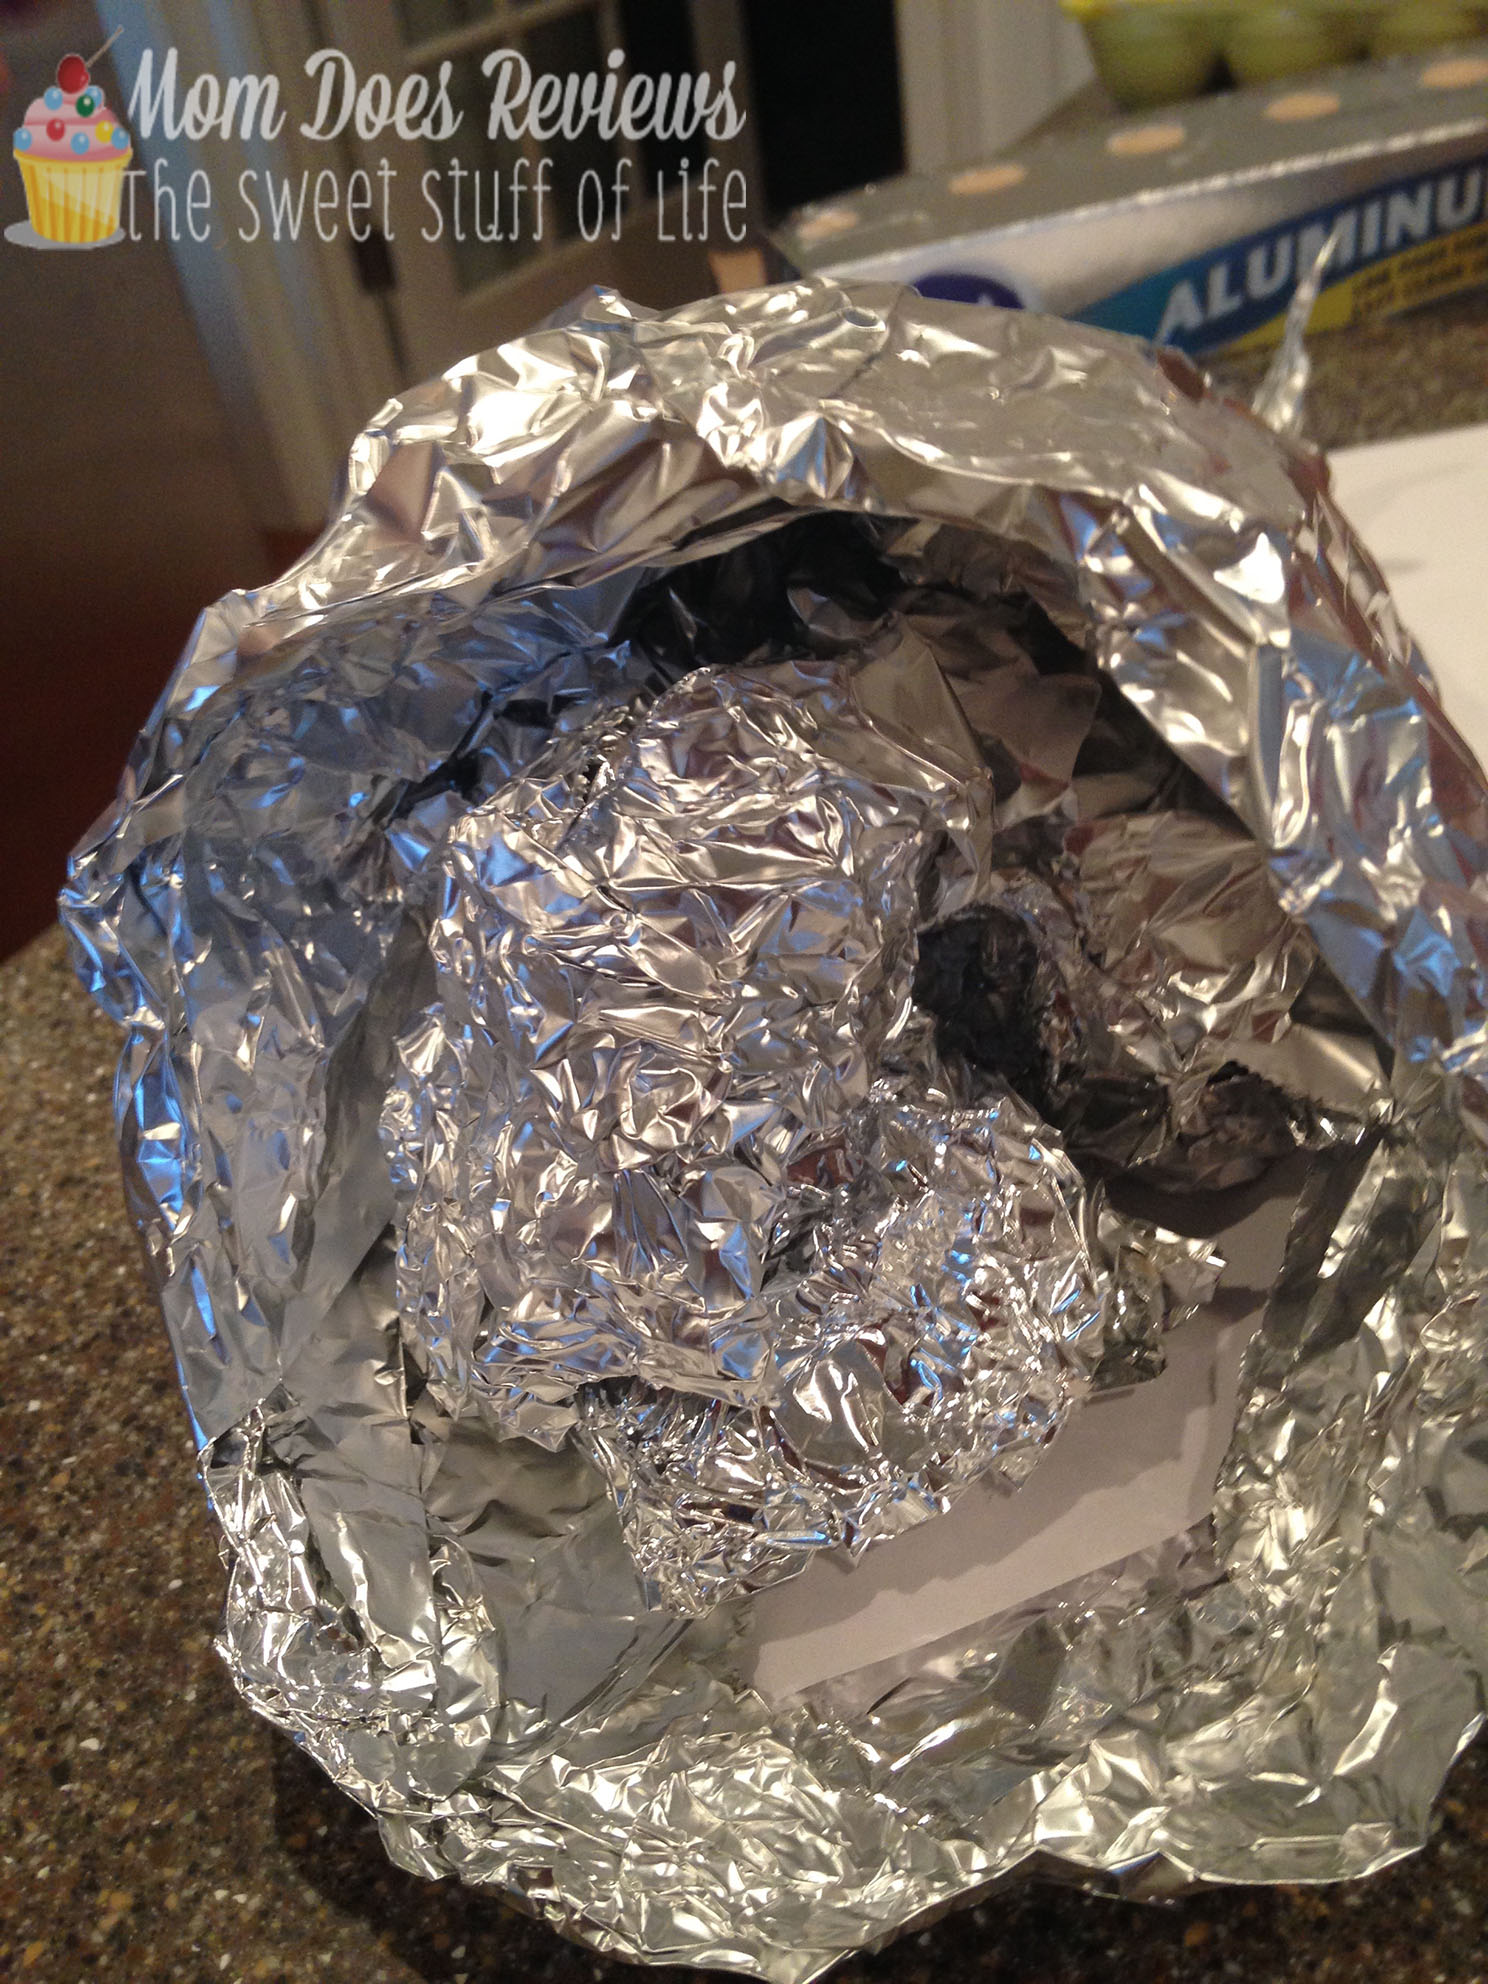
I then stuffed the inside of the cone with rolled up foil. This helps the cone hold its shape once its wrapped in the dough. The dough will be heavy and the cone will flatten if you don’t fill the inside with something. If you have a pre-made mold, you won’t need this, assuming it’s made of a stronger material. Since I’m using what I have around the house, stuffing the cone with foil is my option.
Once I had the cone wrapped in foil, I made sure to make a “tail” and curl it over. I then sprayed to foil with non-stick cooking spray. Don’t skip this step! You want the inner mold to come out once the dough is cooked and this just makes it easier.
Tip: I also spray my cookie sheet with the non-stick spray. I don’t want to risk anything sticking. (If you put this much effort, don’t gamble with it.)
In all the recipes that I found, it was said that to make this centerpiece, you would need three cans of pre-made pizza dough. The kind you find in the grocery store by the pre-made biscuits and cookie dough. I found that wasn’t the case. To make the centerpiece I did, it only took one can.
What’s next?
I spread out the dough on my counter, with a little flour under it. I floured my rolling pin so it wouldn’t stick to the dough. Make the dough as even as possible, and it doesn’t have to be super thick or thin. You want it thin, but not transparent.
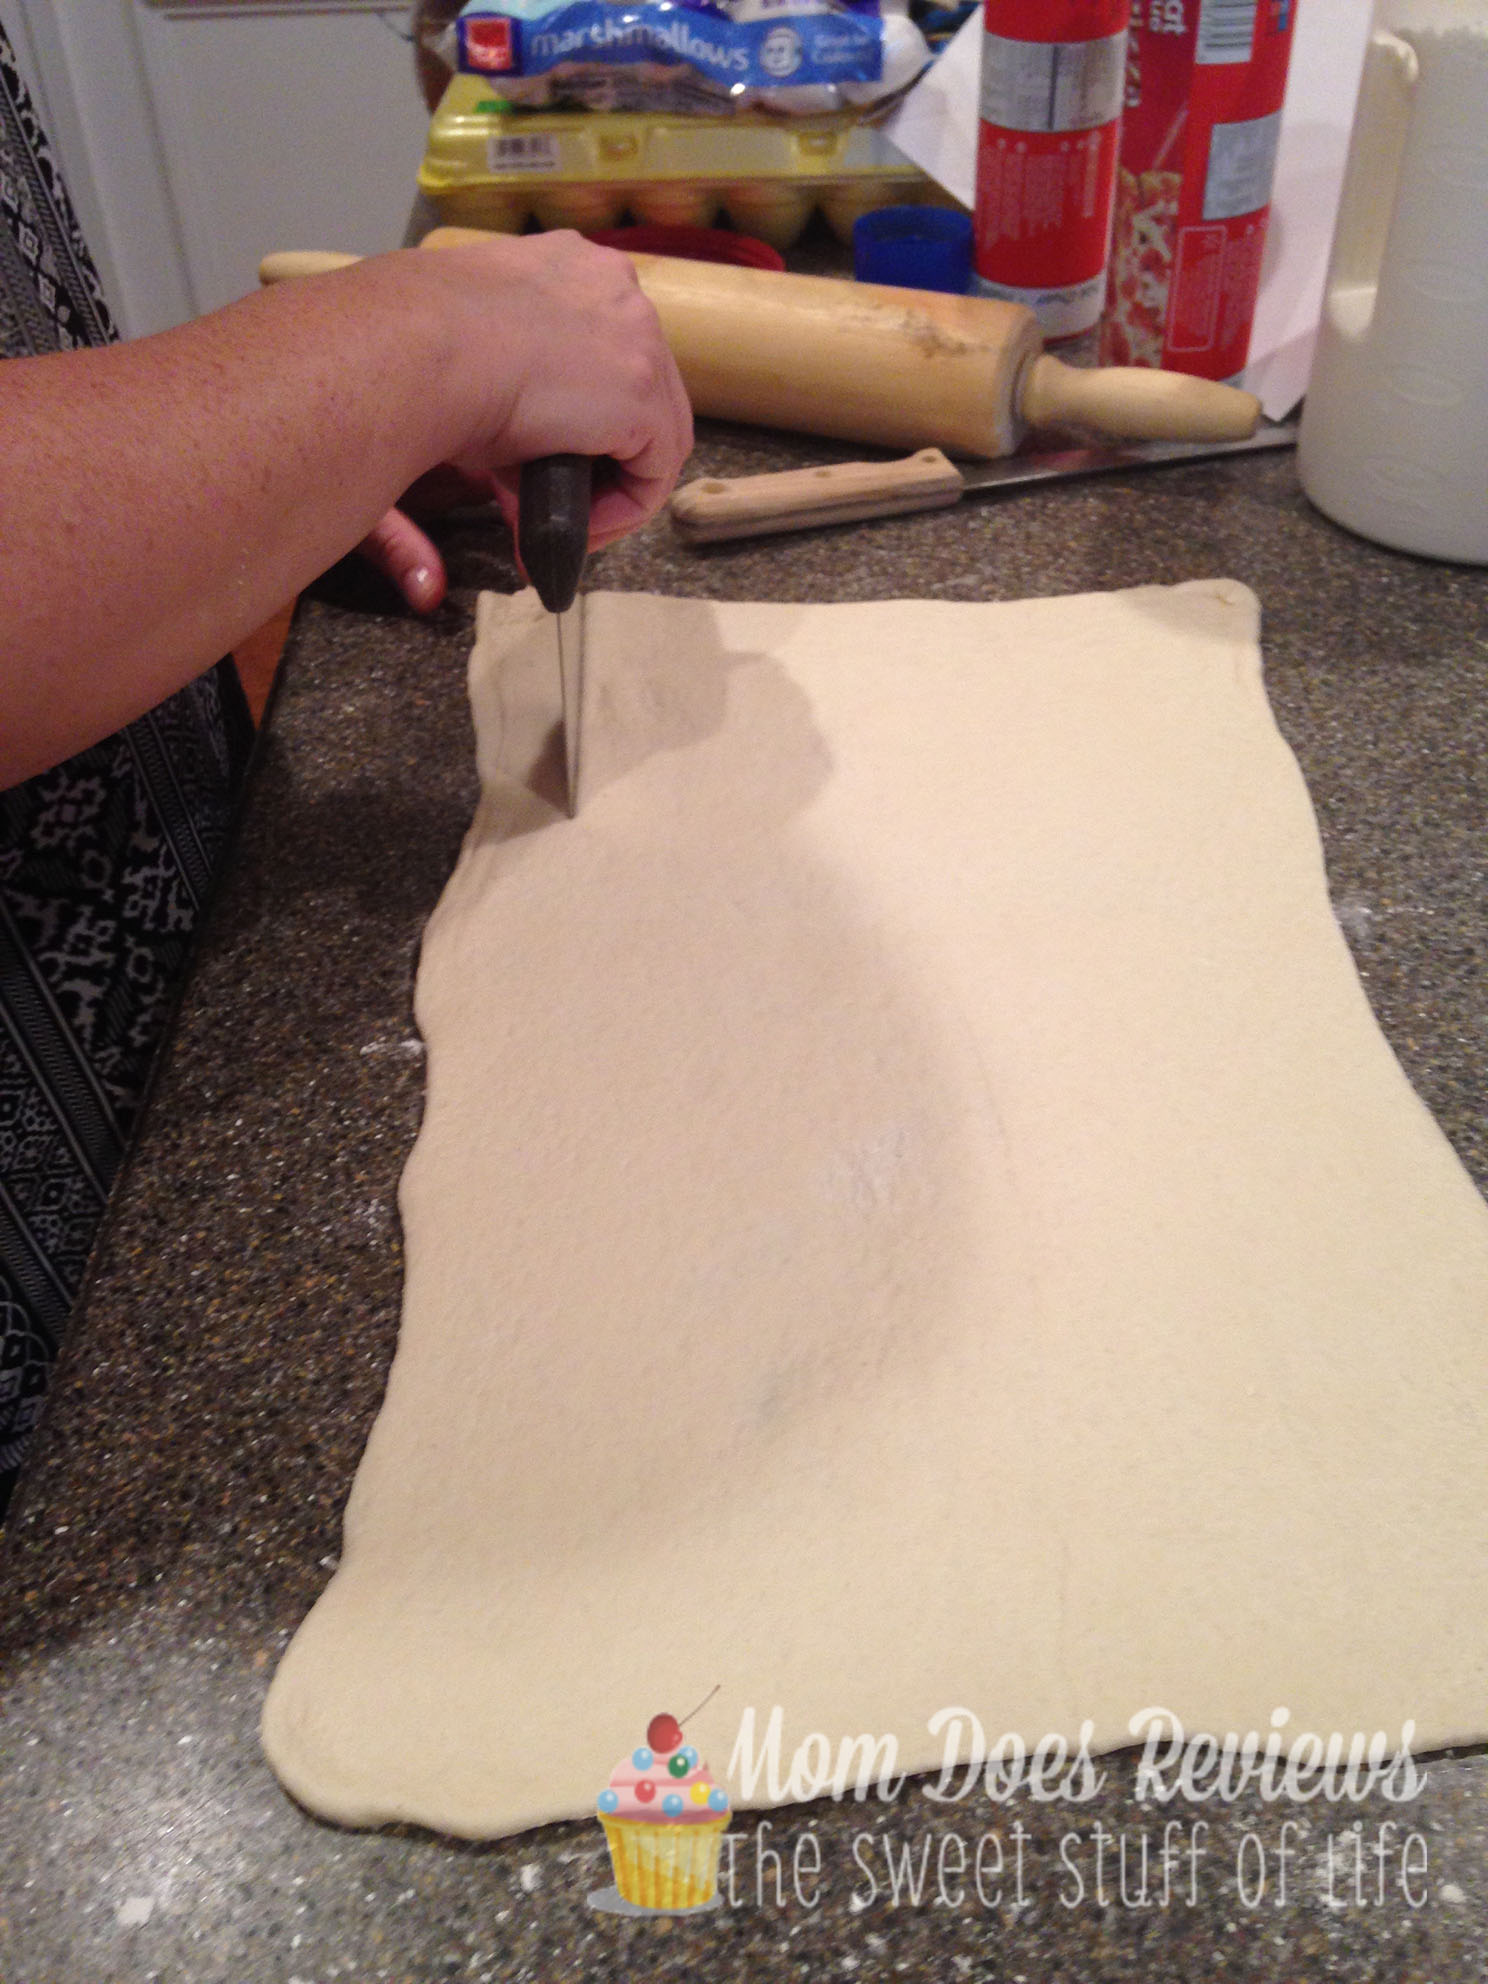
Cut the dough in 1/2 inch strips, longway. I used a dough cutter, but then I made sure it was cut all the way through with a knife (my counter wasn’t protected…my cutting board was smaller than the dough when rolled out).
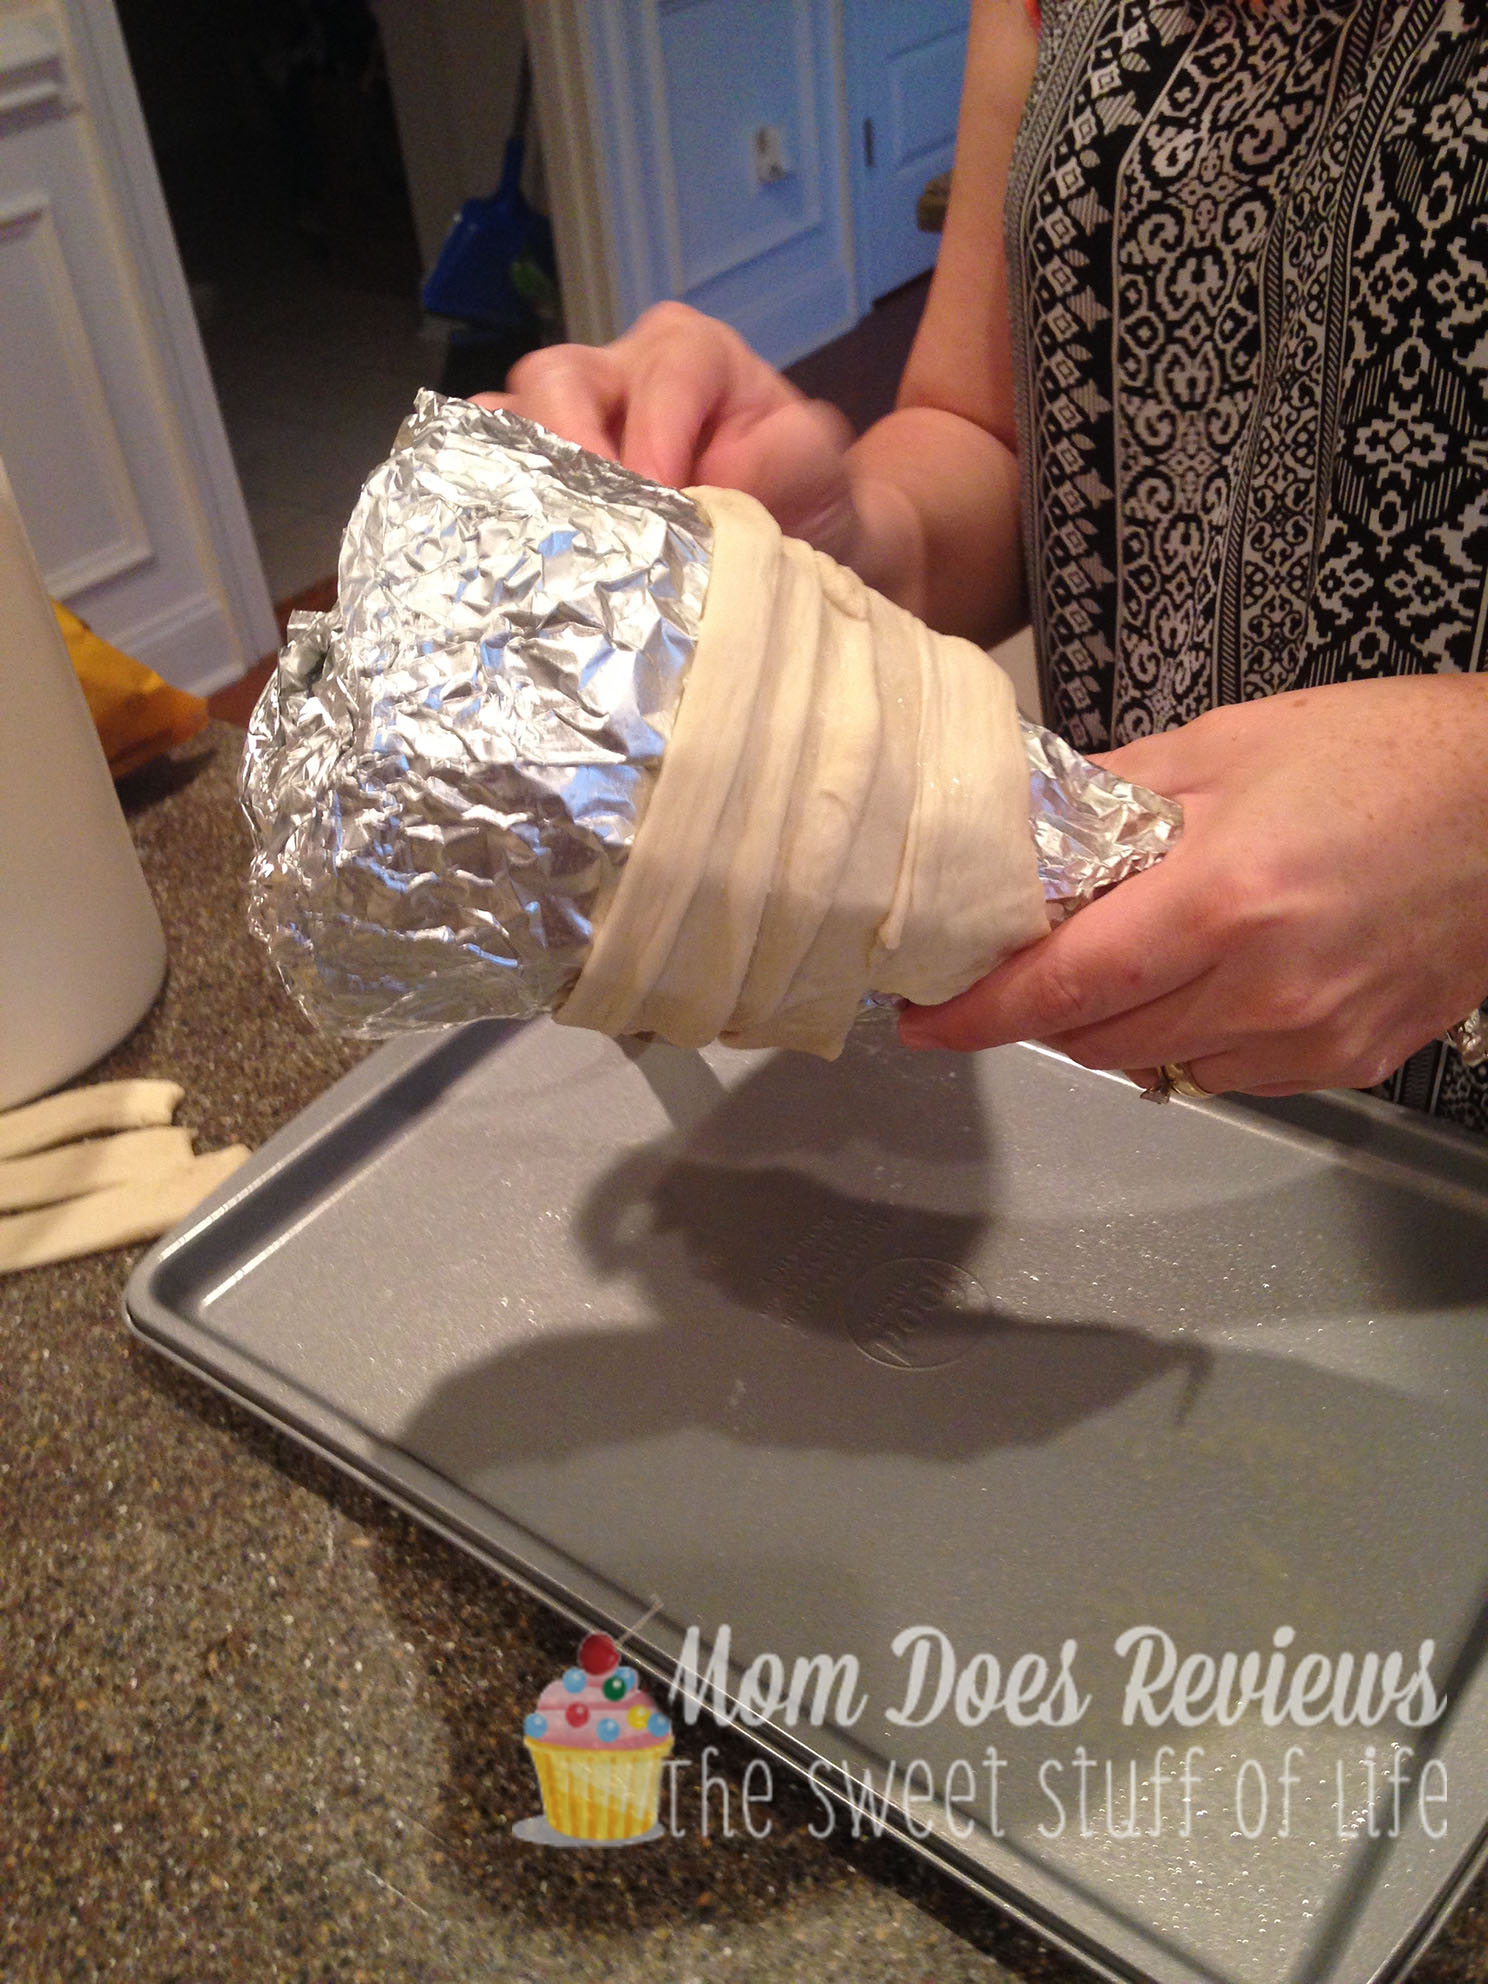
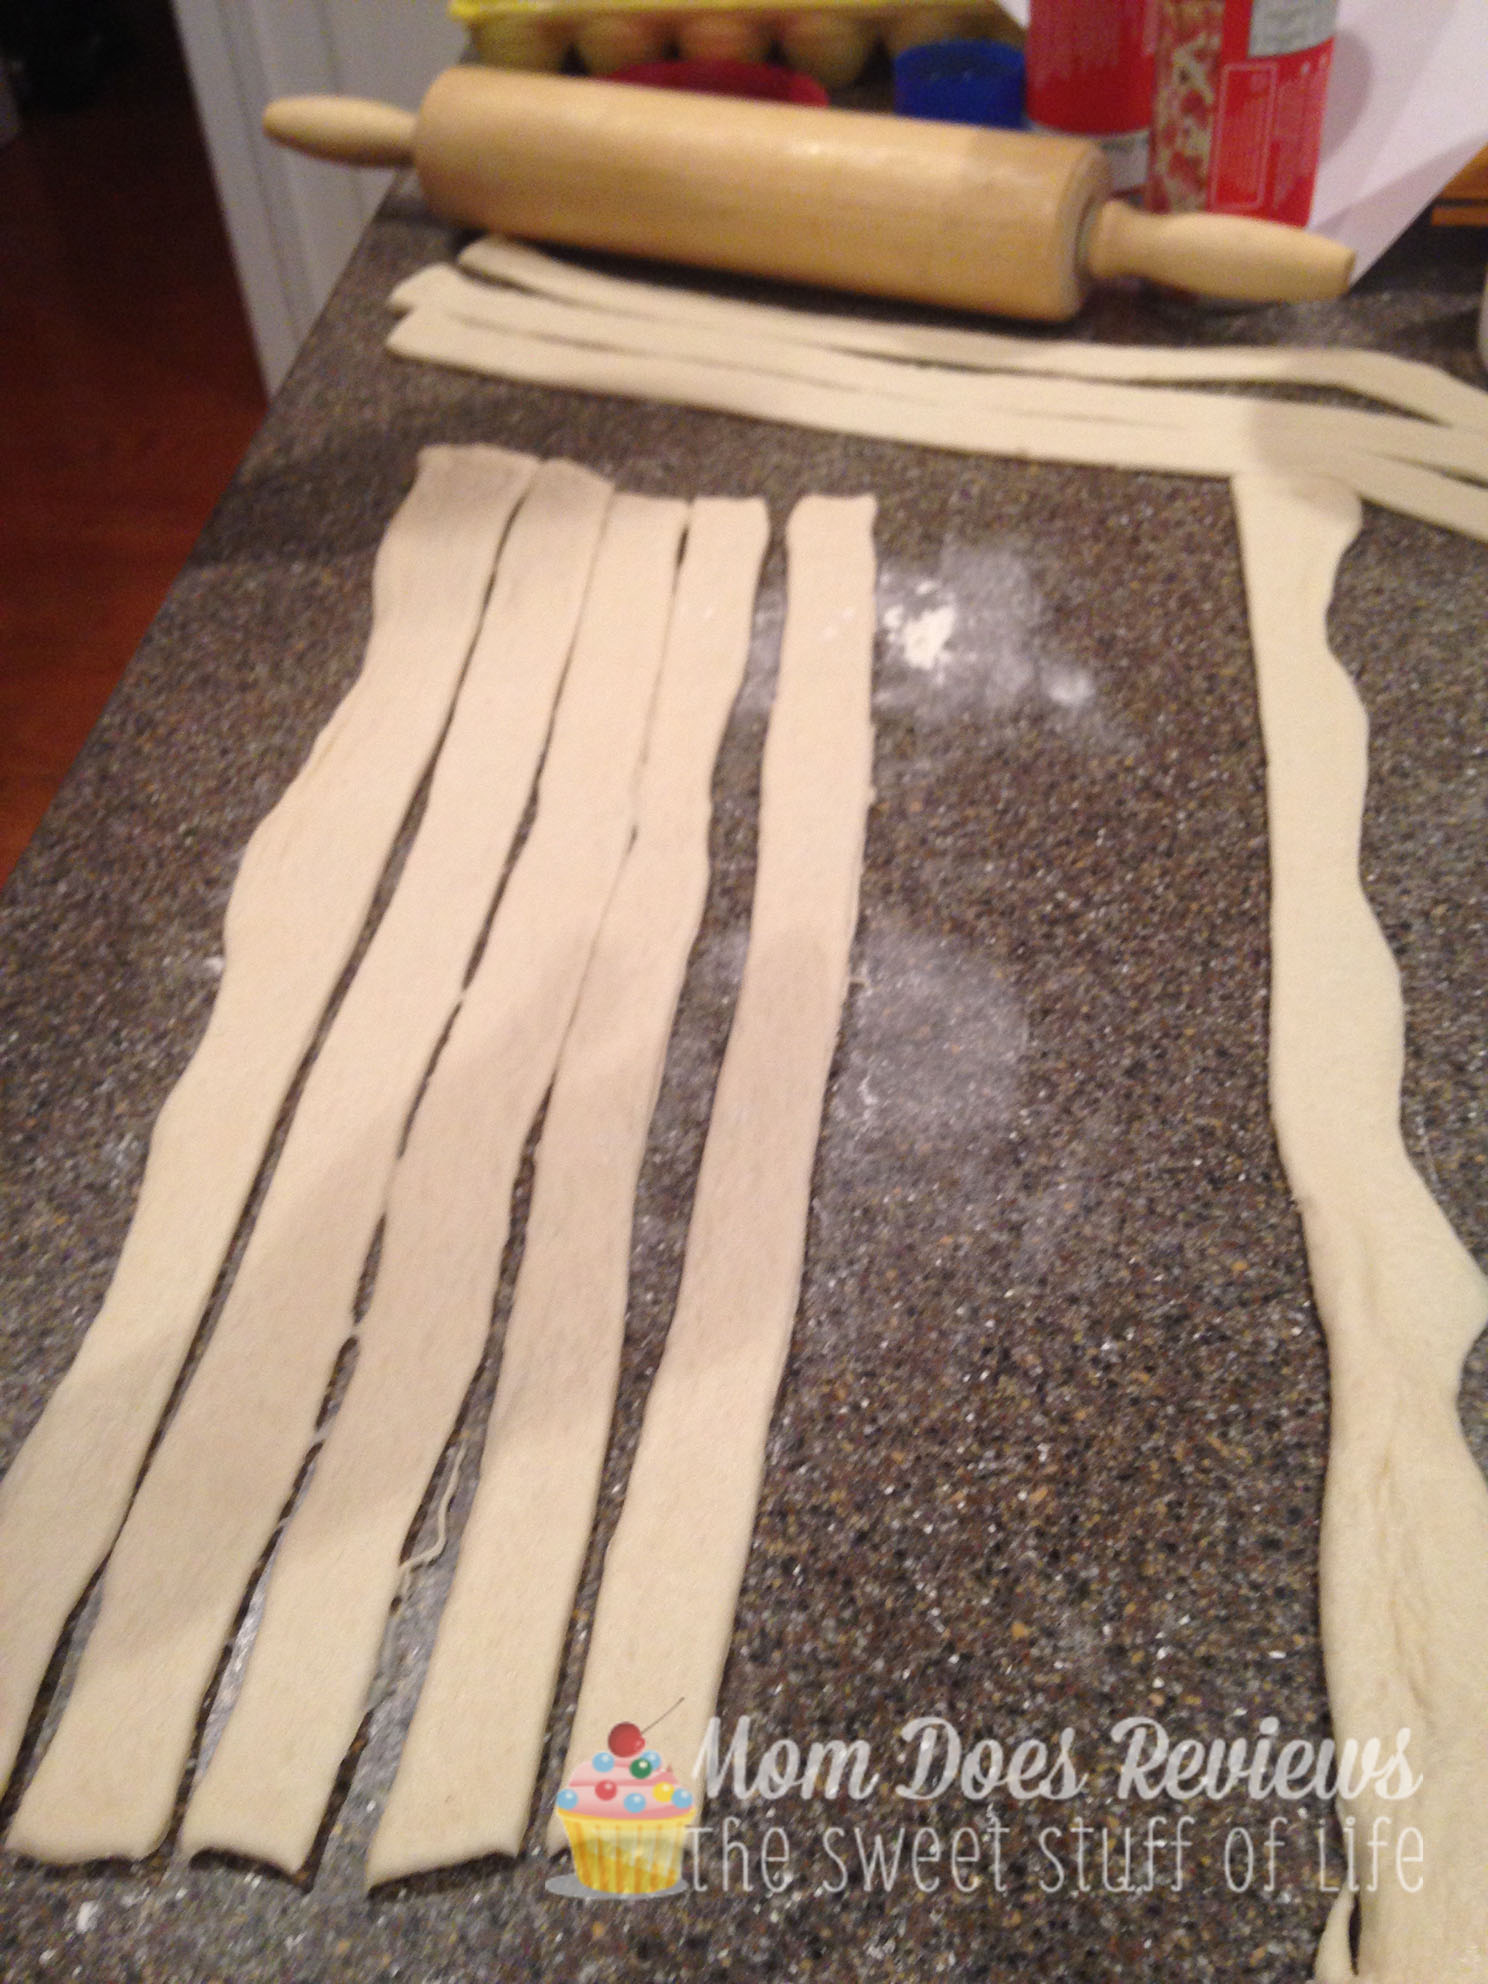 Then take the strips (except 3 of them—this is for the braid at the opening) and start wrapping it around the mold. I started in the middle of the mold, just to keep things balanced, but you can wrap it however you’d like.
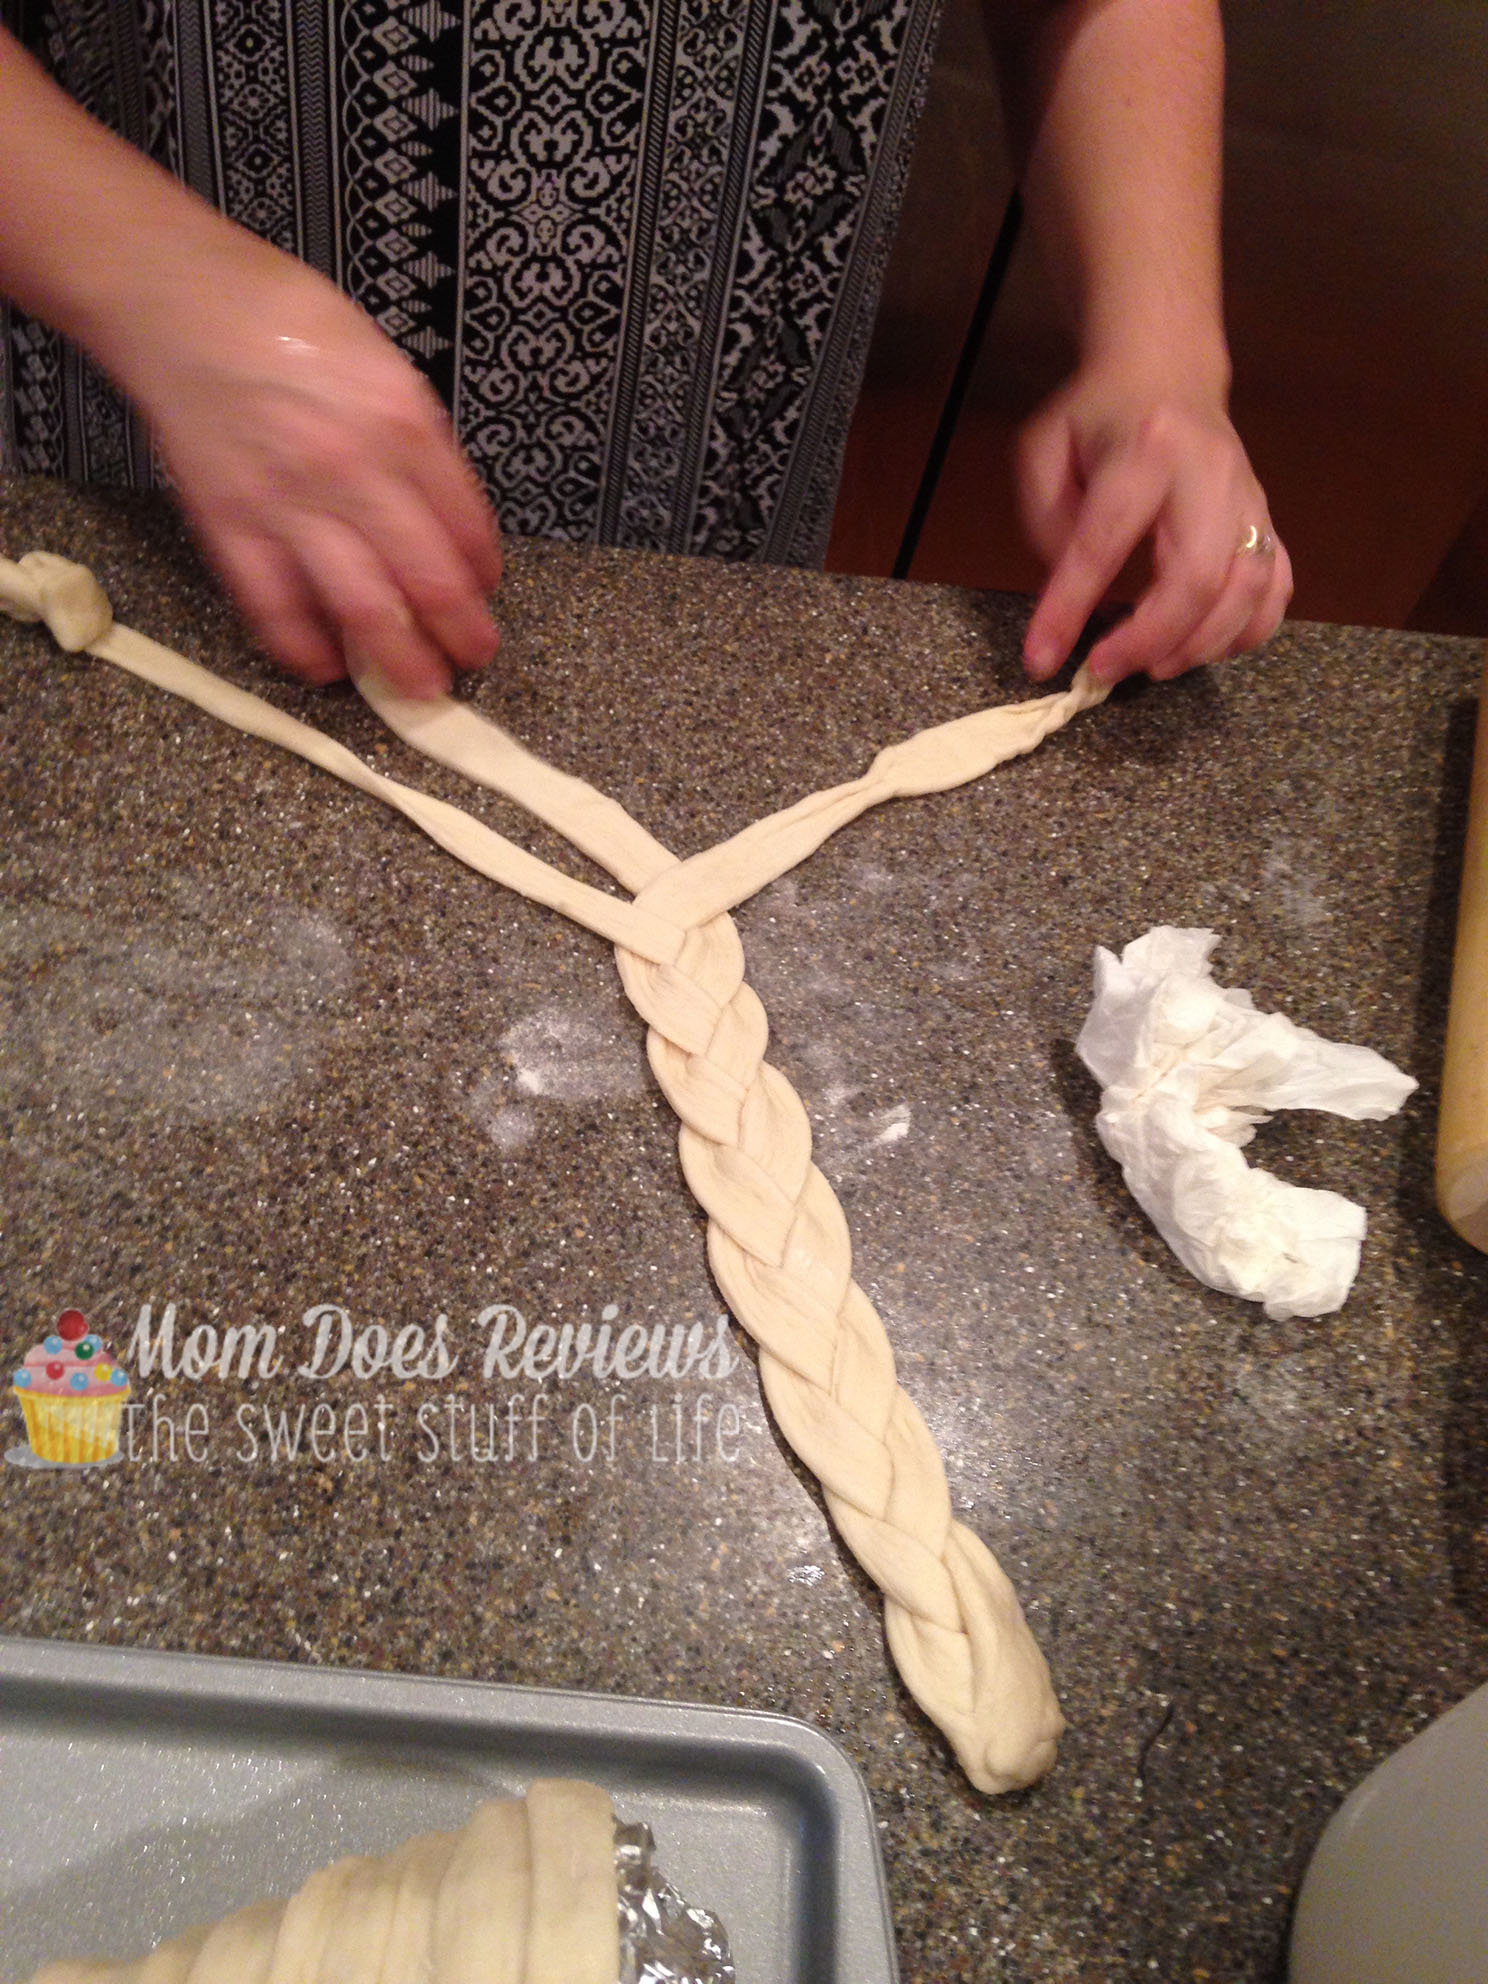
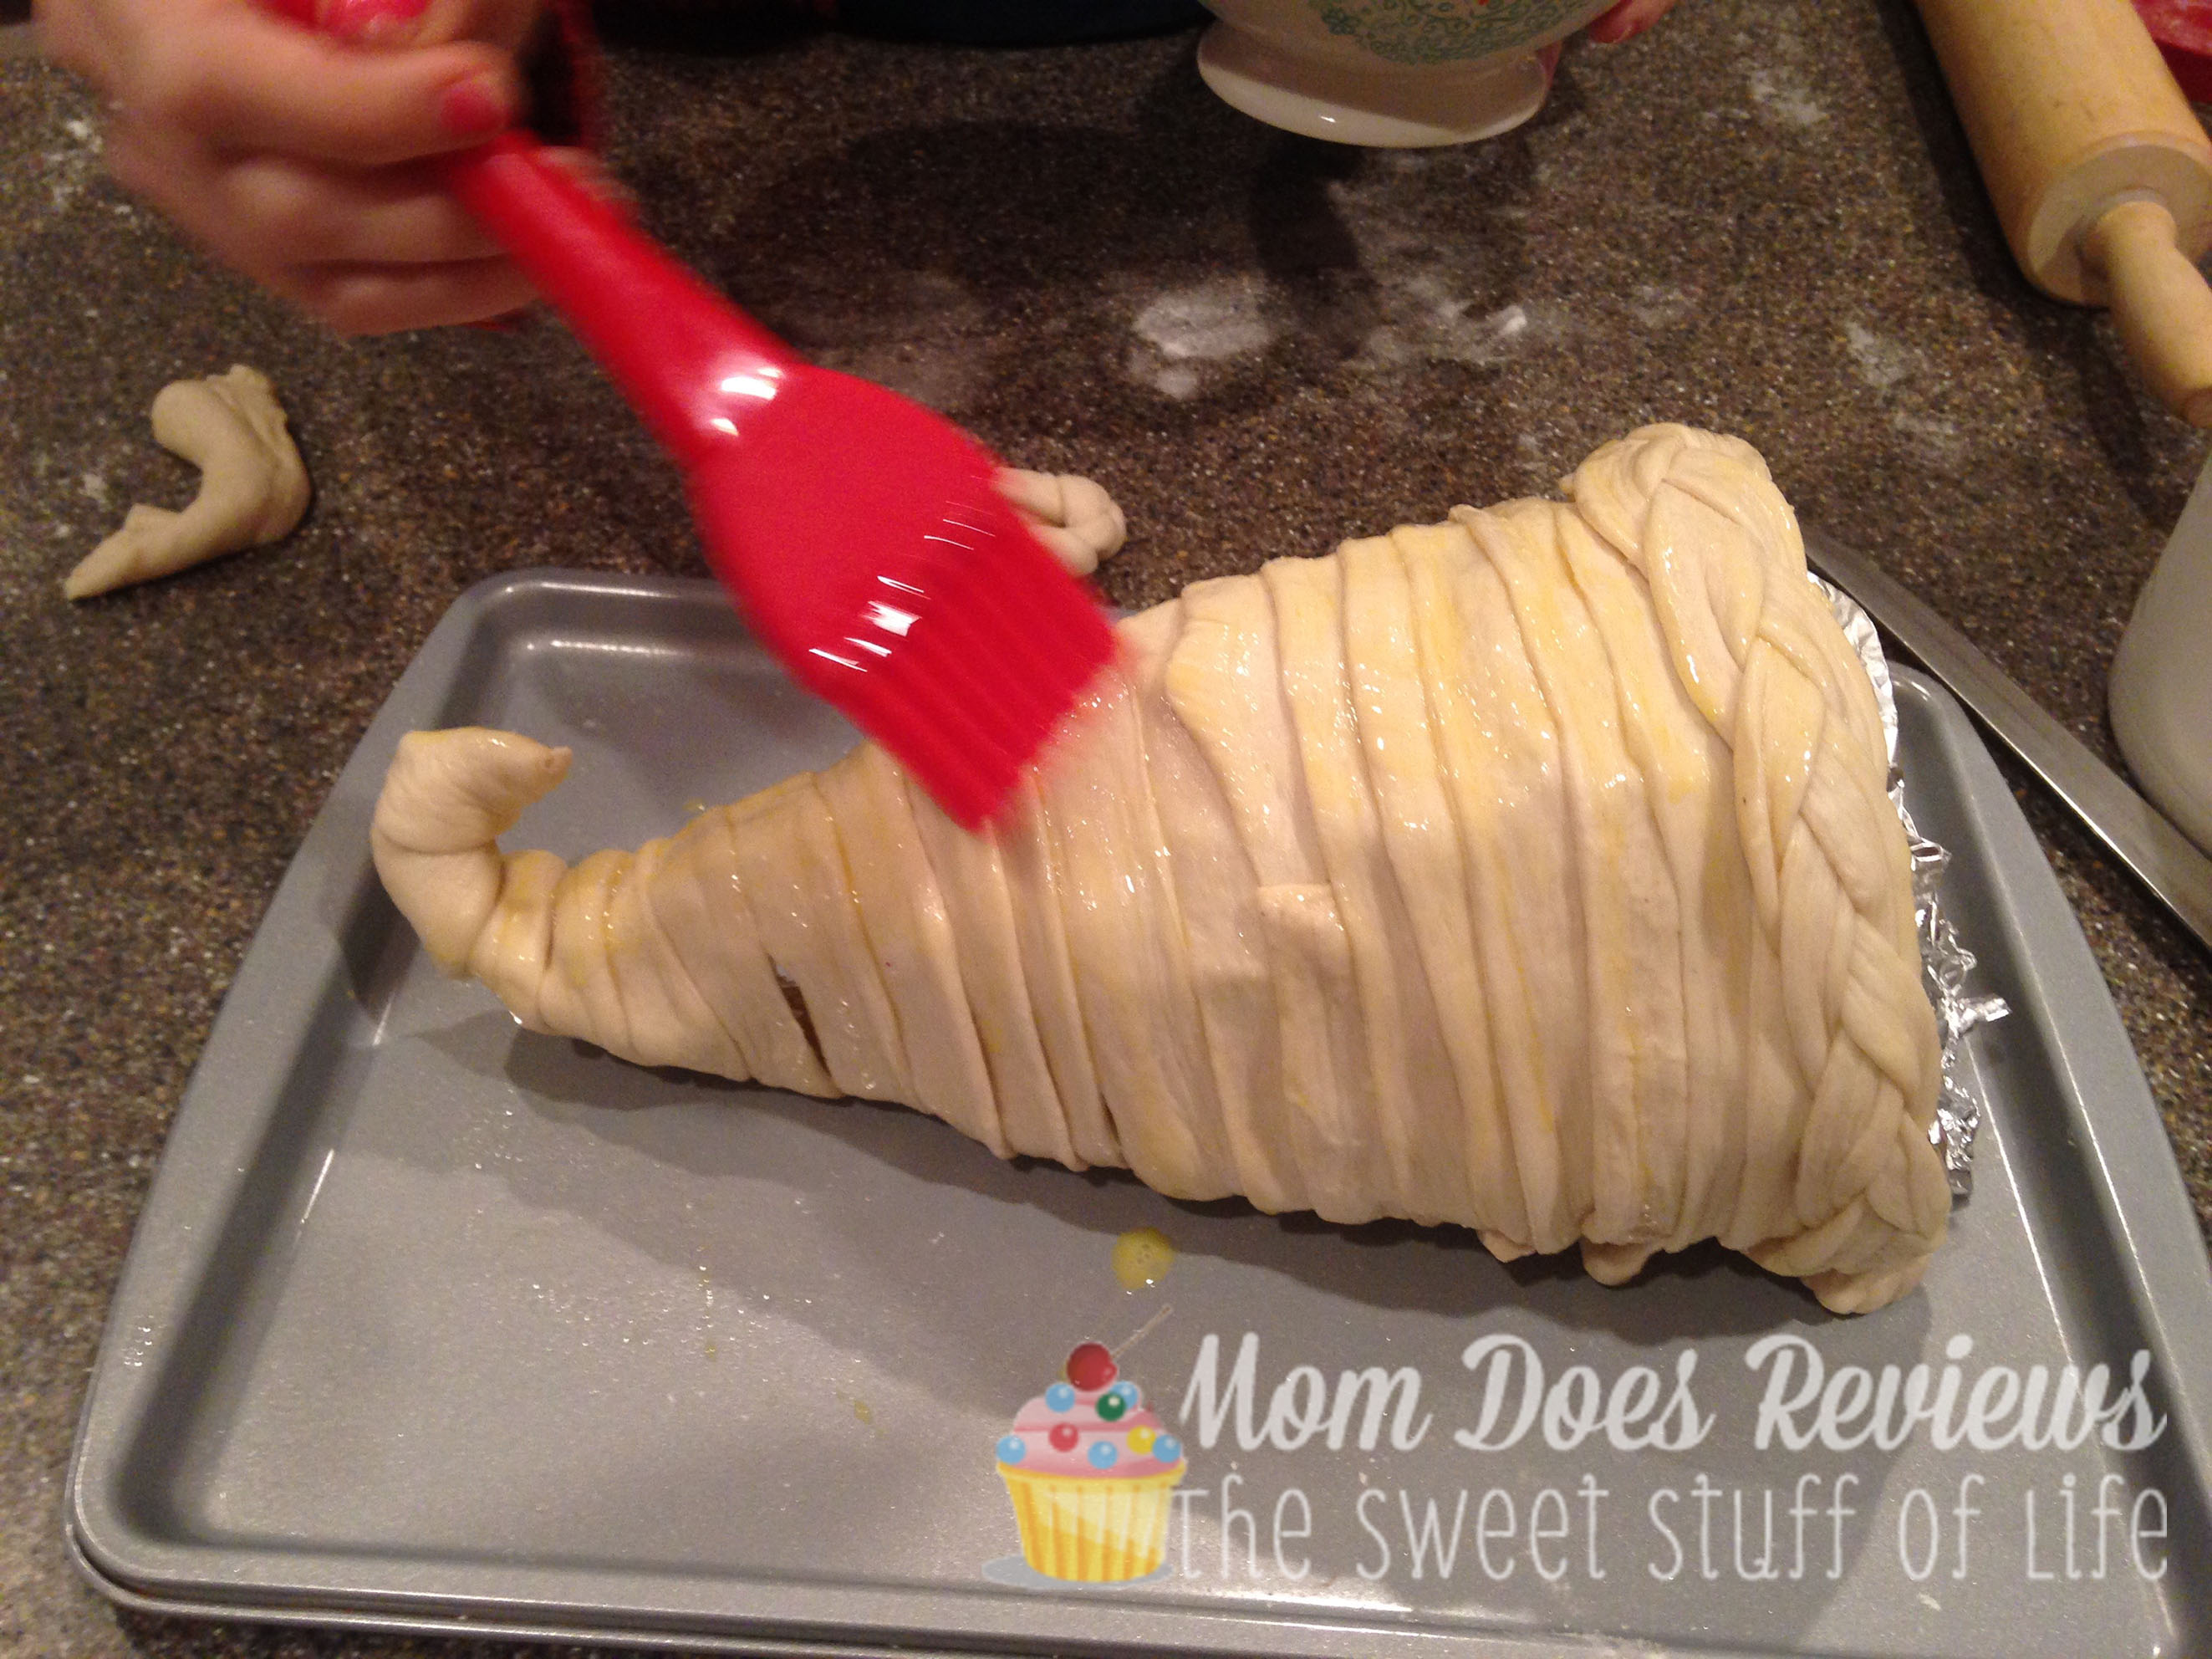
When the entire mold is wrapped, take the three strips you put to the side and braid them together. You’ll then wrap it around the opening to the cornucopia. This is just a decorative step. You can make it anyway you’d like, but I felt it was pretty, (and EASY).
I used an egg wash all over the cornucopia before I baked it.
Set the oven at 350 degrees, and bake for approximately 20 minutes. You’ll want to watch it to make sure it doesn’t burn. I put my cornucopia on the top rack of the oven. This worked out very well. You don’t want to take it out too soon, as the dough will be undercooked and soft.
After pulling it out of the oven, you will want it to COOL completely before trying to pull the mold off. It won’t come off until it’s completely cool. I thought my aluminum foil mold was stuck in there, but as soon as it cooled, it came right out….even from the “tail”.

To finish it off, place on a platter and fill with whatever you’d like. I used squash and baby pumpkins, artificial leaves and candy corn.
If you want to WOW your guests on Thanksgiving, try making this pretty centerpiece. It’s fun, easy and beautiful.
Thanksgiving is NEXT week!
Will you make something special for your table?
Happy Thanksgiving Everyone!